
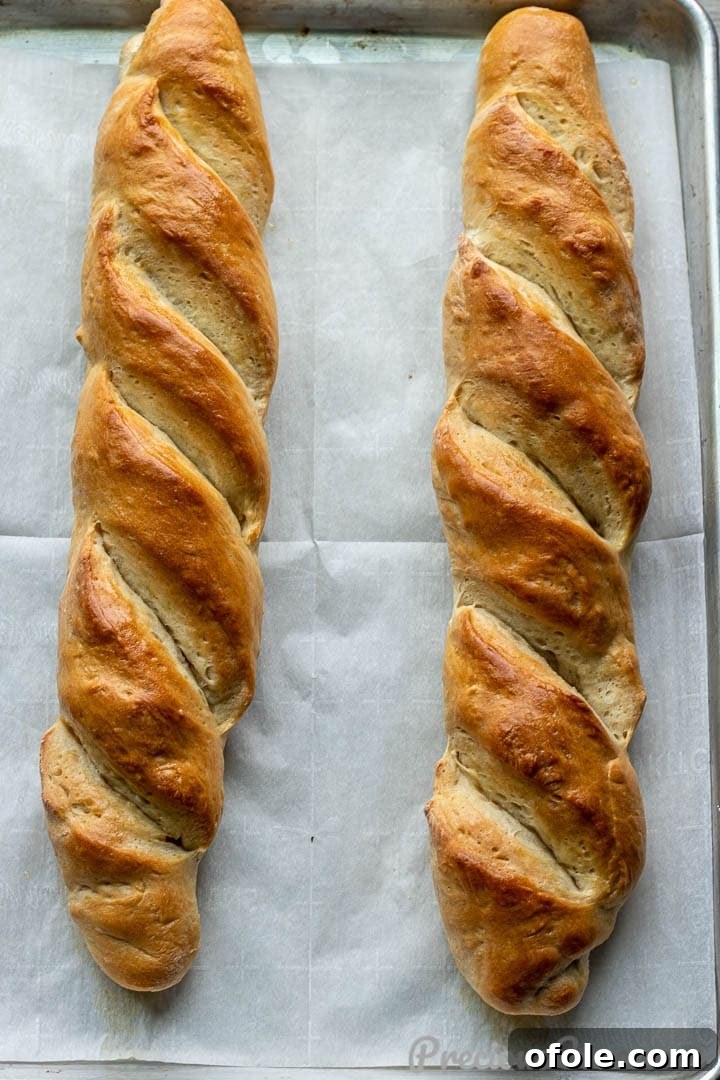
There’s nothing quite like the aroma of freshly baked bread filling your home. And when it comes to classic comfort, a warm loaf of homemade French bread is simply irresistible. Forget those store-bought versions that lack character and preservatives; crafting your own crusty, chewy French bread from scratch is not only surprisingly easy but also incredibly rewarding. Get ready to impress your family and friends with this simple yet elegant recipe that promises bakery-quality results every time.
For years, baking bread at home has been one of my most cherished kitchen rituals. The transformation of simple ingredients into something so utterly delicious feels like magic, and the satisfaction of pulling a golden-brown loaf from the oven is unparalleled. Once you experience the superior taste, texture, and pure wholesome goodness of homemade bread, you’ll find it hard to go back to anything else. The difference is truly night and day!
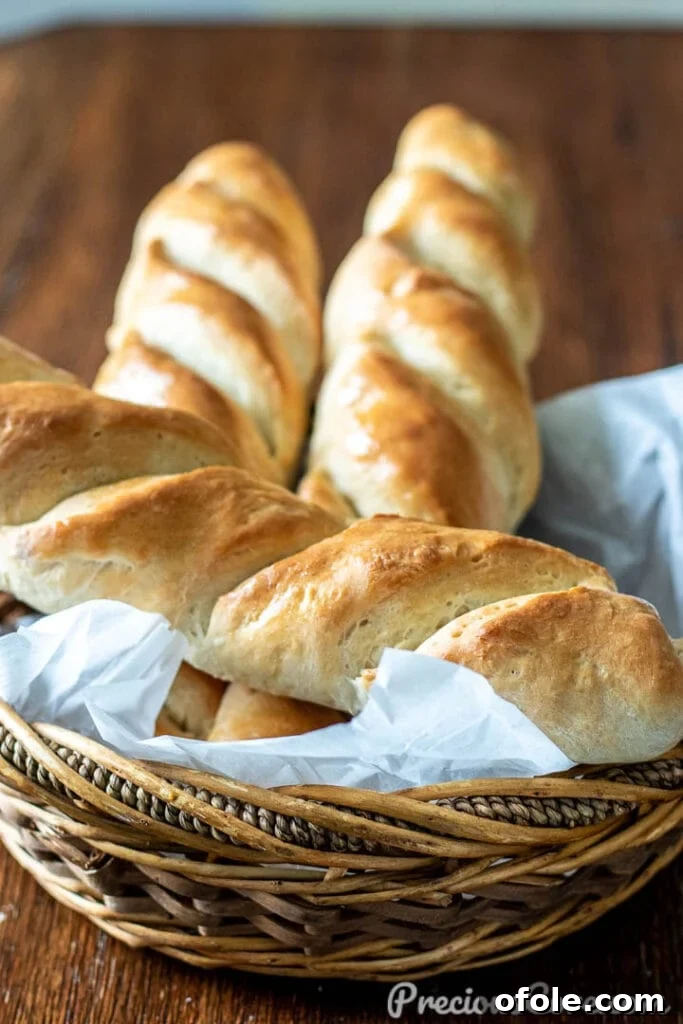
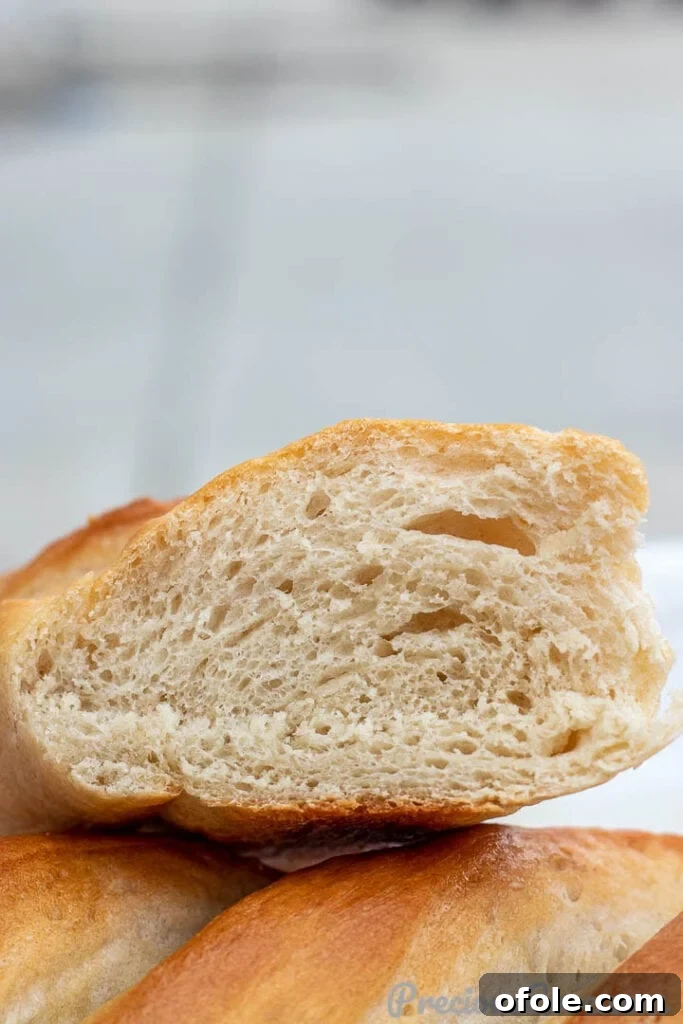
What truly sets homemade bread apart isn’t just the lack of artificial preservatives or strange, unpronounceable ingredients. It’s the deep, authentic flavor that develops during the fermentation process, the perfectly tender interior contrasted by a beautifully crisp crust, and the incomparable freshness that can only come from a loaf baked just hours before it’s enjoyed. It’s a culinary experience that elevates any meal, turning a simple dinner into a memorable occasion.
My latest venture into French bread baking was inspired by a delightful culinary memory. Hailing from Cameroon, I grew up with the understanding that meatballs and French bread are a match made in heaven—a divine pairing that elevates both components. Imagine a perfectly seasoned meatball sub, nestled in a crusty, soft French baguette. Pure bliss! After preparing a hearty batch of my favorite African meatballs, the craving for fresh French bread became undeniable. A trip to the grocery store seemed like too much of a hassle, so I decided to whip up a batch myself. The result? Absolutely spectacular loaves that perfectly complemented my flavorful meatballs.
Essential Ingredients for Perfect French Bread from Scratch
The beauty of French bread lies in its simplicity. You don’t need a long list of exotic ingredients to create this classic. Just a few pantry staples, combined with a little love and patience, are all it takes. Here’s what you’ll need to make this delectable dough:
- Lukewarm Water: The ideal temperature is around 105-115°F (40-46°C). This is crucial for activating the yeast without killing it. If it’s too cold, the yeast won’t activate; too hot, and it will die. Test it with your finger; it should feel comfortably warm, like a baby’s bath.
- Active Dry Yeast or Instant Yeast: Either will work beautifully. Active dry yeast may need a few minutes to proof in the warm water with sugar, while instant yeast can often be mixed directly with the dry ingredients.
- Sugar: A small amount of granulated sugar acts as food for the yeast, helping it activate and rise. It also contributes to the beautiful golden-brown crust and a subtle hint of sweetness that balances the savory notes.
- Vegetable Oil: Or any other neutral-tasting oil like canola or light olive oil. This adds a touch of richness to the dough, contributing to its tender crumb and keeping it from drying out.
- Salt: Essential for flavor, salt also helps control yeast activity and strengthens the gluten structure of the dough, contributing to a better texture. Don’t skip it, but don’t overdo it either.
- All-Purpose (Plain) Flour or Bread Flour: While all-purpose flour will yield a wonderful loaf, bread flour, with its higher protein content, will give you a chewier, more structured crumb—perfect for that authentic French bread texture.
For the precise measurements of each ingredient, please refer to the comprehensive recipe card located at the bottom of this post.
Mastering the Art: How To Make Easy Homemade French Bread
Making French bread might seem intimidating, but with these clear, step-by-step instructions, you’ll be baking like a pro in no time. Precision and patience are your best friends here.
1. Prepare the Dough: In a large mixing bowl, combine your lukewarm water, yeast, and sugar. If using active dry yeast, let it sit for about 5-10 minutes until foamy, indicating the yeast is active. Then, add the salt, vegetable oil, and finally, the flour. Mix all ingredients thoroughly with a sturdy wooden spoon until a shaggy dough forms. If you have a stand mixer, attach the dough hook and mix on low speed until combined.
2. Knead the Dough to Perfection: If mixing by hand, transfer the dough onto a lightly floured clean surface. Knead the dough for about 5-7 minutes. Use a push-fold-turn motion until the dough becomes smooth, elastic, and no longer sticky. If using a stand mixer, continue kneading on medium-low speed for about 5-7 minutes until the dough pulls away from the sides of the bowl and feels smooth. A good test for readiness is the “windowpane test”: pull a small piece of dough and stretch it thinly enough to see light through it without tearing.
3. First Rise (Bulk Fermentation): Lightly oil a large clean bowl. Place the kneaded dough in the bowl, turning it once to coat with oil. Cover the bowl tightly with plastic wrap or a clean kitchen towel. Let the dough rise in a warm, draft-free place until it has doubled in size. This usually takes 1 to 2 hours, depending on the warmth of your environment. A slightly warm (turned off) oven can be a great place for rising.
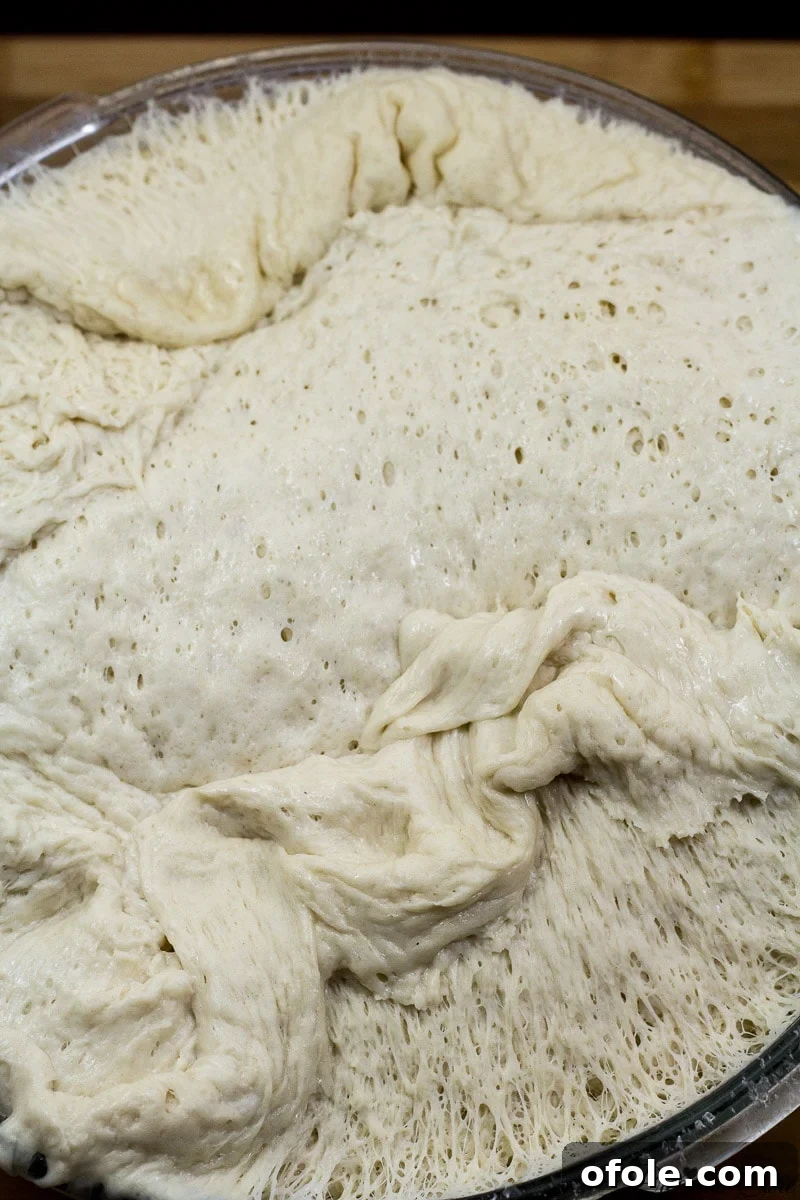
4. Punch Down and Divide: Once the dough has doubled, gently “punch it down” to release the air. This step is important for developing the dough’s texture and expelling excess gas. Lightly flour your work surface again. Shape the dough into a cohesive ball before dividing.
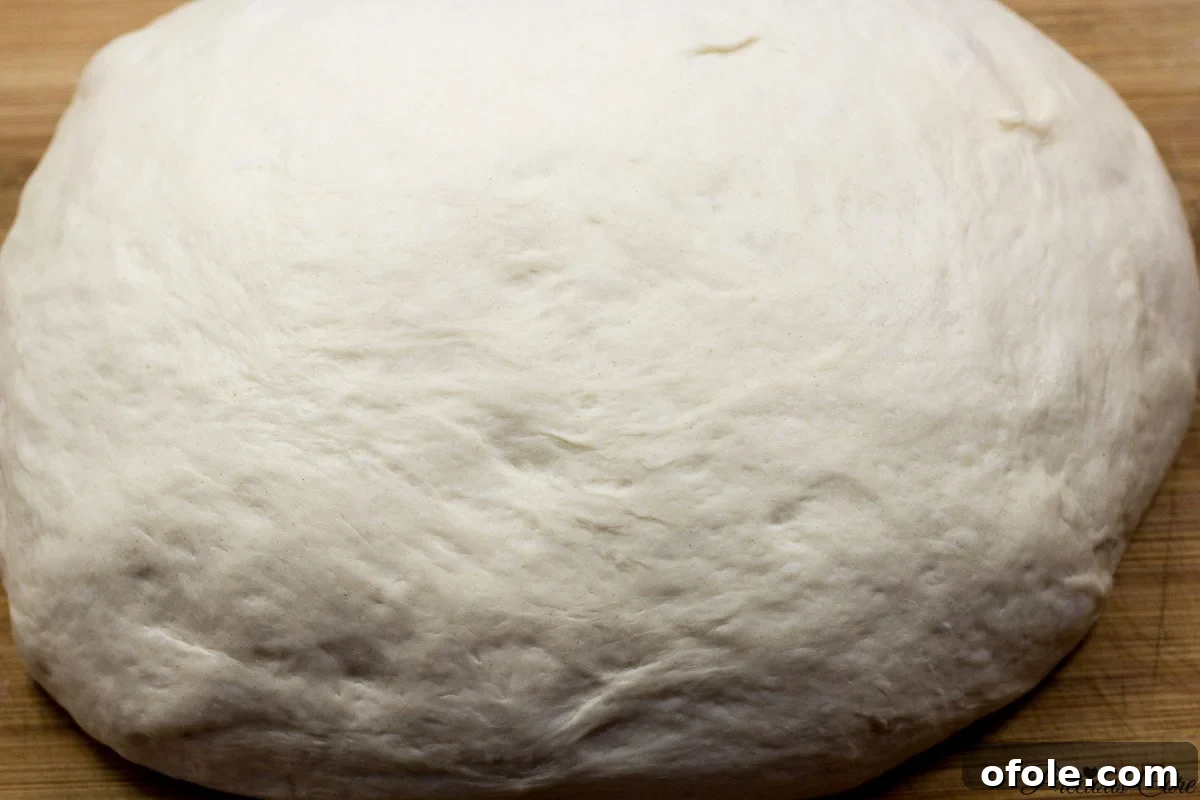
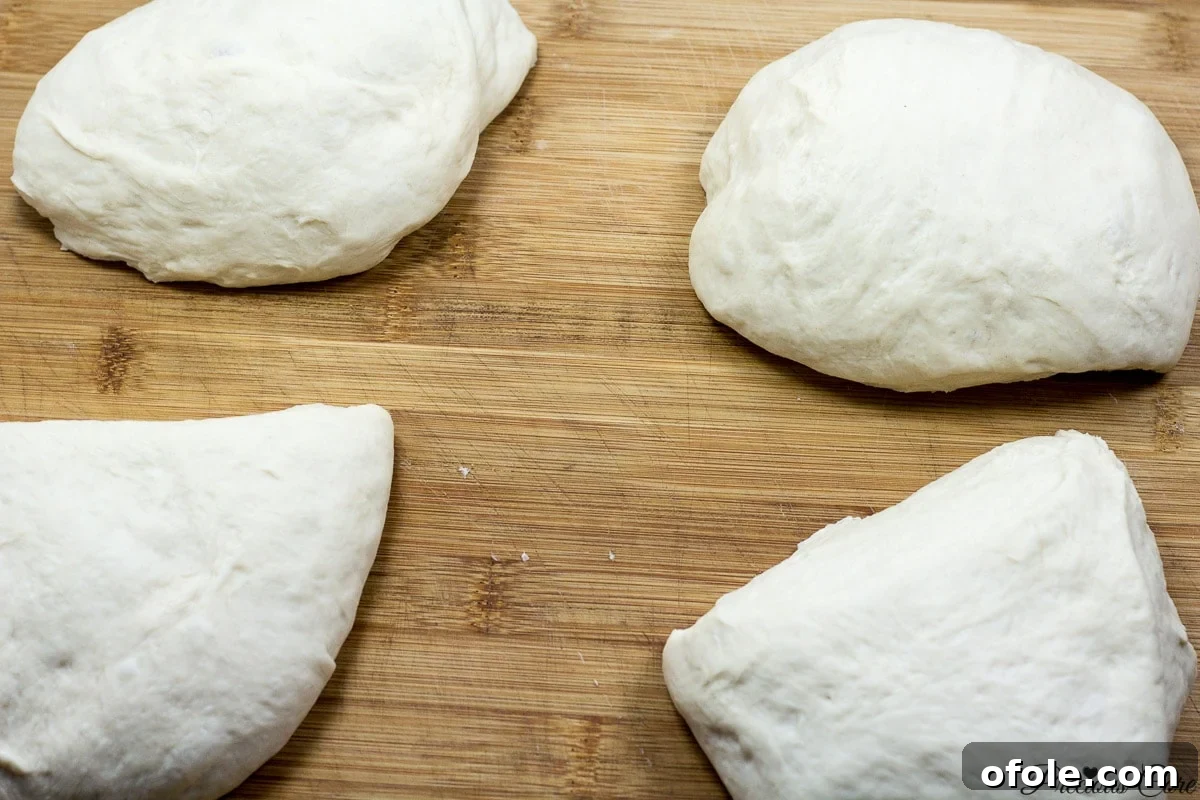
5. Divide the Dough: Using a sharp knife or a dough scraper, cut the dough into four equal pieces. This recipe yields four generous loaves. Ensuring equal portions helps with even baking.
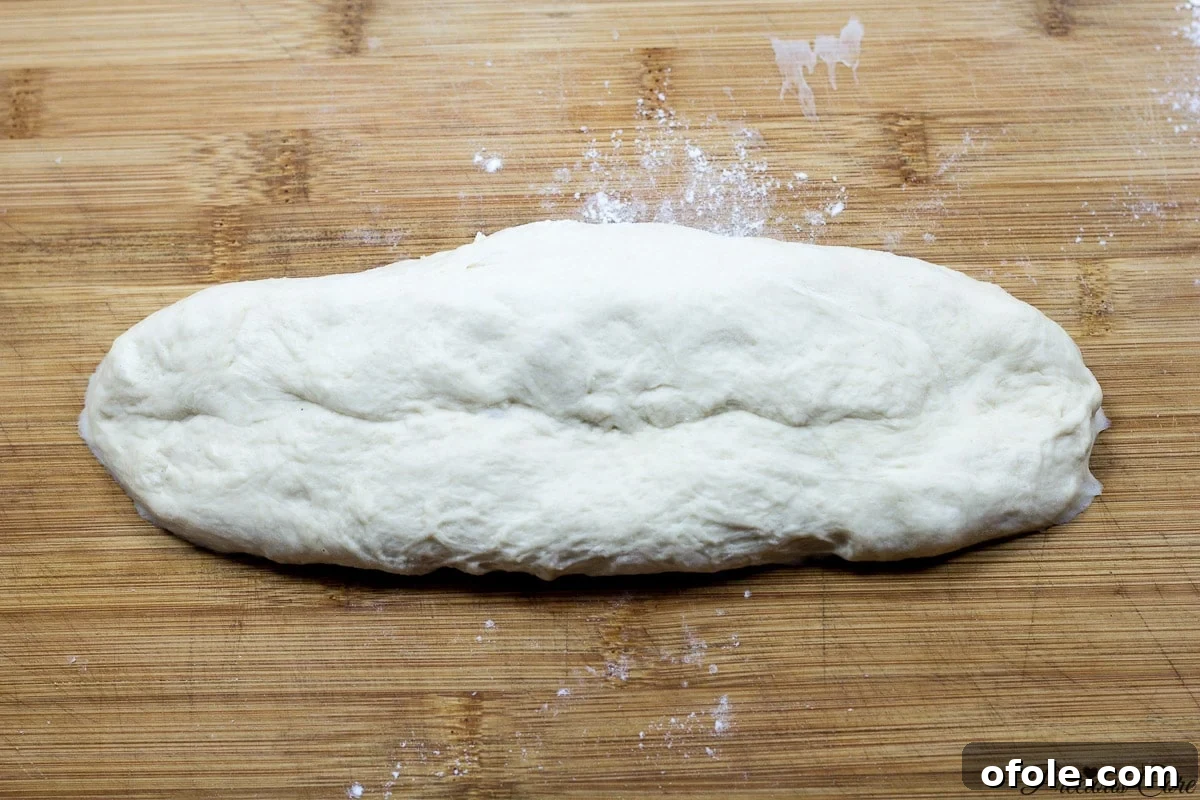
6. Shape the Loaves: Take one piece of dough and gently flatten it into a rectangle. Roll it tightly into a log, pinching the seam closed firmly. Taper the ends slightly to create the classic baguette shape. Repeat with the remaining three pieces of dough. The goal is to create tension in the surface of the dough, which helps with a good rise and a crisp crust.
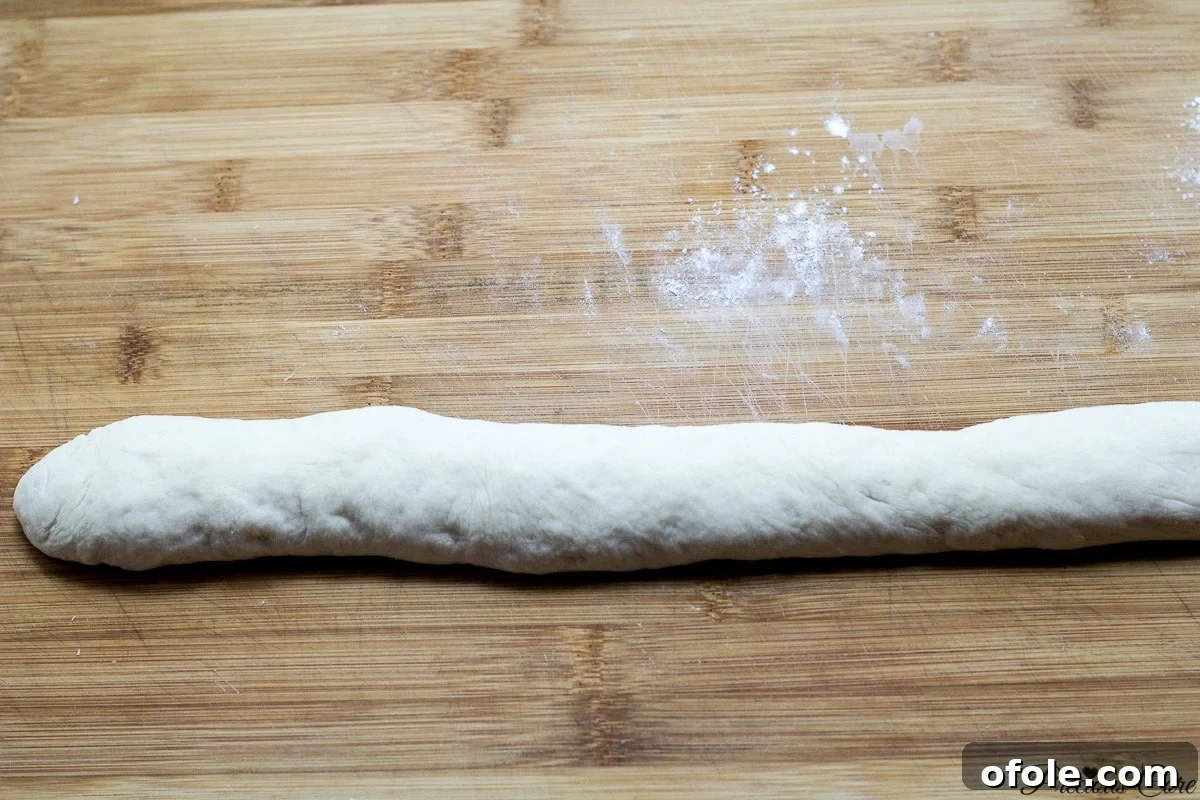
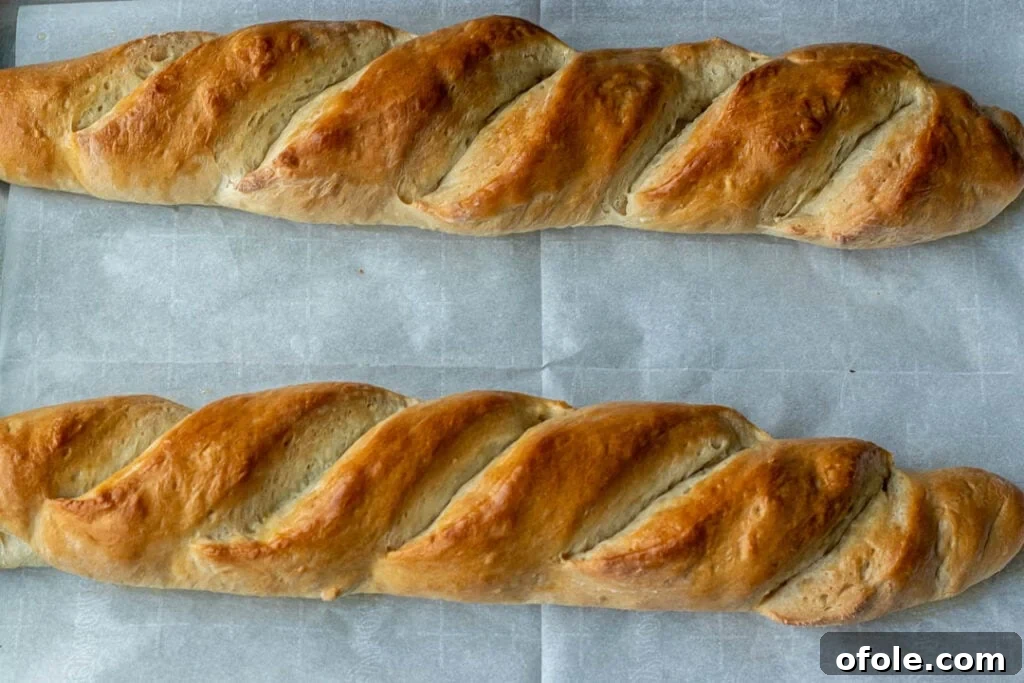
7. Score the Loaves: Once your loaves are shaped, use a very sharp knife, a razor blade, or a bread lame to make 5-8 diagonal slashes across the top of each loaf. These slashes should be about half an inch deep. Scoring isn’t just for aesthetics; it allows the bread to expand properly in the oven, preventing it from tearing unevenly and contributing to that iconic crust.
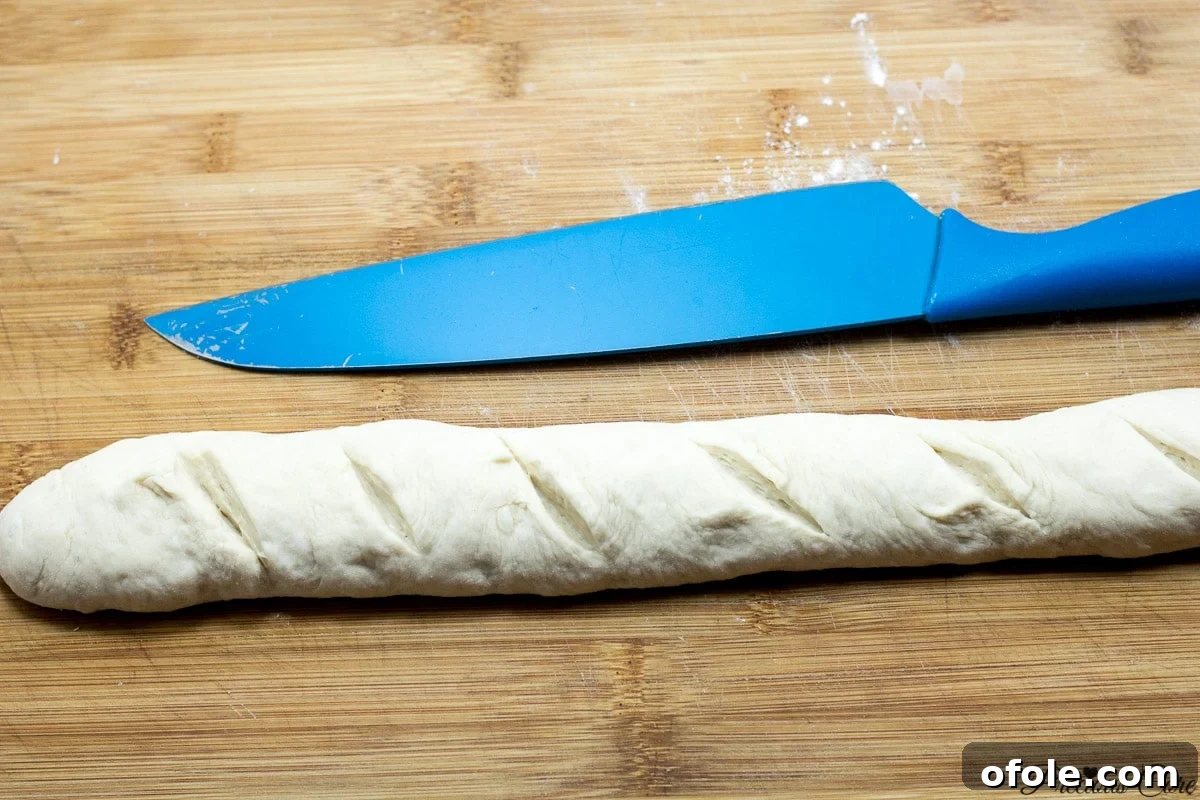
You have the flexibility to make your bread as long or as short as you prefer. I personally use a long baking sheet (approximately 17 inches) which allows for beautifully elongated loaves.
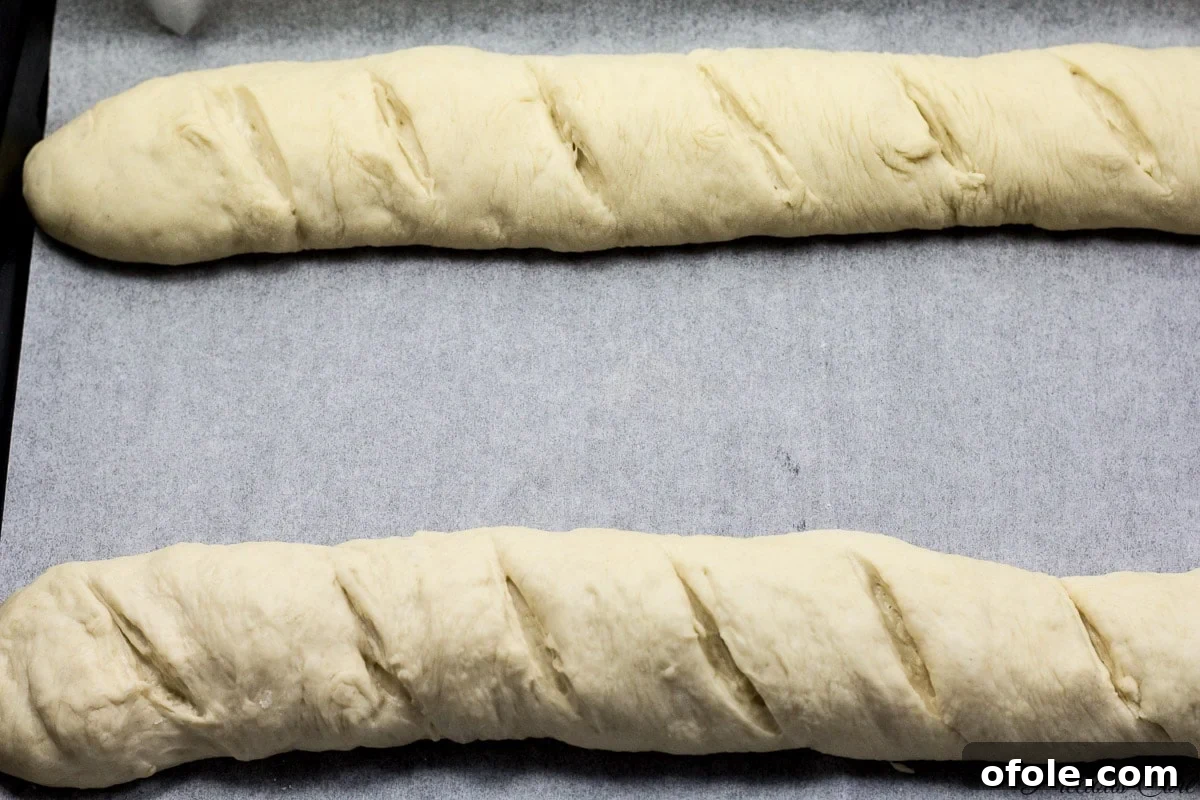
Alternatively, if you have shorter baking sheets, you can easily adjust the length of your loaves to fit.
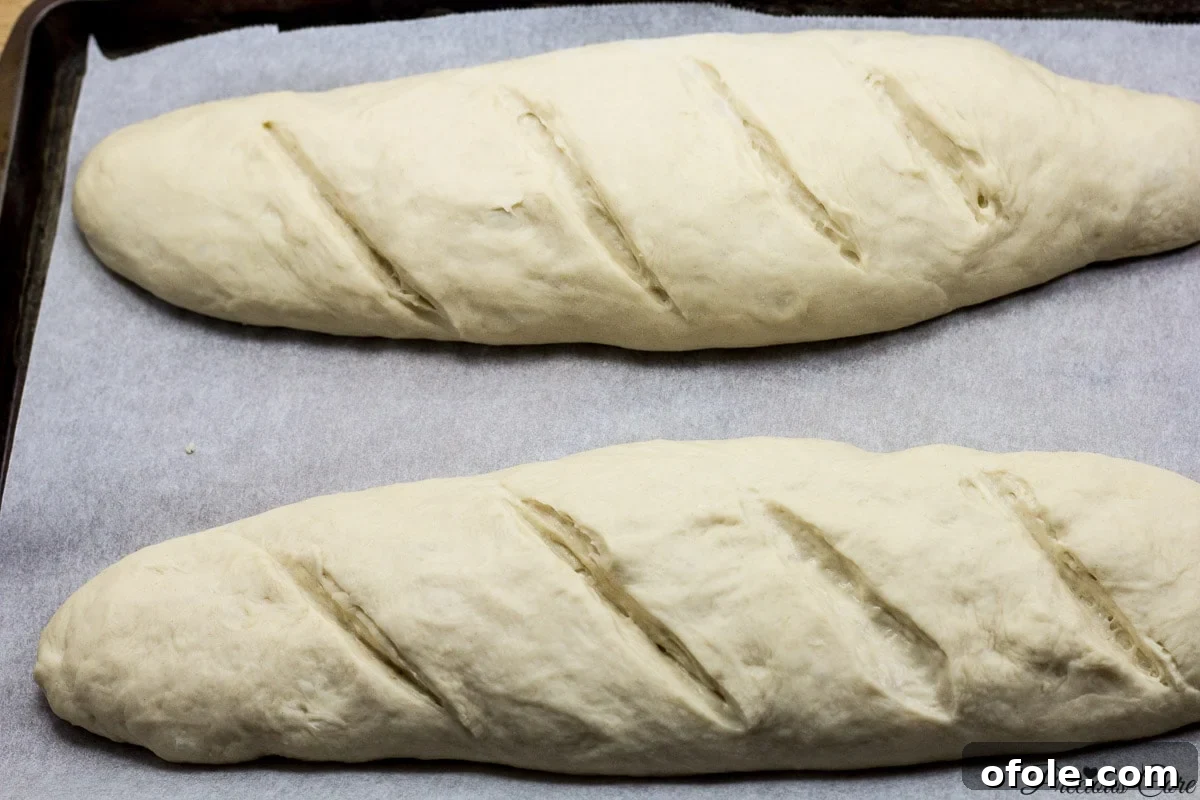
8. Second Rise (Proofing): Carefully transfer the shaped and scored loaves to lightly greased or parchment-lined baking sheets/trays. Cover them loosely with plastic wrap or a clean kitchen towel and let them rise in a warm place for another 20-30 minutes. This is a crucial final rise, but be careful not to over-proof them, as they might lose their shape during baking. The dough should feel puffy and soft but still have some resistance when gently poked.
9. Bake to Golden Perfection: Preheat your oven to 350°F (180°C). For an extra-crispy crust, you can create a steamy environment in your oven. Place a shallow pan of hot water on the bottom rack of your oven while it preheats. Bake the loaves for about 25-30 minutes, or until they are beautifully golden brown, firm to the touch, and sound hollow when tapped on the bottom. The internal temperature should be around 200-210°F (93-99°C).
10. The Butter Finish: As soon as the loaves emerge from the oven, while they are still piping hot, generously brush them with some melted butter. This simple step adds an incredible richness, a beautiful sheen, and a wonderfully soft finish to the crust. It’s a game-changer!
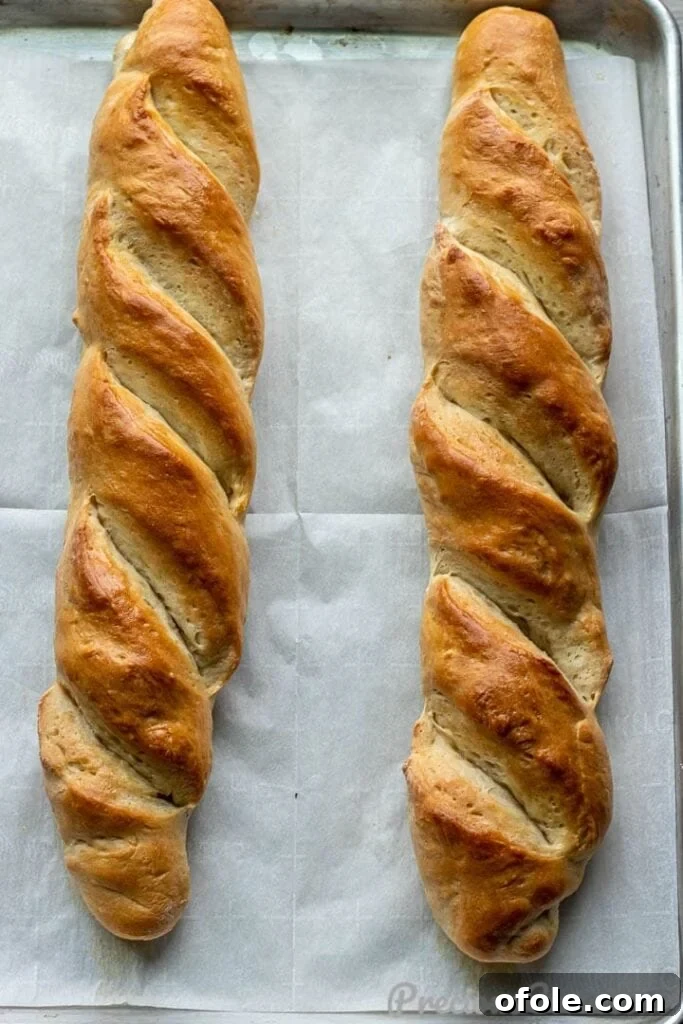
This homemade French bread recipe is an absolute must-try! Each loaf boasts a delightful salty taste perfectly balanced with a subtle hint of sweetness, resulting in a truly delectable bread. And yes, I wholeheartedly devoured some with my African meatballs – a pairing I highly recommend!
For an equally divine experience, try a slice warm, generously slathered with good old butter. It’s phenomenal – simple perfection that speaks volumes about the joy of homemade baking.
Watch: Step-by-Step Guide to Making Homemade French Bread
Visual learners, rejoice! You can watch me walk you through the entire process of making this Easy Homemade French Bread in the video below. To stay updated with all my latest cooking videos and culinary adventures, remember to subscribe to my YouTube channel and hit that notification bell!
Explore More Homemade Bread Recipes
If you’ve enjoyed the journey of making this French bread, you’ll love exploring these other fantastic bread recipes from scratch. Expand your baking repertoire and fill your kitchen with even more delicious aromas!
- Easy Sandwich Bread
- Fluffy Dinner Rolls
- Soft & Delicious Milk Bread
- Simple Cornbread Without Buttermilk
- Homemade Shawarma Bread
If you try this delightful French bread recipe, please take a moment to leave a star rating below. Your feedback helps others discover and enjoy this recipe, and I absolutely love hearing from you! Thank you for your support!
Easy Homemade French Bread
Learn how to make amazing Homemade French Bread from scratch with this incredibly easy recipe. You’ll be amazed by the results!
Rate This Recipe
Print Recipe
Ingredients
- 2 1/2 cups warm water (105-115°F / 40-46°C)
- 4 1/2 teaspoons active dry yeast (or instant yeast)
- 1/4 cup granulated sugar (cane sugar or brown sugar also work)
- 1 tablespoon vegetable oil (or any neutral oil)
- 1 tablespoon salt
- 1 tablespoon butter (melted), for brushing bread after baking
- 6 cups all-purpose flour (plain flour) or bread flour (approximately 720g)
Instructions
- In a large bowl, combine the warm water, yeast, and sugar. If using active dry yeast, let it sit for 5-10 minutes until foamy. Then, add the salt, vegetable oil, and flour. Mix with a wooden spoon or a stand mixer (using a dough hook) until a shaggy dough forms.
- Transfer the dough to a lightly floured surface (if mixing by hand) and knead for about 5-7 minutes until smooth and elastic. If using a stand mixer, knead on medium-low speed for the same duration.
- Lightly oil a large bowl, place the dough in it, turning once to coat. Cover with plastic wrap or a clean kitchen towel and let it rise in a warm, draft-free place until doubled in size, about 1-2 hours.
- Gently punch down the risen dough to release air. Cut the dough into four equal parts. Shape each part into a long, tapered log (baguette shape), pinching the seam tightly closed.
- Place the shaped loaves on greased or parchment-lined baking sheets/trays. Using a sharp knife or a bread lame, make 5-8 diagonal slashes (about 1/2 inch deep) across the top of each loaf.
- Cover the loaves loosely and let them rise in a warm place for another 20-30 minutes. Do not over-proof, or they may lose their shape.
- Preheat your oven to 350°F (180°C). Bake the loaves for about 25-30 minutes, or until they are golden brown and sound hollow when tapped.
- As soon as the loaves are removed from the oven, brush them generously with melted butter. Allow to cool slightly on a wire rack before slicing and serving.
Notes
- To create a perfectly warm environment for dough rising, you can briefly turn your oven on to its lowest setting (around 110°F or 43°C), then turn it OFF. Place your covered dough inside. This method consistently works wonders!
- Nutrition information provided is an estimate and assumes that one loaf of bread yields 4 servings.
Nutrition
Calories: 200kcal