
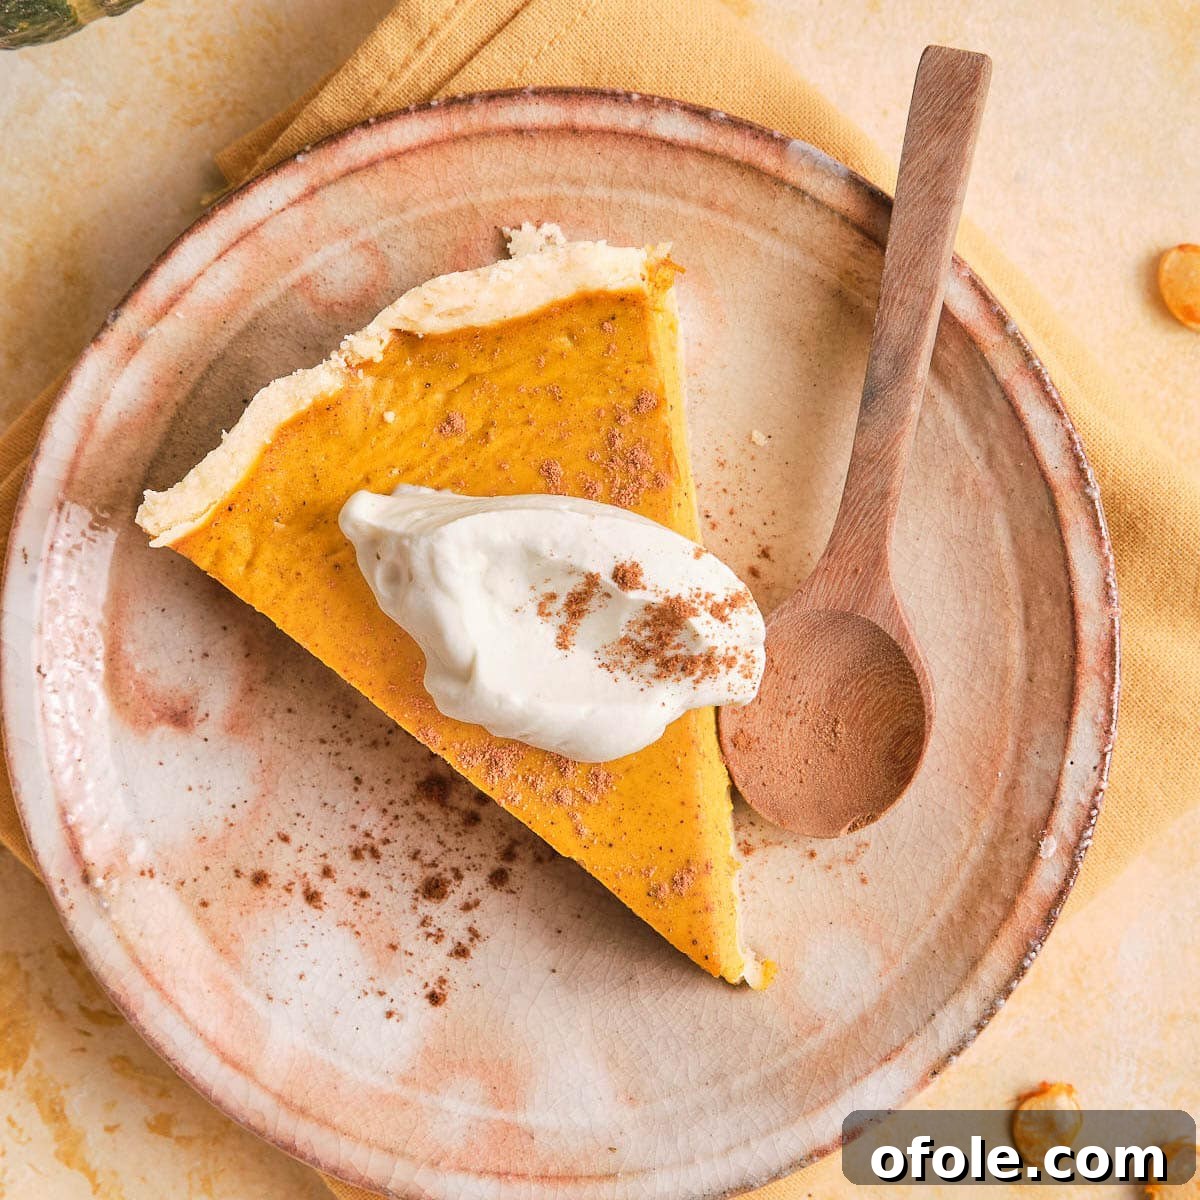
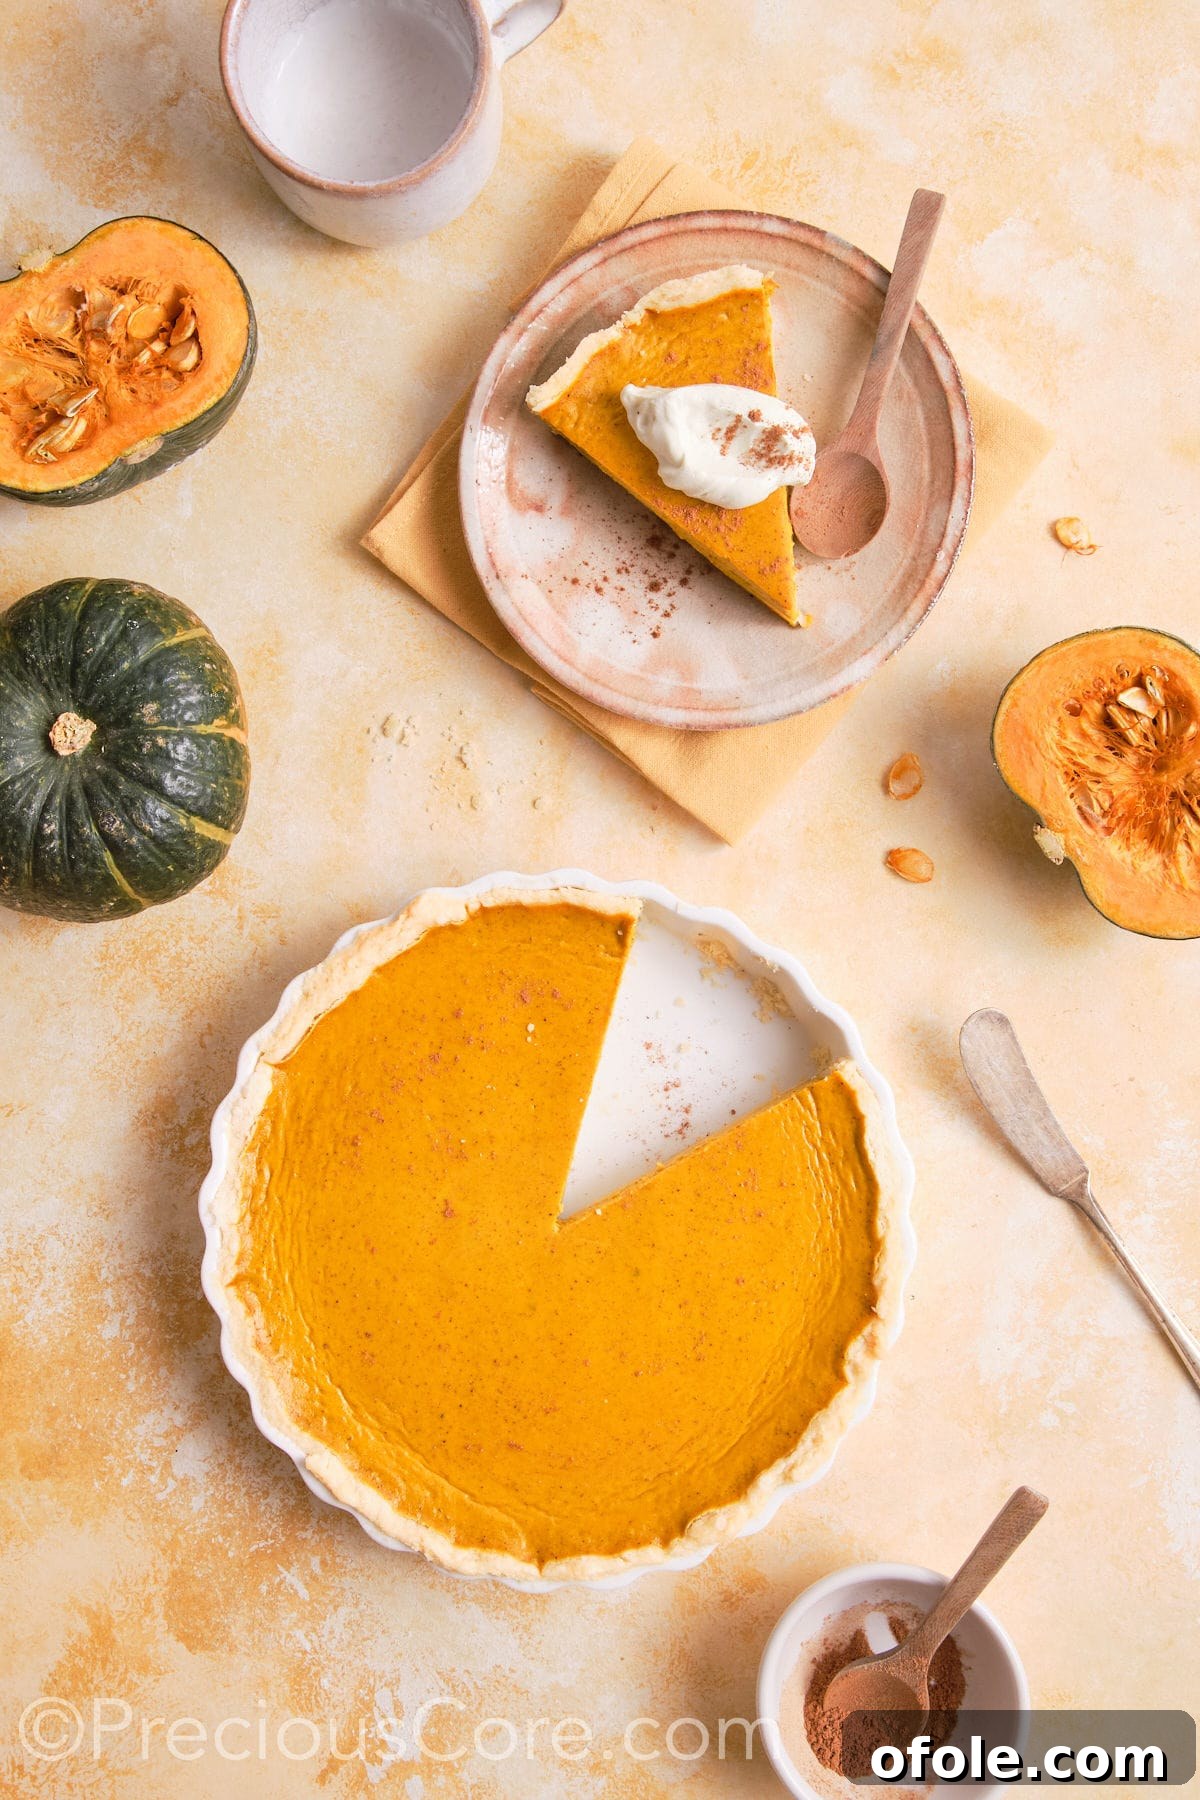
Craving that quintessential taste of autumn, the comforting aroma of a freshly baked pumpkin pie? Many classic pumpkin pie recipes call for evaporated milk, but what if you’ve forgotten it at the grocery store, or simply prefer to avoid it? Fear not! This recipe unveils the secret to making the most irresistibly creamy, perfectly spiced, and utterly delicious pumpkin pie without evaporated milk. It’s a delightful fall classic that delivers all the rich flavor and smooth texture you adore, proving that a forgotten ingredient doesn’t have to derail your baking plans.
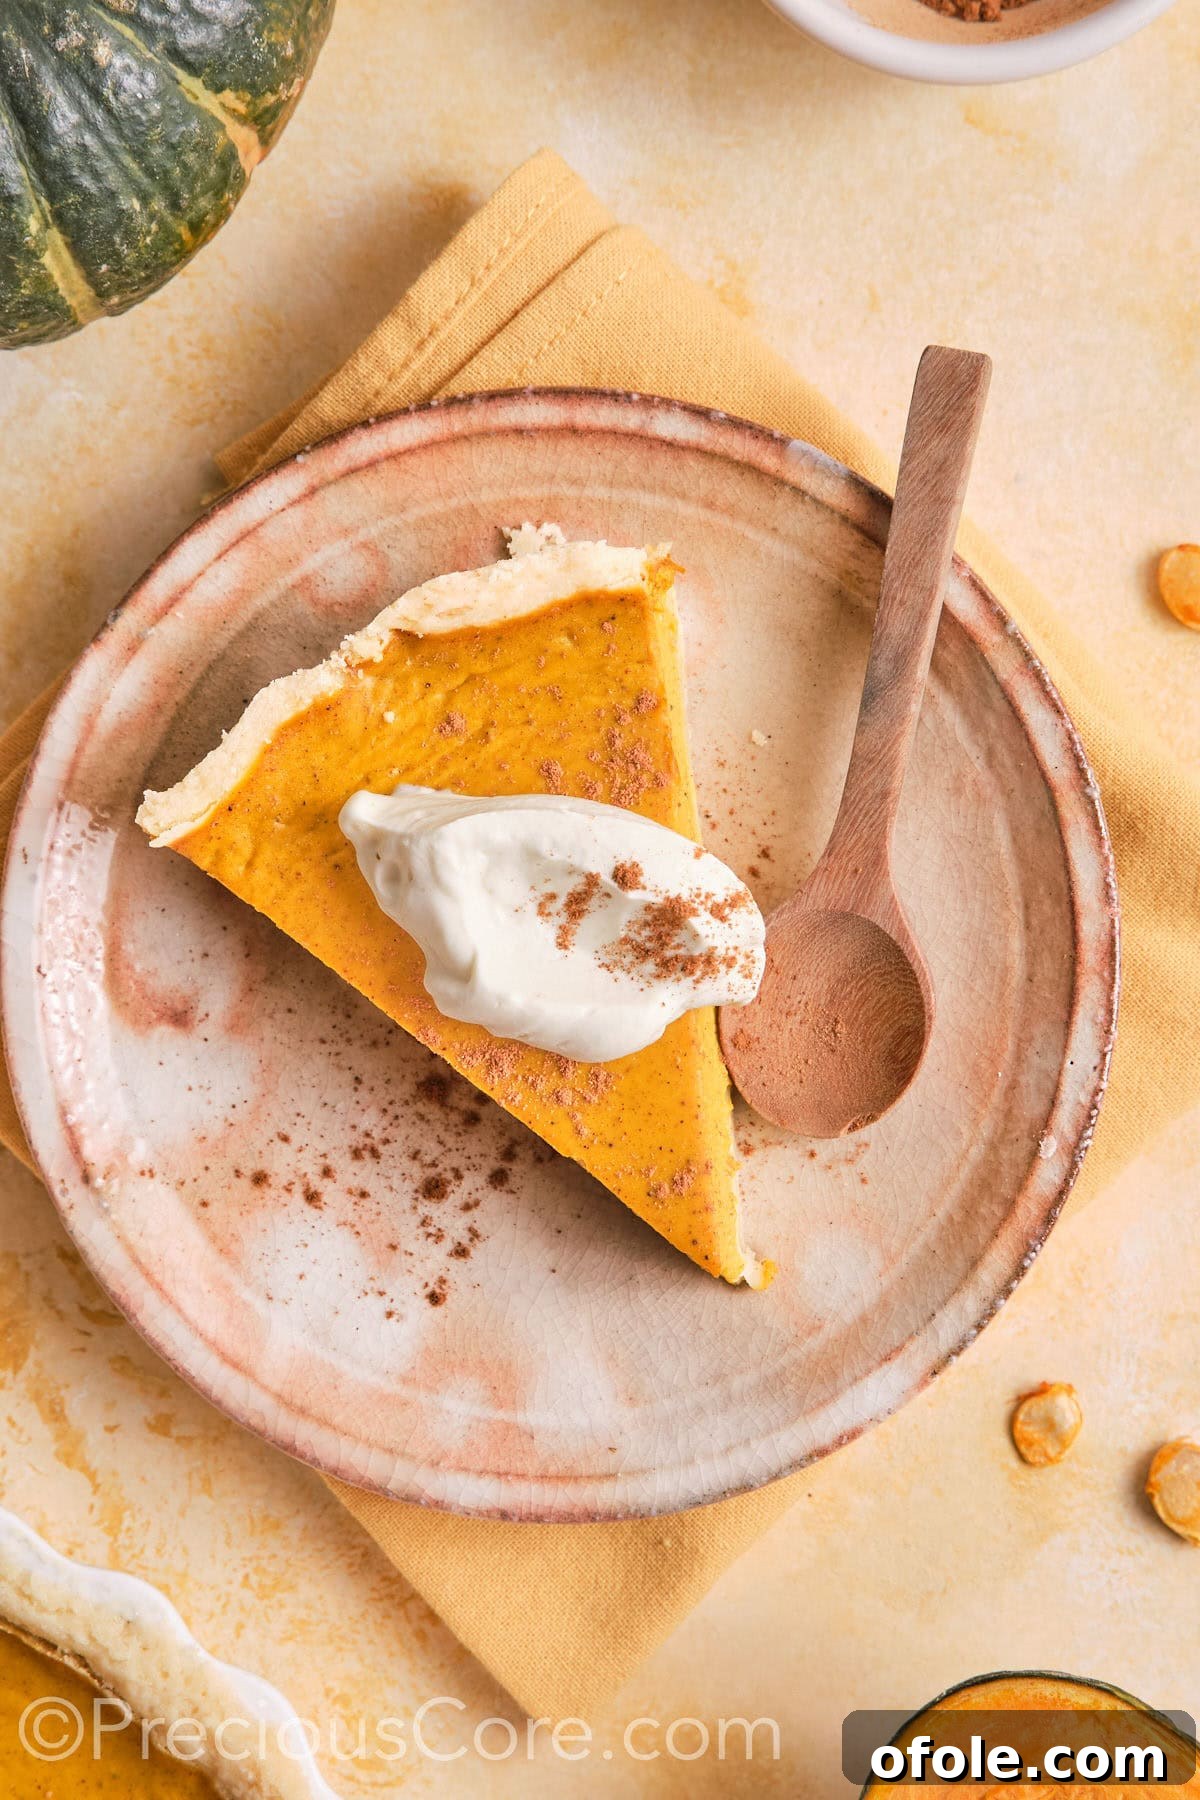
This easy-to-follow recipe is thoughtfully designed for bakers of all skill levels, especially beginners. If the thought of making a traditional pumpkin pie from scratch has always felt daunting, prepare to be pleasantly surprised by its straightforward simplicity. You’ll achieve a spectacular homemade dessert with minimal fuss, making it an ideal choice for busy holiday preparations or a relaxing weekend bake.
As the leaves change and the air turns crisp, there’s nothing quite like indulging in pumpkin-infused treats. If you’re eager to explore more delightful pumpkin recipes this fall, be sure to try your hand at my pumpkin spice doughnuts for a cozy morning bite, or whip up a batch of pumpkin chocolate chip pancakes for a festive breakfast. For an extra special dessert, you can also bake an easy pumpkin roll cake or a truly heavenly pumpkin cake with cream cheese frosting, each guaranteed to bring smiles and warmth to your table.
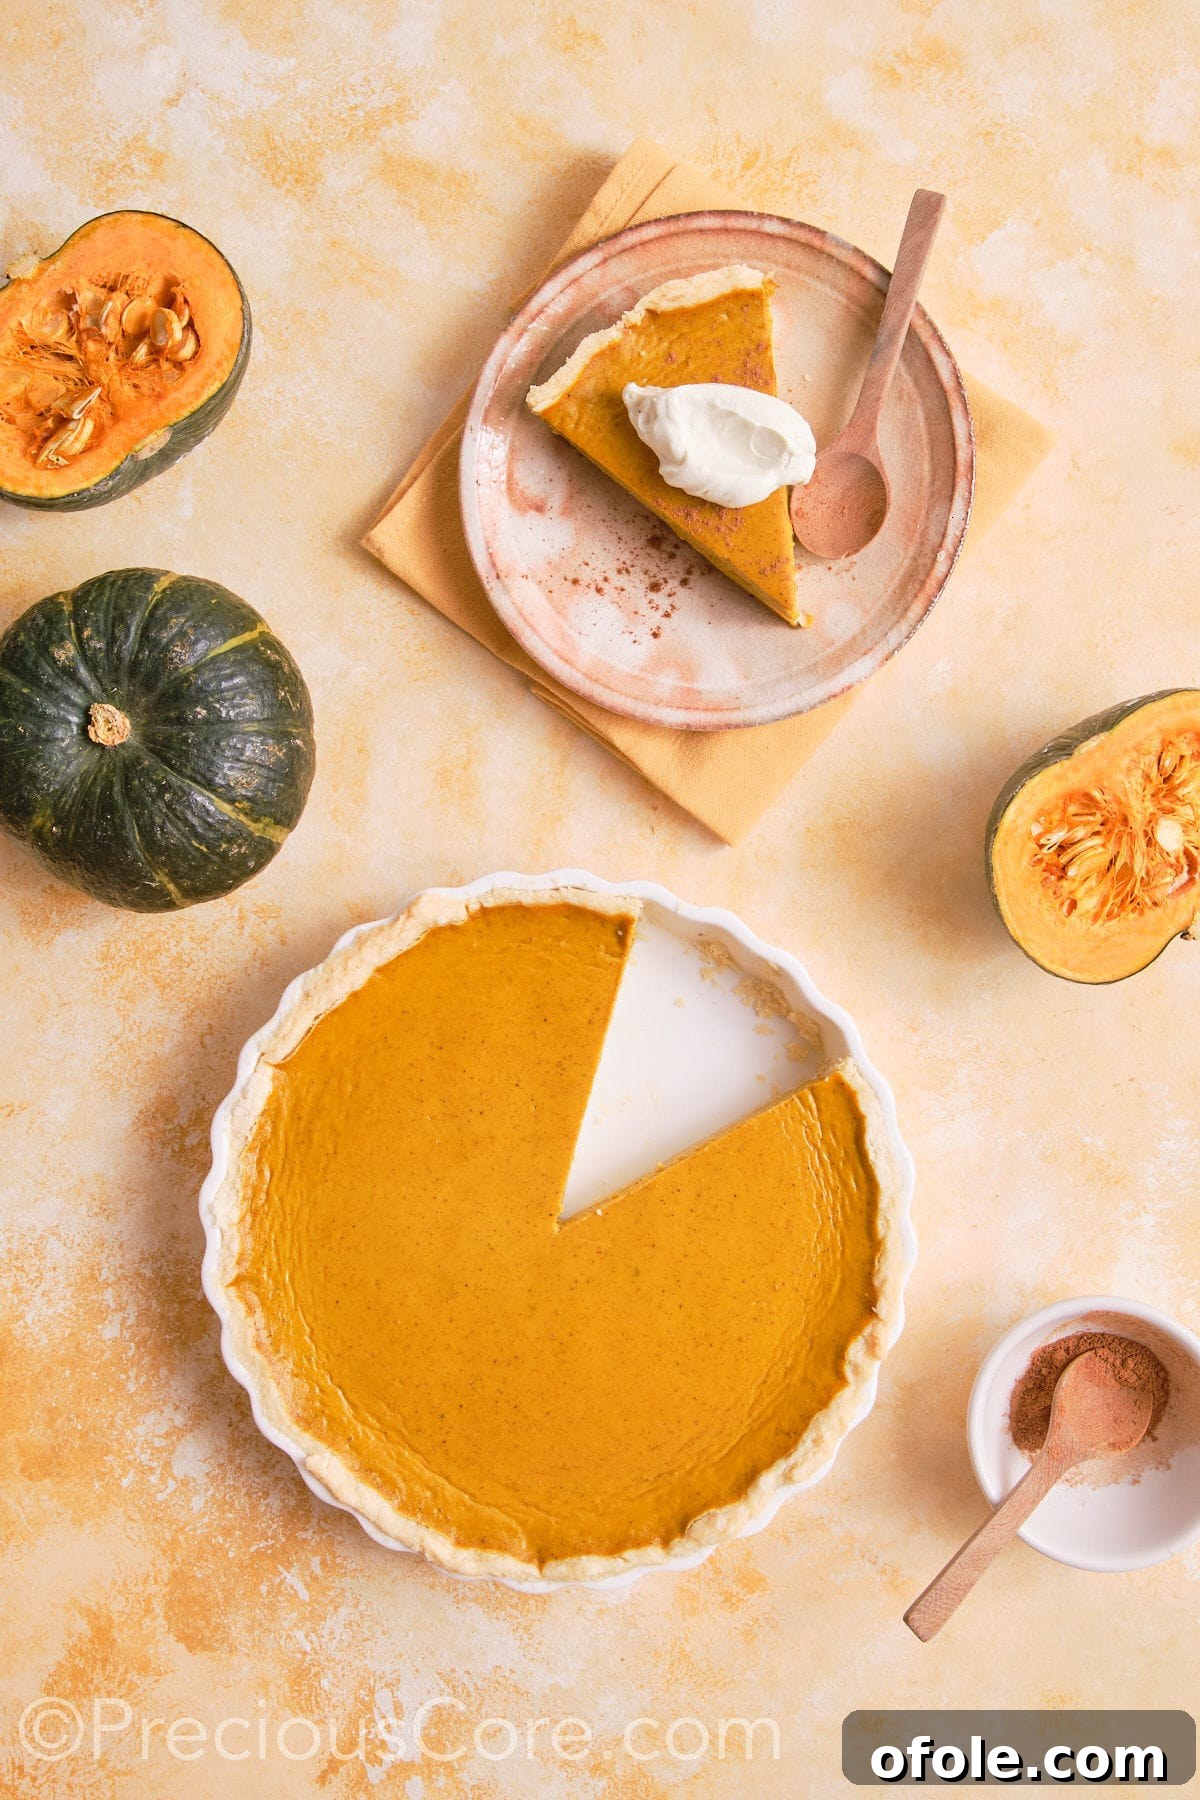
Why You’ll Adore This Easy Pumpkin Pie Recipe
This recipe isn’t just about making pumpkin pie; it’s about making a stress-free, incredibly delicious pumpkin pie that you’ll want to bake year after year. Here’s why this particular recipe stands out:
- Effortlessly Quick and Simple: Forget complicated steps or lengthy preparation. This recipe requires only about 20 minutes of active kitchen time. There’s no need for pre-baking your pie crust (also known as blind baking) or fumbling with pie weights, saving you precious time and effort. It’s designed to be straightforward, allowing even novice bakers to achieve professional-looking results.
- The Ultimate Fall and Thanksgiving Dessert: Pumpkin pie is synonymous with autumn gatherings and Thanksgiving feasts. When you’re entertaining guests and need a reliable, crowd-pleasing dessert that doesn’t demand a lot of attention, this recipe is your go-to. Its rich flavors and comforting aroma perfectly capture the essence of the season, making it a beloved addition to any holiday table.
- A Superb Make-Ahead Option: Hosting a big dinner can be hectic. This pumpkin pie recipe is incredibly forgiving and can be prepared a day or two in advance. Baking it ahead of time allows the flavors to meld beautifully and frees you up to focus on other aspects of your meal. Simply bake, cool, and refrigerate until you’re ready to slice and serve, making your entertaining experience much smoother.
Essential Recipe Ingredients for Your Perfect Pie
Crafting a delectable pumpkin pie starts with high-quality ingredients. Each component in this recipe plays a crucial role in achieving that perfectly balanced flavor and luscious texture, especially since we’re skipping evaporated milk. Here’s a closer look at what you’ll need to create this fall masterpiece:
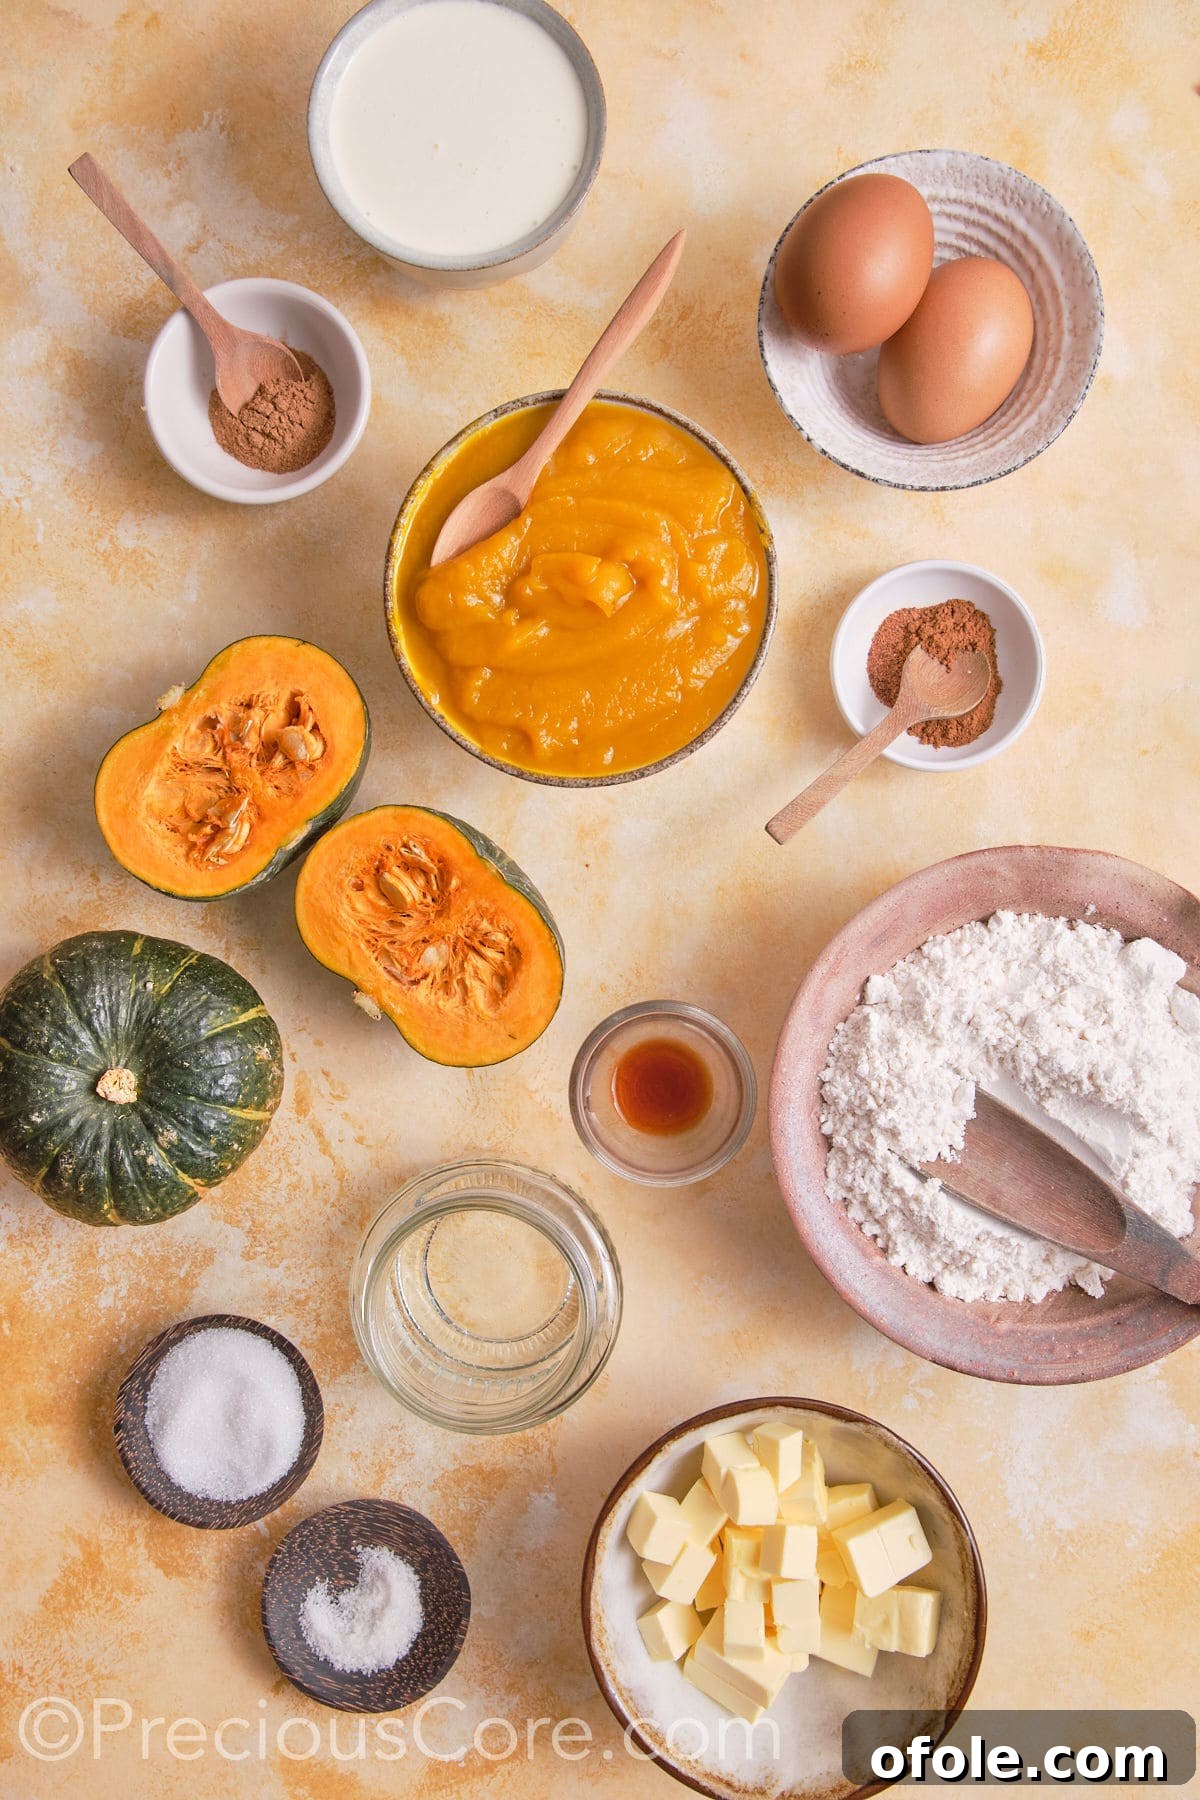
- All-Purpose Flour: The foundation of our flaky pie crust. Standard all-purpose flour works perfectly to create a tender yet sturdy base that holds up to the creamy filling. Its versatility makes it a kitchen staple for good reason.
- Sugar: We use a thoughtful blend of brown sugar and white granulated sugar. Brown sugar is particularly important for the filling, as it imparts a wonderful, deep caramel-like flavor and a hint of molasses, complementing the pumpkin beautifully. The white sugar in the crust adds just the right touch of sweetness.
- Unsalted Butter: Essential for a rich, flavorful, and flaky pie crust. Using unsalted butter allows you to control the overall saltiness of your pie. Ensure it’s very cold when working with the dough, as this is key to achieving that desirable flaky texture.
- Heavy Cream: This is our star ingredient, stepping in heroically to replace evaporated milk. Heavy cream provides unparalleled richness and a luxuriously smooth, thick consistency to the pumpkin filling. Its high fat content ensures the pie is incredibly creamy and satisfying, without the need for any canned milk.
- Pumpkin Puree: The heart of your pie! You’ll need about one standard can of pure pumpkin puree. It’s crucial to select pure pumpkin puree, not pumpkin pie filling, which often contains added sugars and spices. For an even fresher taste, you can easily make your own homemade pumpkin puree by roasting a pie pumpkin and blending it until smooth.
- Large Eggs: These are vital for setting the pumpkin filling, giving it that classic, custardy texture that defines a perfect pumpkin pie. Make sure your eggs are at room temperature before mixing them into the filling; this helps them emulsify more easily and bake more evenly, resulting in a smoother filling.
- Vanilla Extract: A splash of good quality vanilla extract enhances the warm notes of the spices and pumpkin, adding a subtle sweetness and a beautiful, aromatic depth to the overall flavor profile of the pie.
- Spices: A carefully chosen blend of warm spices is what gives pumpkin pie its signature autumnal taste. We use ground nutmeg, ground cinnamon, and a dedicated pumpkin pie spice blend to create a harmonious and fragrant filling that truly evokes the spirit of fall.
- Salt: A pinch of salt might seem minor, but it’s a critical flavor enhancer. It balances the sweetness in both the crust and the filling, bringing out the best in the pumpkin and spices. Sea salt is often preferred for its clean, pure flavor.
For the complete list of ingredients with precise measurements, please refer to the detailed recipe card at the bottom of this page.
Exciting Recipe Variations to Customize Your Pie
While this classic pumpkin pie recipe is perfect as is, feel free to get creative and customize it to your taste. Here are a few delightful variations to add an extra special touch to your homemade pie:
- Amplify the Spice: If you love a bolder, spicier kick in your pumpkin pie, consider adding a pinch of ground cloves, allspice, or even a tiny dash of freshly ground black pepper to the filling. These additions will deepen the warmth and complexity of the existing spice profile, creating a more intense flavor experience.
- Creative Topping Ideas: The right topping can elevate your pumpkin pie from delicious to unforgettable. Beyond classic whipped cream, try maple-sweetened whipped cream for an extra autumnal touch. Garnish with candied pecans, toasted walnuts, or a sprinkle of toasted shredded coconut for added texture and flavor. A drizzle of caramel sauce or a dusting of cocoa powder can also create a stunning presentation and delightful taste.
- Gluten-Free Adaptation: Making a gluten-free pumpkin pie is simpler than you think. Substitute the all-purpose flour in the crust with your favorite high-quality gluten-free all-purpose flour blend (look for one that is specifically designed for baking and pie crusts). Ensure all other ingredients are naturally gluten-free, and you’ll have a delicious pie that everyone can enjoy.
Smart Substitutions for Common Ingredients
Life in the kitchen sometimes calls for flexibility! If you find yourself missing an ingredient, don’t fret. Here are some reliable substitutions that will help you achieve a delicious pumpkin pie, even if your pantry isn’t fully stocked:
- Sweetener Alternatives: While brown and granulated sugar offer a classic profile, you can swap them out for other natural sweeteners in the filling. Maple syrup or honey can be used to replace the sugar, adding their own distinct depth and flavor that pairs wonderfully with pumpkin. Adjust the amount to your taste, keeping in mind that liquid sweeteners might slightly alter the filling’s consistency.
- Spice Alternatives: If you don’t have ground nutmeg or cinnamon on hand, or simply want to experiment with different flavor notes, a variety of other ground spices can work beautifully. Consider using ground cardamom for a unique, aromatic twist, ground cloves for a pungent, sweet-spicy kick, or ground ginger for its warm, zesty undertones. These spices share similar earthy qualities that complement pumpkin pie wonderfully.
- Heavy Cream Alternatives: Since heavy cream is our evaporated milk substitute, it’s good to have backups! If heavy cream isn’t available, half-and-half can be used, though it will result in a slightly less rich pie. For dairy-free options, full-fat coconut milk (from a can, chilled, and just use the thick cream at the top) or almond milk can also be used. Keep in mind that dairy-free alternatives may slightly alter the final texture and flavor, but they still yield a delightful pie.
How to Create Your Perfect Pumpkin Pie without Evaporated Milk
This recipe demystifies the process of making homemade pumpkin pie, ensuring a smooth and enjoyable baking experience. While I love the satisfaction of a homemade pie crust, using a store-bought crust is absolutely fine if you’re looking to save time. This method is incredibly simple and straightforward, and I’m confident it will quickly become your favorite pumpkin pie recipe!
To begin your journey to a delicious, creamy pumpkin pie without evaporated milk, start by preheating your oven to a robust 425°F (220°C). This initial high heat is crucial for setting the crust quickly. While the oven heats, take a moment to meticulously grease your pie dish with butter. This small step is vital to prevent the crust from sticking and ensures your pie releases easily for serving.
Crafting the Flaky Pie Crust
A good pumpkin pie starts with a fantastic crust. Here’s how to create a tender, flaky base:
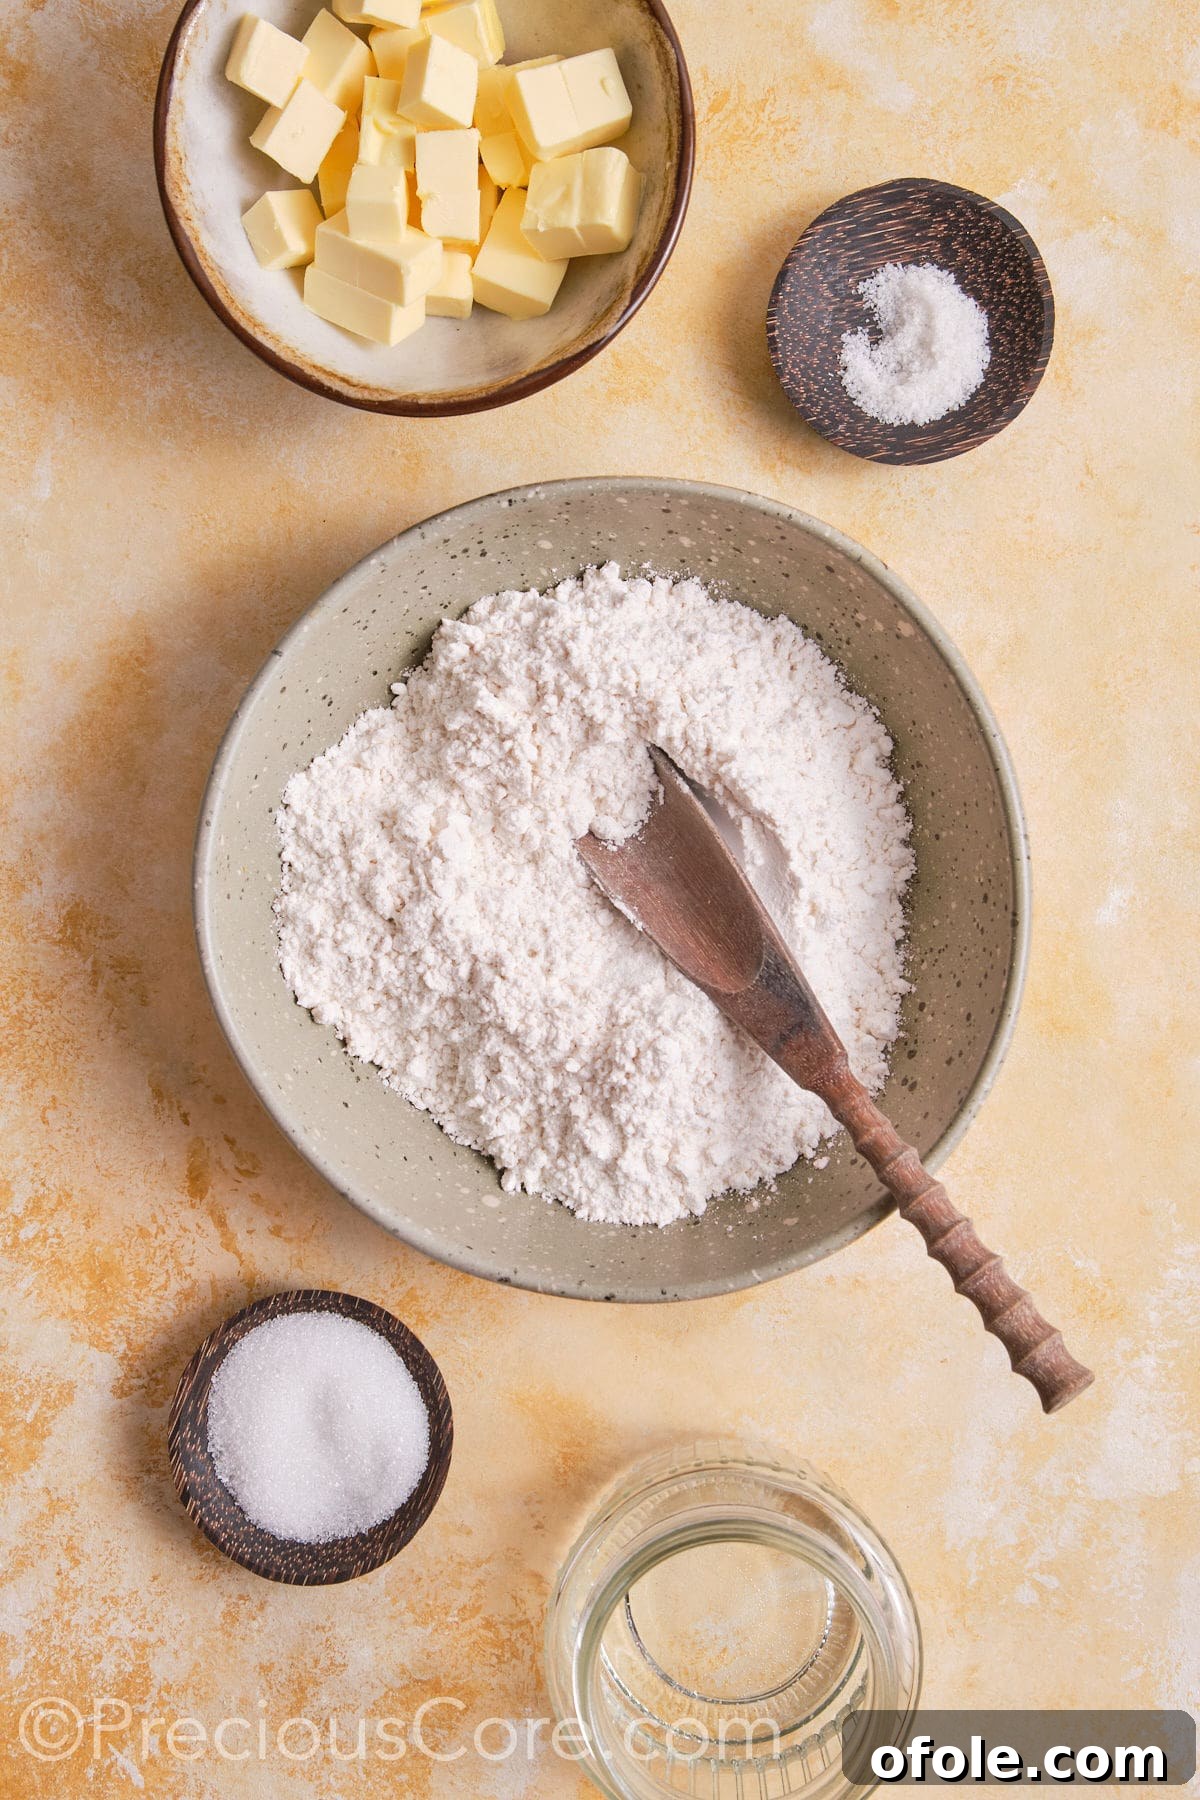
- Step 1: Prepare Your Dry Ingredients. In a spacious mixing bowl, combine the all-purpose flour, sea salt, and granulated sugar. Use a whisk to gently aerate and thoroughly combine these ingredients. Alternatively, you can use your hands to ensure an even distribution.
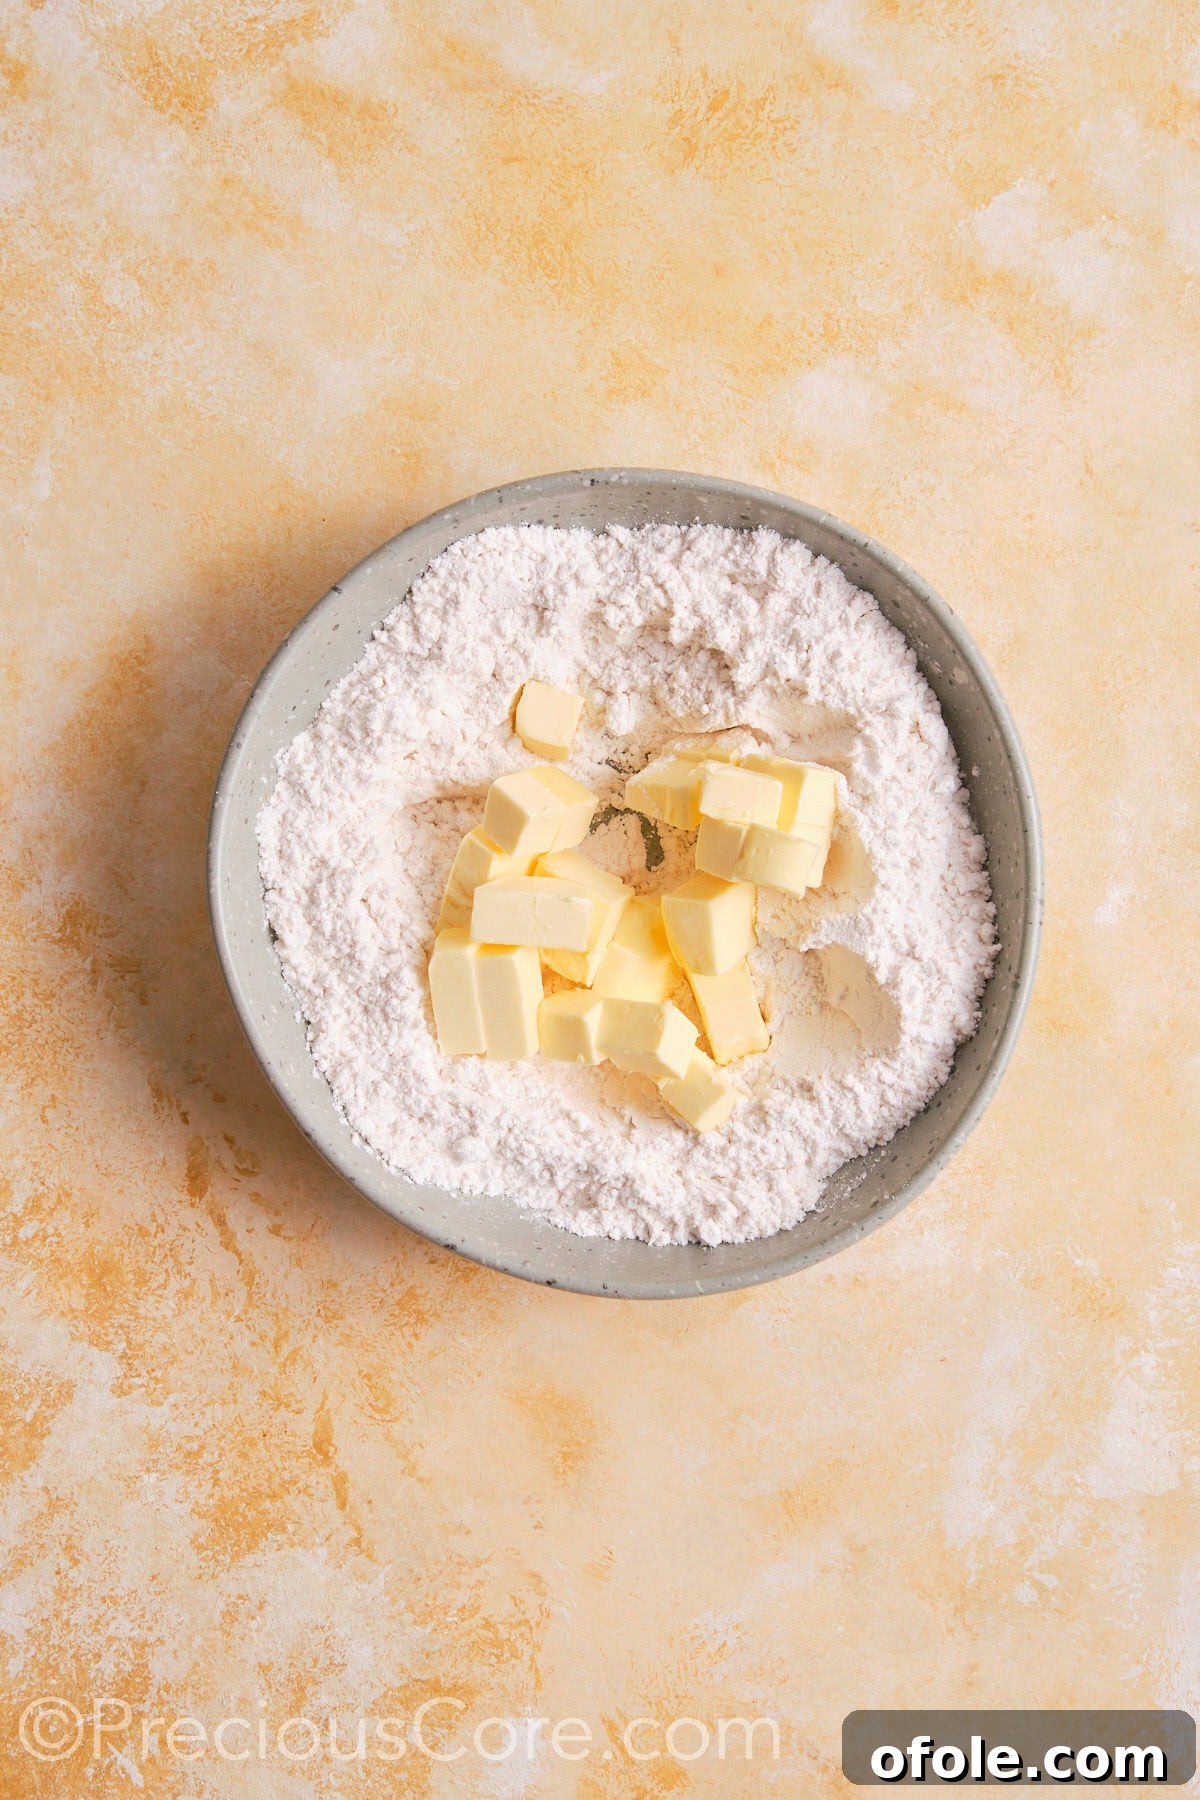
- Step 2: Incorporate the Cold Butter. Take your chilled unsalted butter and chop it into small, uniform pieces. Add these cold butter pieces to your dry flour mixture. The key here is to keep the butter as cold as possible. Using your fingertips or a pastry cutter, quickly work the butter into the flour until the mixture resembles coarse crumbs, with some pea-sized pieces of butter remaining. Avoid overworking, as this can lead to a tough crust.
- Step 3: Form the Dough. Gradually add ice-cold water, one tablespoon at a time, mixing gently after each addition. The dough will start to come together. Stop mixing as soon as it forms a cohesive ball. Overmixing at this stage can develop too much gluten, resulting in a tough crust. The goal is just to bind the ingredients.
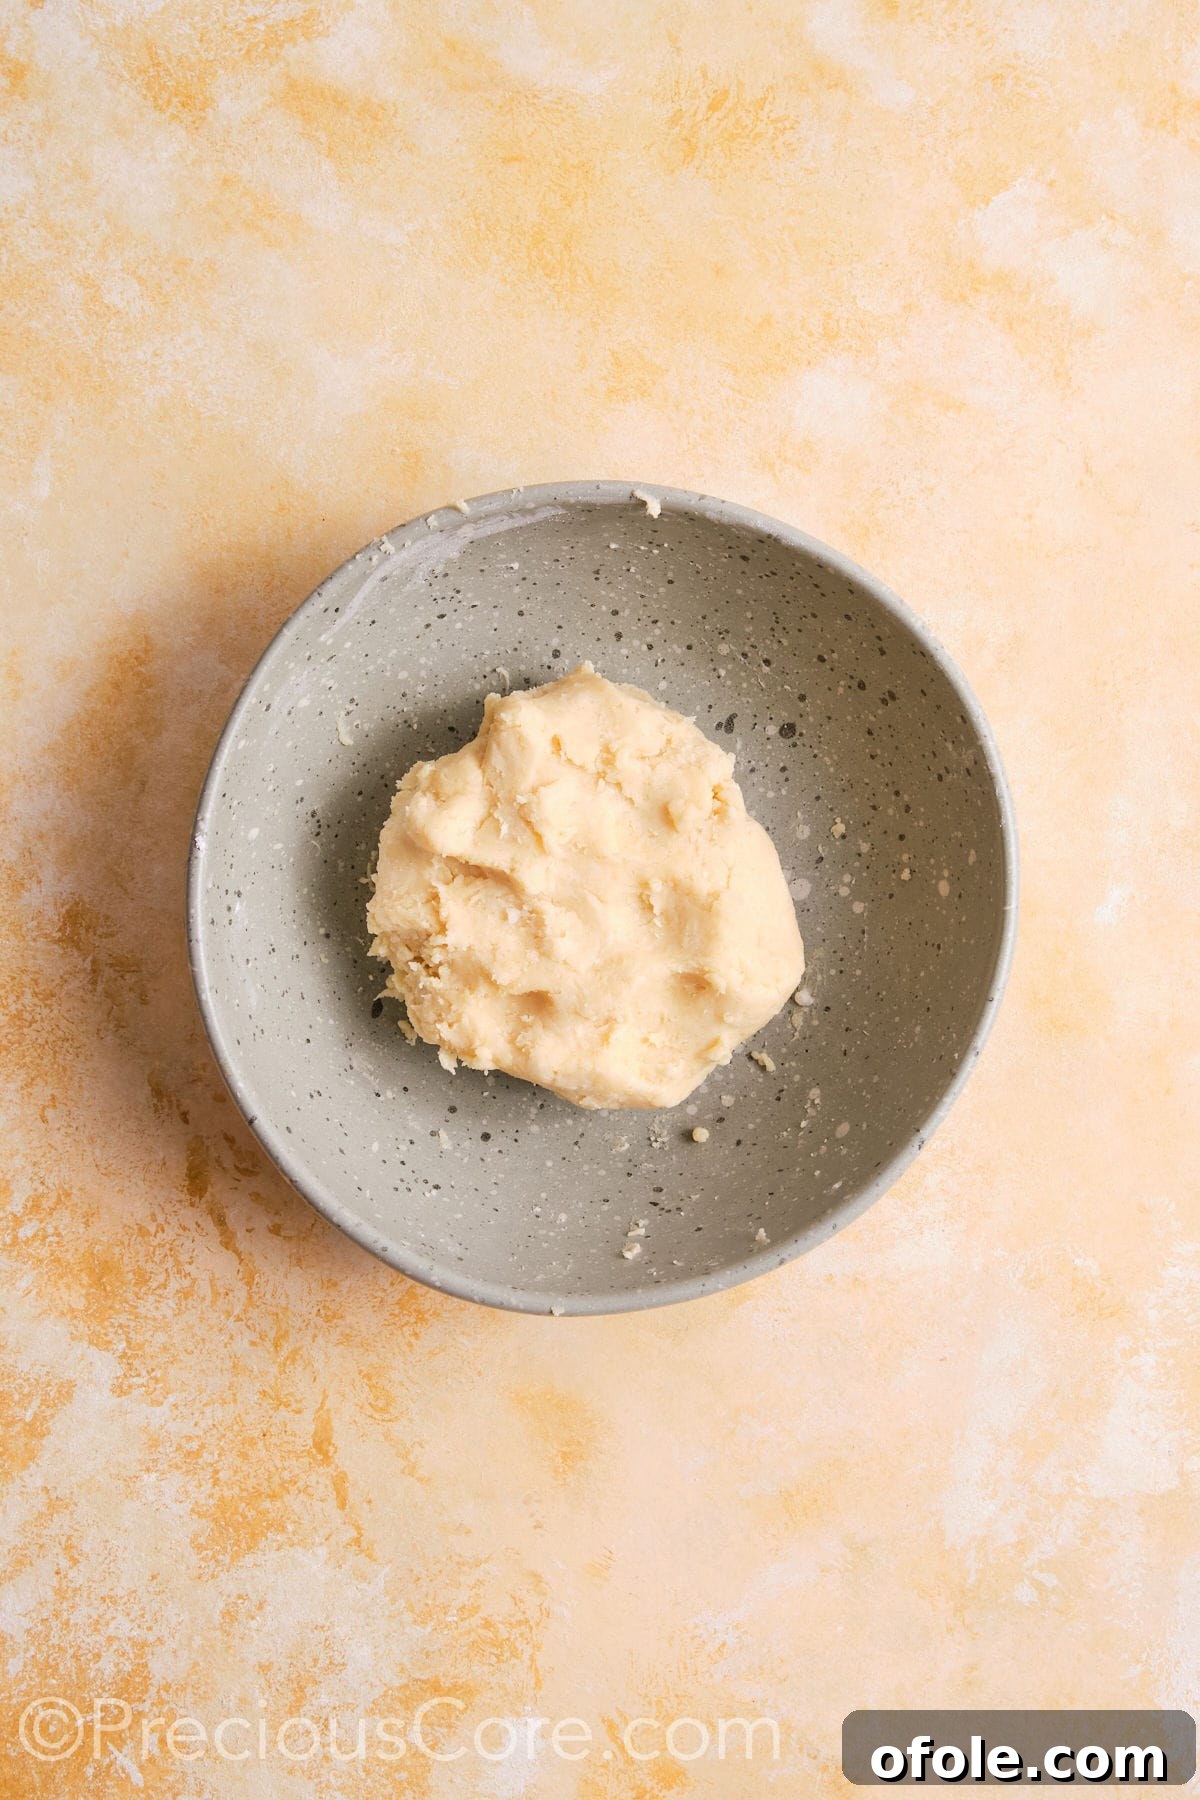
- Step 4: Chill for Perfection. Gently shape the dough into a flat disc or ball. Wrap it tightly in plastic wrap to prevent it from drying out. Transfer the wrapped dough to the refrigerator and chill for at least one hour. For best results, or if you’re preparing ahead, you can even leave it in the fridge overnight. Chilling allows the gluten to relax and the butter to firm up, contributing to a wonderfully flaky and easy-to-roll crust.
Preparing the Rich and Creamy Filling
This is where the magic happens, creating a filling that’s rich and smooth without evaporated milk:
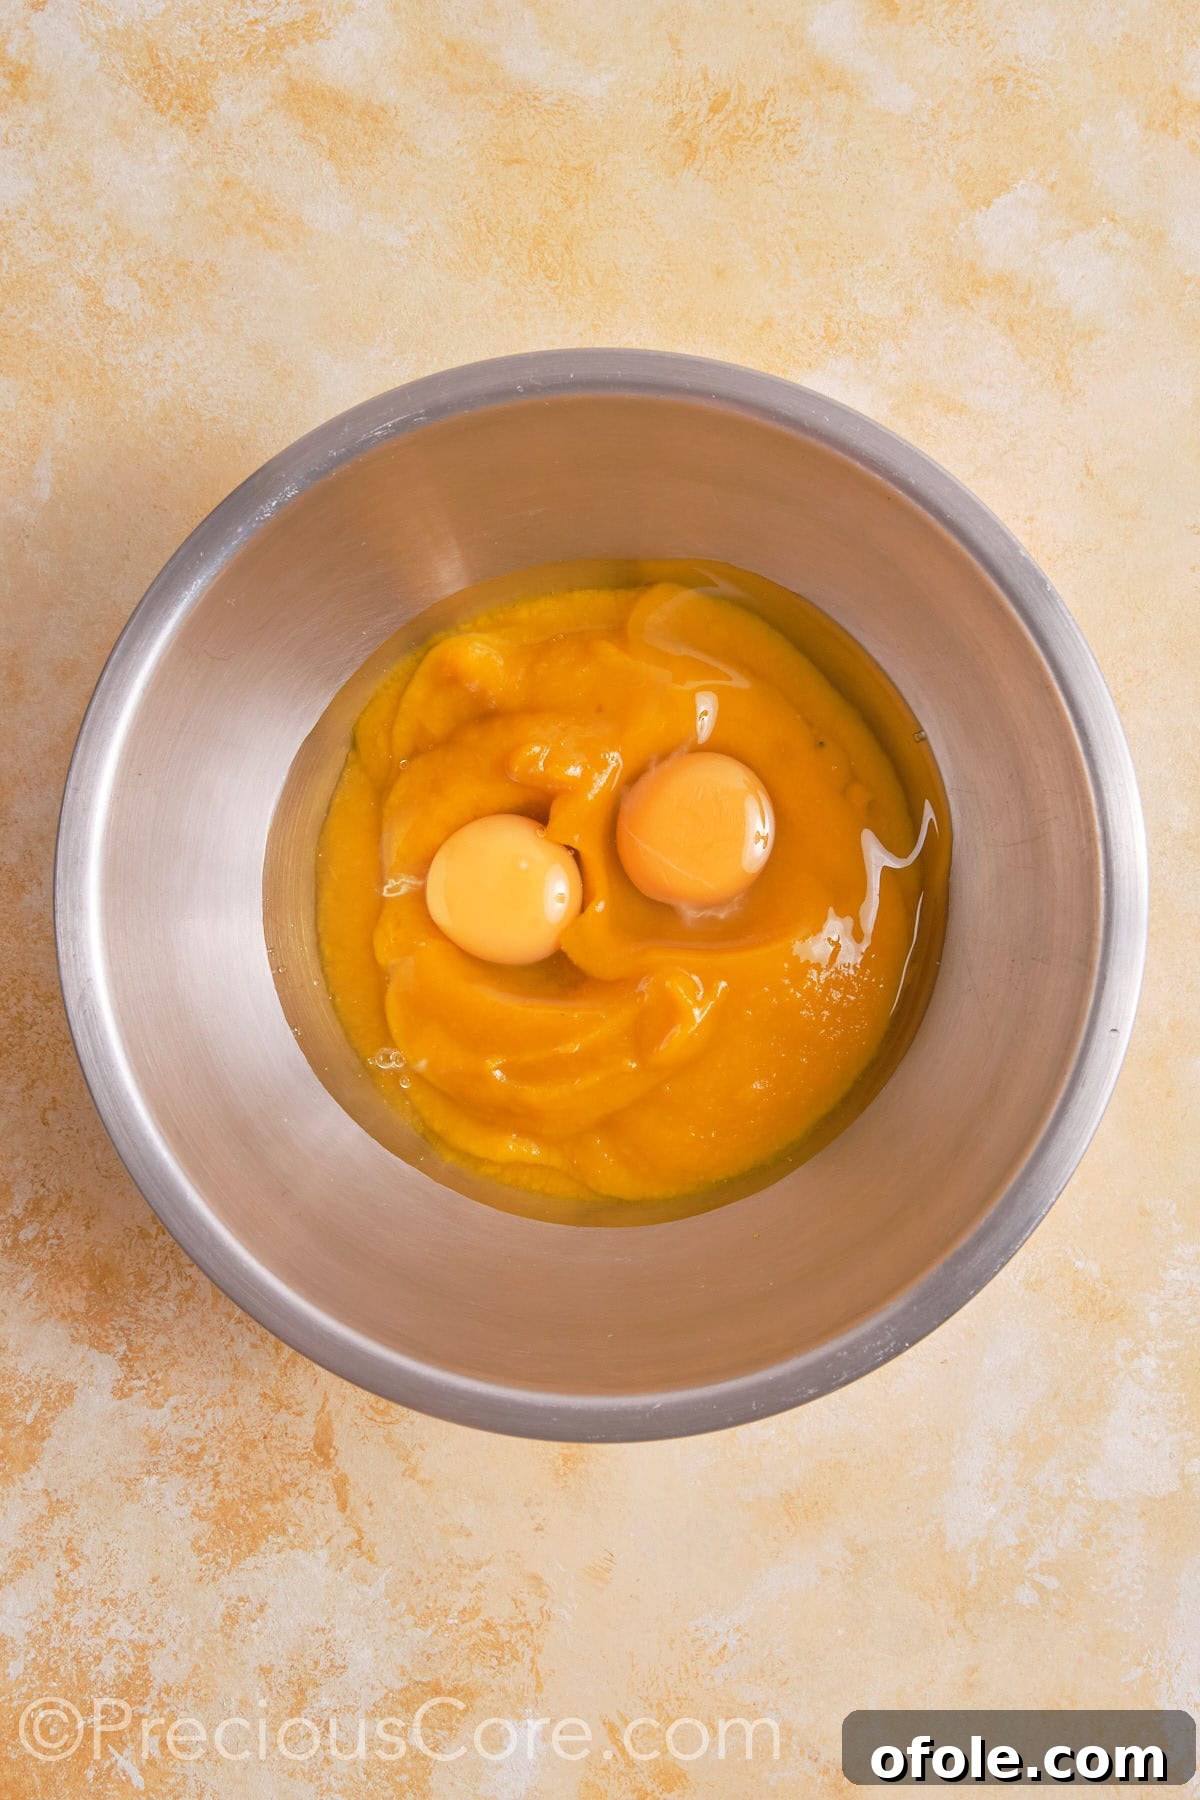
- Step 1: Combine Eggs and Pumpkin Puree. In a large mixing bowl, crack the large eggs and add the pure pumpkin puree. Whisk these two ingredients together thoroughly until they are perfectly combined and smooth. This creates the foundational base for your filling.
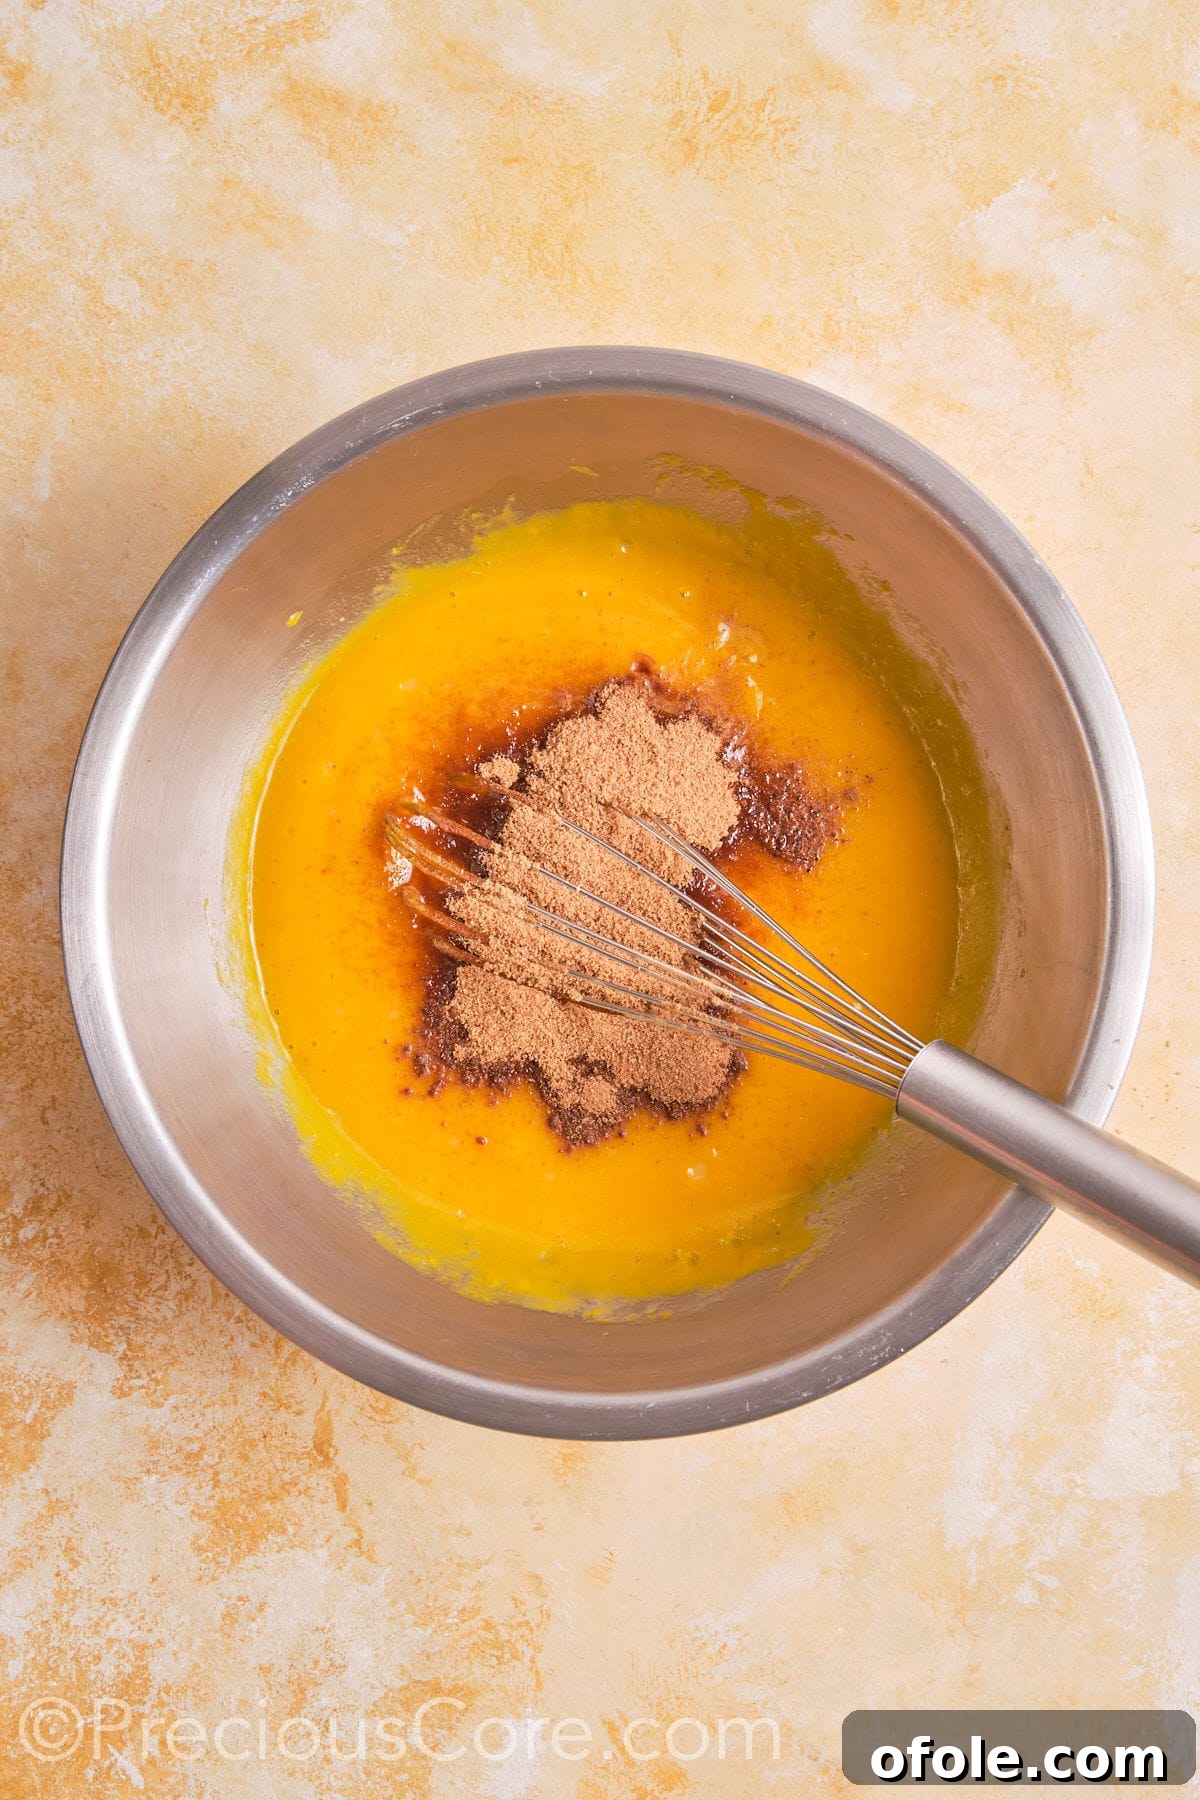
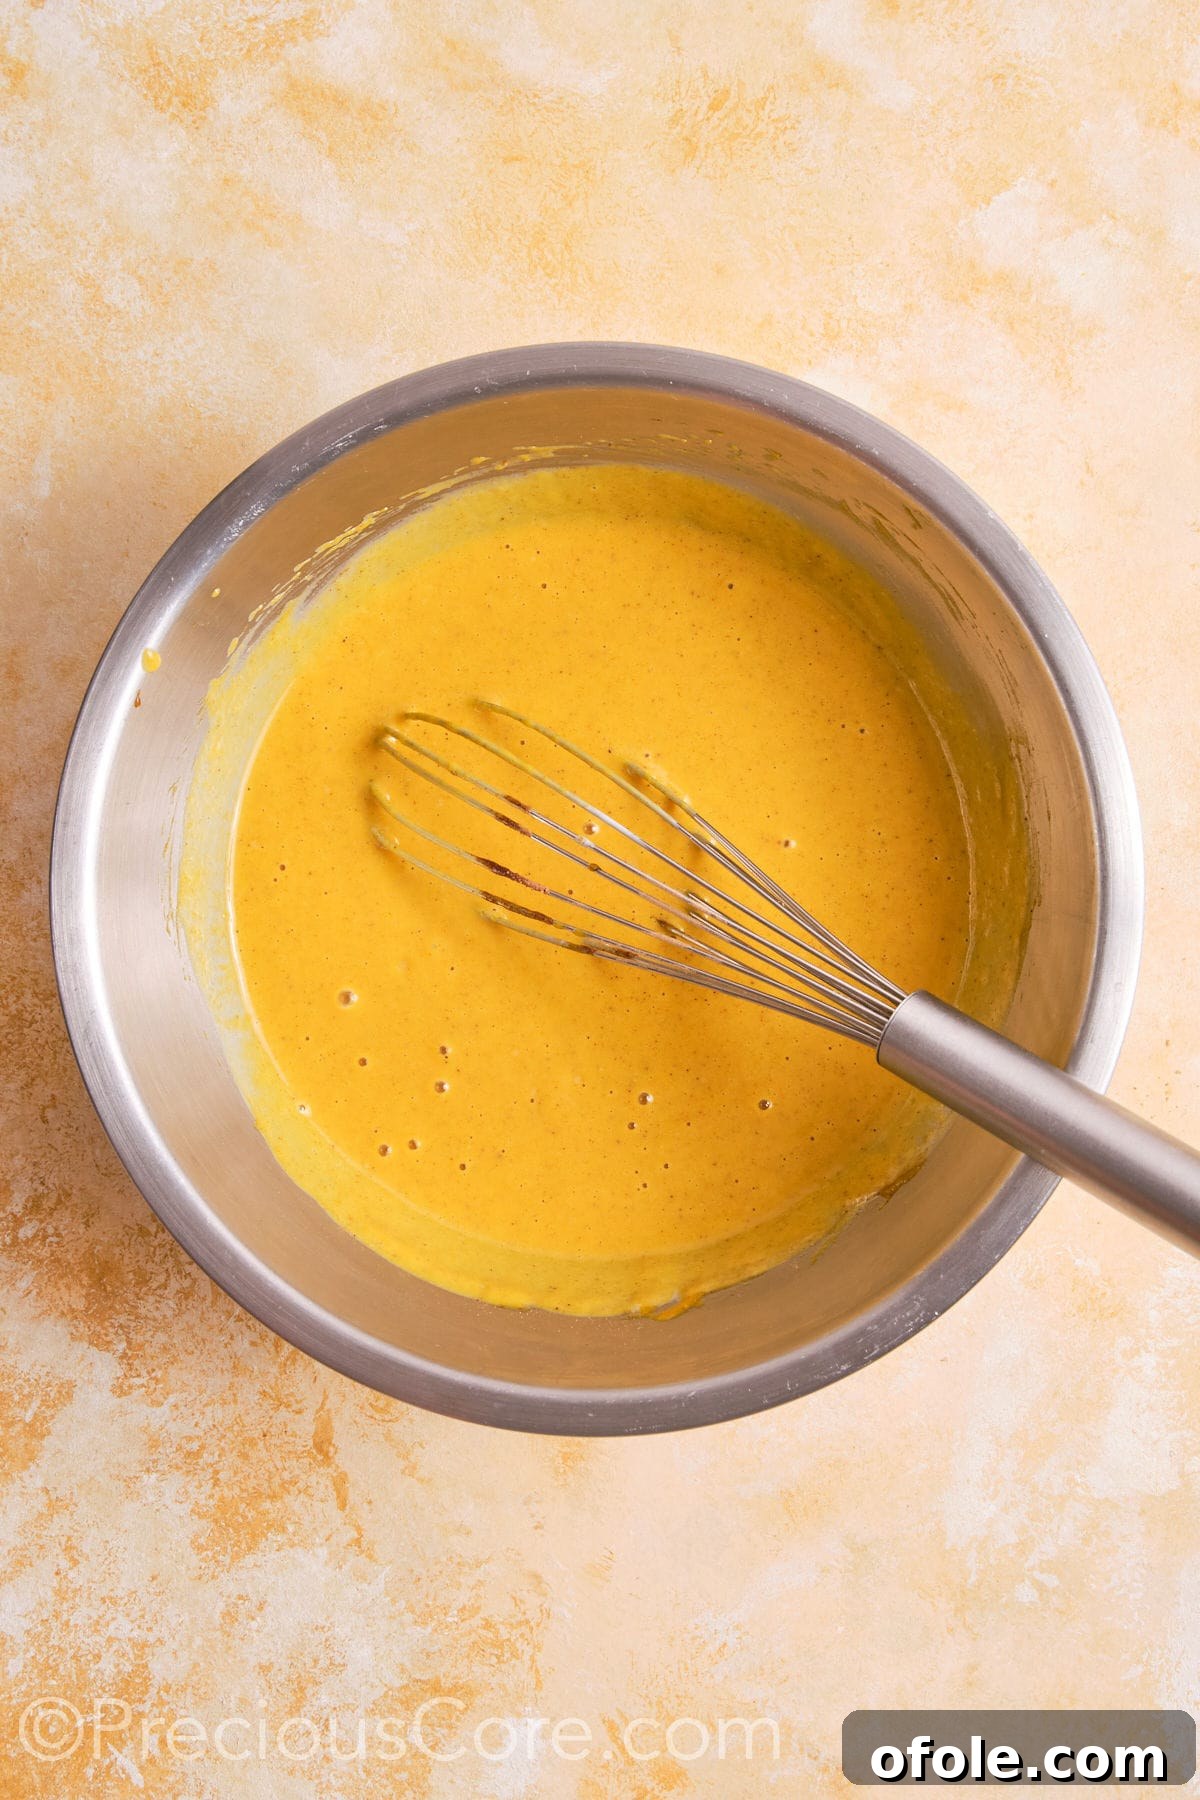
- Step 2: Mix in Wet and Dry Ingredients. Now, introduce the remaining stars of the filling: heavy cream, vanilla extract, brown sugar, a pinch of salt, ground cinnamon, pumpkin pie spice, and ground nutmeg. Using a whisk, or even a blender for ultimate smoothness, combine all ingredients until the mixture is completely homogeneous, free of lumps, and beautifully blended. The aroma alone will transport you to a fall wonderland!
Assembling and Baking Your Masterpiece
With your crust chilled and filling prepared, it’s time to bring it all together and bake your delightful pumpkin pie:
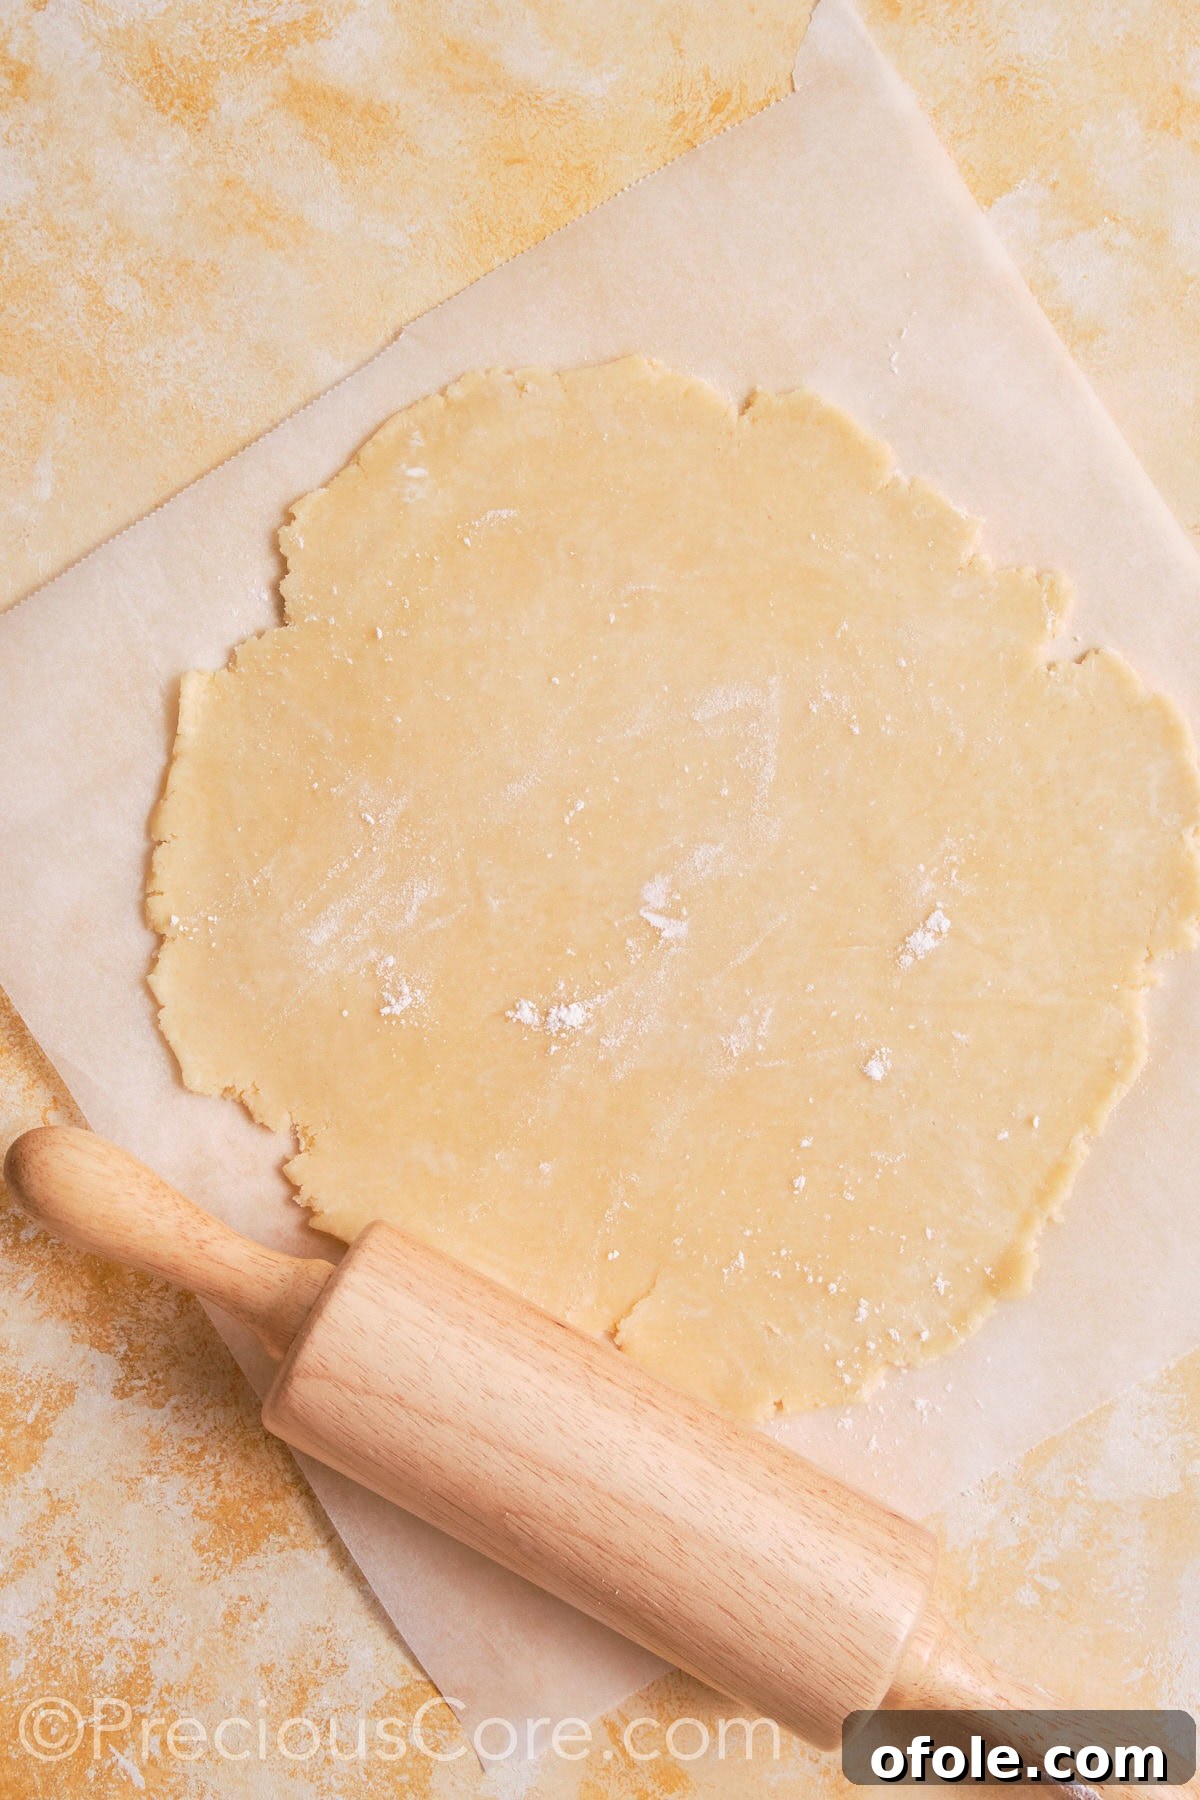
- Step 1: Roll Out the Dough. Retrieve the chilled pie dough from the refrigerator. Lightly flour a clean, flat surface and your rolling pin. Roll out the dough evenly into a circular shape, roughly 12-13 inches in diameter, ensuring it’s large enough to fit your pie dish with an overhang. Carefully transfer the rolled-out dough into your greased pie dish.
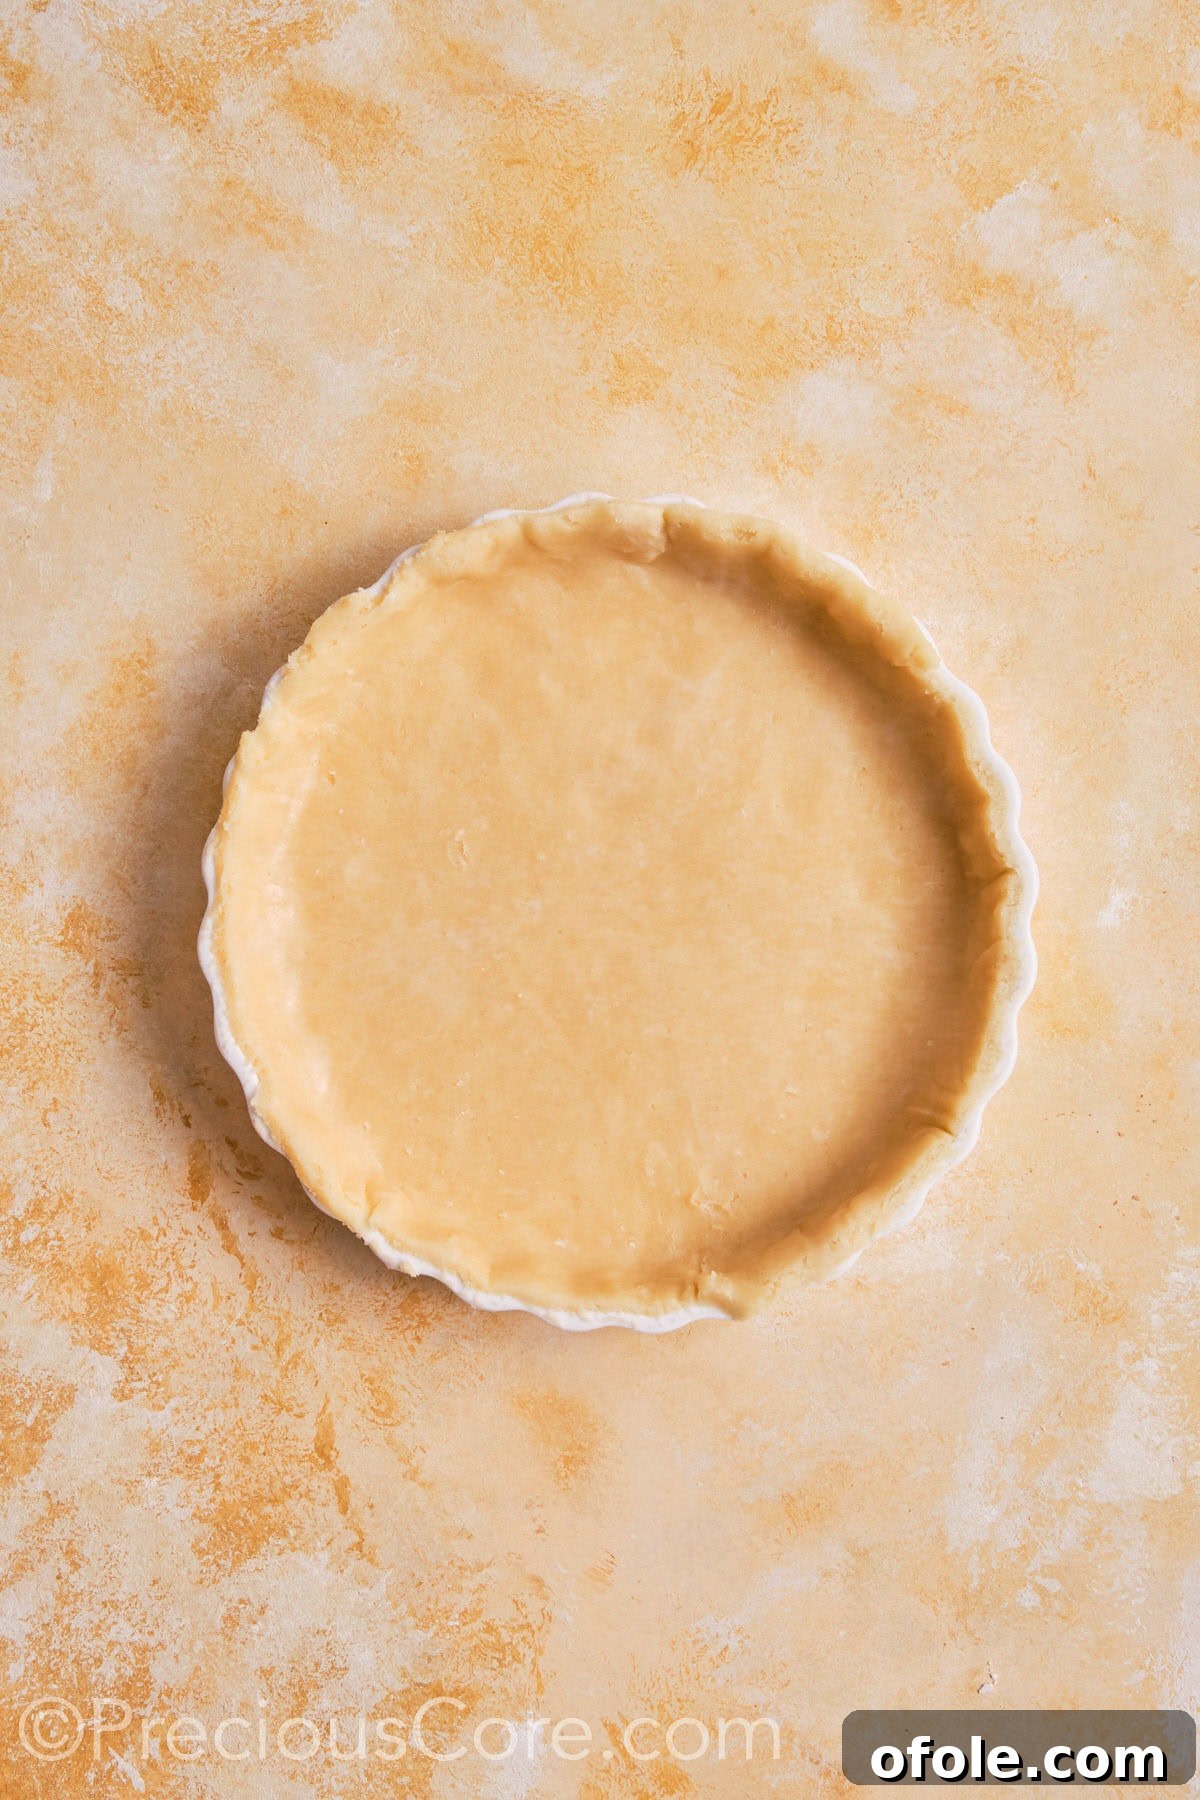
- Step 2: Shape and Pour. Gently trim any excess dough, leaving about a ½-inch overhang. Crimp the edges of your pie crust decoratively, using your fingers or a fork, to create a beautiful finish. Once the crust is shaped, carefully pour the prepared pumpkin pie filling into the unbaked pie crust.
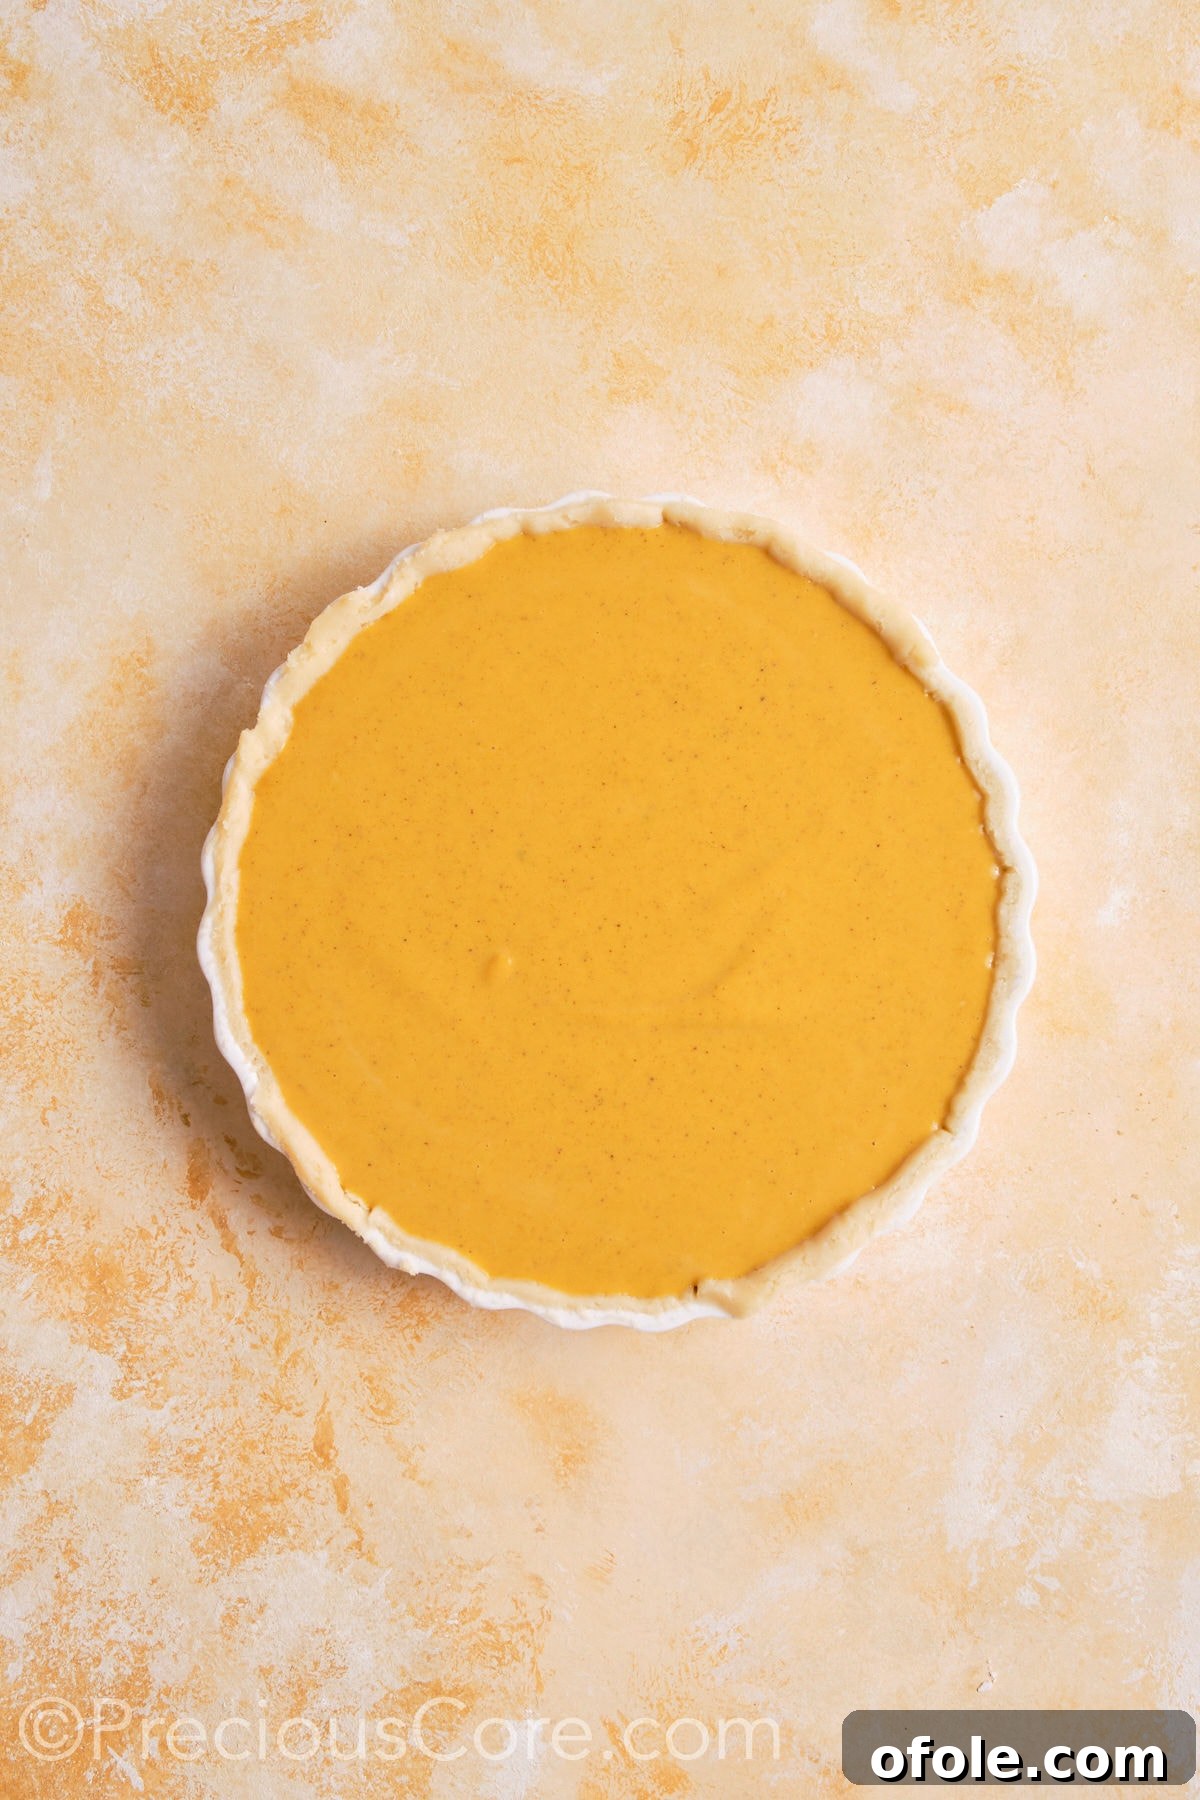
- Step 3: The Two-Stage Bake. Place the pie carefully into your preheated 425°F (220°C) oven. Bake for an initial 15-20 minutes. This high heat helps to set the crust and begin the puffing process. After this initial bake, reduce the oven temperature to 350°F (175°C) and continue baking for an additional 30-40 minutes, or until a knife inserted into the center of the pie comes out mostly clean. The very center might still have a slight jiggle; this is normal and indicates a perfectly moist filling that will set as it cools.
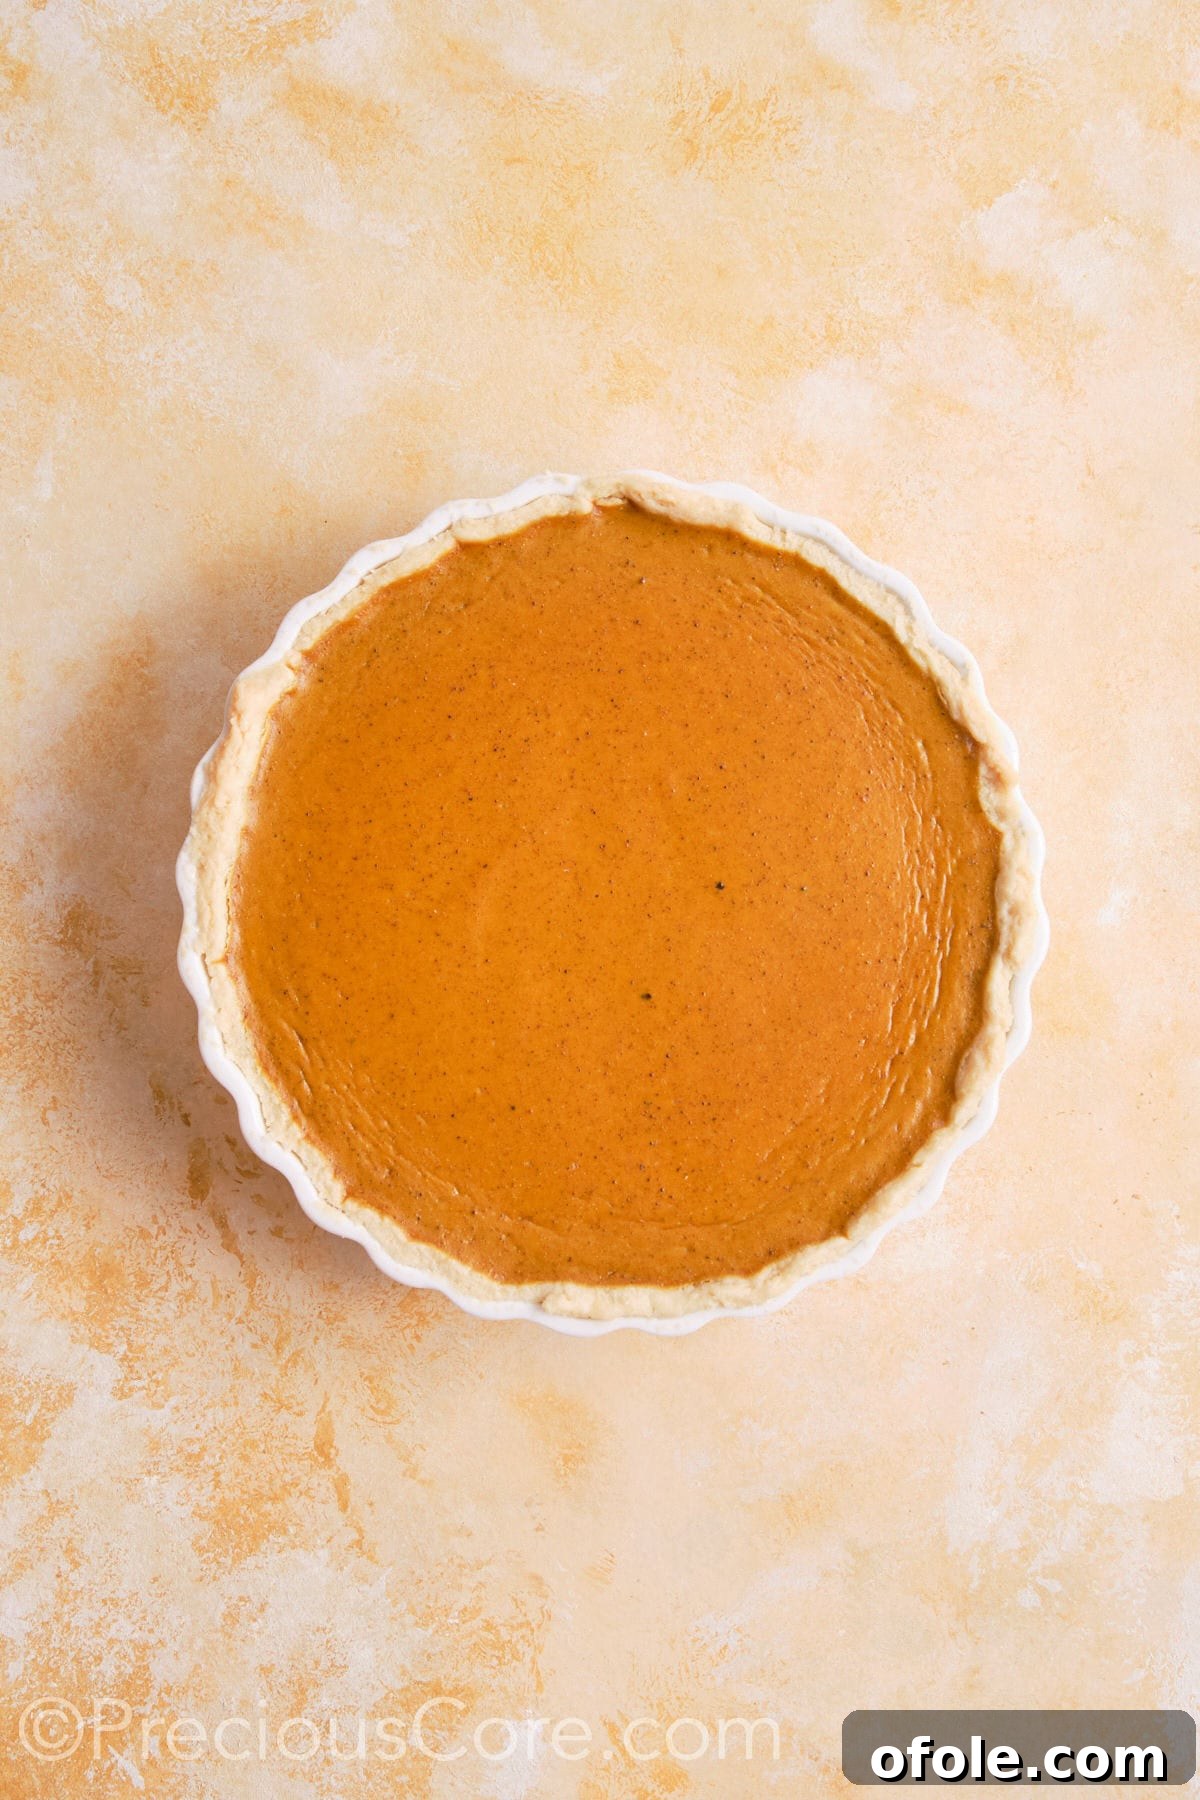
- Step 4: Cool and Serve. Once baked, carefully remove the pie from the oven. Transfer it to a wire rack and allow it to cool completely for at least 2 hours at room temperature. This cooling period is crucial for the filling to fully set. Alternatively, you can refrigerate the pie until you’re ready to serve. A chilled pie slices beautifully and tastes even better!
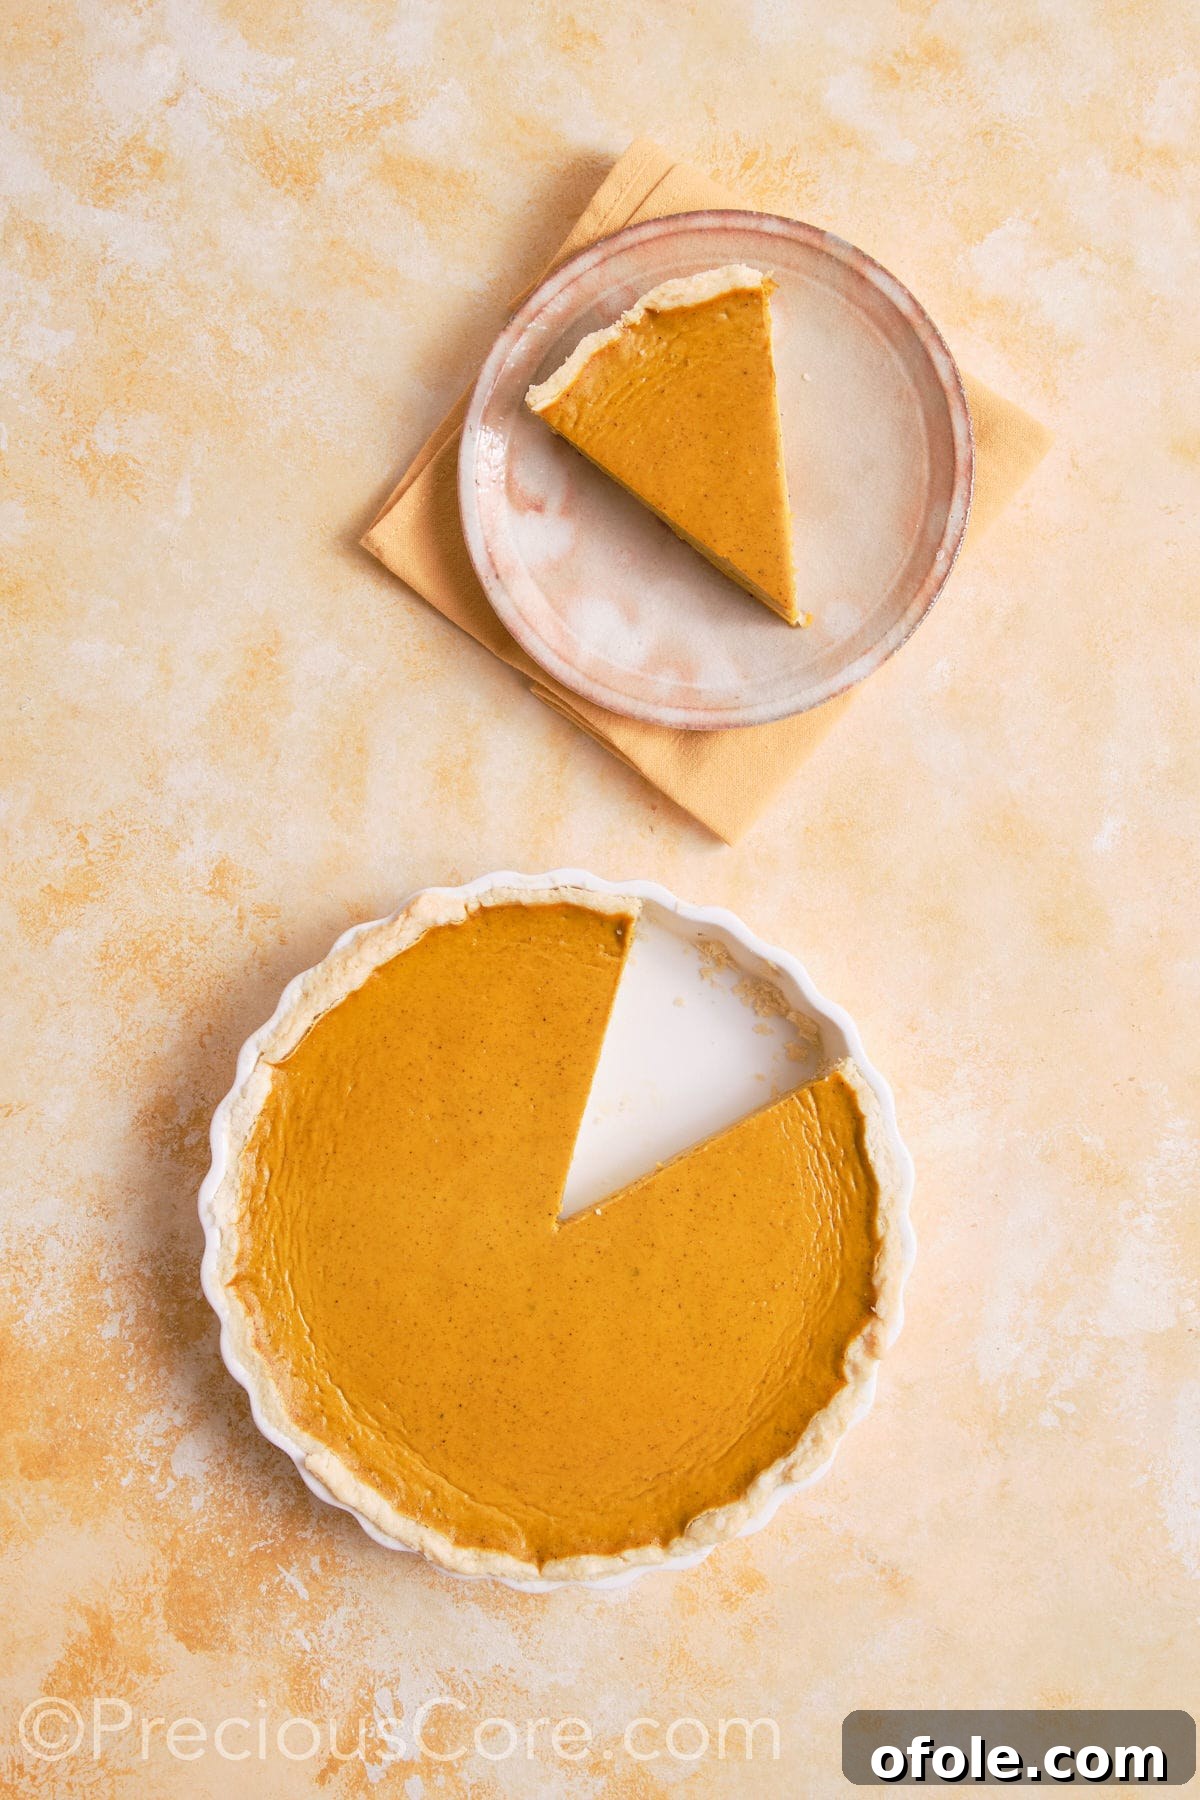
Expert Tips for a Flawless Pumpkin Pie Every Time
Achieving pumpkin pie perfection is easier than you think with these insider tips:
- Crust Convenience: While a homemade crust provides unparalleled flavor and texture, don’t hesitate to use a good quality store-bought pie crust for this recipe if you’re short on time. Many brands offer excellent ready-to-use crusts that will still yield a delicious pie. It’s about making baking enjoyable and accessible!
- The “Jiggle Test”: It’s common for the very center of your pumpkin pie to appear slightly jiggly, even when the baking time is complete. Do not overbake! This slight movement is perfectly normal and actually ensures a moist, creamy filling. The pie will continue to set and firm up beautifully as it cools down, resulting in that perfect custardy texture.
- Preventing Cracks: To avoid unsightly cracks on the surface of your pumpkin pie, be mindful of overbaking and sudden temperature changes. Overbaking can dry out the filling and cause it to pull apart. Similarly, removing the pie from the oven and placing it directly into a very cold environment can cause a shock that leads to cracking. Let it cool gradually on a wire rack at room temperature.
- Blind Baking for a Crisp Crust: For those who fear a soggy bottom crust, consider blind baking (or par-baking) your pie crust for a few minutes before pouring in the pumpkin filling. Line the unbaked crust with parchment paper, fill it with pie weights or dried beans, and bake for about 10-15 minutes until the edges are lightly golden. Remove the weights and parchment, then proceed with the recipe. This extra step helps create a crisp barrier against the moist filling.
- Protecting the Crust Edges: If you notice the edges of your pie crust are browning too quickly during baking, simply create a protective ring of aluminum foil. Gently wrap the foil around the outer rim of the crust to shield it from direct heat, allowing the filling to cook through without burning the crust.
Storing Your Delicious Pumpkin Pie
Proper storage ensures your pumpkin pie remains fresh and delightful for days. Here’s how to keep it at its best:
- Refrigeration: Any leftover pumpkin pie should be covered tightly with plastic wrap or aluminum foil and stored in the refrigerator. It will stay fresh and delicious for up to 4 days. This is crucial for food safety due to the egg and dairy content in the filling.
- Freezing for Later: Yes, you can freeze pumpkin pie! If you want to enjoy a slice later, ensure the pie is completely cooled before freezing. Wrap individual slices or the entire pie tightly in several layers of plastic wrap, then an additional layer of aluminum foil. Place it in a freezer-safe bag or airtight container to prevent freezer burn. Frozen pumpkin pie can be kept for up to 1 month. Thaw in the refrigerator overnight before serving.
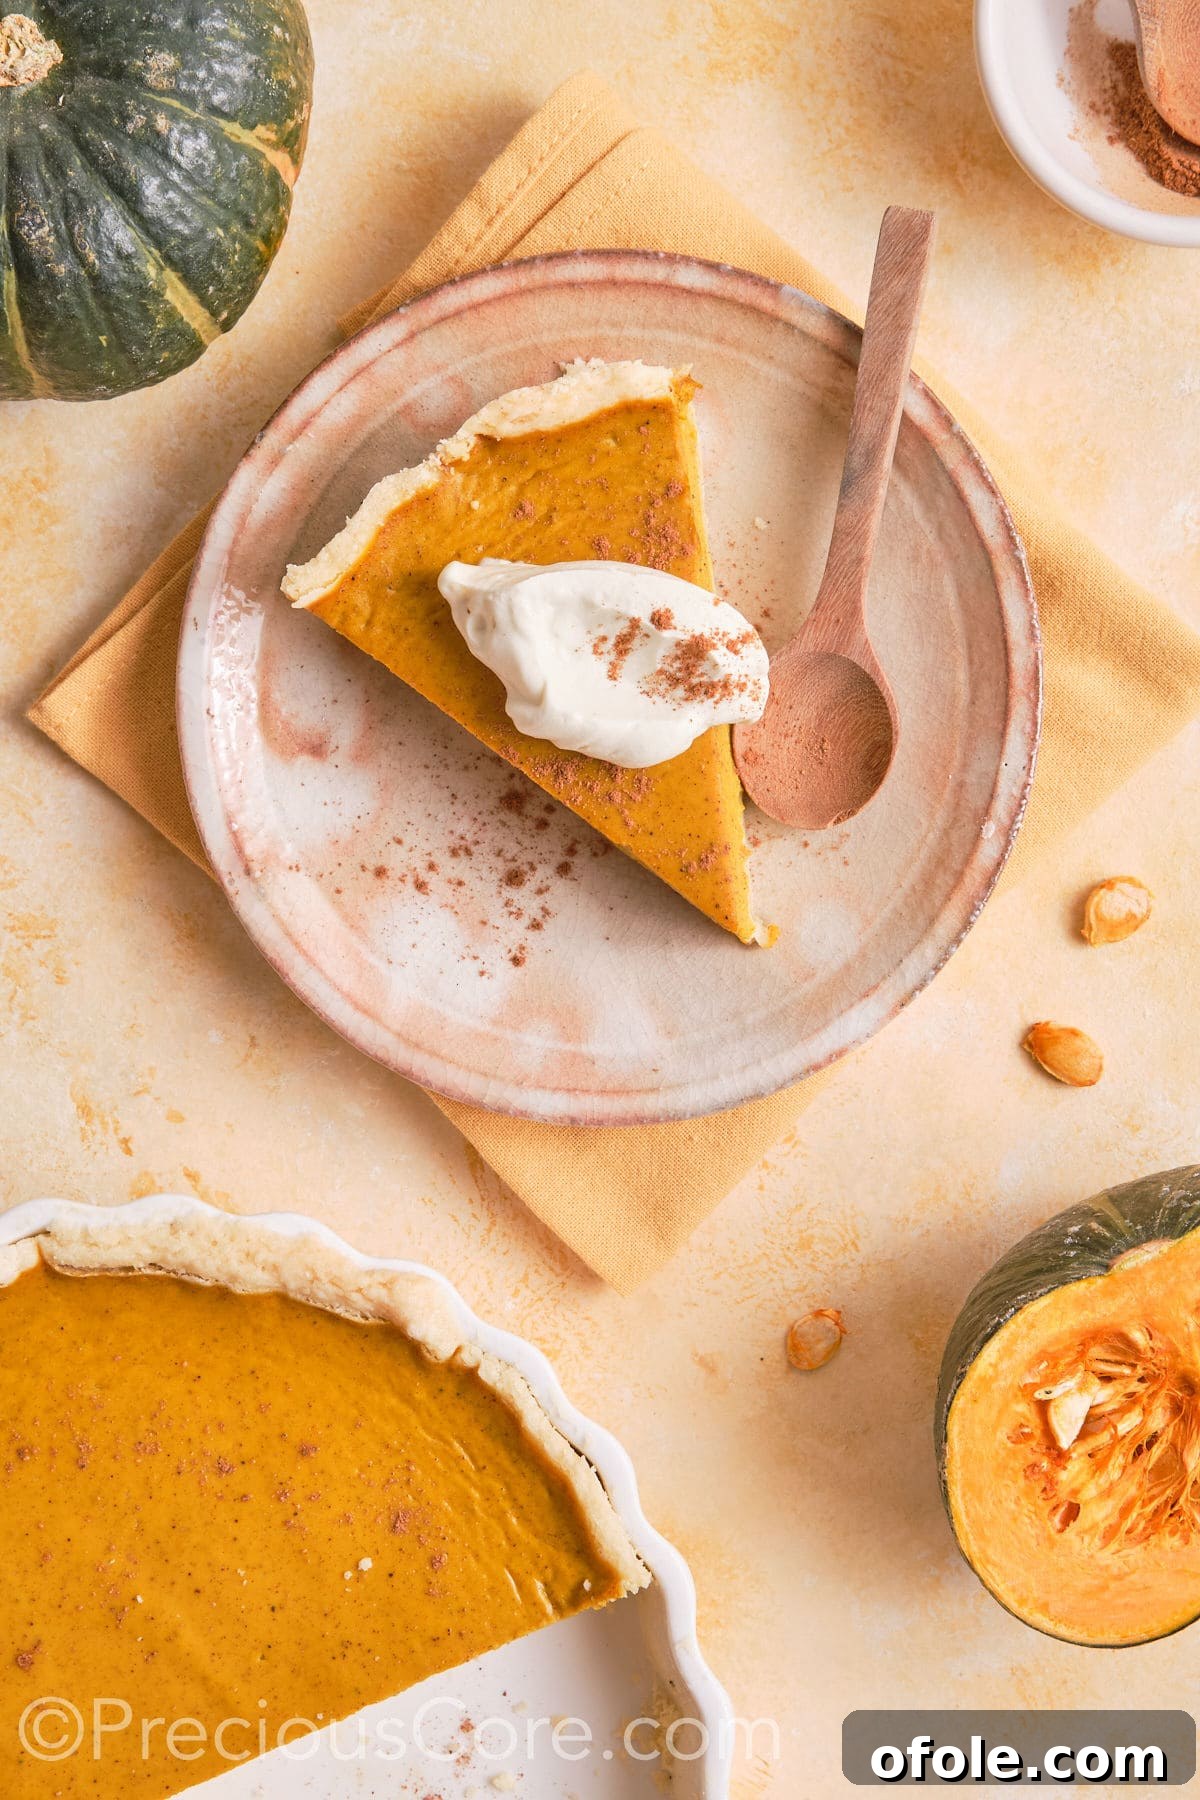
Delightful Serving Suggestions
This rich and creamy pumpkin pie is a stand-alone star, but it also pairs beautifully with a variety of seasonal dishes. Whether it’s for a cozy family dinner or a grand holiday feast, here’s how to serve it:
- Classic Accompaniments: The most popular way to serve pumpkin pie is with a generous dollop of freshly whipped cream. For an extra touch of autumn, sweeten the cream with maple syrup or a dash of cinnamon. A scoop of vanilla bean ice cream also makes a luxurious pairing, offering a delightful contrast in temperature and texture.
- Thanksgiving Feast Integration: If you’re preparing this pie for Thanksgiving, it will fit perfectly alongside other festive main courses like a succulent juicy roast turkey or an elegant herb roasted duck. Balance the richness with vibrant and savory side dishes such as sweet and savory fried carrots, fluffy garlic butter rolls, and aromatic rosemary garlic mashed potatoes.
- After-Dinner Treat: For a simple, comforting dessert, serve slices of pumpkin pie with a cup of hot coffee, a soothing herbal tea, or a warm mug of spiced cider. It’s the perfect end to any fall meal.
More Thanksgiving Delights to Complete Your Feast
Looking to round out your holiday menu? These additional Thanksgiving recipes are sure to impress your guests and add even more deliciousness to your festive spread:
- Oven Baked Turkey Wings: A flavorful alternative or addition to a whole turkey.
- Baked Brie and Preserves: An elegant and easy appetizer.
- Challah Dinner Rolls: Soft, slightly sweet rolls perfect for soaking up gravy.
- Sweet Potato Scones: A delightful morning-after breakfast or brunch item.
- Southern Deviled Eggs: A classic side dish everyone loves.
- Pumpkin Cake With Cream Cheese Frosting: Another fantastic pumpkin dessert option.
Don’t Miss These Must-Try Pumpkin Recipes!
If you’re as enamored with pumpkin as we are, then these other incredible pumpkin-inspired recipes are an absolute must for your fall baking list. From breakfast to dessert, these dishes celebrate the versatile and beloved flavor of pumpkin in exciting new ways.
Pumpkin Chocolate Chip Pancakes
Start your day with a stack of these warm, spiced pancakes studded with melty chocolate chips – a delightful autumn breakfast treat!
Pumpkin Roll Cake
A beautifully moist pumpkin cake rolled with a sweet and tangy cream cheese frosting, perfect for any special occasion.
Pumpkin Spice Doughnuts
These soft, warmly spiced doughnuts are the ultimate fall indulgence, perfect with a cup of coffee or tea.
If you make this recipe, please consider leaving a star rating below. Your feedback helps other home bakers discover and enjoy this recipe, and I truly appreciate hearing from you! Thank you for choosing this recipe.
Pumpkin Pie No Evaporated Milk
Rate
Print Recipe
Ingredients
Pie Crust:
- 1 ¼ cups all-purpose flour
- ½ tsp sea salt
- 1 tbsp granulated sugar
- ½ cup unsalted butter chilled and cut into 1-inch pieces
- 1 tablespoon cold water
Filling:
- 1 can or 2 cups pumpkin puree
- ½ cup half & half or heavy cream
- 4 tablespoons brown sugar
- 2 large eggs
- 1 tsp vanilla extract
- 1 tsp ground cinnamon
- 2 tsp pumpkin pie spice
- ¼ tsp ground nutmeg
- ¼ tsp vanilla extract
- Pinch of sea salt
Instructions
For the homemade Pie crust
-
In a large bowl, mix the flour, salt, and sugar using a whisk or your hands until well combined.
-
Cut the butter into small pieces and add it to the dry ingredients. Using your fingers or a pastry cutter, work the butter into the flour mixture until it resembles coarse crumbs.
-
Slowly add cold water, a little at a time, and gently mix until the dough starts to come together, but don’t overmix!
-
Shape the dough into a ball and wrap it tightly in plastic wrap. Refrigerate for at least an hour, or leave it overnight.
For the Filling
-
In a large bowl, beat the egg and pumpkin together until well combined.
-
Next, add the heavy cream, vanilla extract, brown sugar, salt, cinnamon, and pumpkin pie mix, and whisk everything together until the mixture is smooth and well blended. You can use a whisk or a blender.
To assemble
-
Preheat your oven to 425 degrees F. And grease a pie dish with butter. Set aside.
-
Take the chilled pie dough from the fridge and place it on a well-floured surface. Roll out the pie and transfer to the pie dish.
-
Shape the crust as desired and pour the pumpkin pie filling into the unbaked pie crust.
-
Bake the pumpkin pie for 15-20 minutes at 425 degrees F.
-
Lower the temperature to 350°F and bake for an additional 30 minutes until a knife inserted into the center comes out clean.
-
Let it cool on a wire rack for 2 hours before serving, or refrigerate until ready to serve.