
Homemade Yogurt and Fruit Popsicles: Your Ultimate Guide to Healthy, Delicious Treats
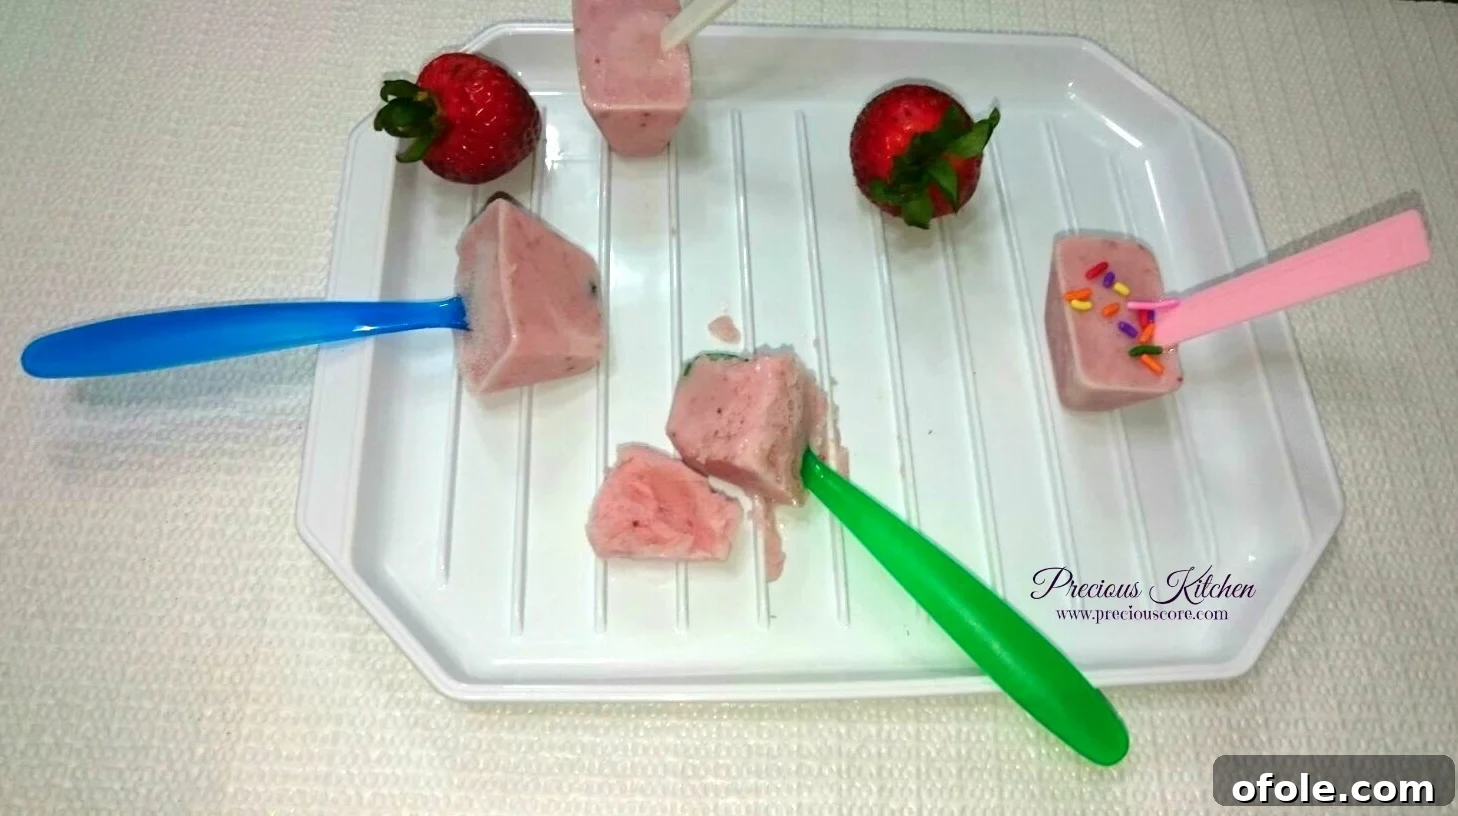
There’s an undeniable joy that comes with enjoying a perfectly chilled popsicle, especially on a warm day. While store-bought options are often laden with artificial flavors, colors, and excessive sugars, crafting your own homemade versions unlocks a world of healthy, delicious possibilities. These delightful yogurt and fruit popsicles are a prime example – initially created “for the kids,” they proved so incredibly tasty and refreshing that I, too, found myself embracing my inner child with every lick! What’s even better? They are impeccably healthy, making them a truly guilt-free indulgence that both adults and children will adore.
Imagine a treat so wholesome and nutritious that you could even confidently enjoy it as part of your breakfast. That’s precisely what these vibrant popsicles offer. Packed with natural goodness from fresh fruits and the creamy richness of yogurt, they provide a refreshing burst of flavor and essential nutrients, making them a fantastic alternative to sugary breakfast cereals, processed snacks, or less healthy dessert options. They are not just a treat; they’re a smart, enjoyable way to boost your daily intake of fruit and probiotics.
The Simplicity of Sourcing: Just Four Core Ingredients!
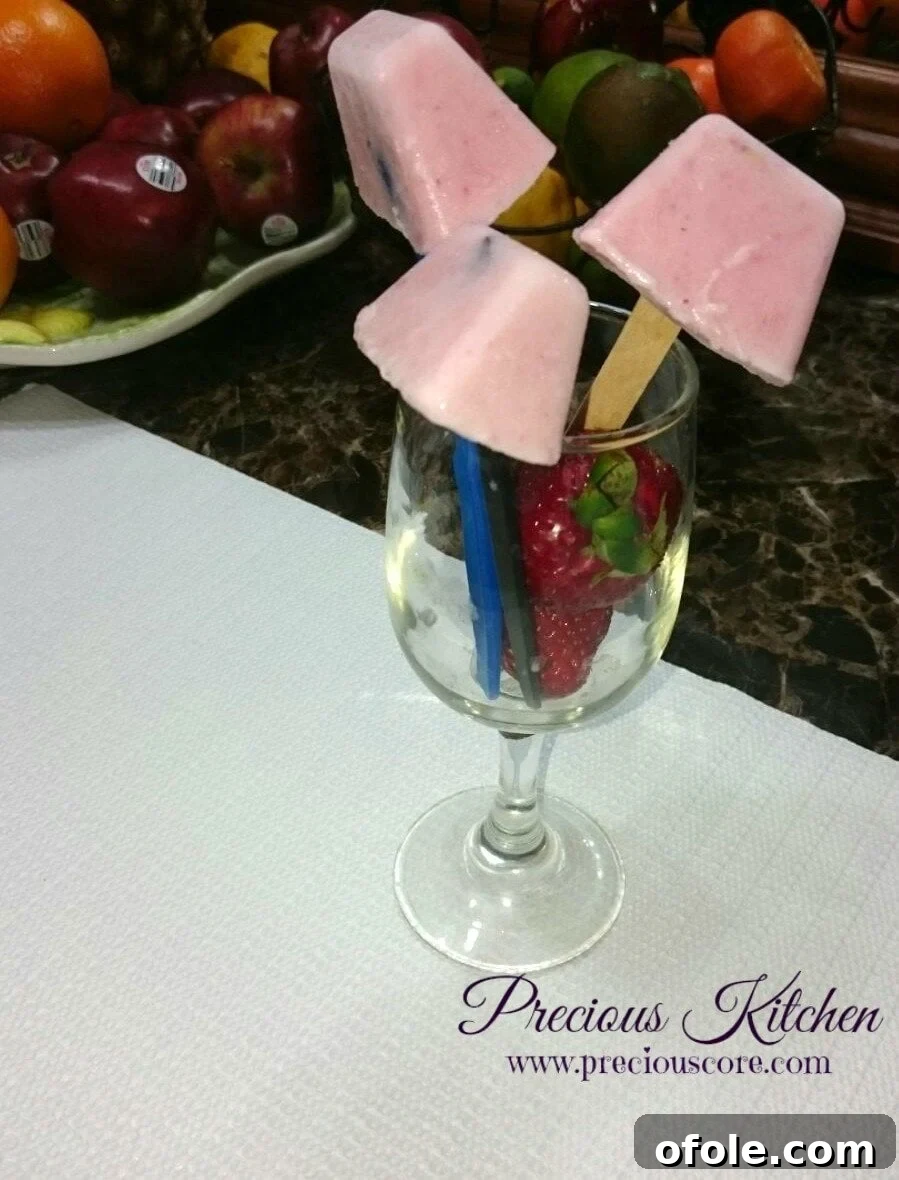
One of the most appealing aspects of this recipe is its incredible simplicity, requiring just four fundamental ingredients. This minimal requirement ensures that even novice cooks or those with the busiest schedules can whip up a batch without any hassle. The beauty of these popsicles truly lies in their adaptability, allowing you to easily substitute ingredients based on what you have on hand or what’s in season. This flexibility means you’re never far from creating a batch of delicious, personalized frozen treats.
And don’t fret if strawberries aren’t readily available or if you simply fancy a change; this recipe is wonderfully forgiving. Its versatility allows you to experiment with an extensive array of fruits to suit your taste preferences, dietary needs, or whatever looks best at your local market. Consider the vibrant possibilities: sweet, juicy mangoes would lend a delightful tropical flair, creating a mini-escape with every bite. The zesty tang of freshly squeezed orange juice would be absolutely divine, offering a bright and invigorating flavor profile perfect for a morning boost. For those seeking ultimate refreshment, watermelon will transform these popsicles into something truly ah-mazingggg – a perfect thirst-quencher for hot summer afternoons. You could also try blueberries, raspberries, kiwi, peaches, or even a blend of fruits. The choice of fruit not only dictates the primary flavor but also significantly influences the nutritional benefits, allowing you to tailor your popsicles to be exactly what you need.
Why Choose Homemade Popsicles? A World of Benefits Awaits!
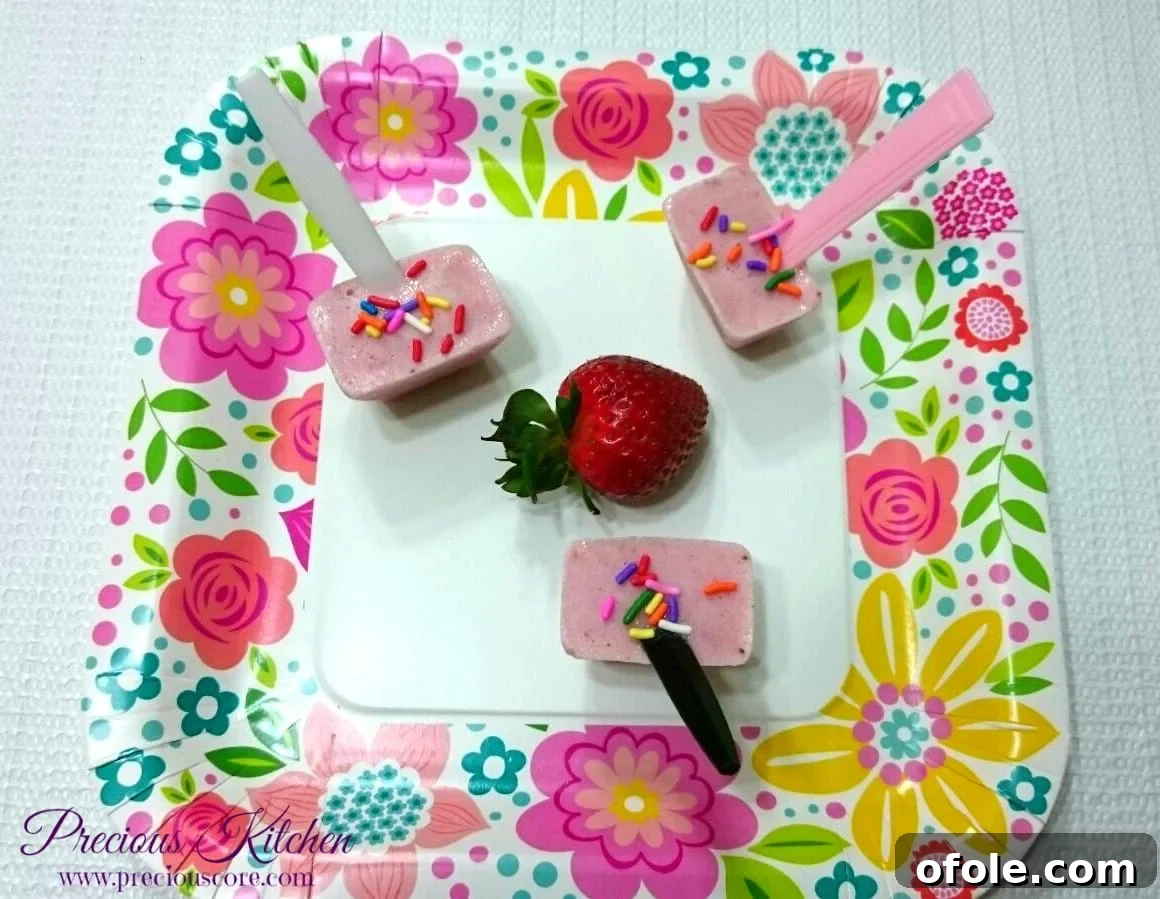
Beyond their undeniable deliciousness and refreshing qualities, homemade yogurt and fruit popsicles offer a plethora of advantages that make them a far superior choice compared to their store-bought counterparts. Opting for homemade means you gain complete control over every single ingredient that goes into your frozen treats. This empowers you to avoid the artificial colors, preservatives, and high-fructose corn syrup that are alarmingly common in commercially produced frozen desserts, ensuring a purer, healthier snack for you and your family.
- Nutritional Powerhouse: By utilizing fresh, ripe fruits and real, wholesome yogurt, you’re packing these popsicles with an impressive array of essential vitamins, minerals, antioxidants, and beneficial probiotics. Yogurt, especially Greek yogurt, is an excellent source of calcium for strong bones and beneficial bacteria for a healthy gut microbiome. Fruits contribute a wide spectrum of vitamins, dietary fiber, and natural sugars, boosting overall well-being.
- Unmatched Sugar Control: When you make popsicles at home, you dictate the sweetness level entirely. While a touch of honey is used in this recipe, you can easily adjust the quantity or even rely solely on the natural sweetness from very ripe fruit if you prefer a less sweet option. This control is particularly advantageous for those monitoring sugar intake, managing specific dietary needs, or preparing treats for young children whose sugar consumption is often a concern.
- Endless Customization: As previously highlighted, the choice of fruit is incredibly flexible. But the customization doesn’t stop there! You can incorporate chia seeds for an extra boost of fiber and omega-3 fatty acids, add a sprinkle of oats for a unique texture, or even a dash of vanilla extract or a pinch of cinnamon for added depth of flavor. The creative possibilities are truly limitless, allowing you to design popsicles that cater perfectly to your palate.
- Economical and Budget-Friendly: Making your own popsicles is often significantly more cost-effective than purchasing specialty frozen treats from the grocery store, especially when you capitalize on seasonal fruit sales. You get more pops for your penny, without compromising on quality or flavor.
- Fun for the Whole Family: The process of making these popsicles can transform into a wonderful, engaging activity to share with children. From helping to wash and prepare the fruit to pouring the vibrant mixture into molds, it’s a hands-on and enjoyable way to introduce them to healthy eating habits, basic kitchen skills, and the satisfaction of creating something delicious from scratch.
Yogurt and Fruit Popsicles: The Simple Recipe
This recipe is meticulously designed for maximum flavor delivery with minimal effort, ensuring a perfect frozen treat every single time. Get ready to effortlessly transform simple, wholesome ingredients into something truly extraordinary that will be a hit with everyone.
Ingredients List
Prep Time: Approximately 5-10 minutes (depending on fruit preparation)
Freezing Time: 3-5 hours (or preferably overnight for the best, firmest results)
- 6 large strawberries (approximately 1 cup of chopped fruit; use fresh or frozen, your choice)
- 2 small cups of plain yogurt (around 1 cup total; Greek yogurt will yield a thicker, creamier popsicle with higher protein, while regular plain yogurt results in a slightly lighter texture)
- 1 cup of skim milk (or explore alternatives such as almond milk, coconut milk, or even whole milk for added richness and creaminess)
- 2 tablespoons of honey (adjust this amount to your taste preference; alternatives like maple syrup, agave nectar, or even a sugar substitute can be used, or simply omit for fruit-only sweetness)
Essential Equipment You’ll Need:
- A reliable blender (a small personal blender is convenient, but any standard kitchen blender will work perfectly)
- Popsicle molds (classic molds create perfectly shaped pops, but standard ice cube trays are an excellent alternative for smaller, bite-sized frozen treats)
- Popsicle sticks (ensure you have enough; in a creative pinch, small plastic spoons can serve as excellent makeshift sticks, as proven by necessity!)
Directions for Crafting Your Delightful Popsicles
Step 1: Gather, Prepare, and Blend Your Ingredients
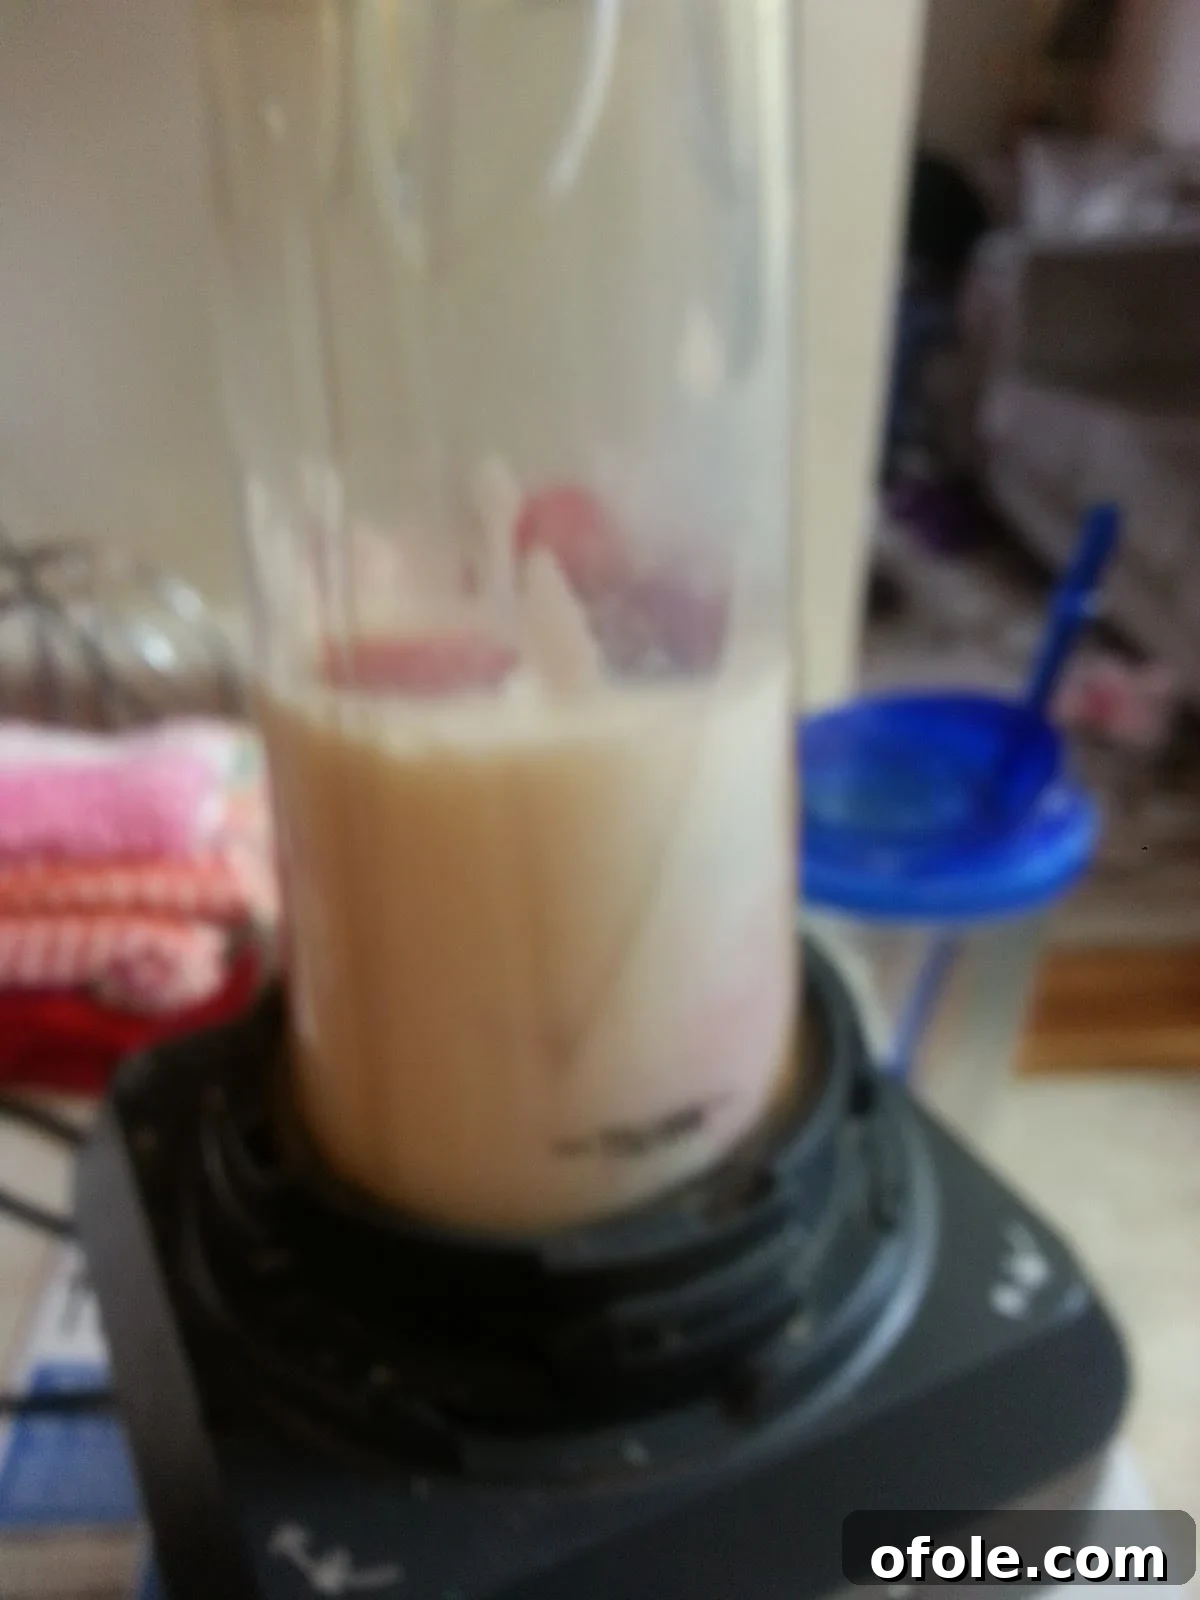
Begin by ensuring all your chosen ingredients are prepped and ready to go. If you’re using fresh strawberries, give them a thorough wash under cool water and carefully hull them (remove the green leafy tops). If you’ve opted for other fresh fruits, prepare them accordingly – peel and chop mangoes, wash berries, or slice bananas. Place all these prepared ingredients – your selected fruit, the yogurt, the milk, and the honey – into your blender. If you’re utilizing a smaller personal blender, like I did, you might find it more efficient and effective to blend the mixture in two separate batches. This approach prevents the blender from becoming overloaded and ensures a consistently smooth and lump-free texture throughout the entire batch, which is crucial for a pleasant popsicle experience.
Step 2: Achieve the Perfect Silky Smoothness
Now, it’s time for the blending magic! Process the ingredients vigorously until they are completely smooth and homogenous. Your goal is a creamy, lump-free mixture that will freeze into a beautiful, even, and consistent popsicle. Blend for a good minute or two, observing the consistency. If necessary, pause the blender and use a spatula to scrape down the sides, ensuring that all fruit pieces are thoroughly incorporated and the texture is perfectly uniform. A truly smooth blend is absolutely key to achieving a delightful and enjoyable popsicle experience, free from unexpected chunks.
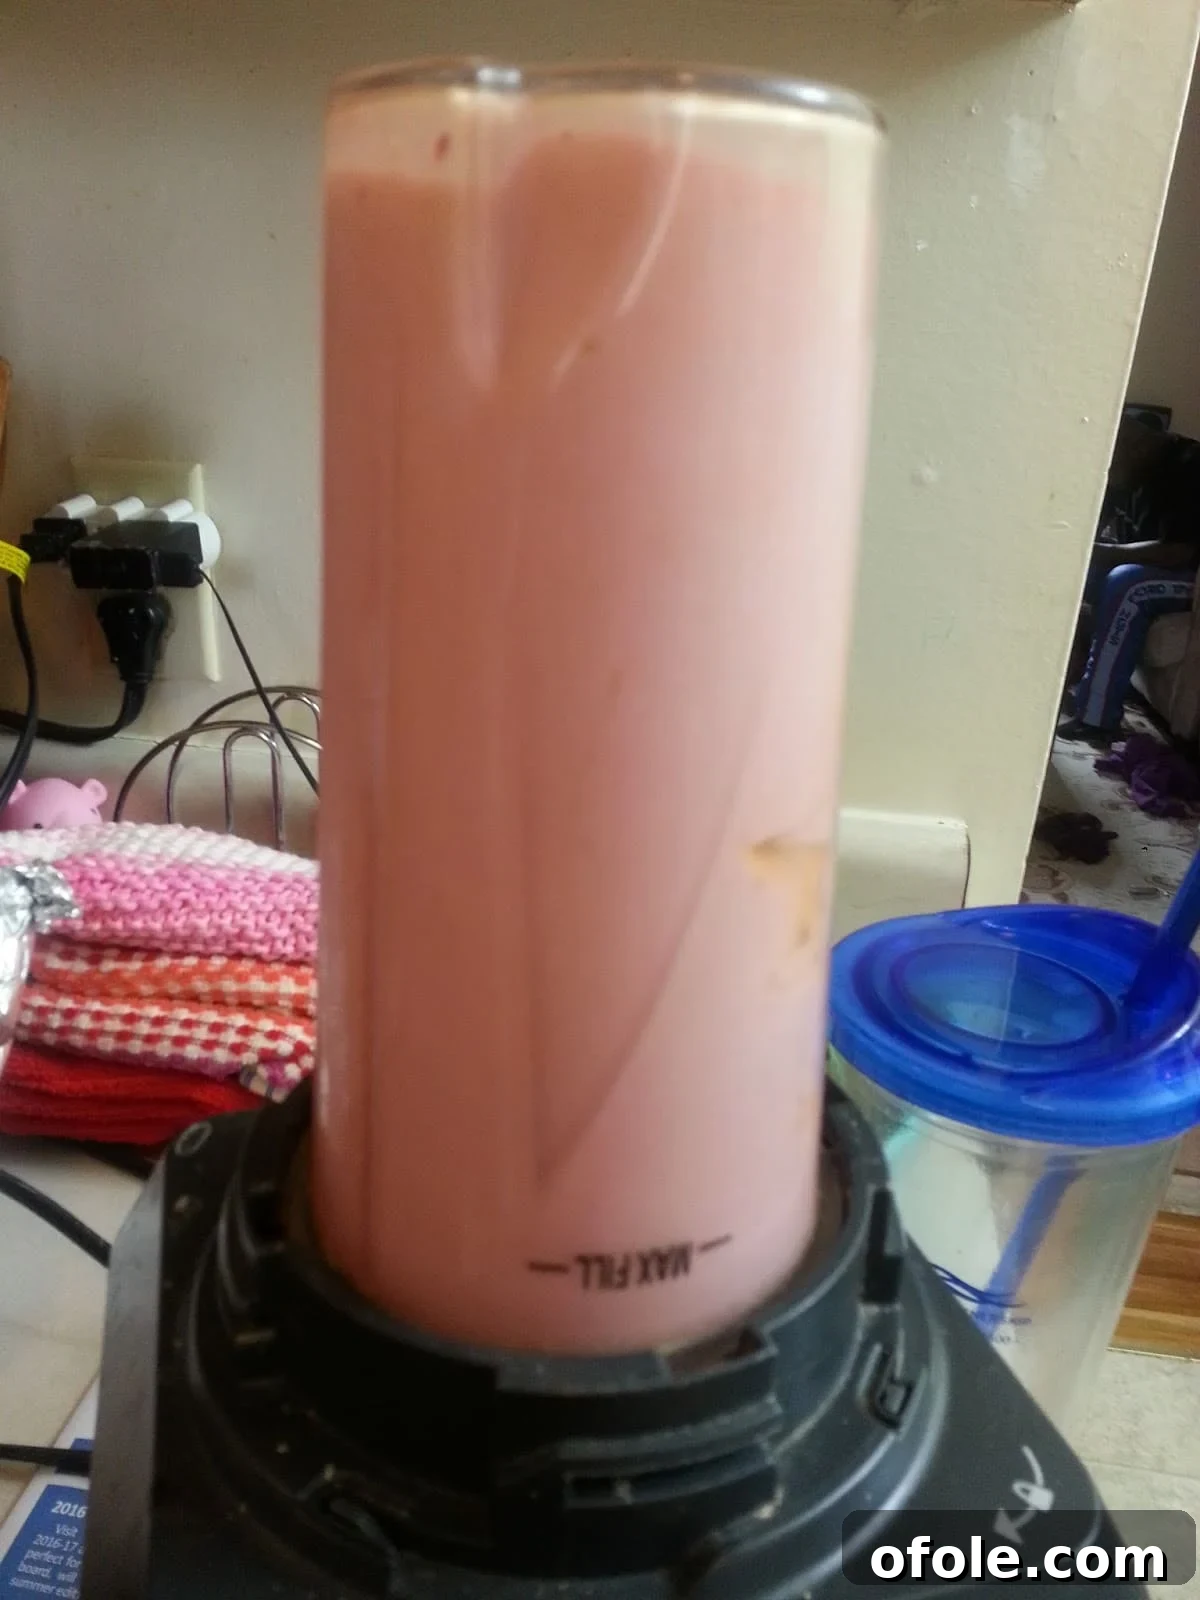
Step 3: Carefully Fill Your Molds
Once your mixture has reached its peak of creamy smoothness, carefully and steadily pour it into your chosen popsicle molds or ice cube trays. Exercise caution not to overfill them, as liquids naturally expand slightly when they freeze. Overfilling can lead to uneven tops or difficulty in removing the popsicles later. For reference, I discovered that this specific recipe yielded enough mixture to comfortably fill two standard ice cube trays, creating smaller, more manageable frozen bites that are perfect for little hands or for strict portion control. If you’re utilizing larger, traditional popsicle molds, simply adjust your expectations for the total number of popsicles you’ll yield accordingly.
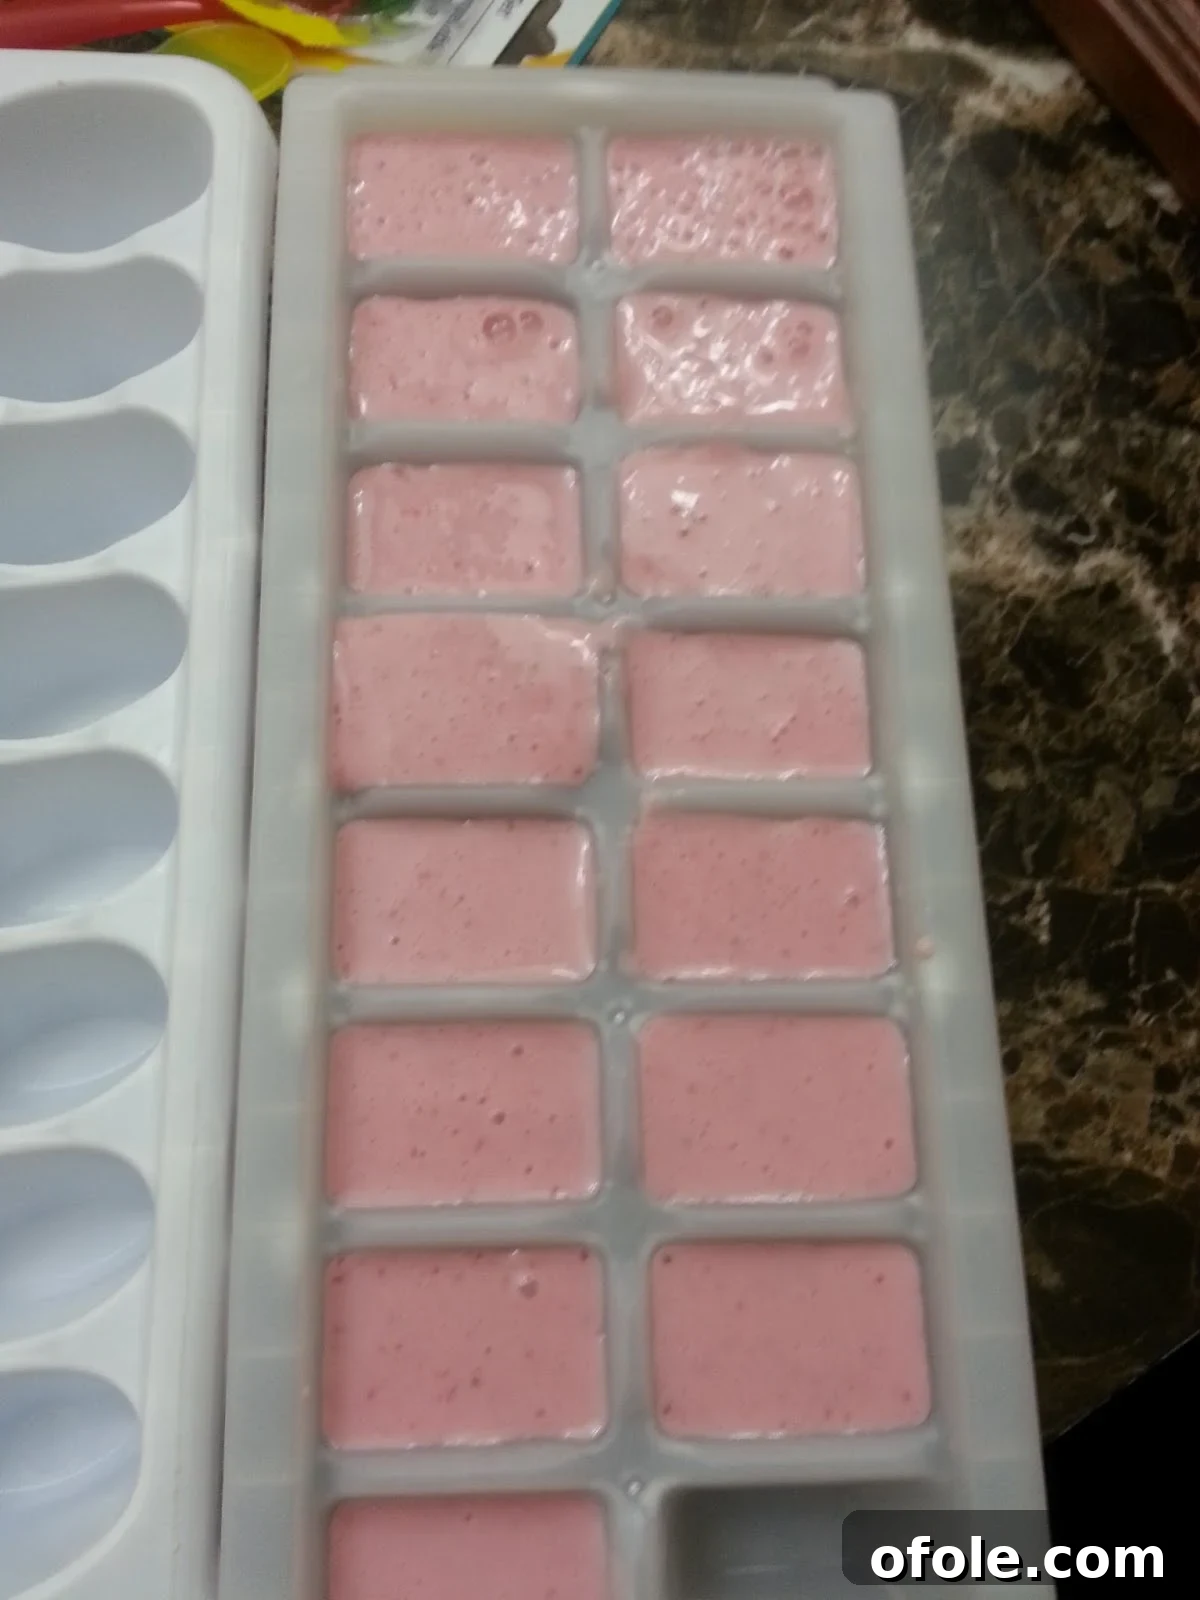
Step 4: The Initial Freeze and Strategic Stick Insertion
Carefully place the filled molds into the freezer for approximately one hour. This initial freezing period is a crucial step because it allows the liquid mixture to firm up slightly, transitioning into a semi-solid, slushy consistency. Once it has reached this partially hardened state, you can easily and securely insert your popsicle sticks – or, in a pinch, creatively repurpose plastic spoons, a brilliant and practical survival tactic when traditional popsicle sticks are scarce, as I personally discovered! The semi-frozen mixture will securely hold the sticks upright and perfectly centered, ensuring they are stable once the popsicles are fully frozen. This small but significant step makes a considerable difference in both the final aesthetic presentation and the overall ease of eating your homemade treats.
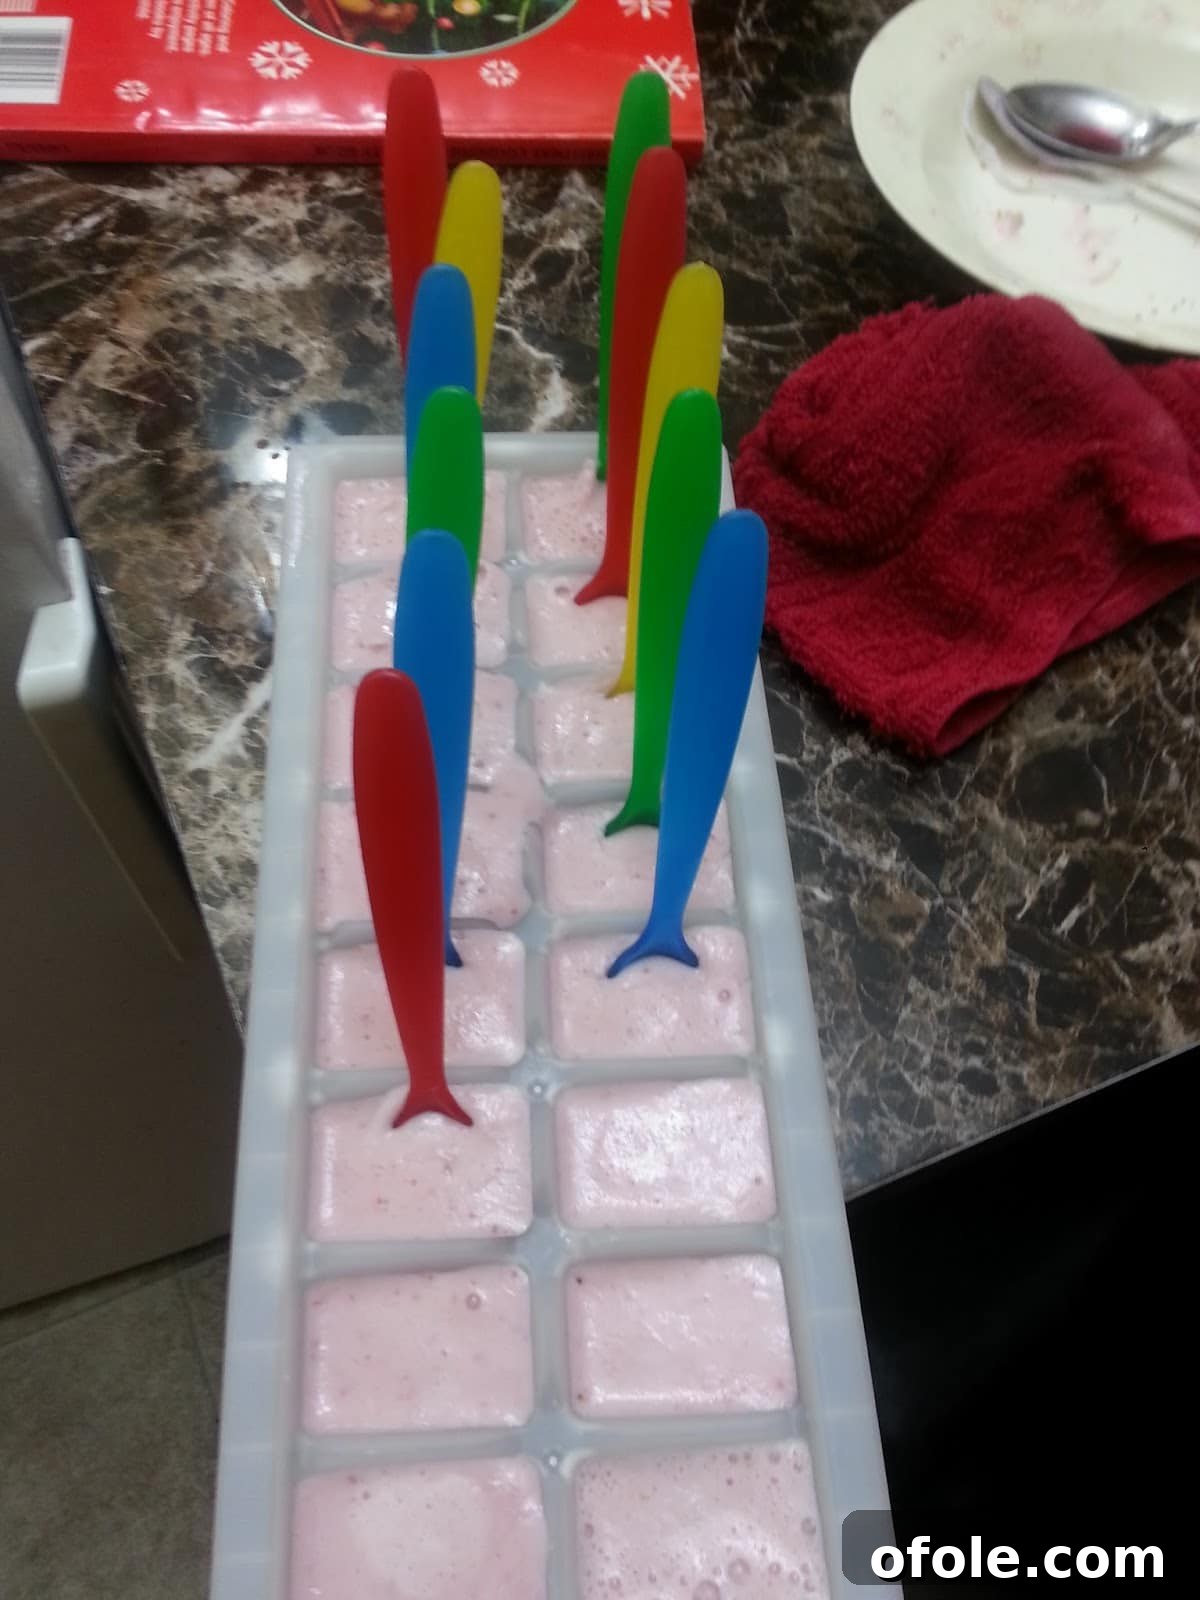
Step 5: Freeze to Perfection and Enjoy
Now, the final wait: allow your popsicles to freeze completely until they are solid throughout. This process typically takes about 3 hours, but for the absolute best, most solid, and durable results, I highly recommend leaving them to freeze overnight. A longer freeze ensures they are firm and won’t melt too quickly, especially on a hot day. When you’re ready to savor your delicious creations, remove them from the freezer and let them rest at room temperature for approximately 2 to 5 minutes. This brief resting period is vital, as it allows the popsicles to slightly loosen from their molds, making them much easier to release without force, thus preserving their perfect shape. If they are still stubborn, a quick dip of the mold in warm water for a few seconds can work wonders.
And there you have it! A perfectly crafted batch of healthy, incredibly delicious, and wonderfully refreshing yogurt and fruit popsicles, ready to transport you back to the carefree joys of childhood with every delightful bite. Enjoy these fantastic treats and embrace the inner kid that you truly are, savoring every moment!
Expert Tips for Popsicle Perfection
Achieving consistently perfect popsicles is easy with a few simple tricks. Here are some expert tips to elevate your homemade frozen treats:
- Tailor the Sweetness: Always taste your blended mixture before pouring it into molds. If your chosen fruit isn’t particularly sweet, you might want to add a little more honey or your preferred sweetener. Conversely, if your fruit is exceptionally ripe and naturally sweet, you might find you can reduce or even completely omit the added sweetener.
- Creative Layering: For a visually stunning and multi-flavored popsicle, try layering different fruit mixtures. Pour one layer into the mold, freeze it until it’s firm, then add the next distinct layer. Repeat as desired for vibrant, striped popsicles.
- Boost Texture and Nutrition: For an extra nutritional punch and an interesting textural contrast, consider blending in a tablespoon of chia seeds or flax seeds. You could also swirl in some finely chopped nuts, shredded coconut, or a sprinkle of granola just before the final freeze for an added crunch.
- Prepare Ahead: These healthy popsicles are an ideal candidate for meal prepping! Make a large batch at the beginning of the week, and once they are fully frozen and firm, remove them from their molds and store them in an airtight container or a freezer-safe bag. This ensures you always have a healthy snack ready to grab and go.
- Optimal Storage: To prevent freezer burn and maintain their fresh taste, once your popsicles are completely frozen, remove them from their molds. Individually wrap each popsicle in plastic wrap or parchment paper, then place them all into a large freezer-safe bag or airtight container. They typically maintain their quality and deliciousness for up to 2-3 weeks.
Creative Variations & Customizations to Explore
Don’t limit yourself to just strawberries! The world of fruit and yogurt combinations is vast and exciting. Here are a few inspirational ideas to spark your creativity and encourage further experimentation in your kitchen:
- Tropical Paradise Pops: Blend ripe mango, sweet pineapple chunks, and a splash of creamy coconut milk with plain yogurt for an exotic, vacation-inspired treat.
- Mixed Berry Blast: Combine a vibrant mix of blueberries, raspberries, and blackberries for an antioxidant-rich and tangy-sweet popsicle that’s bursting with flavor.
- Green Smoothie Pops: For a surprisingly delicious and nutrient-packed option, blend fresh spinach (you won’t taste it!), ripe banana, sweet pineapple, plain yogurt, and a touch of milk.
- Peanut Butter Banana Pops: Create a creamy, satisfying, and protein-packed dessert by blending ripe bananas, smooth peanut butter, plain yogurt, and a touch of milk. This makes a great post-workout snack!
- Chocolate Swirl Pops: For a touch of decadence, prepare your basic fruit and yogurt mixture, then gently swirl in a tablespoon or two of melted dark chocolate just before pouring it into your molds.
Frequently Asked Questions About Homemade Popsicles
To help you confidently master your homemade popsicle-making journey, we’ve gathered and answered some common questions that often arise.
Can I use frozen fruit instead of fresh?
Absolutely! Frozen fruit works wonderfully in this recipe and can even make your mixture colder, potentially speeding up the initial freezing process. Plus, it’s a fantastic way to utilize fruit that might be slightly past its peak for fresh eating or to reduce food waste. There’s no need to thaw it beforehand; just toss it straight into the blender with your other ingredients.
What kind of yogurt is best for popsicles?
Plain yogurt, whether regular or Greek, is generally recommended because it gives you complete control over the sweetness level. Greek yogurt will consistently result in a thicker, creamier, and higher-protein popsicle, while regular plain yogurt will yield a slightly lighter texture. You can certainly experiment with flavored yogurts, but always be mindful of their often-high added sugar content.
Can I omit the honey or use a different sweetener?
Yes, you absolutely can! If your chosen fruit is exceptionally sweet and ripe, you might discover that you don’t require any added sweetener at all. Maple syrup or agave nectar are excellent vegan-friendly alternatives to honey. You can also opt for a small amount of a sugar substitute if that aligns with your dietary preferences. Always remember to taste the blended mixture before freezing to ensure it perfectly meets your desired sweetness level.
How long do homemade popsicles last in the freezer?
When stored correctly in an airtight container or individually wrapped to prevent freezer burn, homemade popsicles can maintain their quality and taste for approximately 2 to 3 weeks. Beyond that timeframe, while they are still safe to eat, their texture and flavor might begin to degrade slightly, making them less enjoyable.
My popsicles are too hard or icy. What can I do to make them creamier?
An overly hard or icy popsicle can often occur if there’s too much water content in the mixture. To achieve a creamier texture, try increasing the amount of yogurt in your recipe and slightly reducing the amount of milk. Incorporating ripe bananas into your blend is another excellent way to add natural creaminess. For adult-only popsicles, a very small amount of alcohol (like a teaspoon of vodka, which doesn’t freeze solid) can slightly lower the freezing point and make them softer, though this technique is obviously not recommended for children’s treats.
With these comprehensive tips, creative variations, and helpful FAQs, you are now fully equipped to become a homemade popsicle pro. Go forth, experiment, have fun in the kitchen, and most importantly, enjoy these wonderfully refreshing, healthy, and utterly delicious treats all year round!