
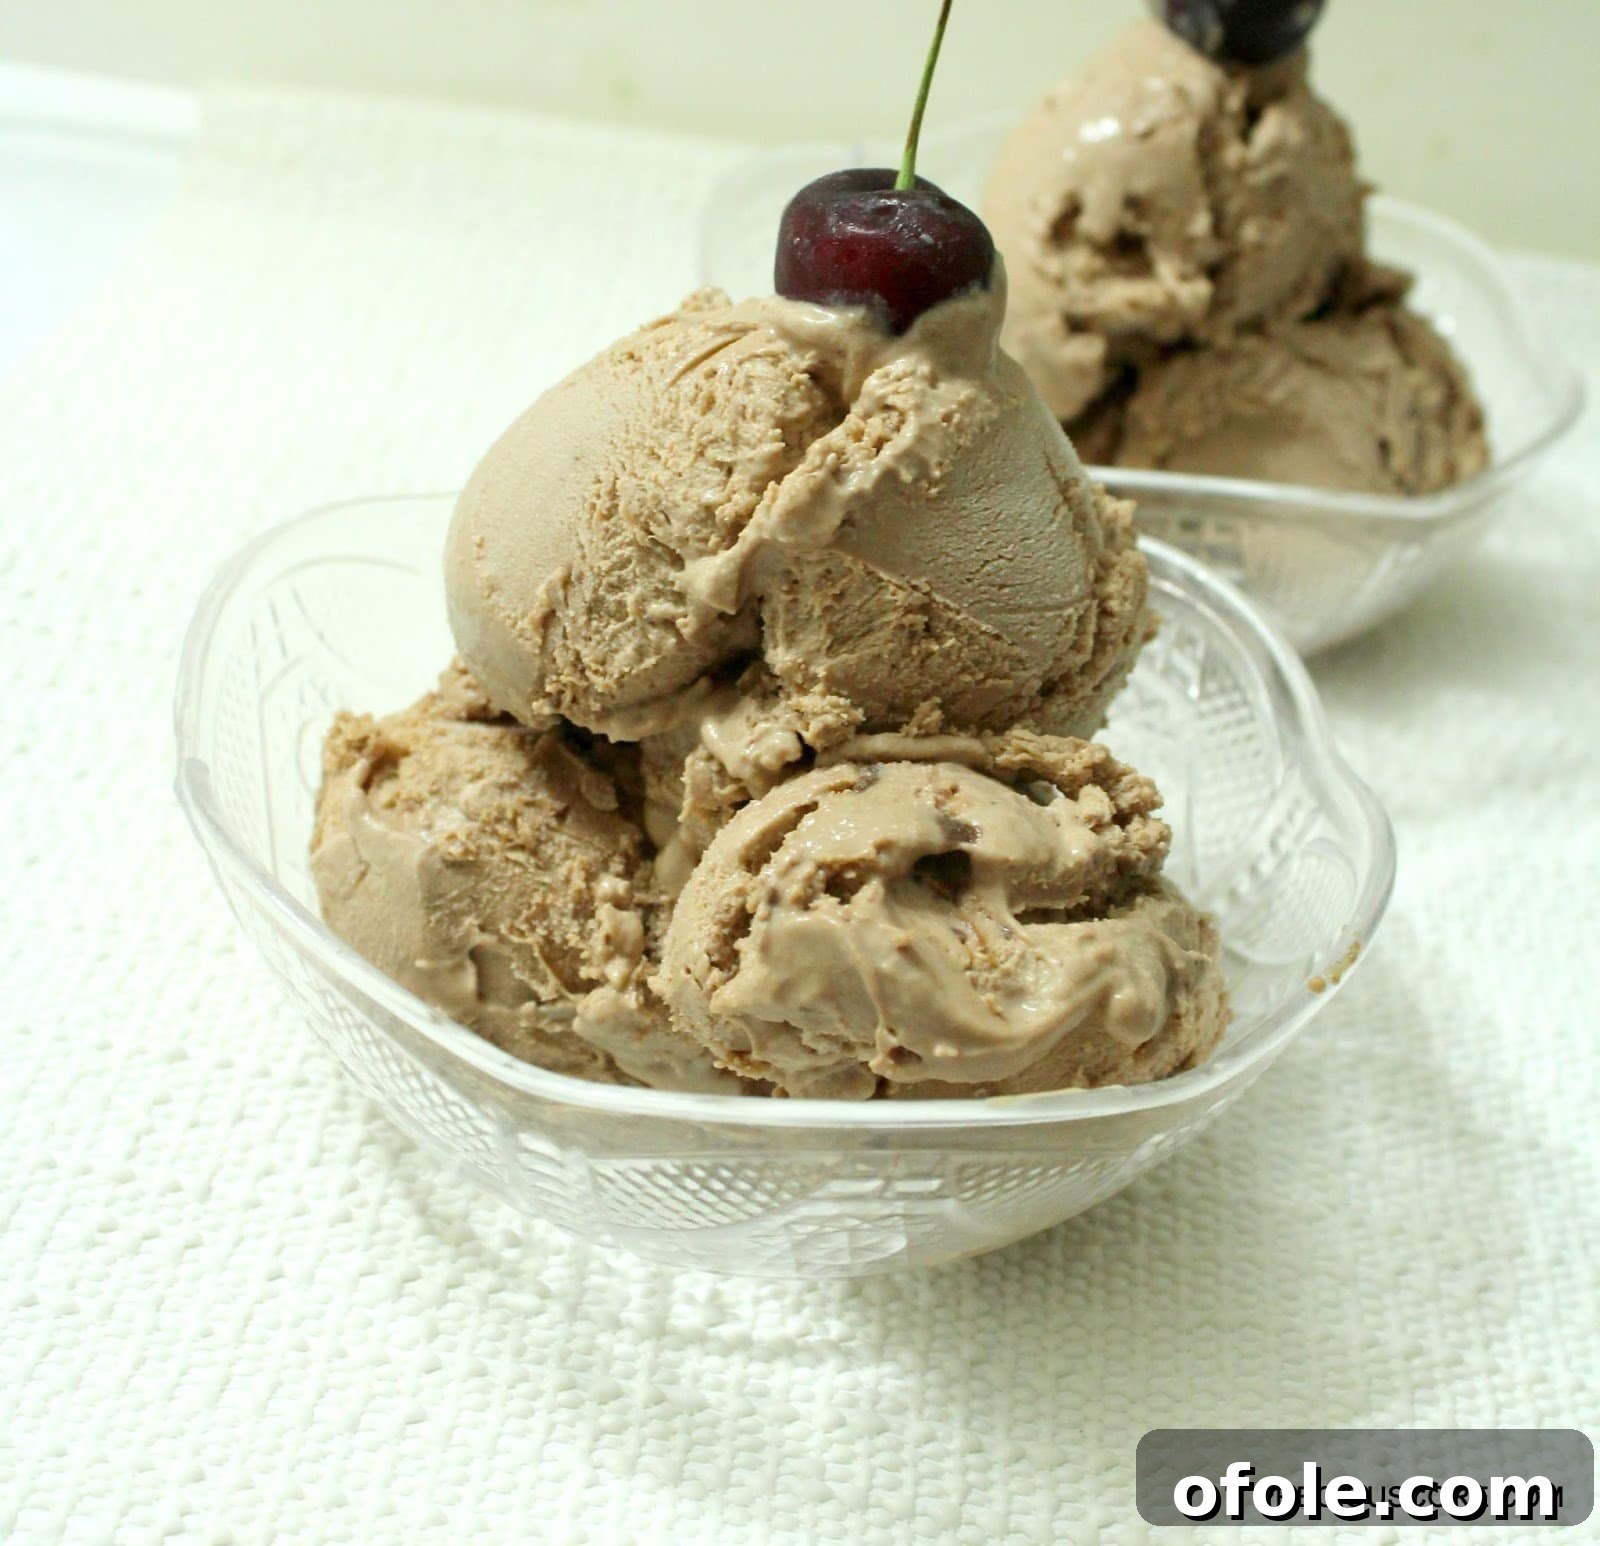
The Easiest 3-Ingredient No-Churn Chocolate Ice Cream Recipe
Imagine indulging in rich, creamy homemade chocolate ice cream without the hassle of an ice cream maker or a long list of ingredients. Sounds like a dream, right? Well, prepare for that dream to become a delicious reality! We’re about to unveil the simplest, most foolproof chocolate ice cream recipe that requires just three humble ingredients and absolutely no specialized equipment. This isn’t just easy; it’s revolutionary for anyone craving a decadent dessert with minimal effort. Get ready to transform your dessert game and impress everyone with this incredible no-churn creation.
Whether you’re a seasoned baker or a complete novice in the kitchen, this recipe is designed for success. Say goodbye to icy textures and hello to a smooth, scoopable masterpiece. This guide will walk you through every step, ensuring your homemade chocolate ice cream is nothing short of perfect. Let’s dive into the magic!
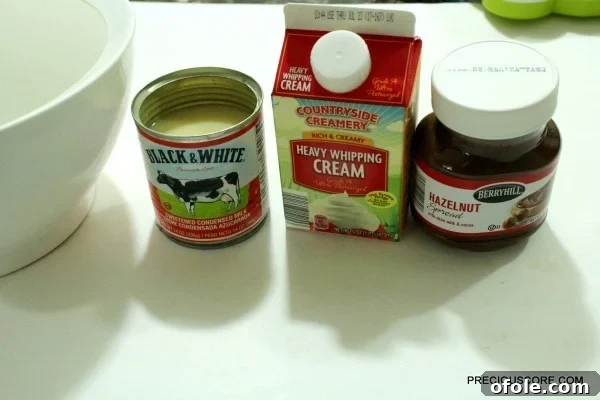
The Simple Stars: Your 3 Essential Ingredients
The beauty of this recipe lies in its elegant simplicity. You only need three readily available ingredients to create a truly exceptional dessert. The quality of these ingredients plays a significant role in the final taste and texture, so choose wisely!
- Heavy Whipping Cream: This is the foundation of our creamy texture. Look for heavy cream with at least 36% milk fat content. When whipped, it incorporates air, creating a light, airy base that prevents the ice cream from becoming icy. It’s what gives our no-churn ice cream its characteristic richness and smooth mouthfeel, mimicking the texture achieved by traditional churning.
- Sweetened Condensed Milk: This magical ingredient serves multiple purposes. It provides the perfect level of sweetness, eliminating the need for granulated sugar. More importantly, its thick, syrupy consistency helps to prevent ice crystal formation, which is crucial for a no-churn recipe. It also adds a wonderful depth of flavor and contributes significantly to the overall creaminess.
- Chocolate-Hazelnut Spread: For our decadent chocolate flavor, we rely on a good quality chocolate-hazelnut spread. Brands like Nutella are popular choices, but feel free to use your favorite. This spread not only infuses the ice cream with rich chocolate and nutty notes but also contributes to the smooth texture, thanks to its oils and sugars. It’s the simplest way to get a deep, satisfying chocolate taste without melting chocolate or using cocoa powder.
Essential Equipment for a Smooth Process
One of the many benefits of this no-churn method is that you don’t need any fancy gadgets. Most of these items you likely already have in your kitchen.
- Large Mixing Bowl: Essential for whipping the cream and combining all ingredients.
- Electric Hand Mixer or Stand Mixer: While a whisk can work if you have exceptional arm strength, an electric mixer will make whipping the heavy cream to soft peaks significantly easier and faster. This is the most “intensive” part of the process.
- Rubber Spatula: Perfect for gently folding in the chocolate spread without deflating the whipped cream.
- Loaf Pan (9×5 inches) or Freezer-Safe Container: For freezing your ice cream. An airtight container helps prevent freezer burn.
- Plastic Wrap or Lid: To cover your container while freezing.
Step-by-Step Instructions: Creating Your Chocolate Masterpiece
Follow these simple steps, and you’ll be on your way to enjoying glorious homemade chocolate ice cream!
-
Prepare the Cream Base:
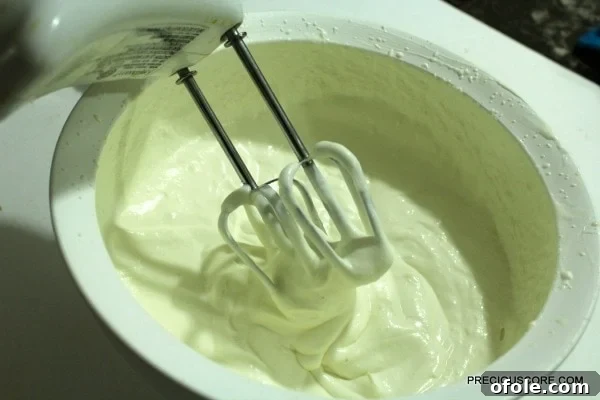
Begin by pouring the heavy whipping cream and the entire can of sweetened condensed milk into a large, clean mixing bowl. Ensure your bowl and beaters are cold; you can even chill them in the freezer for 10-15 minutes beforehand. This helps the cream whip up faster and achieves a better volume.
Using your electric hand mixer (or a stand mixer with a whisk attachment), start beating the mixture on a medium-high speed. Continue beating until the mixture thickens considerably and forms soft peaks. This means when you lift the beaters, the mixture should form peaks that gently droop at the top. This typically takes about 3 to 5 minutes. Be careful not to overbeat, as it can turn into butter.
(Chef’s Note: If using a hand whisk, prepare for a workout! It will take significantly longer, around 10-15 minutes, and requires continuous, vigorous whisking.)
-
Incorporate the Chocolate Goodness:

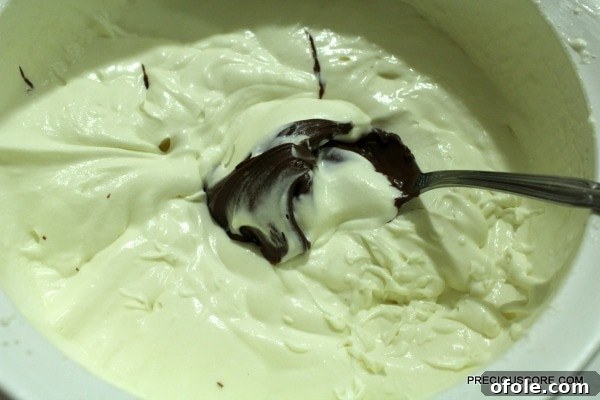
Once your cream base has reached the soft peak stage, it’s time to add the star flavor: the chocolate-hazelnut spread. Gently pour or spoon in about one cup of the spread into the whipped mixture. You can adjust the amount slightly based on your preference for chocolate intensity.
-
Fold Until Combined:
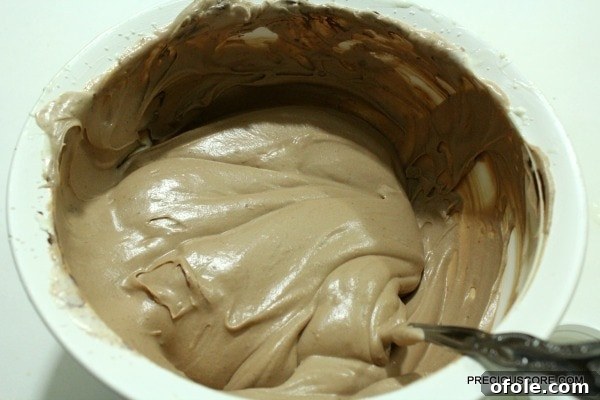
Using a rubber spatula, carefully fold the chocolate spread into the cream mixture. The key here is to be gentle. You want to mix until everything is just incorporated and no white streaks remain, but avoid overmixing which can deflate the air you’ve worked hard to whip into the cream. The mixture should be a uniform, light brown color.
-
Prepare for Freezing:
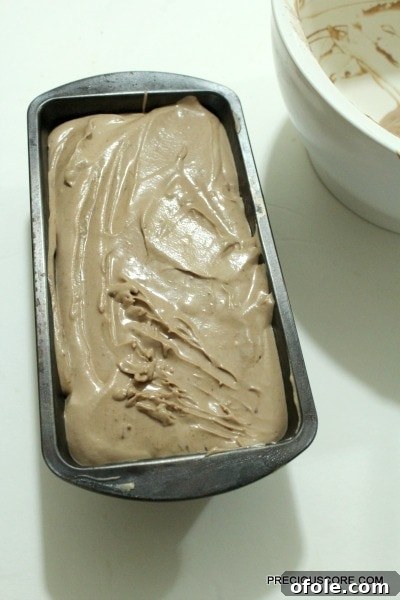
Pour the beautifully combined chocolate ice cream mixture into your chosen loaf pan or freezer-safe container. Smooth the top with your spatula to ensure even freezing. For best results, cover the pan tightly with plastic wrap, ensuring the wrap touches the surface of the ice cream to prevent ice crystals from forming on top. If using a container with a lid, make sure it’s sealed securely.
-
Chill and Patience:
Place the covered pan in your freezer for a minimum of 6 hours. For the best, firmest consistency, it’s ideal to freeze it overnight. This allows the mixture ample time to set completely and develop that perfect scoopable texture. Making it the night before for a next-day treat is a fantastic strategy!
-
Serve and Savor:
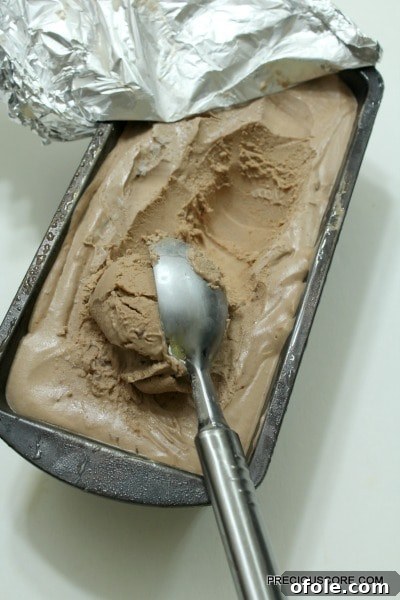
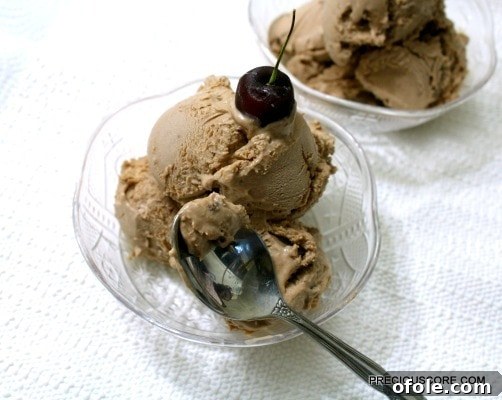
Once thoroughly chilled and firm, your exquisite homemade chocolate ice cream is ready! Take it out of the freezer and let it sit at room temperature for about 5 to 10 minutes. This brief resting period makes it easier to scoop. Now, scoop generously into bowls or cones, and prepare to be amazed by the rich, creamy flavor you created with such minimal effort.
Congratulations, you’ve just made the world’s easiest and arguably most satisfying chocolate ice cream. Go make some more!
Tips for the Perfect No-Churn Ice Cream
- Chill Your Bowl and Beaters: Placing your mixing bowl and whisk attachments in the freezer for 15-20 minutes before whipping the cream can significantly help in achieving better volume and stability in your whipped cream.
- Don’t Overbeat: While you want soft peaks, be careful not to overbeat the heavy cream and condensed milk mixture. Overbeating can cause the cream to separate and become grainy, turning into butter. Stop when it just holds its shape.
- Gently Fold: When incorporating the chocolate spread, use a gentle folding motion with a spatula. This preserves the air pockets in the whipped cream, which are essential for the light and airy texture of no-churn ice cream.
- Cover Tightly: Always cover your ice cream container with plastic wrap directly touching the surface of the mixture, and then seal with a lid. This prevents ice crystals from forming on the surface and keeps your ice cream smooth and creamy.
- Allow to Soften: For the best scooping experience, let your frozen ice cream sit out at room temperature for 5-10 minutes before serving. This allows it to soften slightly and become perfectly scoopable.
Creative Variations & Flavor Combos
While this classic 3-ingredient chocolate ice cream is phenomenal on its own, it’s also a fantastic base for customization. Here are a few ideas to get your creative juices flowing:
- Mint Chocolate Chip: Add 1/2 teaspoon of mint extract and a handful of finely chopped dark chocolate or chocolate chips when folding in the chocolate spread.
- Oreo Blast: Crush about 1 cup of Oreo cookies and fold them into the mixture along with the chocolate spread.
- Coffee Swirl: Dissolve 1-2 tablespoons of instant espresso powder in a tiny bit of hot water (let it cool) and swirl it into the chocolate ice cream mixture just before freezing for a mocha flavor.
- Nutty Crunch: Add chopped toasted nuts like pecans, walnuts, or almonds for added texture and flavor.
- S’mores Delight: Swirl in some marshmallow fluff and crushed graham crackers along with the chocolate spread.
- Spicy Chili Chocolate: For an adventurous twist, add a pinch of cayenne pepper when folding in the chocolate spread.
Storage Recommendations
Your homemade no-churn chocolate ice cream can be stored in an airtight container in the freezer for up to 2-3 weeks. Beyond that, while it will still be safe to eat, its texture and flavor might start to degrade slightly due to potential freezer burn. Always ensure it’s tightly covered to maintain its creamy consistency and prevent the absorption of freezer odors.
Why No-Churn Works So Well
The magic behind no-churn ice cream lies in the combination of heavy cream and sweetened condensed milk. When whipped, heavy cream incorporates a significant amount of air, which helps create a light and fluffy texture, mimicking the aeration of an ice cream machine. The sweetened condensed milk, with its high sugar content and thick consistency, acts as a natural antifreeze. It lowers the freezing point of the mixture and prevents the formation of large, icy crystals, ensuring a smooth, creamy result. This brilliant synergy means you get a decadent, scoopable ice cream without the constant agitation an ice cream maker provides.
Conclusion: Your New Go-To Dessert!
And there you have it – the ultimate guide to making the easiest, most delicious 3-ingredient no-churn chocolate ice cream. This recipe proves that you don’t need fancy equipment or a culinary degree to create an incredibly satisfying dessert. It’s perfect for last-minute cravings, impromptu gatherings, or simply treating yourself to a moment of pure bliss.
So, what are you waiting for? Gather your three ingredients, follow these simple steps, and prepare to delight your taste buds. This no-churn chocolate ice cream is more than just a recipe; it’s an invitation to effortlessly enjoy homemade goodness. Go ahead, whip up a batch tonight, and experience the joy of truly simple, spectacularly delicious dessert making!