
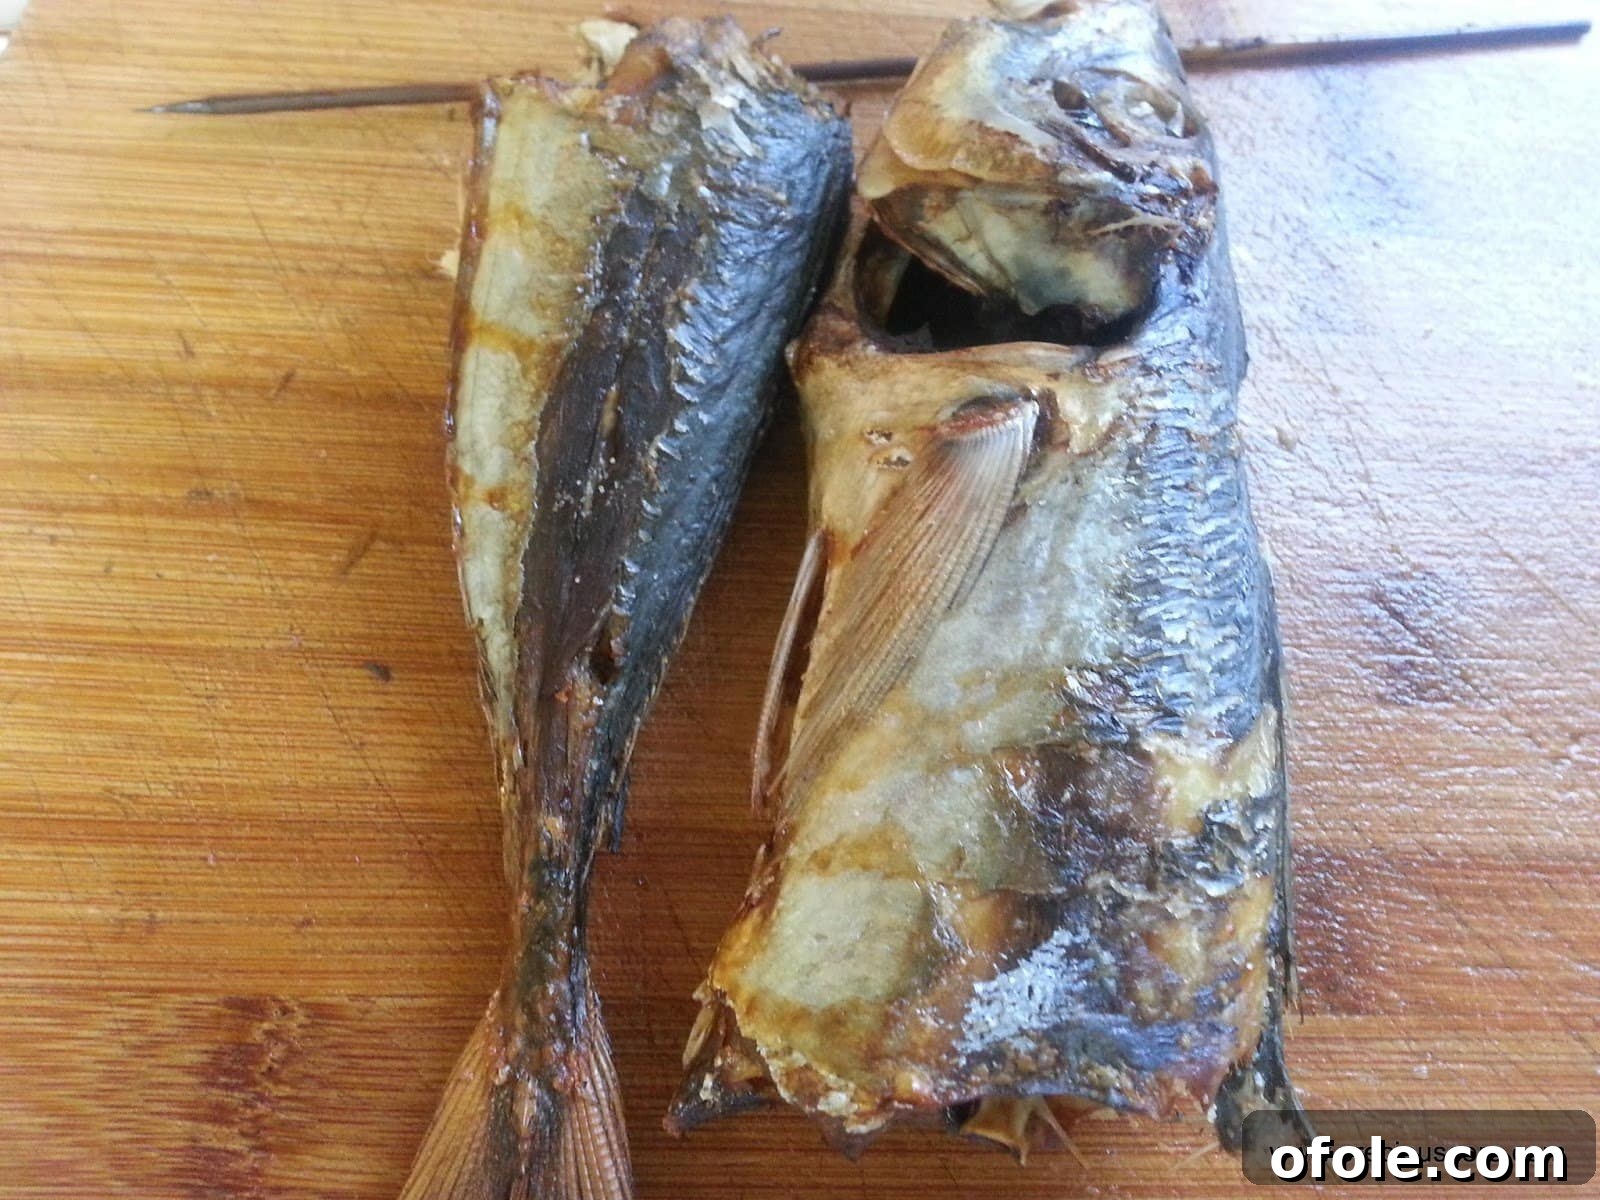
For many who cherish the rich, complex flavors of authentic African cuisine, dried fish is an indispensable ingredient. Its distinctive aroma and savory depth elevate dishes like Eru, Ogbono soup, and Kwacoco Bible to a culinary experience that is simply unmatched. However, finding high-quality dried fish, particularly specific varieties, can be a significant challenge outside of West African communities. After moving to the United States, I often found myself yearning for this traditional staple, which felt like a luxury—a rare find tucked away in specialty African shops. This scarcity, coupled with the desire to recreate beloved family recipes, led me to explore alternative methods. While frying frozen fish provided a decent substitute, the added oil wasn’t always ideal. This journey of culinary adaptation ultimately led me to discover the incredibly convenient and effective method of making oven-dried fish right in my own kitchen. The beauty of this technique is its simplicity: as long as you have access to fresh or frozen fish, you can easily replicate the essential flavors and textures of dried fish, opening up a world of authentic African cooking possibilities. This guide will walk you through the process, ensuring you can bring those cherished tastes directly to your table.
Mastering the art of oven-drying fish not only ensures a steady supply of this prized ingredient but also offers several advantages over traditional methods. Firstly, it provides a cleaner, less oily alternative to pan-frying, resulting in a product that’s both flavorful and healthier. Secondly, it circumvents the need for specialized equipment like smokers or the unreliable conditions of sun-drying. Your conventional oven transforms into a controlled environment, making the process accessible to anyone, anywhere. Whether you’re aiming for a slightly firmed-up fish perfect for immediate inclusion in a simmering stew or a more intensely dried product for longer storage, your oven can deliver. This versatility makes it an invaluable skill for anyone looking to embrace the full spectrum of African culinary traditions without geographical limitations.
Essential Ingredients & Tools for Homemade Oven-Dried Fish
To embark on your oven-drying journey, you won’t need an extensive list of ingredients or specialized equipment. The beauty lies in its simplicity. Here’s what you’ll need to get started, ensuring you’re well-prepared for success:
- **Fish of Choice:** The star of our recipe! I personally prefer fish that holds up well during the drying process. For this demonstration, I used what’s locally known as “Morocco fish,” which is often labeled as Yellow Tail Mackerel in international markets. Other excellent choices include Tilapia (especially thinly cut fillets), Catfish, or even Cod. Look for fish with firm flesh.
- **Salt:** A pinch of salt is all you need for seasoning. It not only enhances the flavor but also aids slightly in the drying and preservation process.
- **Bamboo Skewer (Optional but Recommended):** While not strictly essential for the drying process itself, a bamboo skewer or a similar sturdy stick can be incredibly useful for handling the fish and ensuring even airflow, particularly if you’re drying whole fish. It’s a traditional touch that I’ve adopted from seeing my aunt prepare smoked fish.
- **Baking Sheet:** Essential for placing your fish in the oven. Line it with parchment paper for easier cleanup and to prevent sticking.
- **Oven:** Your standard kitchen oven is the primary tool for this method.
Step-by-Step Guide to Oven-Drying Your Fish
Follow these detailed steps to transform your fresh or frozen fish into a delicious, ready-to-use oven-dried ingredient:
Step 1: Prepare Your Fish
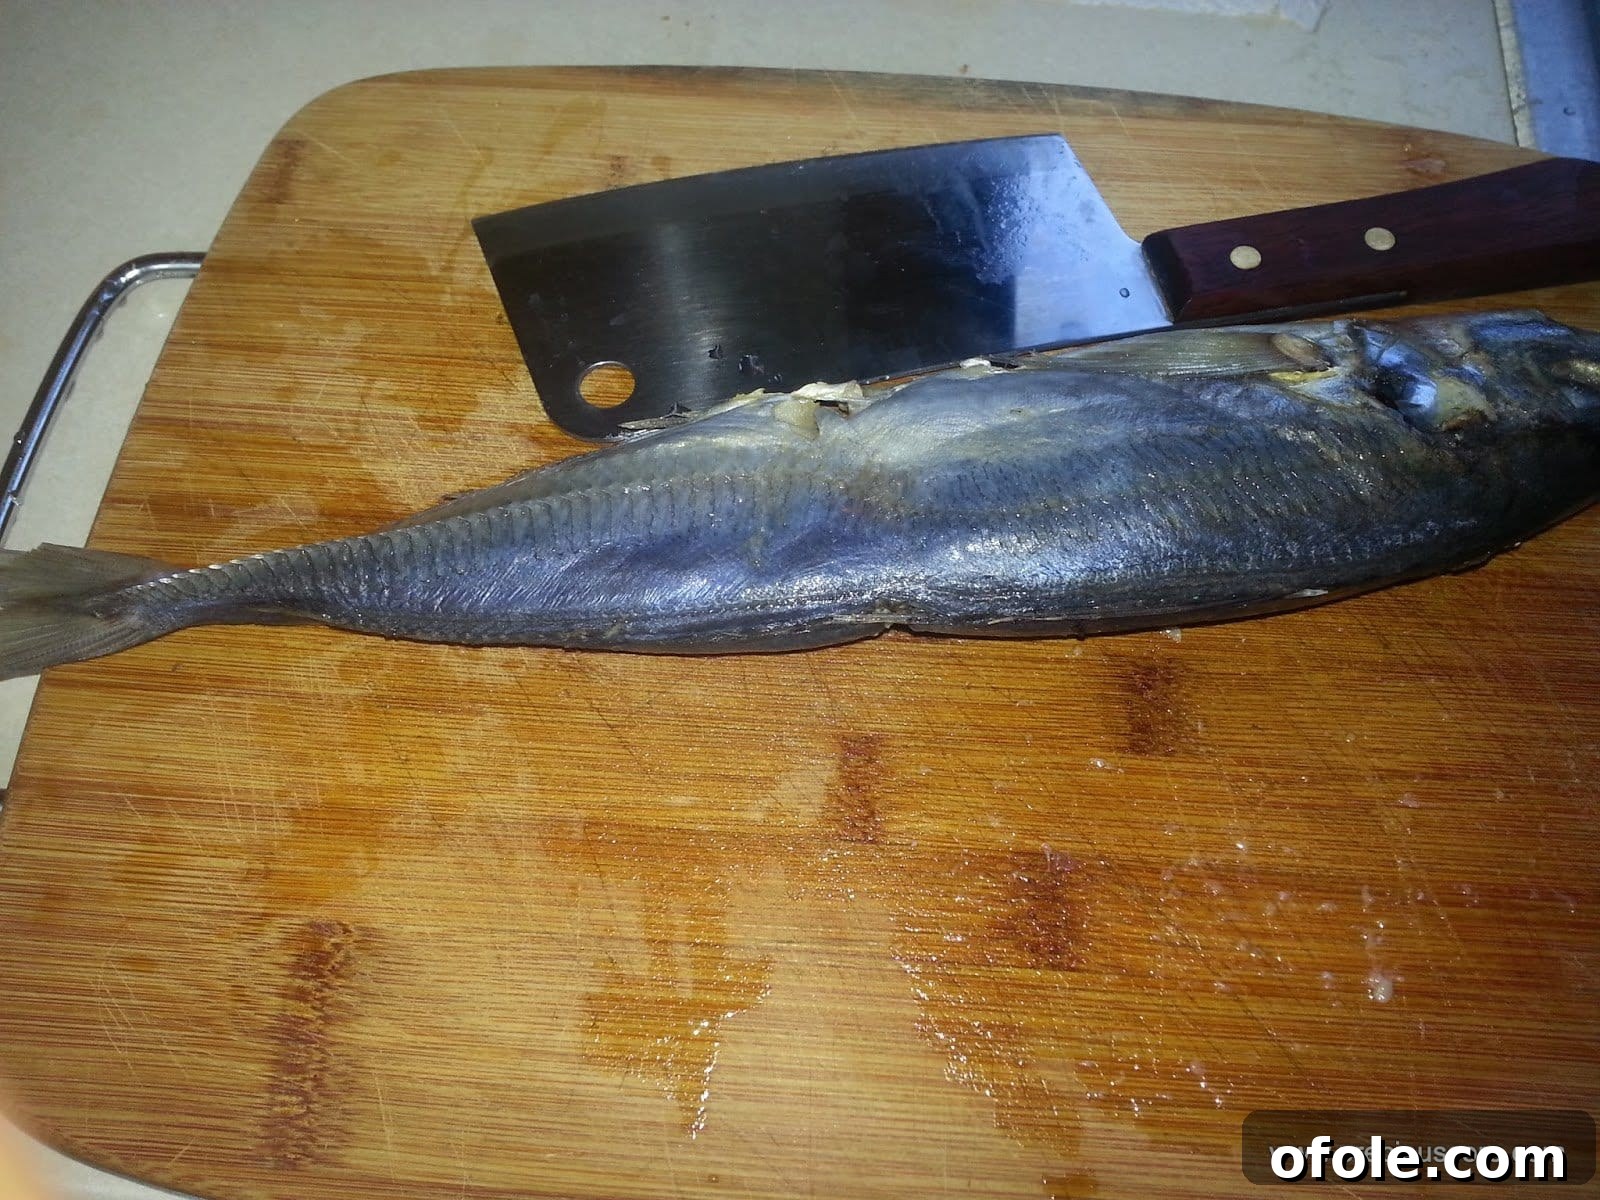
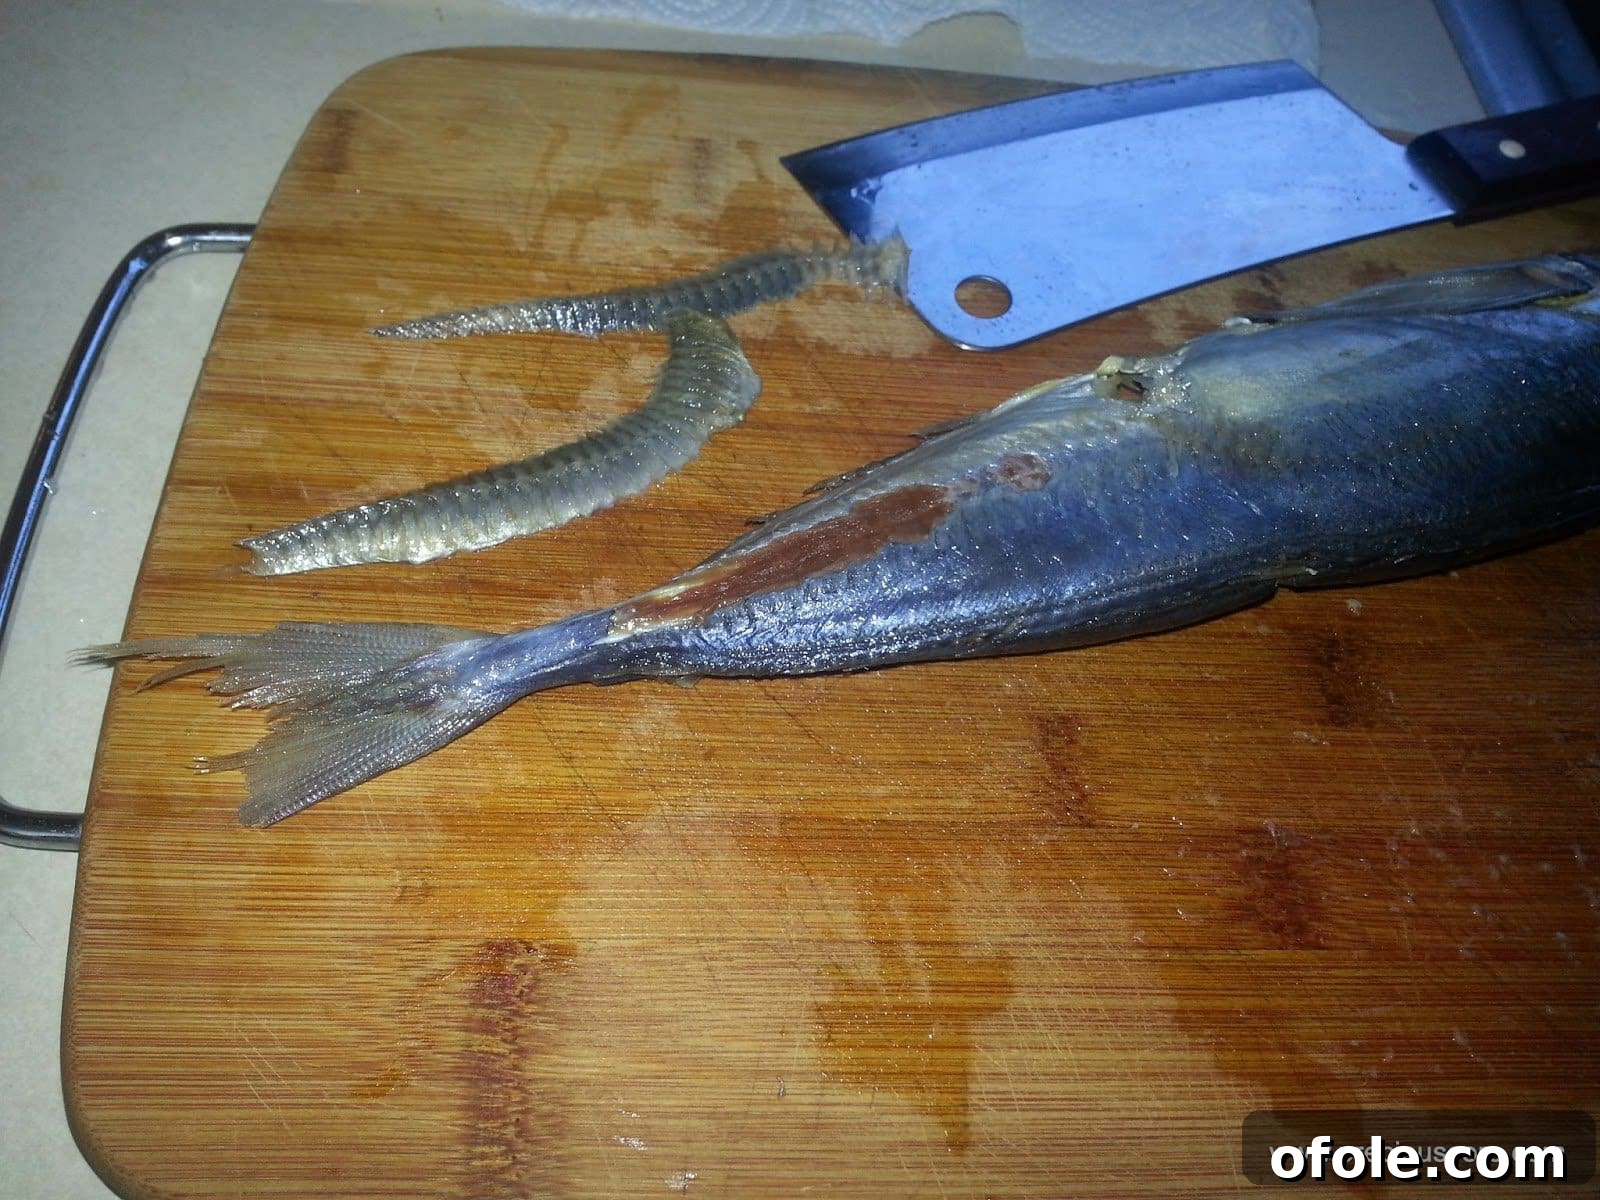
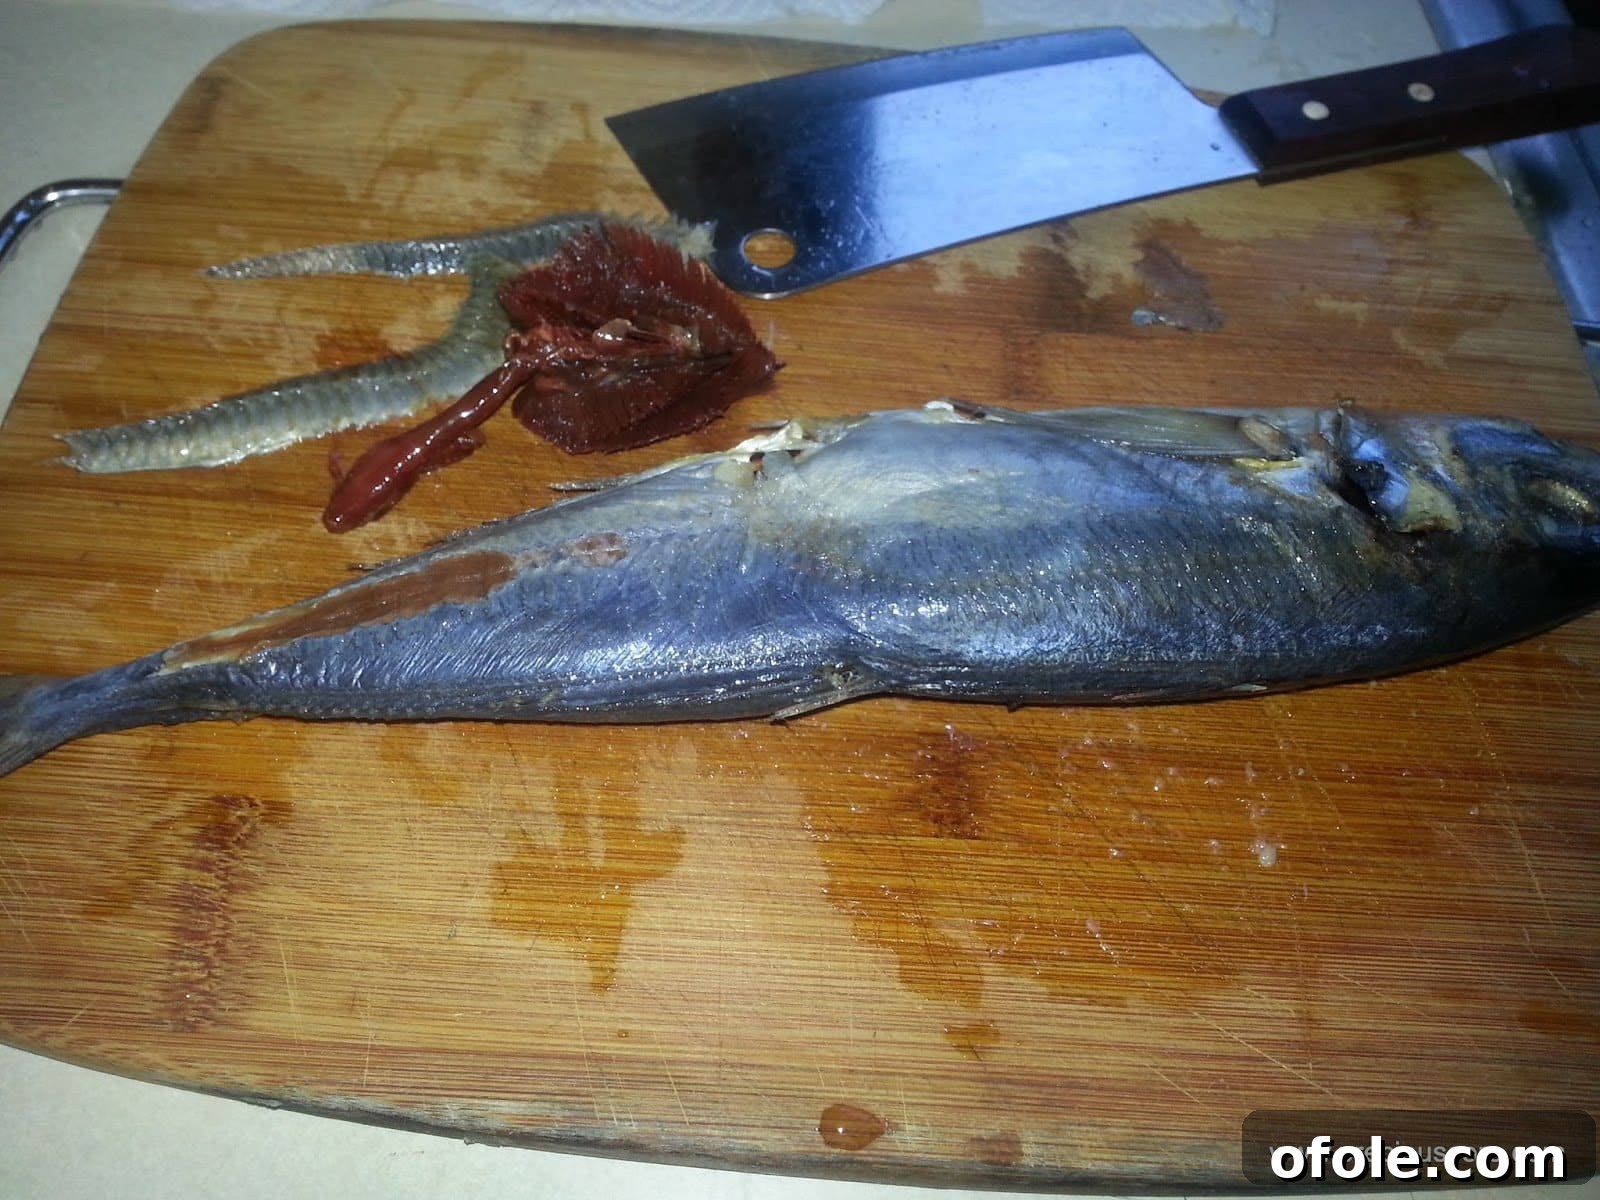
Before any cooking or drying begins, proper fish preparation is paramount. If you’re using frozen fish, ensure it’s fully thawed before proceeding. Begin by thoroughly cleaning the fish under cold running water. This involves carefully scaling the fish if necessary (many fish already come scaled or have very fine scales), then making an incision along its belly to remove the internal organs. Rinse the cavity thoroughly to remove any blood or debris. Some prefer to remove the head entirely, but for traditional presentation and flavor, I often keep it intact. Pay close attention to the details shown below.
Step 2: Remove Gills (Optional)
For those aiming for an even cleaner flavor profile or simply a more refined appearance, consider removing the gills. Gills can sometimes impart a slightly bitter taste if not thoroughly cleaned or if the fish is left with them during prolonged drying. Carefully lift the gill plate and snip them out with kitchen shears. This step is entirely optional and depends on your personal preference and the specific dish you’re preparing.
Step 3: Season and Skewer
Once your fish is impeccably clean, it’s time to season it. Lightly rub a pinch of salt over the entire surface of the fish, both inside and out. Don’t overdo it, as the flavors will concentrate during the drying process. Salt not only adds taste but also helps to draw out moisture, contributing to the drying effect. Next, take a bamboo skewer or a sturdy stick and carefully pierce it across the fish, typically through the head and out the tail or through the thickest part of the body. While I initially adopted this practice simply because I observed my aunt (who sold smoked fish) doing it, it does offer practical benefits. It can help the fish maintain its shape, makes handling easier, and potentially allows for more even airflow around the fish in the oven. However, if you don’t have a skewer, don’t worry—your fish will still dry beautifully!
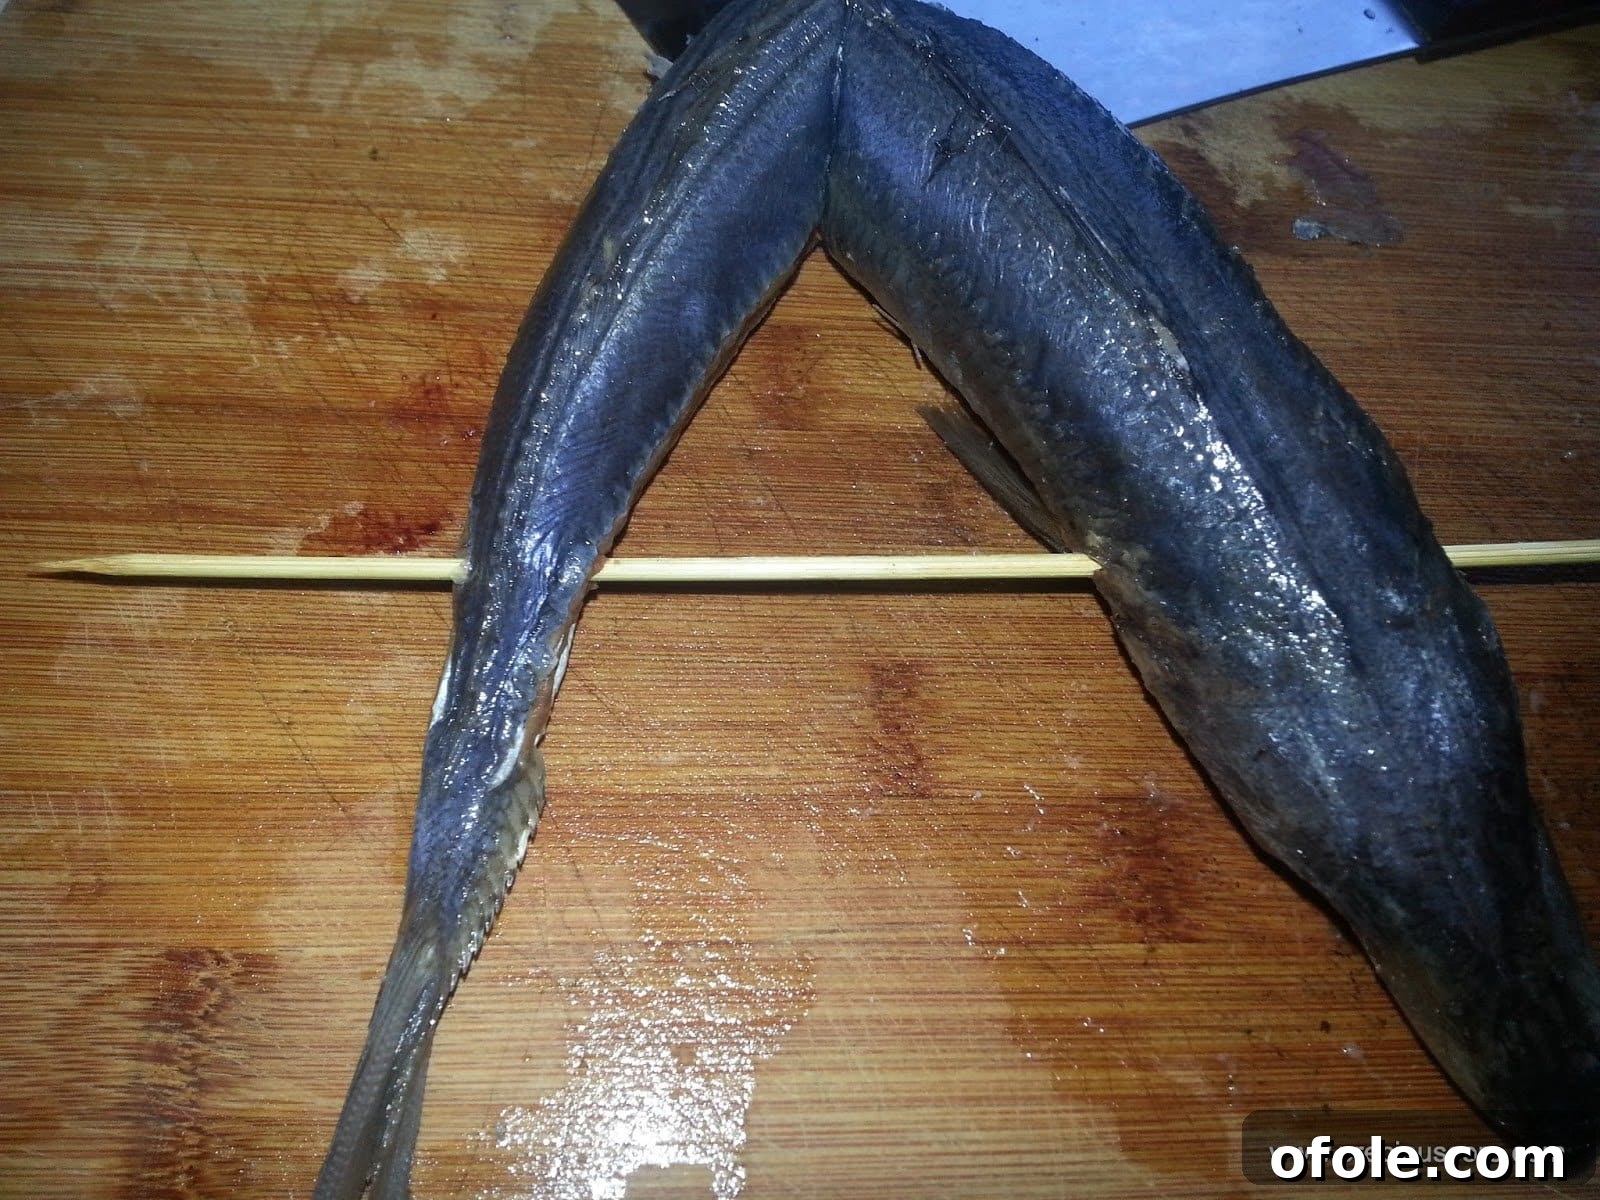
Step 4: The Initial Bake for a “Ready-to-Use” Texture
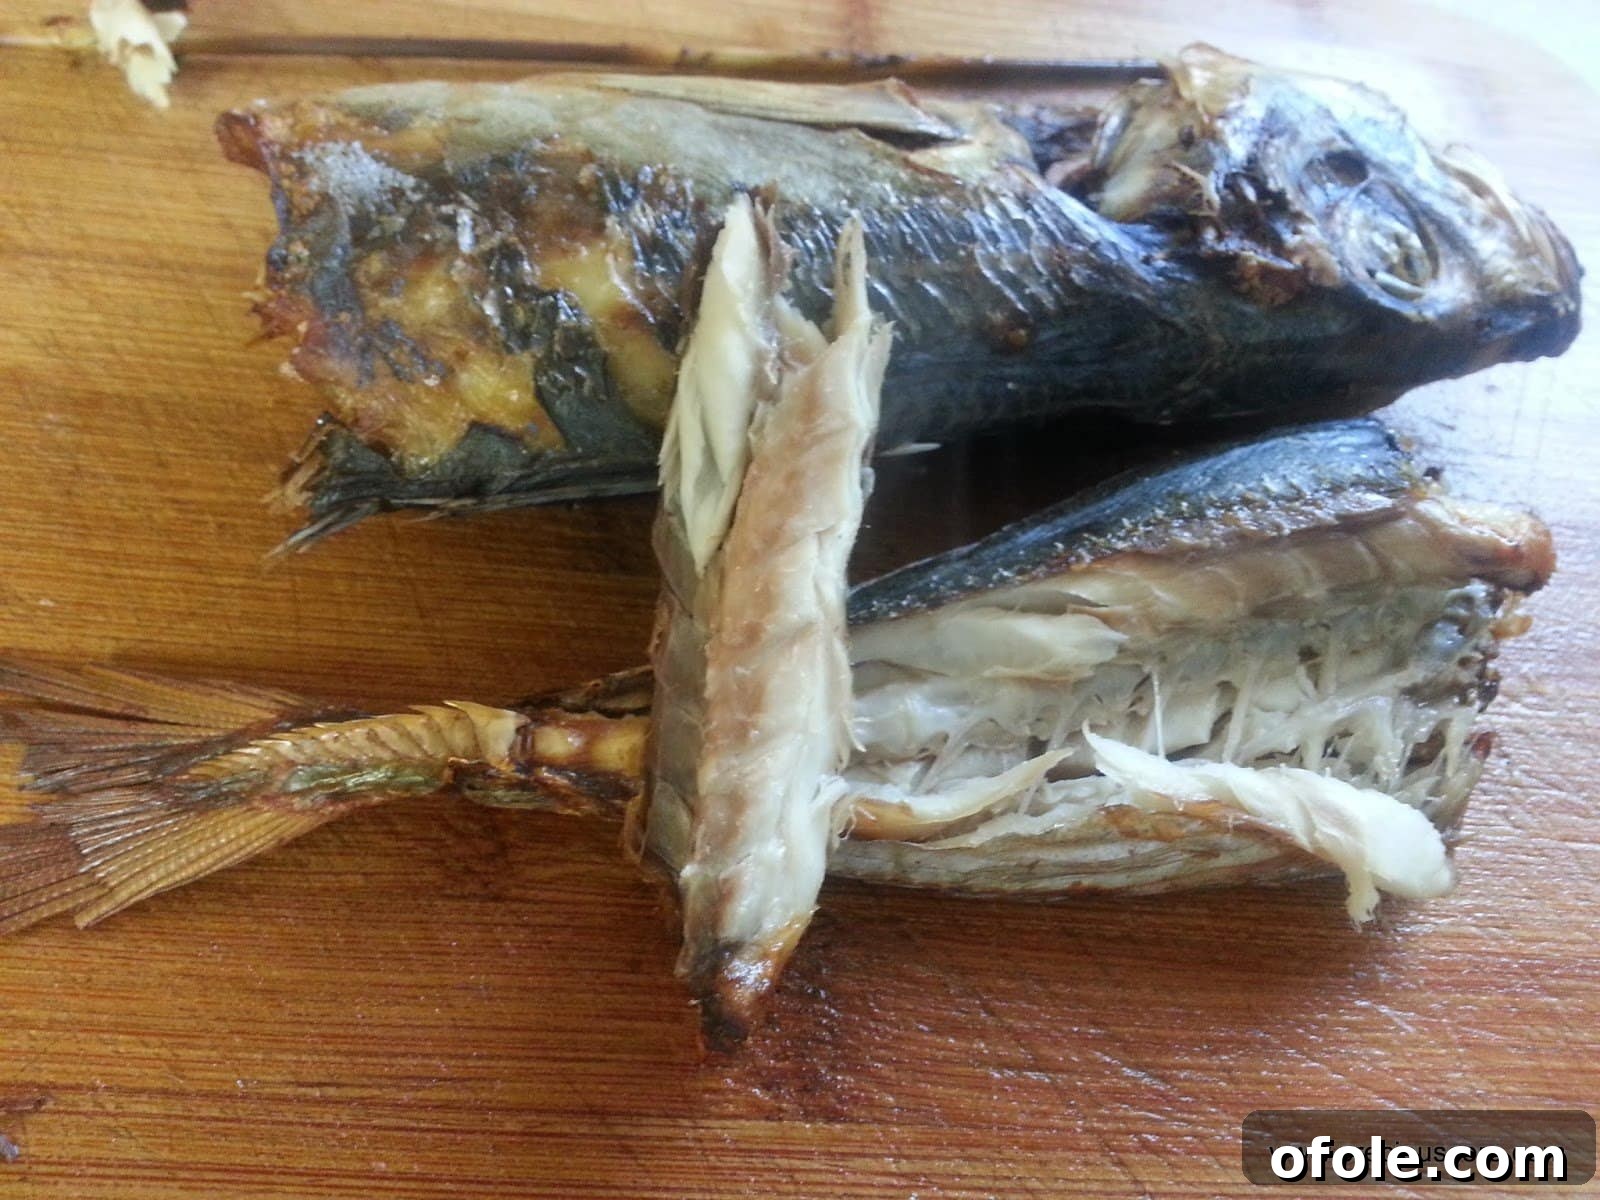
Preheat your oven to approximately 400 degrees Fahrenheit (200 degrees Celsius). Line a baking sheet with parchment paper to prevent sticking. Carefully place your skewered and seasoned fish onto the prepared baking sheet. Bake for about 10 to 15 minutes. At this higher temperature and shorter duration, the fish will cook through and begin to firm up, developing a slightly dry, flaky texture that’s perfect for immediate use in rich stews and soups like Eru. This method effectively transforms the fish into a cooked, firm ingredient that mimics the textural contribution of traditionally dried fish, without necessarily achieving full desiccation for long-term storage.
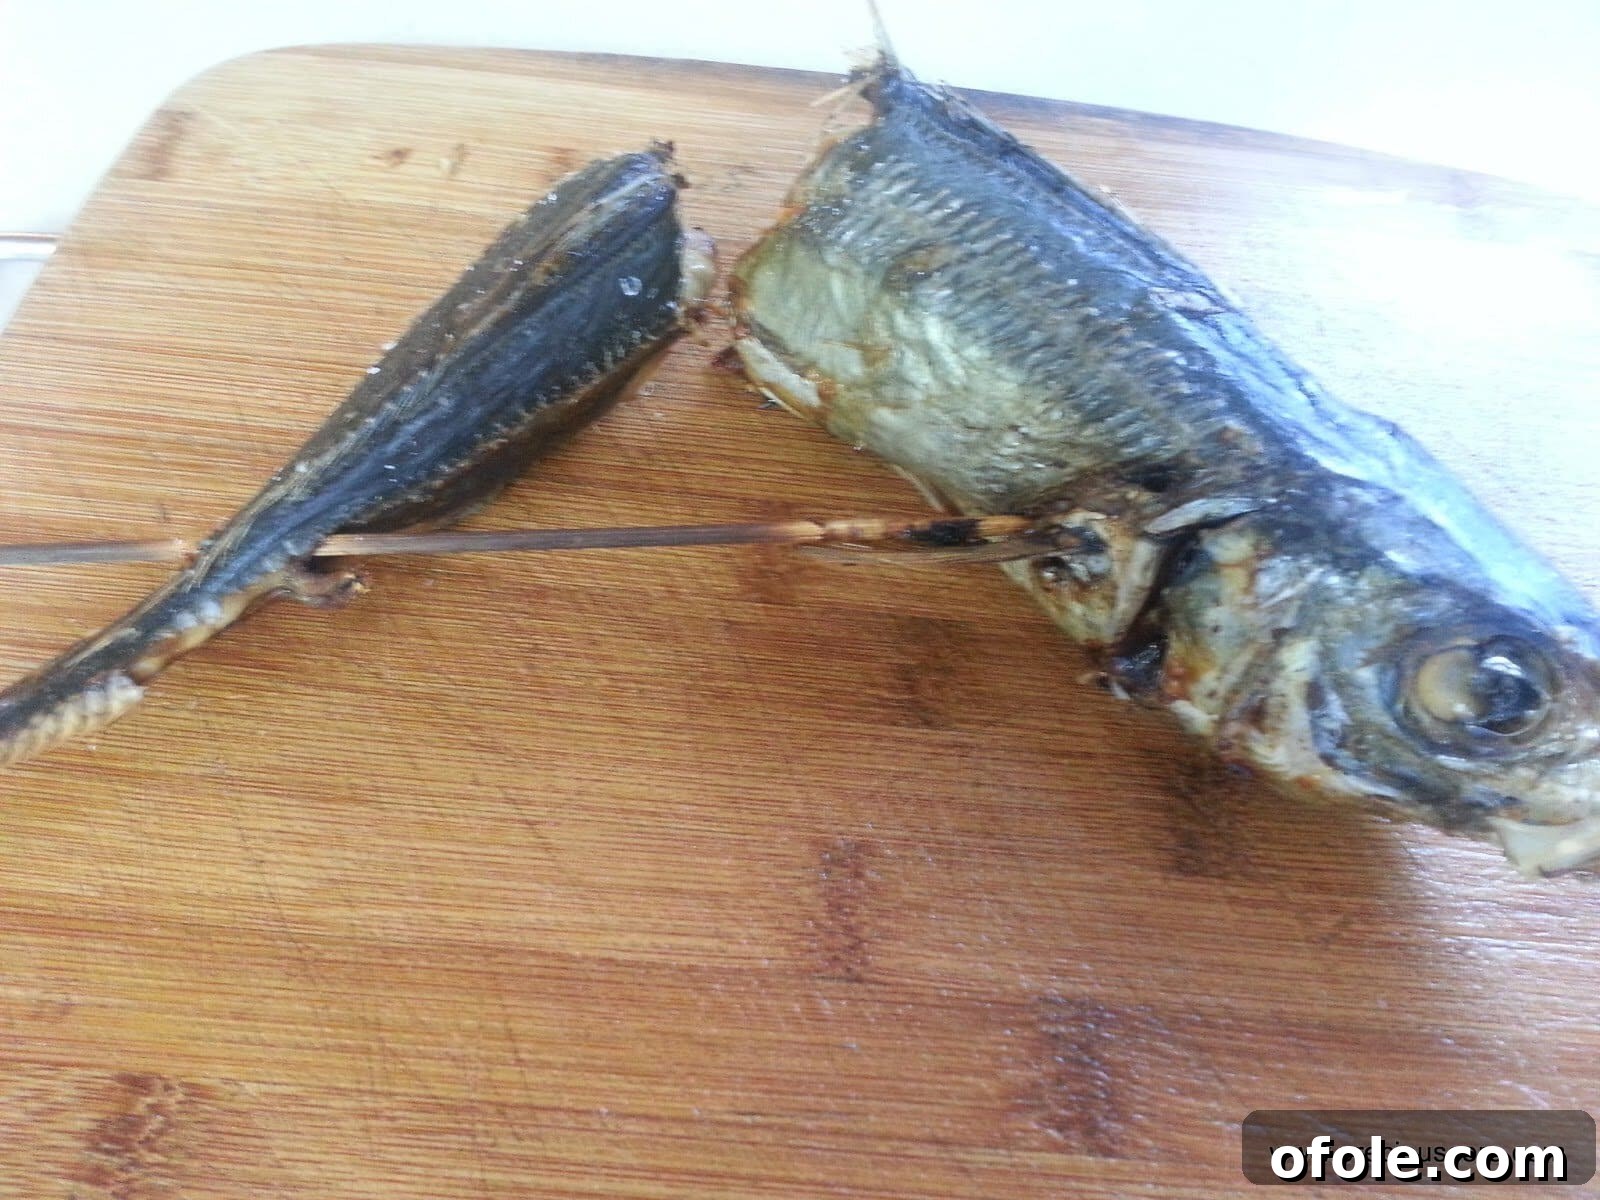
Step 5: Inspect and Enjoy!
After the initial bake, your fish will emerge from the oven beautifully cooked and slightly firmed. This is the ideal stage for incorporating it directly into your favorite African soups and stews. The intense heat cooks the fish thoroughly, while the short duration prevents it from becoming overly dry or brittle. It will have a golden hue and a firm texture, ready to infuse your pot of soup with its delectable essence. If you’re like me, the irresistible aroma filling your kitchen will compel you to cut off a small piece and enjoy a sneak peek – one of the many delightful benefits of being the chef in the kitchen!
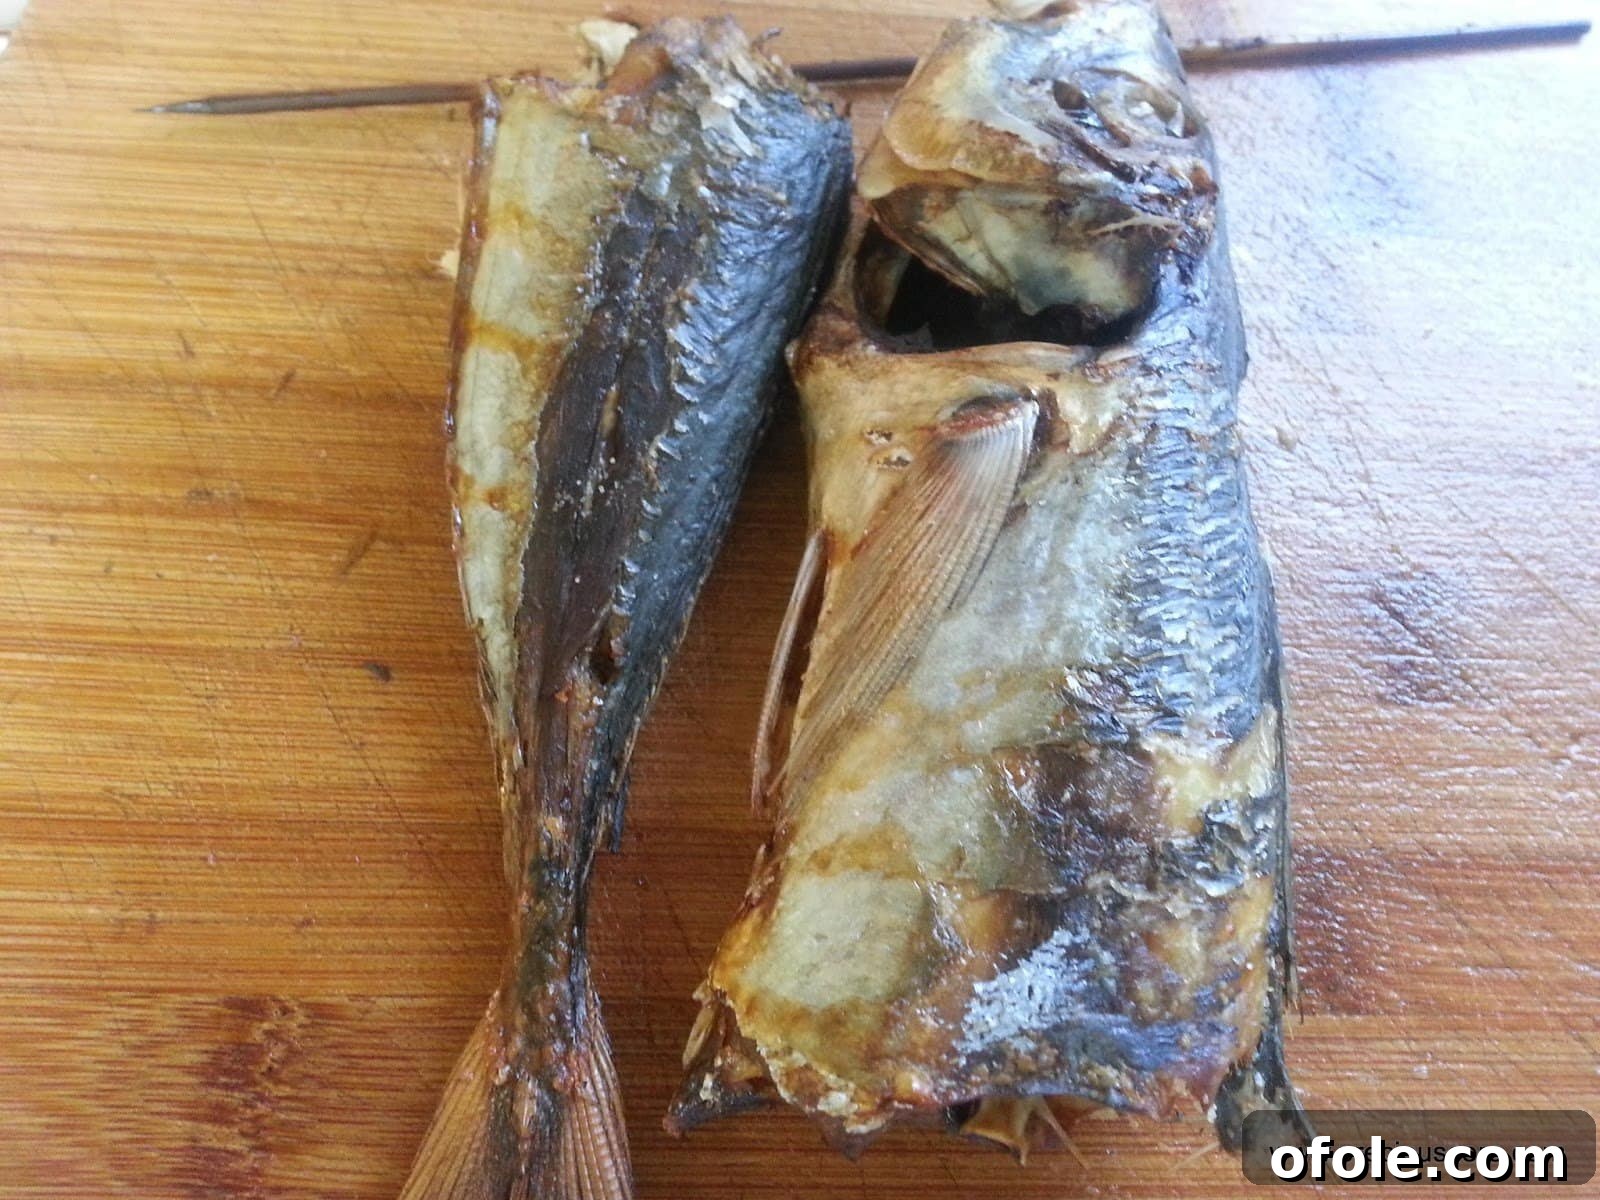
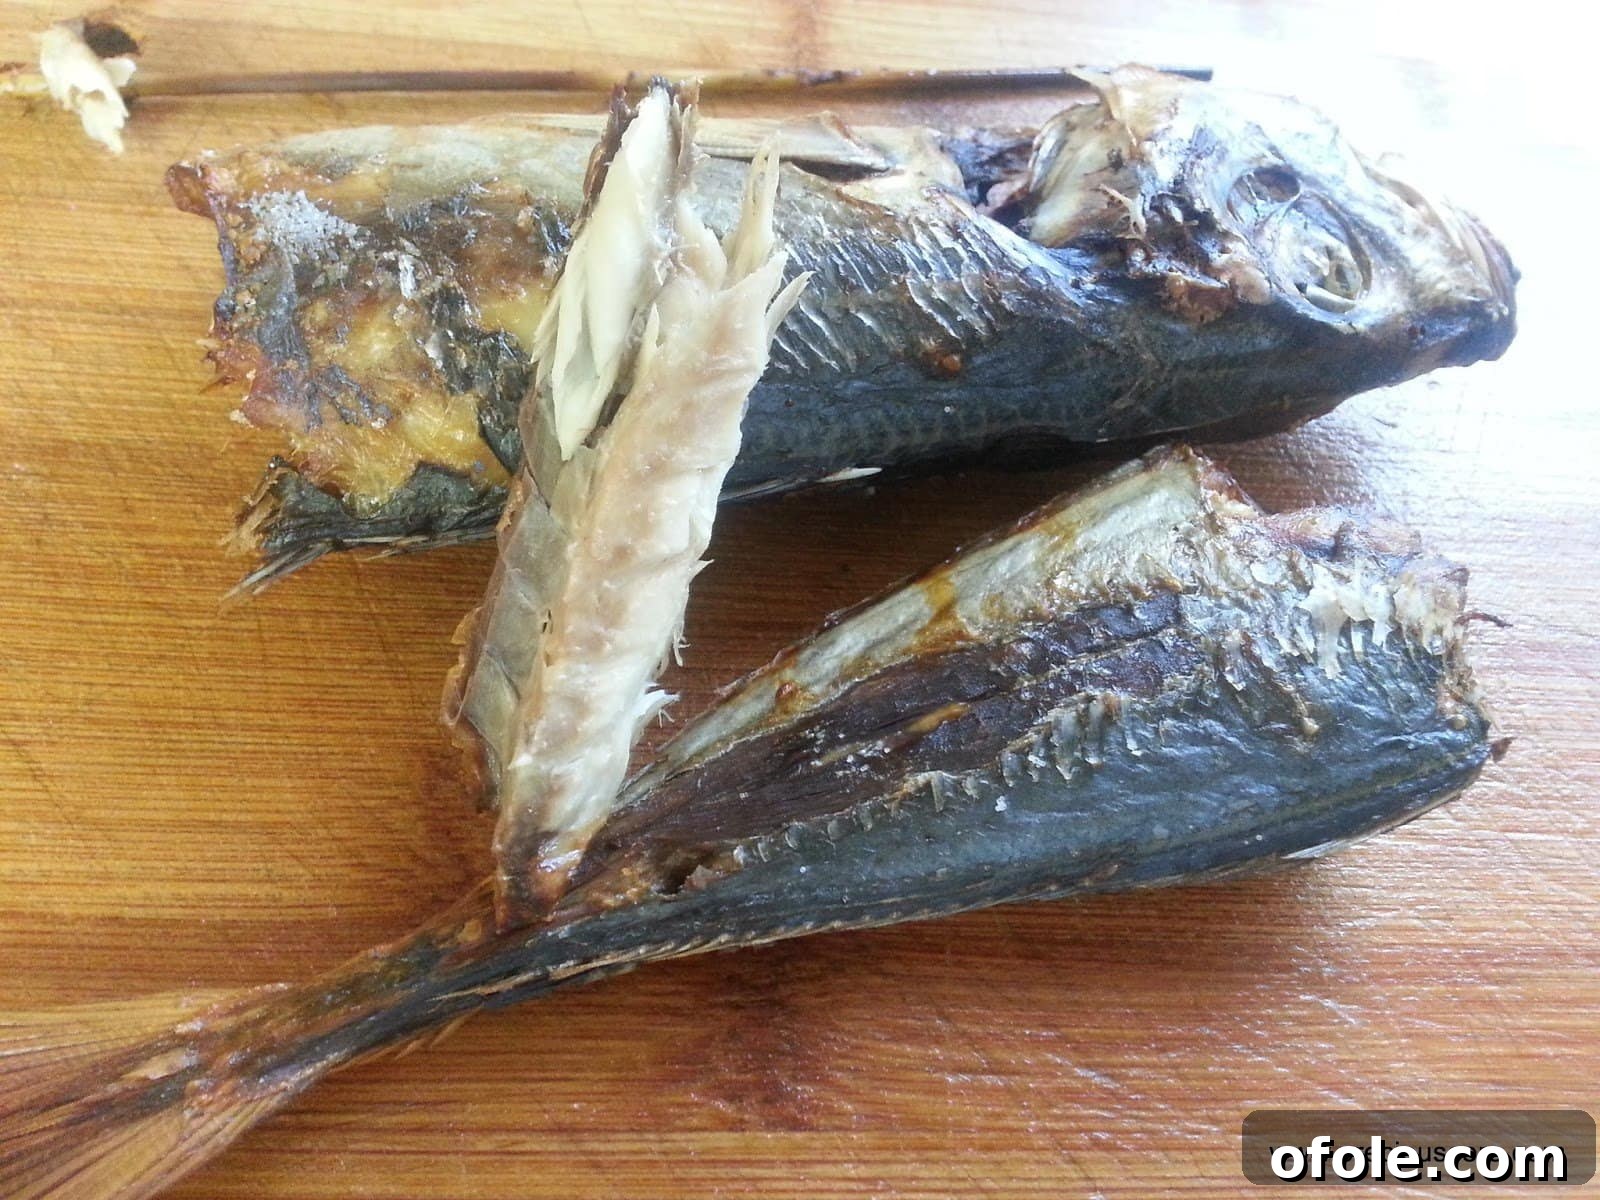
Achieving a More “Dried Fish” Texture (Bonga Fish Style)
While the previous steps yield a wonderfully cooked and firmed fish suitable for immediate use, some dishes or personal preferences call for a more intensely dried, almost Bonga fish-like texture. This method is perfect if you want to create a product that can be stored longer or contribute a different, more pronounced “dried” character to your meals.
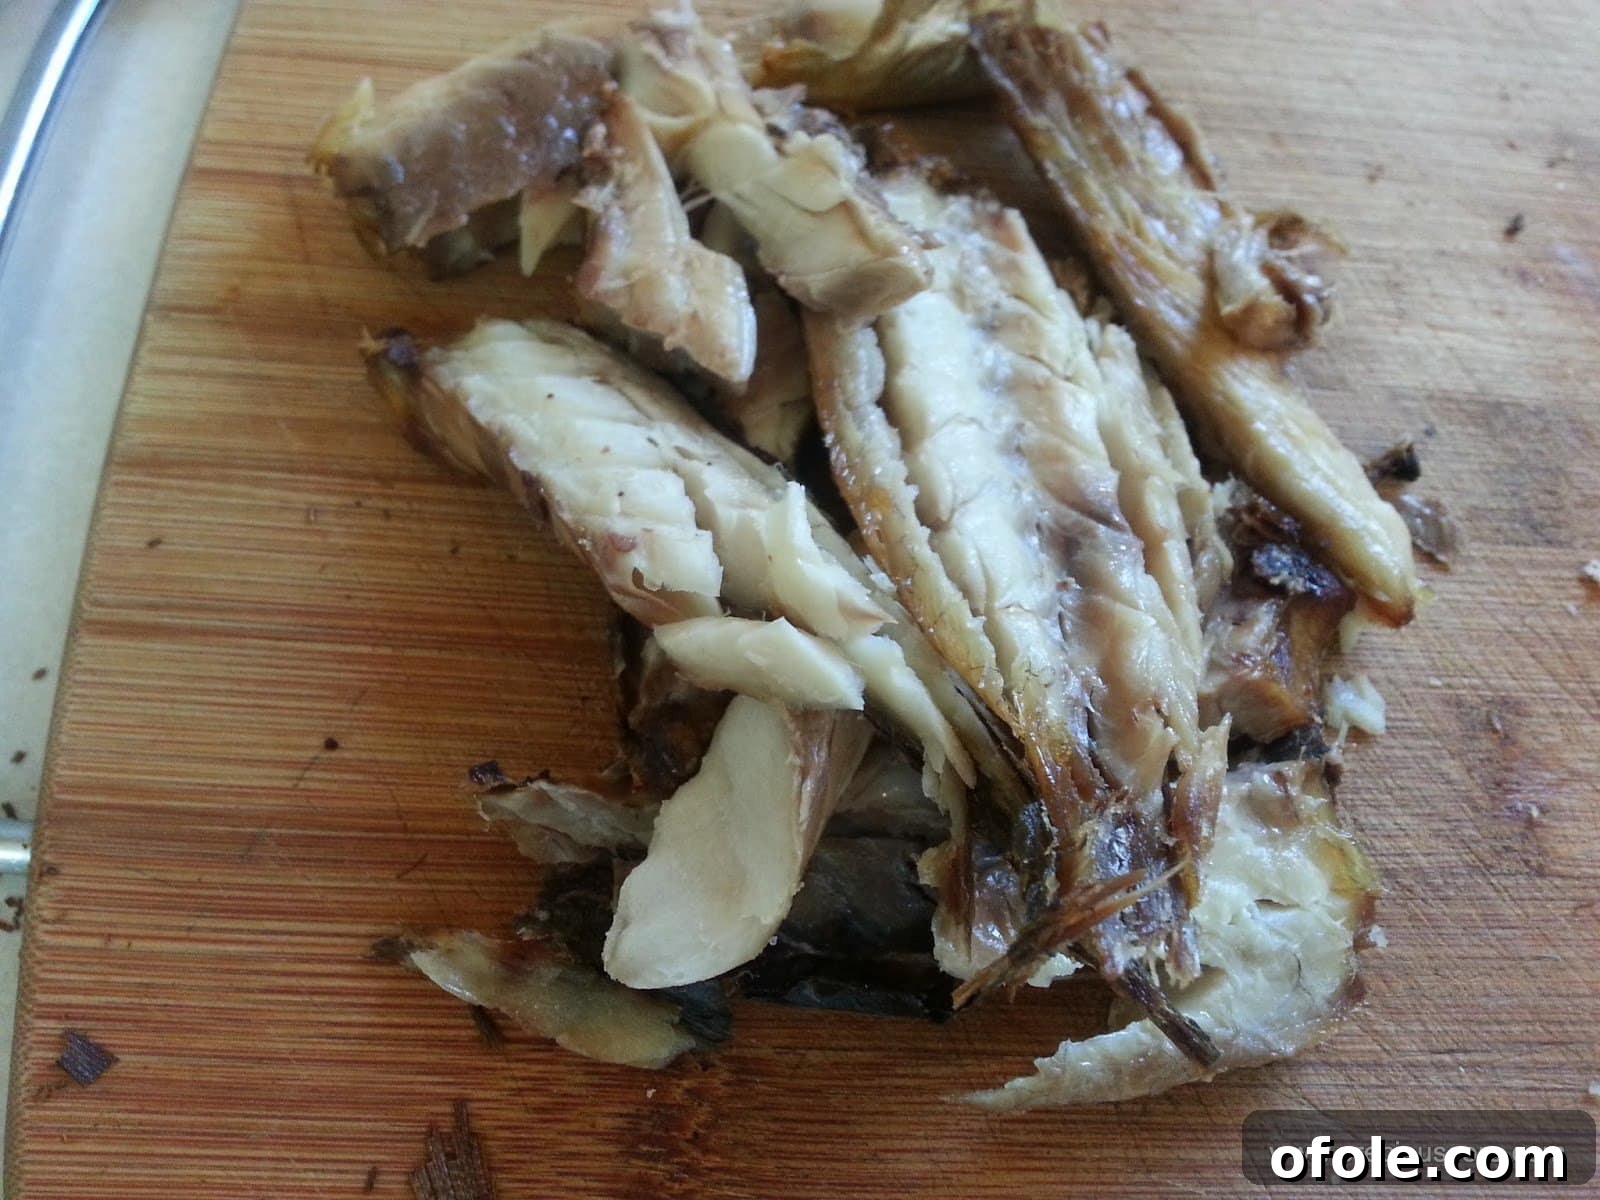
For this deeper drying, consider using fish fillets, such as thinly cut tilapia. Prepare and salt your fillets as described above. Instead of baking at a high temperature, set your oven to a much lower heat, around 200 degrees Fahrenheit (95-100 degrees Celsius). Place the fillets on a wire rack set over a baking sheet (this allows for better air circulation around the fish) and let them dry for at least an hour. Check the fish periodically. If after an hour they haven’t reached your desired level of dryness – firm, pliable, and significantly reduced in moisture – continue drying them, checking every 30 minutes. The total time can vary depending on the thickness of the fillets and your oven’s efficiency. This low-and-slow approach gently dehydrates the fish, resulting in a product that is truly dry, mimicking the texture of traditional Bonga fish.
Oven-Dried Fish vs. Smoked Fish
It’s important to clarify the distinction between oven-dried fish and smoked fish. While the finished product from our oven method, especially with whole fish, might resemble smoked fish in its firm texture and golden color, it isn’t truly smoked. Smoked fish undergoes a process of exposure to smoke from burning wood, which imparts a distinctive smoky flavor and acts as a natural preservative. Our oven-dried fish is primarily cooked and dehydrated by heat, without the characteristic smoky aroma or the often darker, almost burnt appearance of traditionally smoked varieties. It’s a fantastic alternative that achieves a similar texture and can be used in many of the same dishes, but without the need for a smoker or the intense smoky flavor profile.
- **Ogbono Soup (aka “Soup of the Year”)**: This thick, drawing soup, often enjoyed with fufu or pounded yam, gains immense depth from the savory notes of oven-dried fish. The fish breaks down slightly, enriching the soup’s texture and flavor profile.
- **Delicious Eru**: A quintessential Cameroonian dish made with leafy greens, palm oil, and various meats and fish. Oven-dried fish is a non-negotiable component of authentic Eru, providing that signature umami and earthy taste.
- **Finger-Licking Kwacoco Bible**: This unique dish, often made from grated cocoyams and wrapped in plantain leaves, is beautifully complemented by the robust flavor of dried fish, which is typically cooked into the stew accompanying it.
- **Delicious Ekwang (or Ekpang Nkwukwo)**: Another beloved cocoyam-based dish, Ekwang benefits from the profound savory contribution of oven-dried fish, which simmers alongside other ingredients to create a truly comforting and flavorful meal.
Tips for Success and Storage
To ensure you get the best results from your oven-dried fish and make it a regular part of your culinary repertoire, here are some additional tips:
- **Even Thickness is Key:** When drying fillets, try to cut them into uniform thickness. This ensures that all pieces dry at roughly the same rate, preventing some from becoming overly dry while others are still moist.
- **Don’t Overcrowd the Baking Sheet:** Give your fish pieces plenty of space on the baking sheet. Good air circulation is crucial for effective drying. If you have a lot of fish, work in batches.
- **Flip for Even Drying:** If you’re drying fillets at a lower temperature for an extended period, consider flipping them halfway through the drying time to ensure even exposure to heat and air.
- **Experiment with Seasonings:** While salt is traditional and sufficient, you can experiment with a light dusting of black pepper, a hint of garlic powder, or even a touch of chili flakes before drying for added flavor.
- **Storage:** For the “ready-to-use” baked fish, consume it within 3-4 days if stored in an airtight container in the refrigerator. For the more intensely dried, Bonga fish-like texture, ensure it is completely cool and dry. Store it in an airtight container in a cool, dark pantry for up to a few weeks, or in the refrigerator for several months. For longer preservation, vacuum-sealing and freezing are excellent options.
Frequently Asked Questions About Oven-Dried Fish
Here are answers to some common questions you might have about making and using oven-dried fish:
Q: Can I use any type of fish for oven-drying?
A: While many types of fish can be oven-dried, firm-fleshed fish like mackerel, tilapia, cod, or catfish tend to yield the best results. Oily fish like salmon can be dried, but they might have a shorter shelf life due to fat content. Experiment to find your personal favorites!
Q: Is this method suitable for long-term preservation?
A: The “low-and-slow” drying method (e.g., 200°F for an hour or more) results in a product that can be stored for an extended period, similar to commercially dried fish, especially if properly sealed and refrigerated or frozen. The higher-temperature, shorter-bake method is more for immediate use.
Q: How will oven-dried fish impact the flavor of my dishes?
A: Oven-dried fish contributes a deeply savory, umami-rich flavor and a unique chewy texture to soups and stews. It’s often less intense than traditionally smoked fish but still provides that essential “African touch” that many recipes call for.
Q: What if my fish isn’t completely dry after the recommended time?
A: Drying times can vary based on fish thickness, oven calibration, and even humidity. If your fish isn’t as dry as desired, simply return it to the oven and continue drying at a low temperature, checking every 15-30 minutes until it reaches your preferred texture.
Q: Can I rehydrate oven-dried fish before cooking?
A: For truly dried fish (the low-temperature method), you can briefly soak it in warm water for about 15-30 minutes before adding it to your dish. This helps soften it slightly and can reduce cooking time within the stew. For the higher-temperature baked fish, rehydration isn’t necessary as it’s already cooked and just needs to be added to your pot.