
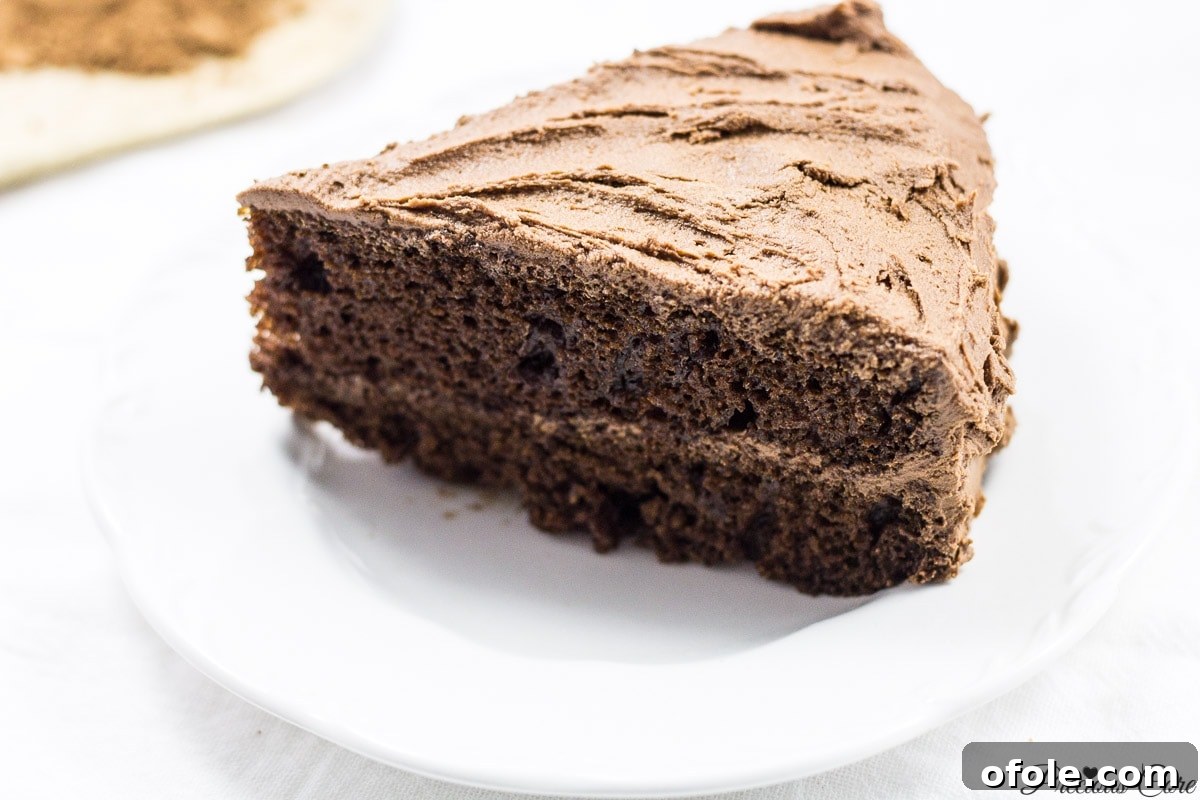
Get ready, cake lovers! After a brief hiatus from sharing new cake creations, I’m thrilled to announce that cakes are officially back on the blog! While I already boast a collection of ten fantastic cake recipes, I found myself in a self-imposed “cake sabbatical.” That is, until a dear friend swooped in and changed everything. Last Sunday, during a phone call, she couldn’t stop raving about some exquisite lemon and orange rind-infused cakes she had just baked. Her enthusiastic description was almost too much to bear, especially since I had vowed to take that Sunday off from cooking. You see, for me, resisting the urge to cook, particularly when I’m at home, is a monumental task. My mind and body seem to conspire, constantly pushing me back into the kitchen. The feeling of not yielding to that powerful culinary impulse is akin to a recovering addict trying to stay clean – an intense struggle! Yet, I survived that Sunday, cooking absolutely nothing. But come Monday, I more than made up for it. I dove headfirst into baking, whipping up a delightful Cameroonian banana cake, savory fish pies, and this absolutely amazing, show-stopping classic chocolate cake.
Baking & Learning: A Sweet Homeschool Adventure
One of the many aspects I adore about homeschooling is its incredible versatility and the freedom it offers to integrate learning into everyday life. This means that almost any activity can become a valuable lesson, and my recent baking spree was no exception. I decided to involve my daughters entirely, transforming our kitchen into a vibrant “homeschool cooking practicals” classroom. They eagerly donned their aprons, their eyes sparkling with anticipation as we embarked on our cake-making adventure. While they absolutely loved the hands-on experience of mixing and pouring, they weren’t too fond of my frequent pauses to snap photos for the blog. But I knew I had to capture every step! Many of you, my wonderful readers, have consistently asked for a reliable and truly delicious chocolate cake recipe, and I had promised to deliver. This wasn’t just a cake; it was a promise fulfilled, a learning experience for my girls, and a chance to share a piece of our joy with you all. Baking together isn’t just about creating delicious treats; it’s about teaching valuable life skills, fostering creativity, and building lasting memories in the heart of our home. It’s an opportunity to discuss measurements, chemistry (the magic of baking powder and soda!), and the patience required to see a project through from start to finish.
Crafting Perfection: The Ingredients Behind Our Classic Chocolate Cake
Every masterpiece begins with its components, and this classic chocolate cake is no different. The carefully selected ingredients are the “cast of characters” that bring this rich, moist, and undeniably delicious dessert to life. Before we dive into the mixing, let’s take a closer look at what makes this cake truly special.
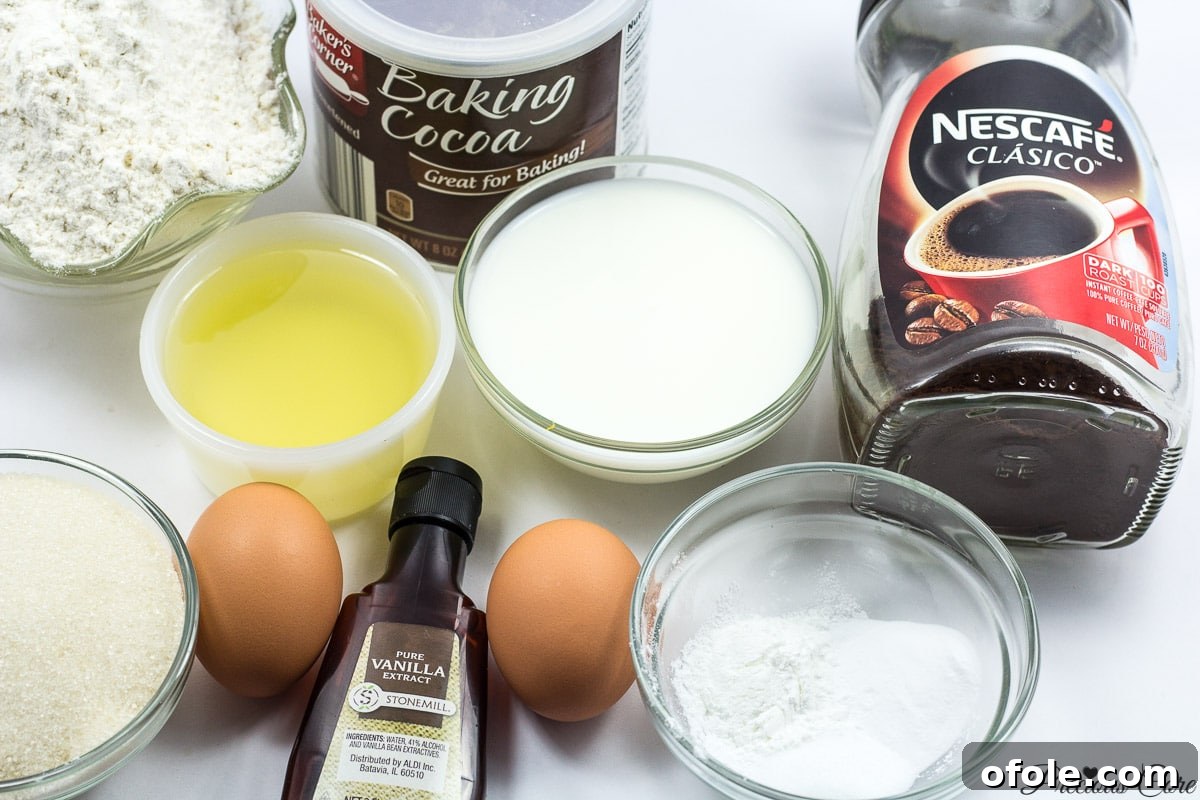
Our key players include all-purpose flour for structure, granulated sugar for sweetness and moisture, high-quality cocoa powder for that deep chocolate flavor, vanilla extract to enhance all the other notes, eggs for binding and richness, milk for tenderness, baking powder and baking soda for optimal lift, a touch of salt to balance the flavors, vegetable oil for a consistently moist crumb, and two secret weapons: instant coffee and boiling water. While the exact proportions are detailed in the recipe card below, understanding the role of each ingredient is key to appreciating the magic that happens in your kitchen.
The Magic of Coffee in Chocolate Cake
Let’s talk about the instant coffee. This isn’t just any addition; it’s a game-changer. You might wonder why coffee in a chocolate cake? The beauty of instant coffee is that it doesn’t make your cake taste like coffee; instead, it profoundly *deepens* and *intensifies* the chocolate flavor. It enhances the richness and complexity of the cocoa powder, making the cake taste even more chocolatey and luxurious. While you absolutely can omit it if you prefer, I highly recommend including this little “push” that coffee provides. It elevates the entire profile of the cake from simply good to truly unforgettable. It’s the secret ingredient that professional bakers often use to achieve that robust, dark chocolate essence without adding any coffee flavor itself.
Boiling Water: A Key to a Tender Crumb
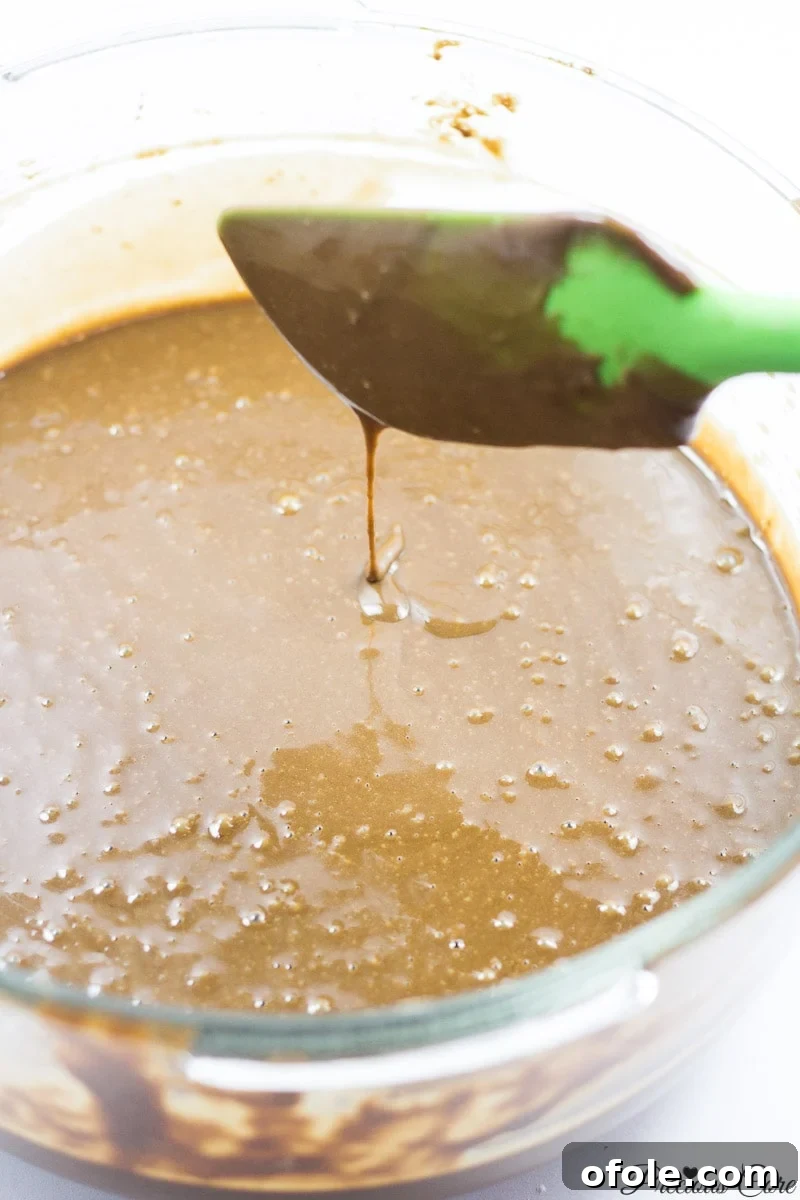
Another crucial, often surprising, ingredient is boiling water. Added at a specific stage, boiling water helps to “bloom” the cocoa powder, releasing its full flavor potential and creating a more intensely chocolatey cake. Furthermore, it works in conjunction with baking soda and cocoa powder to create a tender, moist crumb. The batter will become quite thin after adding the boiling water, but do not be alarmed! This is completely normal and contributes to the cake’s characteristic moistness. Trust the process; it’s still very much a cake, not a soup!
Baking Your Masterpiece: Step-by-Step Instructions
The beauty of this classic chocolate cake recipe lies in its simplicity. You’ll be delighted to know that you only need one bowl for the batter, making cleanup a breeze. With your ingredients laid out and your determination to bake a delicious chocolate cake, let’s begin!
Preparation is Key
- Start by preheating your oven to 350°F (180°C). This ensures your oven is at the correct temperature from the moment your cake goes in, promoting even baking.
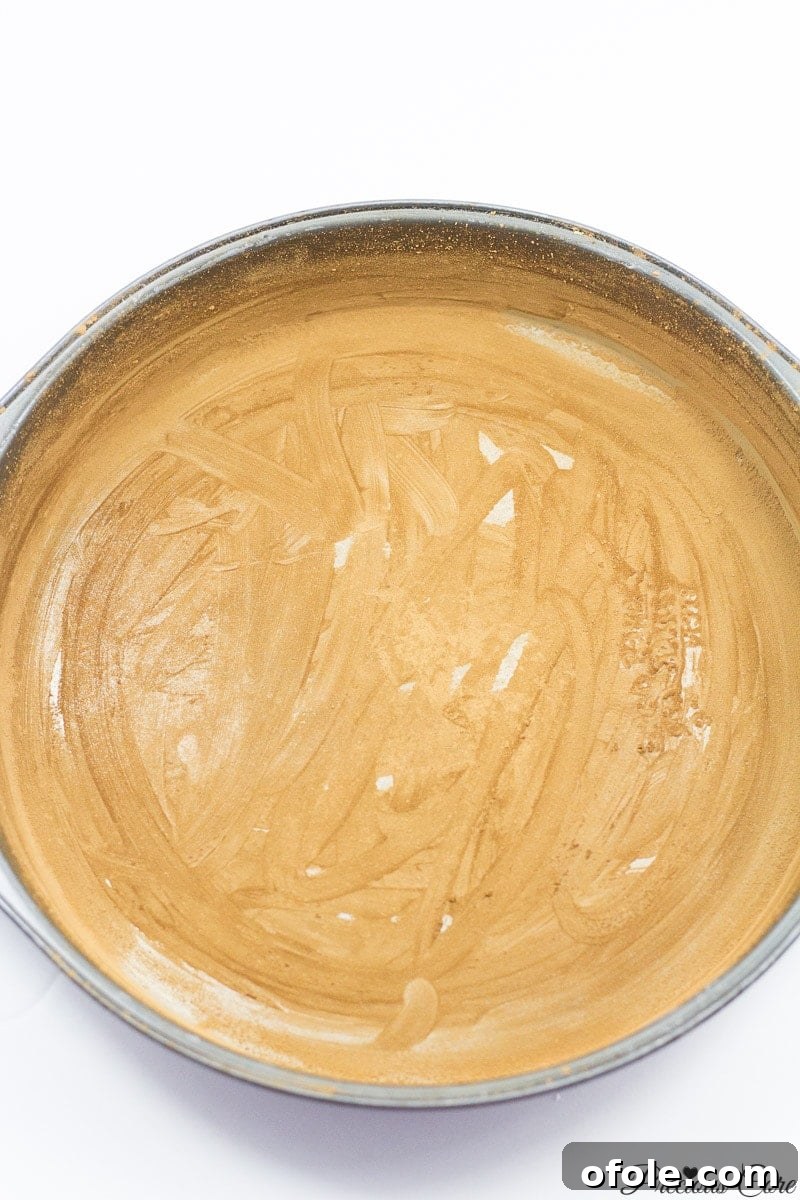
- Next, prepare your baking tins. This recipe calls for two round 9-inch baking pans. Grease them thoroughly with butter or baking spray. Instead of dusting with flour, we’re going to dust them with cocoa powder. This little trick ensures that any visible residue on the baked cake is chocolate-colored, not white, maintaining the cake’s beautiful dark hue.
Creating the Perfect Batter
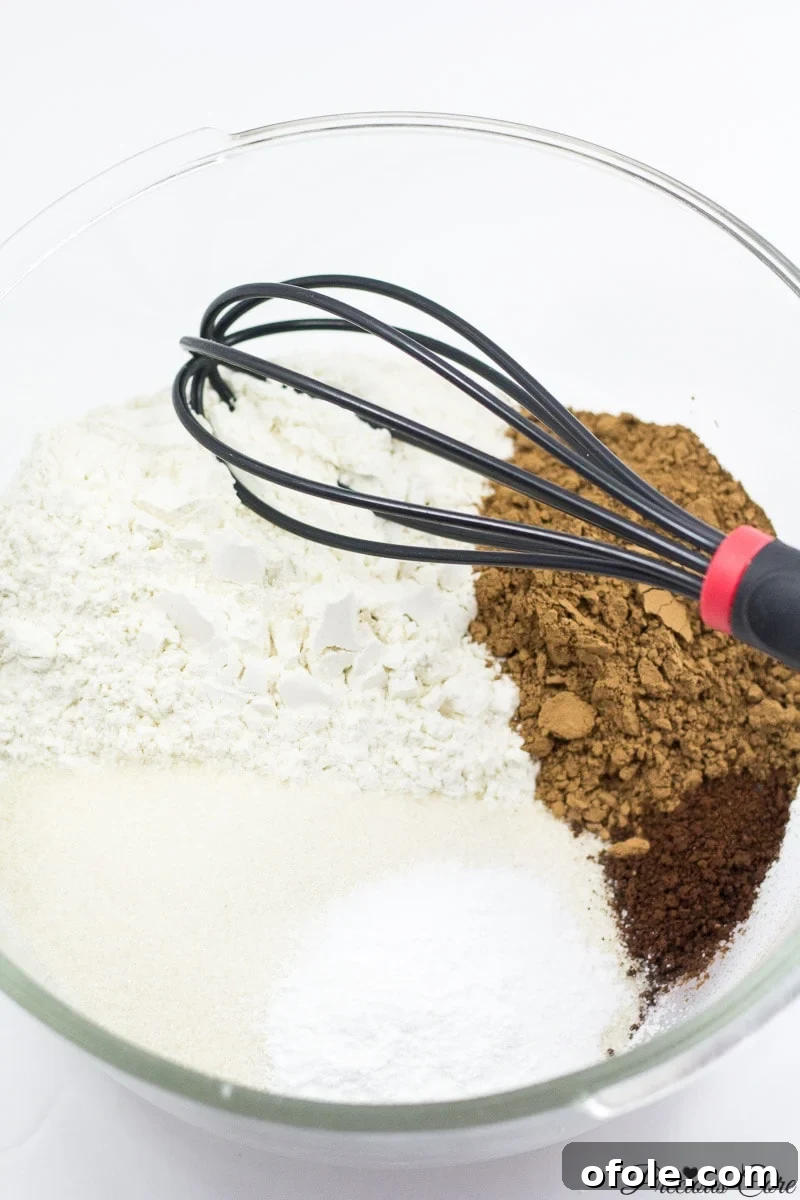
- In a large mixing bowl, combine all your dry ingredients. This includes your flour, cocoa powder, baking powder, baking soda, instant coffee powder, granulated sugar, and salt. Give them a good whisk. This step is crucial for ensuring that the leavening agents and flavorings are evenly distributed throughout the batter, leading to a consistently textured and flavorful cake.
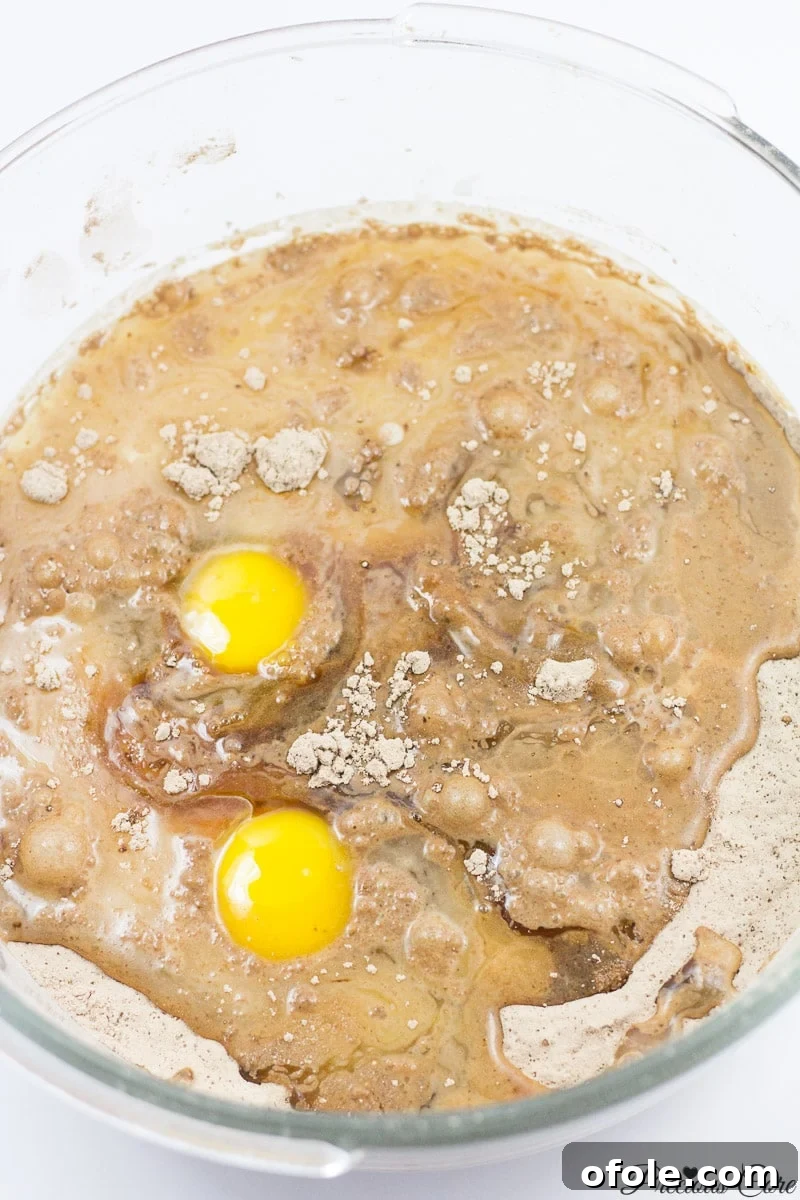
- Once your dry ingredients are well combined, add in the wet ingredients: eggs, liquid milk, vegetable oil, and vanilla extract.
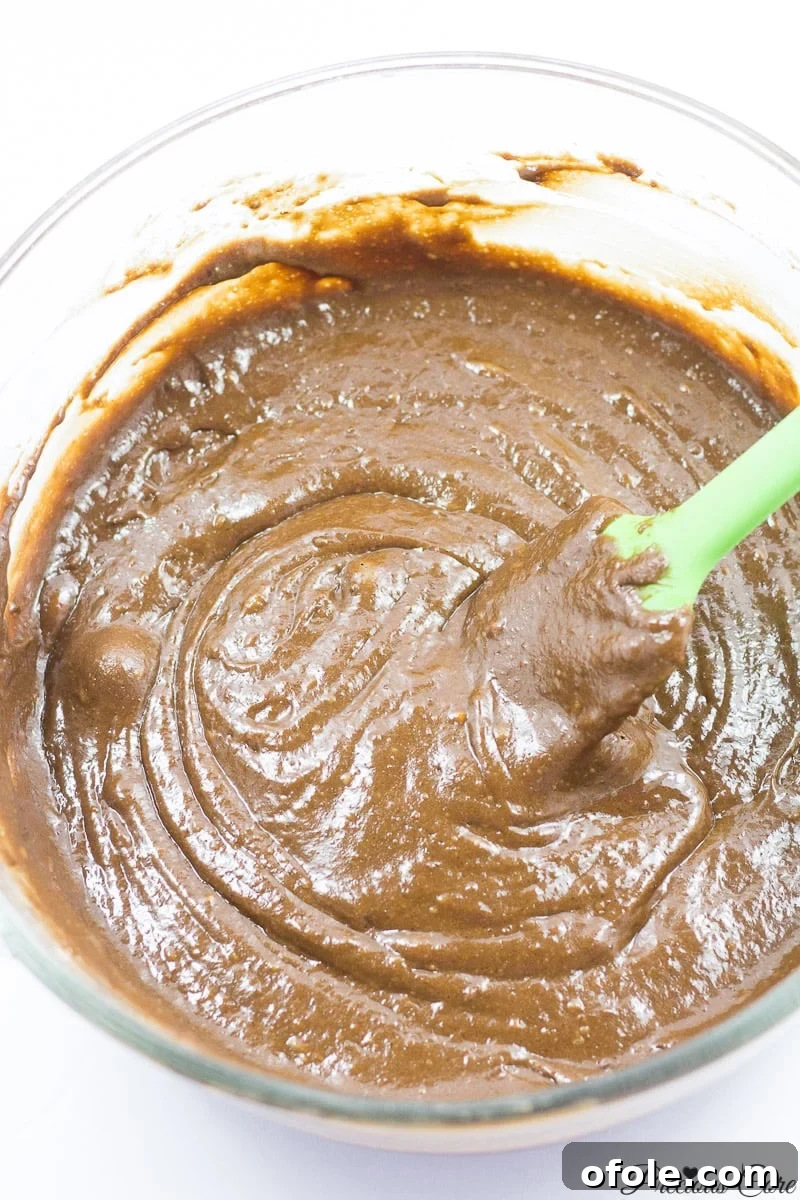
- Mix everything thoroughly until it’s just combined and smooth. Be careful not to overmix, as this can lead to a tough cake. I personally find a good kitchen spatula perfect for this job; it effortlessly brings everything together.
- Now for the magic touch: carefully pour in the boiling water. Gently mix it in until the batter is smooth. As mentioned before, the batter will become noticeably thin. This is exactly what you want! The boiling water helps to bloom the cocoa, intensifying its flavor and contributes to the incredibly moist and tender crumb of the finished cake.
Baking to Perfection
- Divide your perfectly smooth batter evenly between the two prepared cake pans.
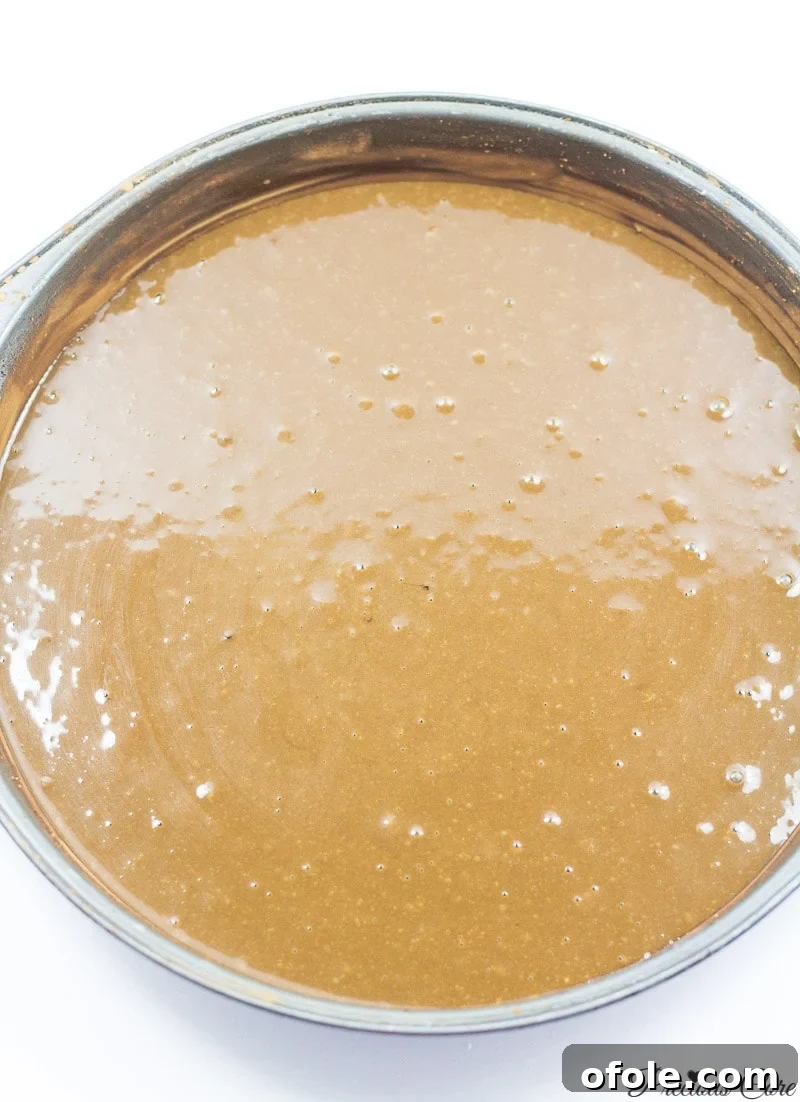
- Bake in your preheated oven for approximately 30-35 minutes. To check for doneness, insert a toothpick into the center of the cakes. If it comes out clean, your cakes are ready! Avoid opening the oven door too early, especially during the first 20 minutes, as this can cause the cakes to sink.
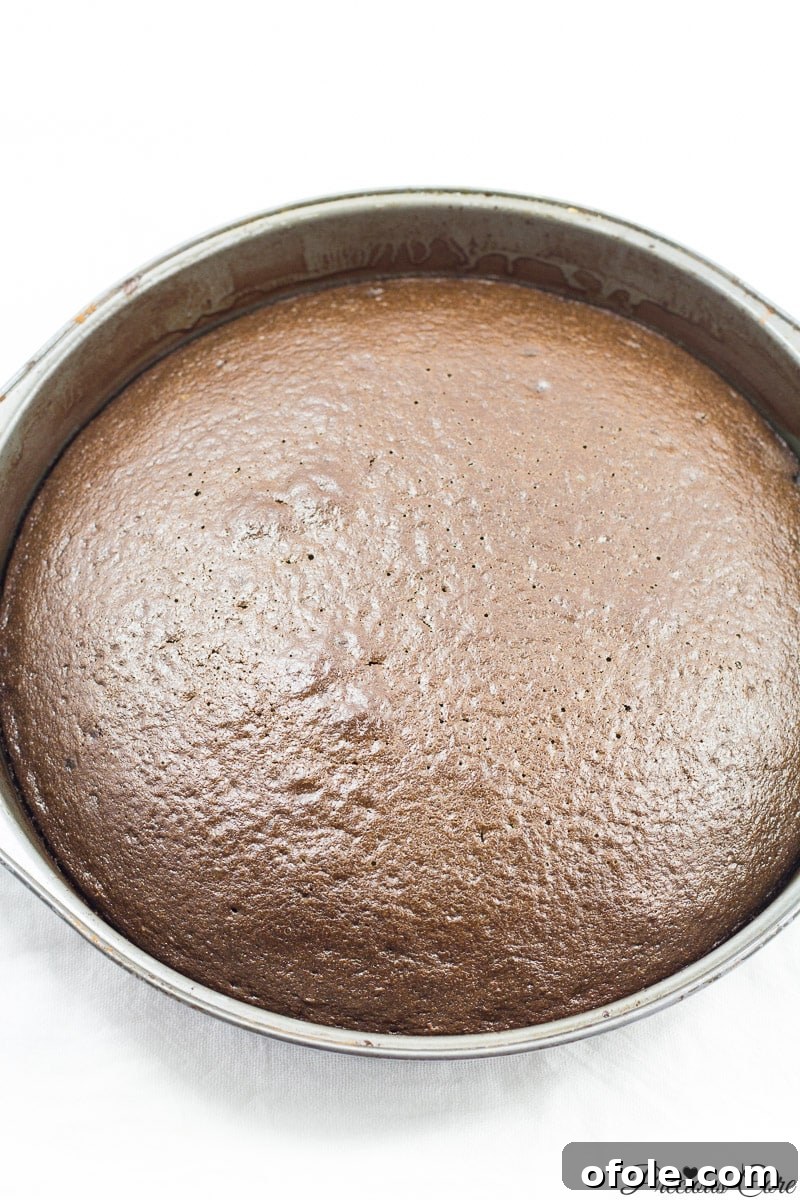
Once baked, allow the cakes to cool in their pans for about 10-15 minutes before inverting them onto a wire rack to cool completely. This step is critical; frosting a warm cake will only result in a melted, messy disaster. Patience is a virtue, especially when it comes to perfect cake texture!
The Perfect Partner: Decadent Chocolate Buttercream Frosting
While this moist chocolate cake is absolutely phenomenal on its own – so good, in fact, that I often find myself wanting to dig right in after it comes out of the oven – I wanted to present you with the complete picture: a truly show-stopping dessert. To achieve that, I crafted the most amazing chocolate buttercream frosting. This frosting is not just an accompaniment; it’s a luscious crown that elevates the cake to new heights of indulgence. Its creamy texture and rich chocolate flavor perfectly complement the cake’s deep notes, making every bite an unforgettable experience.
Ingredients for the Dreamy Frosting
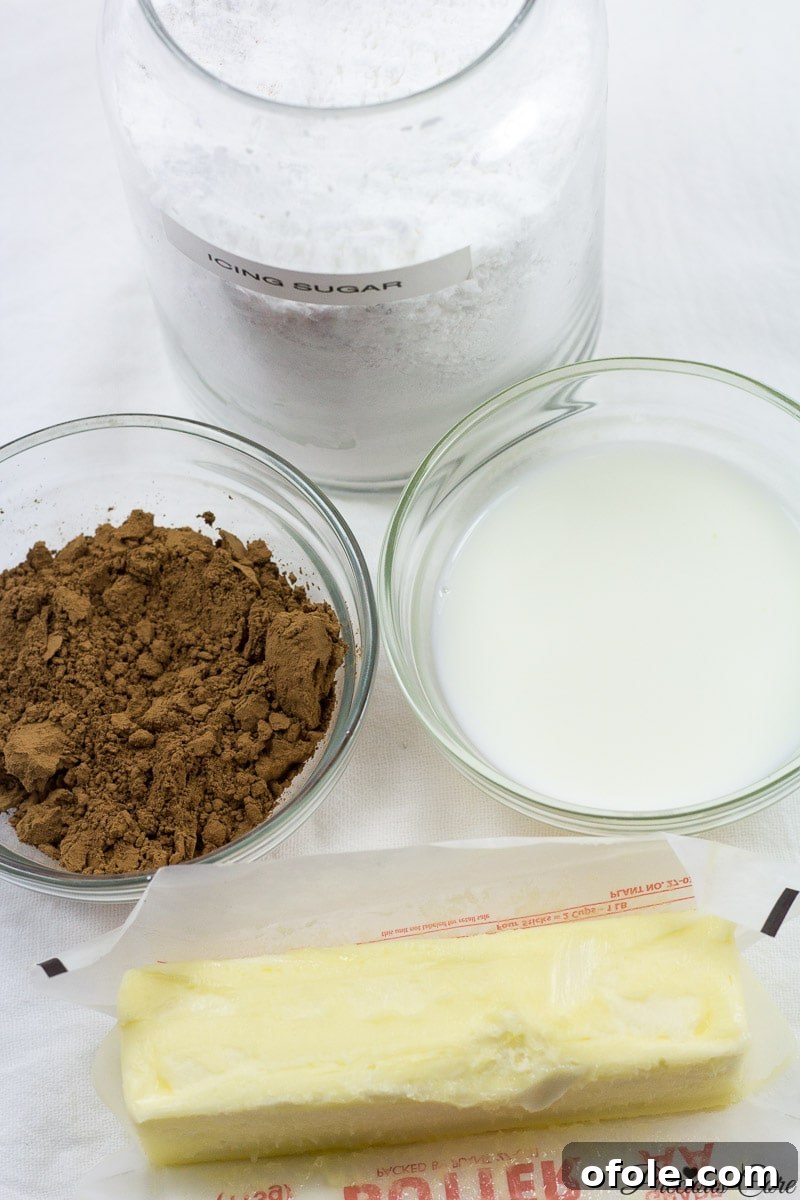
For this heavenly frosting, you’ll need just a few simple ingredients: softened butter, icing sugar (also known as powdered sugar or confectioners’ sugar), good quality cocoa powder, a splash of liquid milk to achieve the perfect consistency, and vanilla extract. In my haste, I was out of vanilla extract when I made this batch, so it’s omitted in the picture, but I highly recommend including it for that extra layer of flavor complexity.
Whipping Up the Frosting
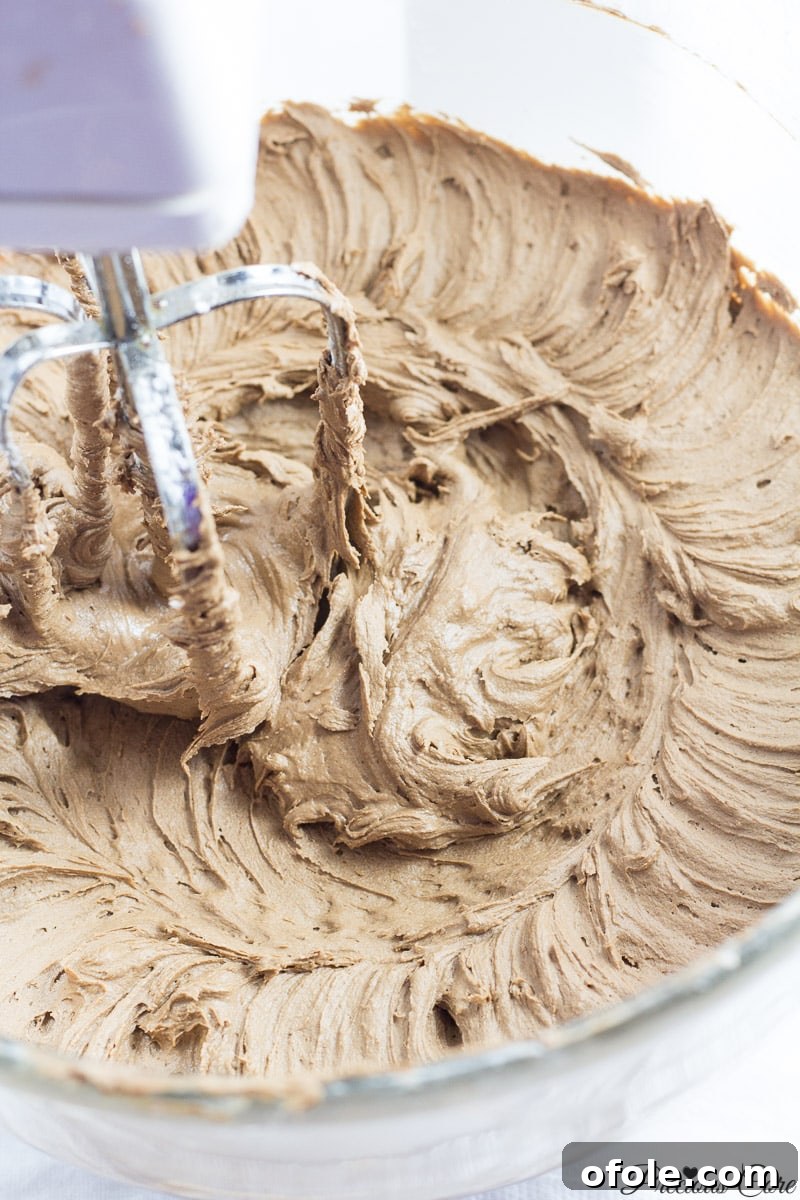
Making this buttercream is a straightforward process, especially with the help of a stand mixer, though a hand mixer works just as well. Begin by creaming the softened butter until it’s light and fluffy. This aerates the butter, creating a wonderfully smooth base for your frosting. Gradually add the icing sugar, one cup at a time, mixing well after each addition. Once combined, incorporate the cocoa powder, milk, and vanilla extract. Continue beating until the frosting reaches a smooth, spreadable consistency. If your frosting is too thick, add a tiny bit more milk, a teaspoon at a time, until it loosens up. Conversely, if it’s too thin, a spoonful or two of extra icing sugar will firm it up. This frosting is pure perfection, versatile enough to adorn this chocolate cake or even a contrasting vanilla or white cake for a delicious flavor combination.
Assembling and Decorating Your Chocolate Masterpiece
Once your cakes have cooled completely – and I mean completely! – it’s time for the final, most satisfying steps: assembling and decorating. This is where your beautiful classic chocolate cake truly comes to life.
Layering with Precision
- Start by gently trimming the tops of your cooled cake layers. Often, cakes bake with a slight dome in the center. Leveling these domes ensures that your cake layers stack neatly and your finished cake looks professionally made. A serrated knife or a cake leveling tool works best for this.
- Place the first cake layer, trimmed side down, onto your serving plate or cake stand. This gives you a flat, stable base.
- Generously apply a layer of your luscious chocolate buttercream frosting onto the first cake layer, spreading it evenly to the edges.
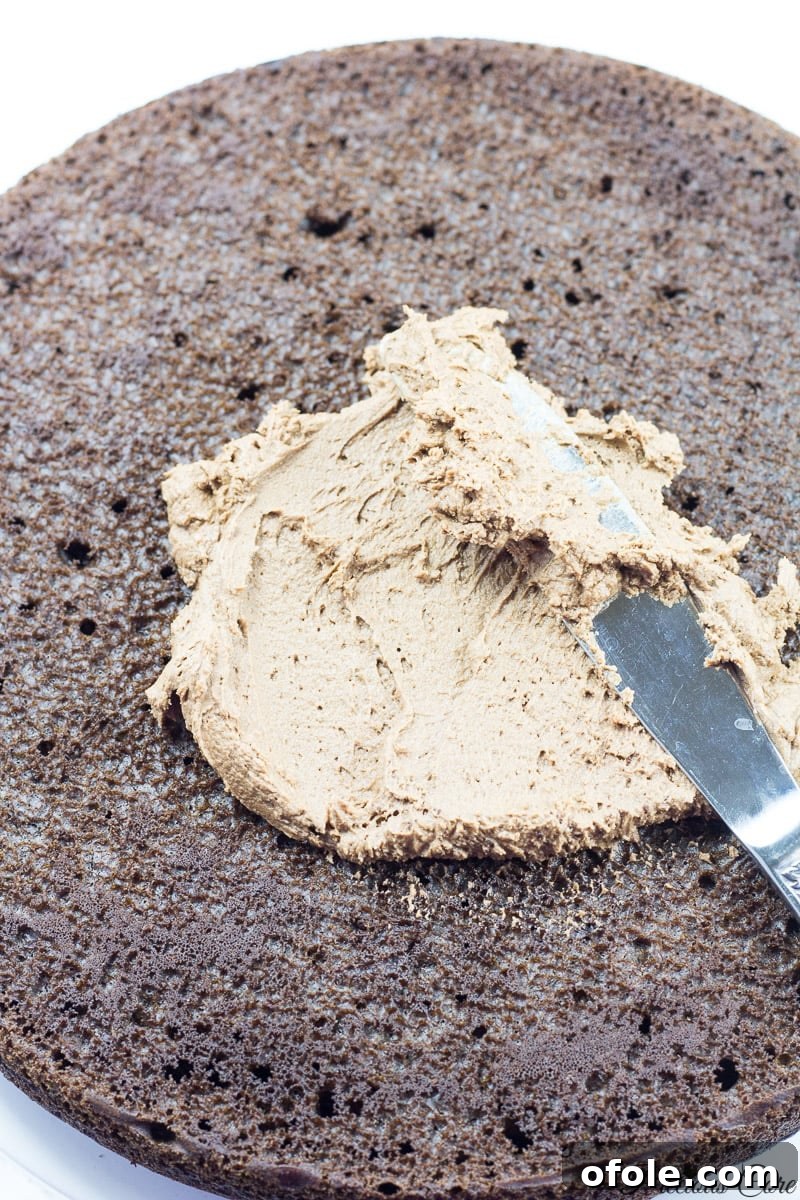
- Carefully place the second cake layer directly on top of the first, again, trimmed side down. Gently press down to secure it and ensure it’s level.
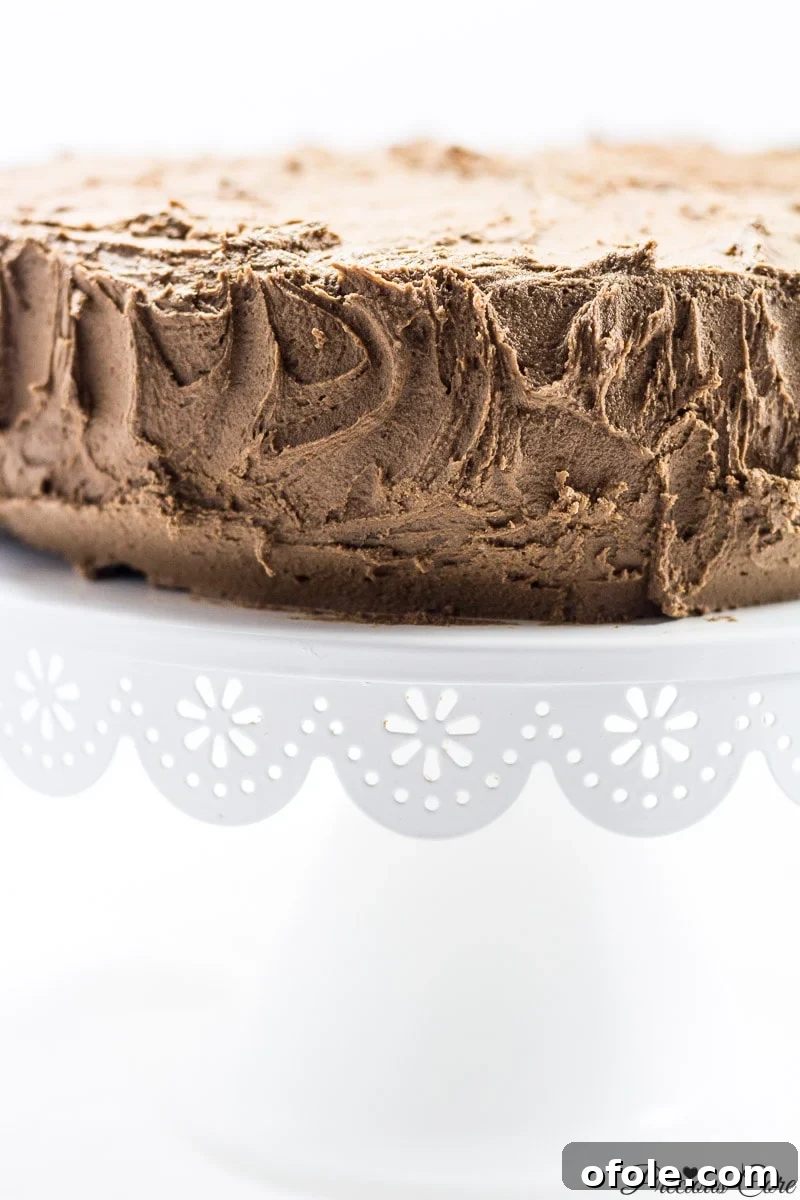
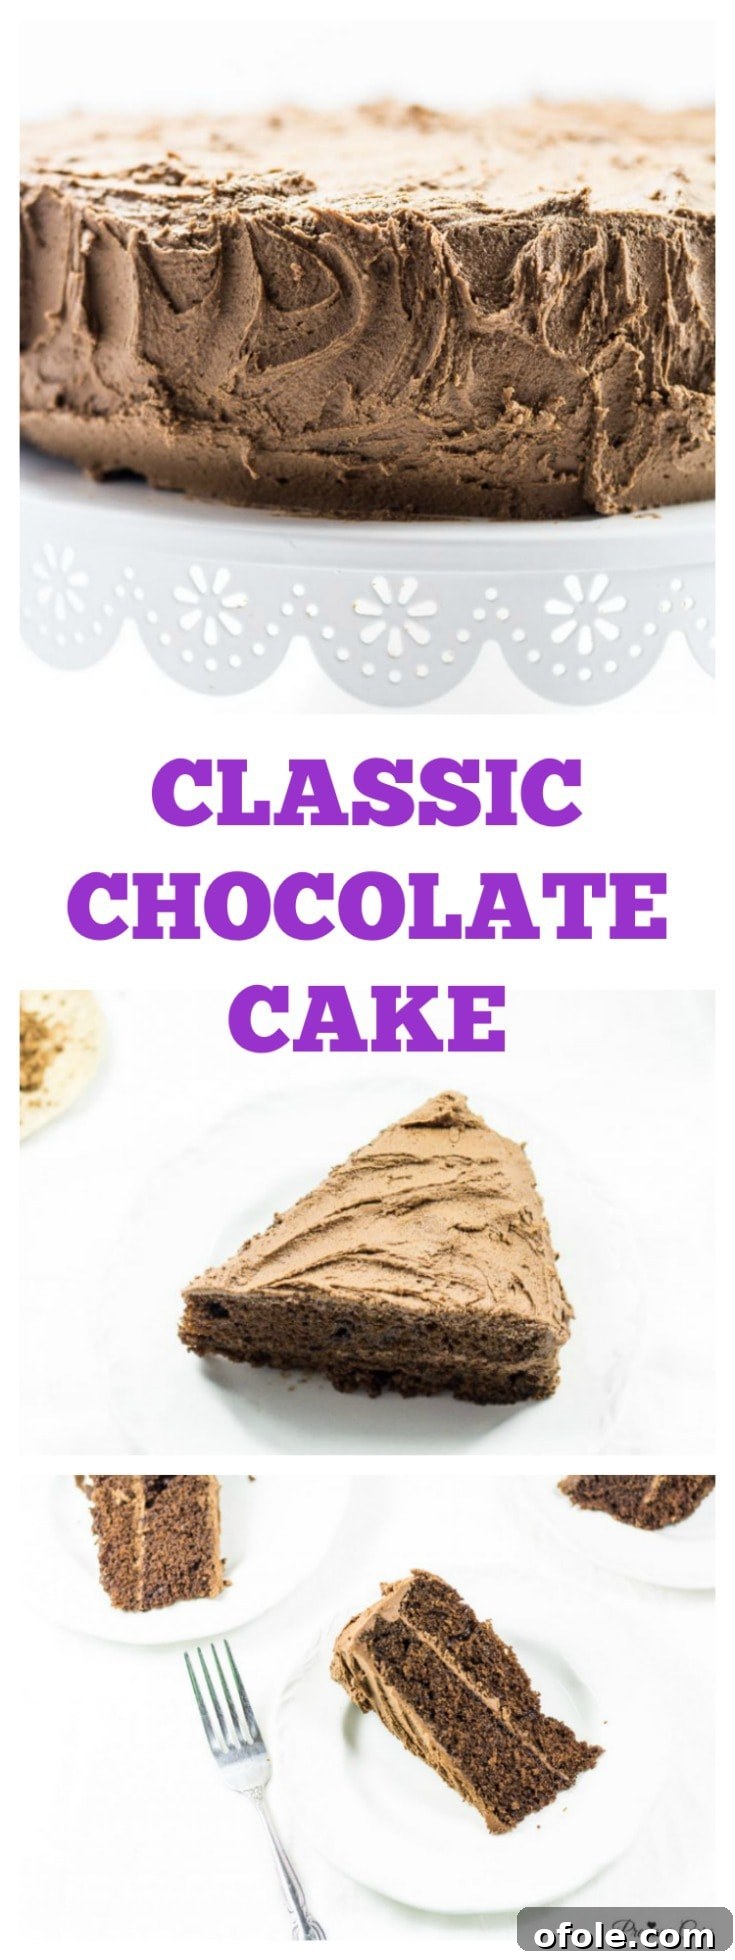
- Now, apply the remaining frosting to the top and sides of the entire cake. Don’t worry too much about perfection at this stage; a rustic look is often charming. If you want a smoother finish, use an offset spatula or a bench scraper. For a simple yet elegant design, I often use the back of a butter knife to create subtle ridges or swirls around the sides and top of the cake, adding a lovely homemade touch.
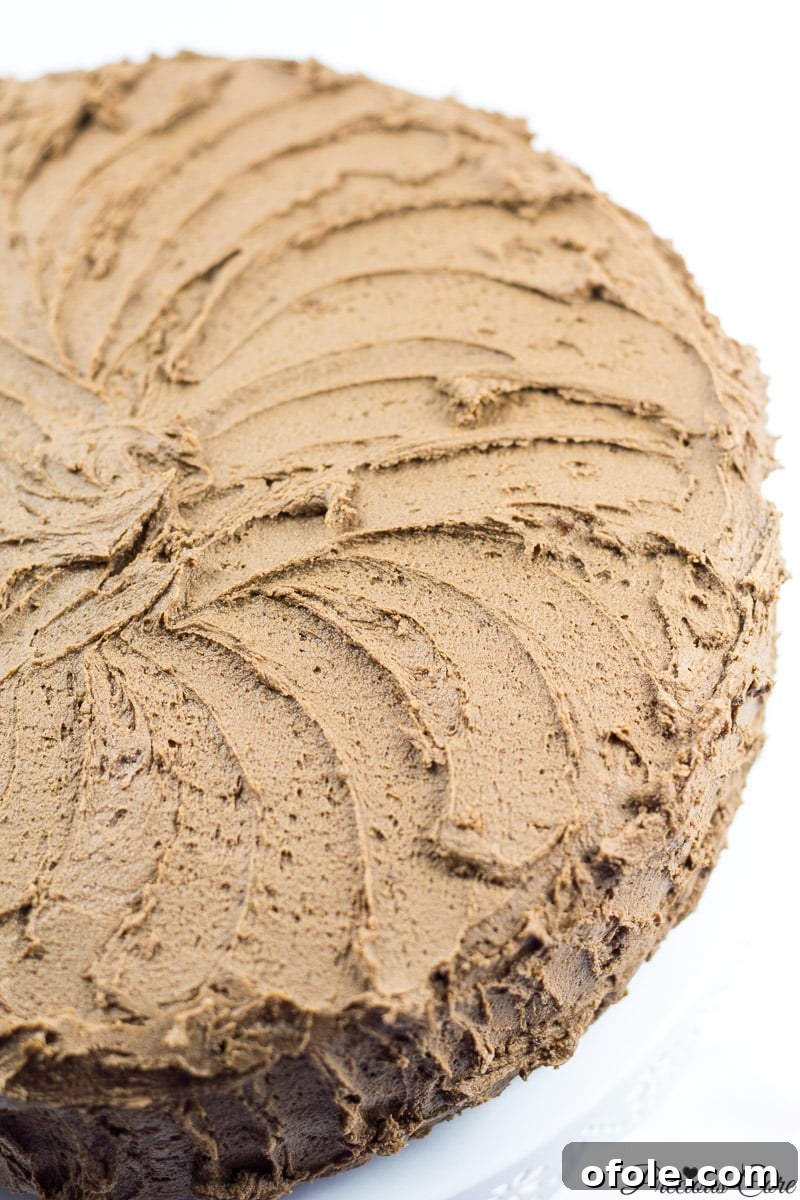
And there you have it – the finished product! A stunning, rich, and perfectly frosted classic chocolate cake, ready to be devoured.
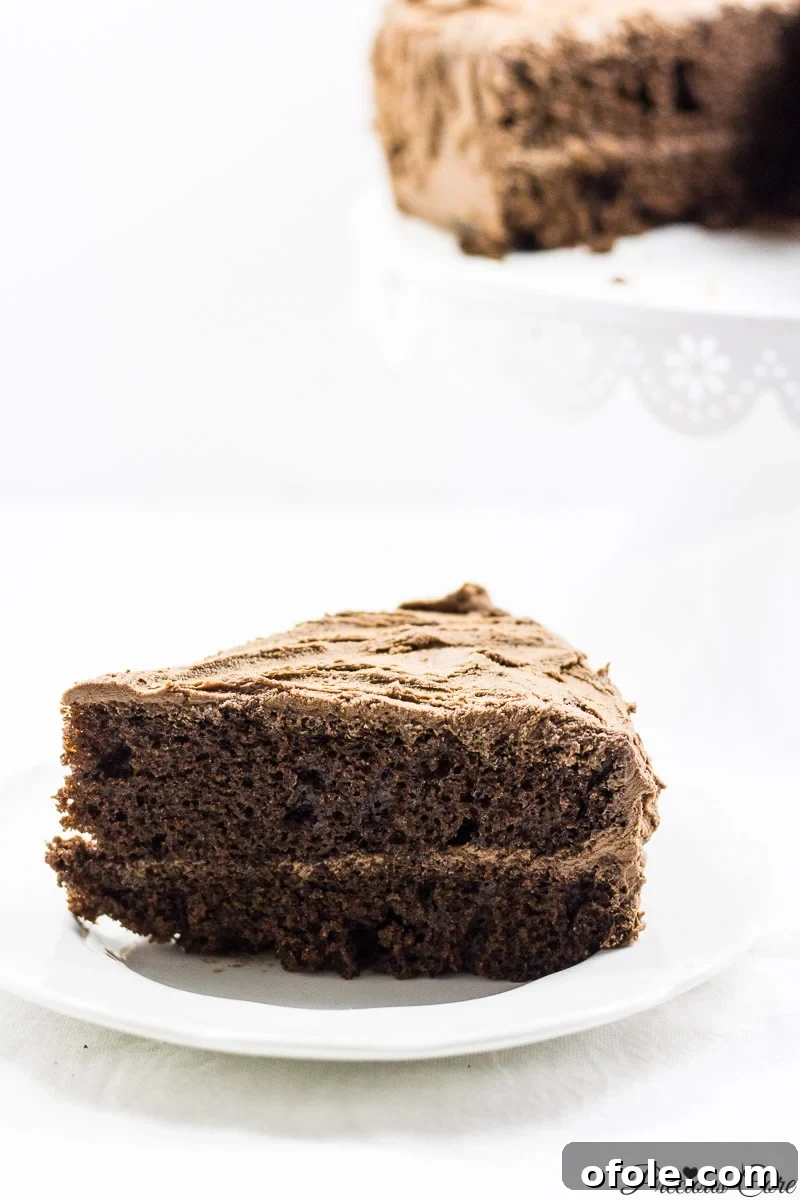
Who’s ready for a slice of this pure chocolate bliss? This cake is more than just a dessert; it’s a celebration of flavor – perfectly chocolatey, wonderfully luscious, incredibly rich, and yes, delightfully indulgent. It’s the kind of cake that brings smiles to faces and joy to gatherings. So go on, friends, treat yourselves and your loved ones to this incredible baking experience!
P.S. If you’re craving more chocolate goodness in smaller, individual portions, be sure to check out my recipe for easy and moist chocolate cupcakes. They’re just as delicious and equally simple to make!
Classic Chocolate Cake
15 mins
35 mins
50 mins
12 servings
Rate
Print Recipe
Ingredients
Chocolate Cake
- 2 cups flour (240 g)
- 1/2 cup cocoa powder (50 g)
- 1 teaspoon baking powder – heaped
- 1 teaspoon baking soda – heaped
- 1 teaspoon instant coffee powder
- 1-2 cups sugar (200-400 g) – I used 1 cup for a less sweet cake.
- 1 teaspoon salt
- 2 large eggs
- 1 cup liquid milk (240 ml)
- 1/2 cup vegetable oil or oil of choice (118 ml) – I used canola oil for its neutral flavor.
- 2 teaspoons vanilla extract
- 1 cup boiling water (236 ml)
Chocolate Buttercream Frosting
- 1/2 cup butter (113 g) – softened
- 3 cups icing sugar (375 g)
- 2 tablespoons liquid milk (or more as needed)
- 1 tablespoon vanilla extract
- 1/2 cup cocoa powder (50 g)
Instructions
Chocolate Cake
-
Preheat oven to 350 degrees F (180 degrees C). Grease two 9-inch round baking pans and dust them with cocoa powder. This prevents sticking and ensures a beautiful dark finish.
-
In a large mixing bowl, thoroughly whisk together the flour, cocoa powder, baking powder, baking soda, instant coffee powder, salt, and sugar until evenly combined.
-
Add the eggs, liquid milk, vegetable oil, and vanilla extract to the whisked dry ingredients. Mix well with a spatula or whisk until everything is just incorporated and the batter is smooth. Be careful not to overmix.
-
Carefully pour the boiling water into the batter and mix until combined. The batter will become very thin, which is perfectly normal and contributes to the cake’s moist texture.
-
Divide the batter evenly into the prepared cake pans. Bake in the preheated oven at 350 degrees F (180 degrees C) for approximately 30-35 minutes, or until a wooden skewer or toothpick inserted into the center of both cakes comes out clean.
-
Let the cakes cool in their pans for about 10-15 minutes before inverting them onto a wire rack to cool completely. It’s essential that the cakes are entirely cool before frosting.
Chocolate Buttercream Frosting
-
In the bowl of a stand mixer fitted with the paddle attachment (or using a hand mixer), cream the softened butter on low speed for about one minute until light and fluffy. Gradually add the icing sugar, one cup at a time, beating well after each addition until smooth. Add the liquid milk and vanilla extract, and beat until combined. Finally, add the cocoa powder and beat on medium speed until the frosting is smooth and reaches a spreadable consistency. If the frosting is too stiff, add a tiny bit more milk (1 teaspoon at a time). If it’s too thin, add more icing sugar (1 tablespoon at a time).
Notes
Nutrition
Calories: 451kcal
|
Carbohydrates: 68g
|
Protein: 5g
|
Fat: 19g
|
Saturated Fat: 8g
|
Polyunsaturated Fat: 6g
|
Monounsaturated Fat: 5g
|
Trans Fat: 0.4g
|
Cholesterol: 50mg
|
Sodium: 404mg
|
Potassium: 184mg
|
Fiber: 3g
|
Sugar: 48g
|
Vitamin A: 313IU
|
Calcium: 68mg
|
Iron: 2mg
Additional Info
Tried this recipe?
Mention @preciouscore or tag #PreciousCore!
If you make this incredible Classic Chocolate Cake, I would absolutely love to see your creations! Please share a photo on Instagram and tag me: @preciouscore. Don’t forget to use the hashtag #PreciousCore so I can easily find and admire your delicious masterpieces. Happy baking!