
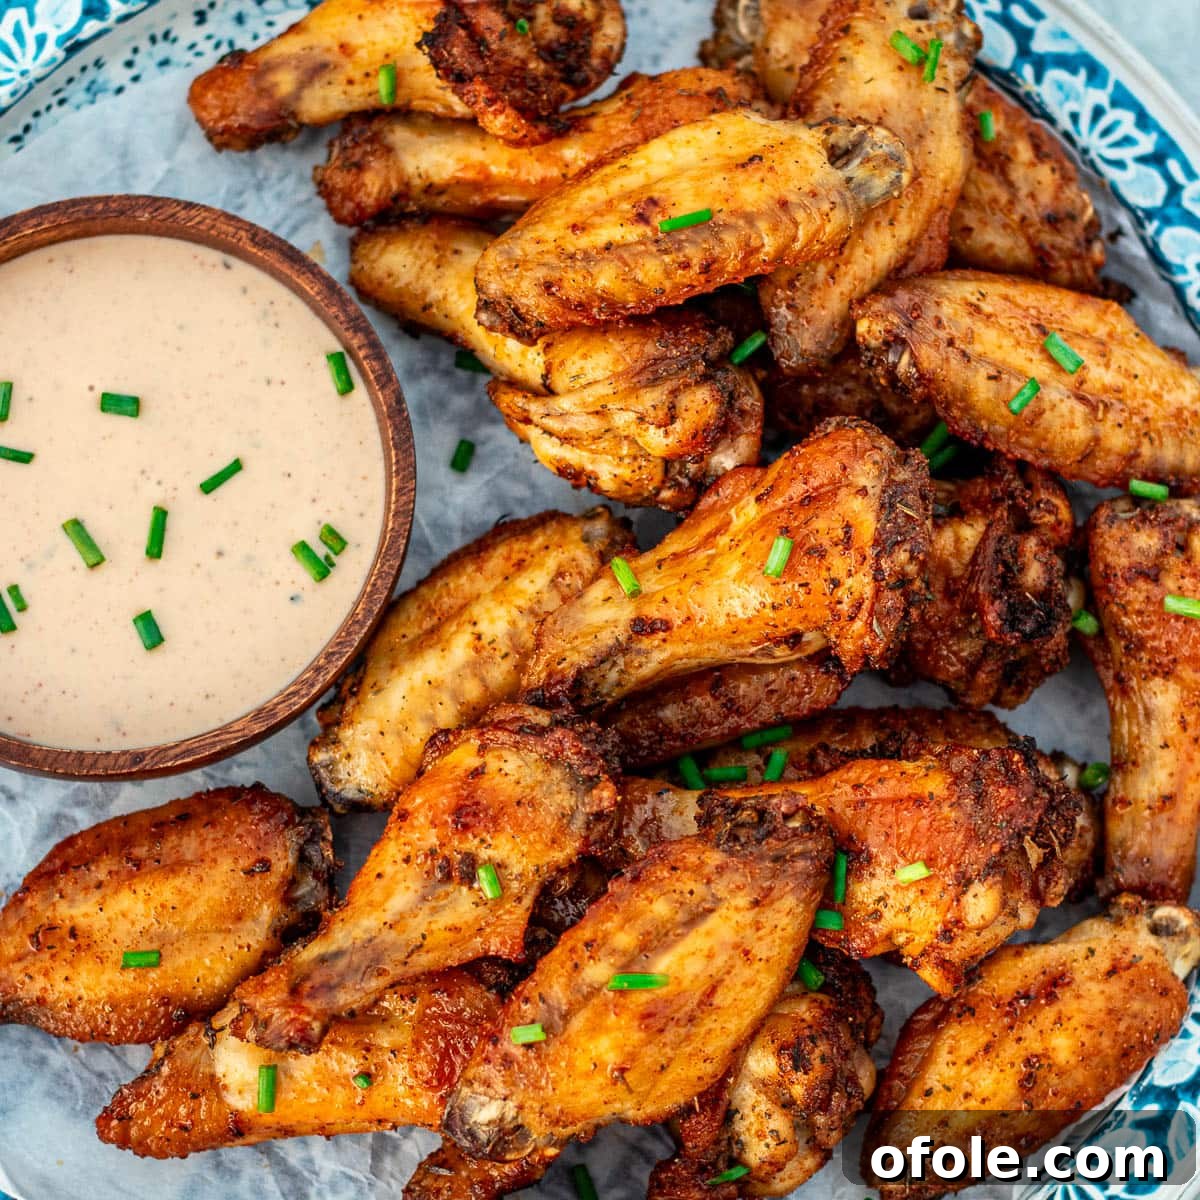
Craving perfectly crispy chicken wings without the mess and oil of deep frying? Look no further! These incredibly delicious Baked Dry Rub Chicken Wings are your answer. Coated in a simple yet potent dry rub made from everyday pantry staples, these wings achieve an irresistible crisp exterior while remaining wonderfully juicy on the inside. Whether you’re planning an epic game day feast, a casual weeknight dinner, or a festive holiday appetizer spread, these flavorful wings are guaranteed to be a crowd-pleaser.
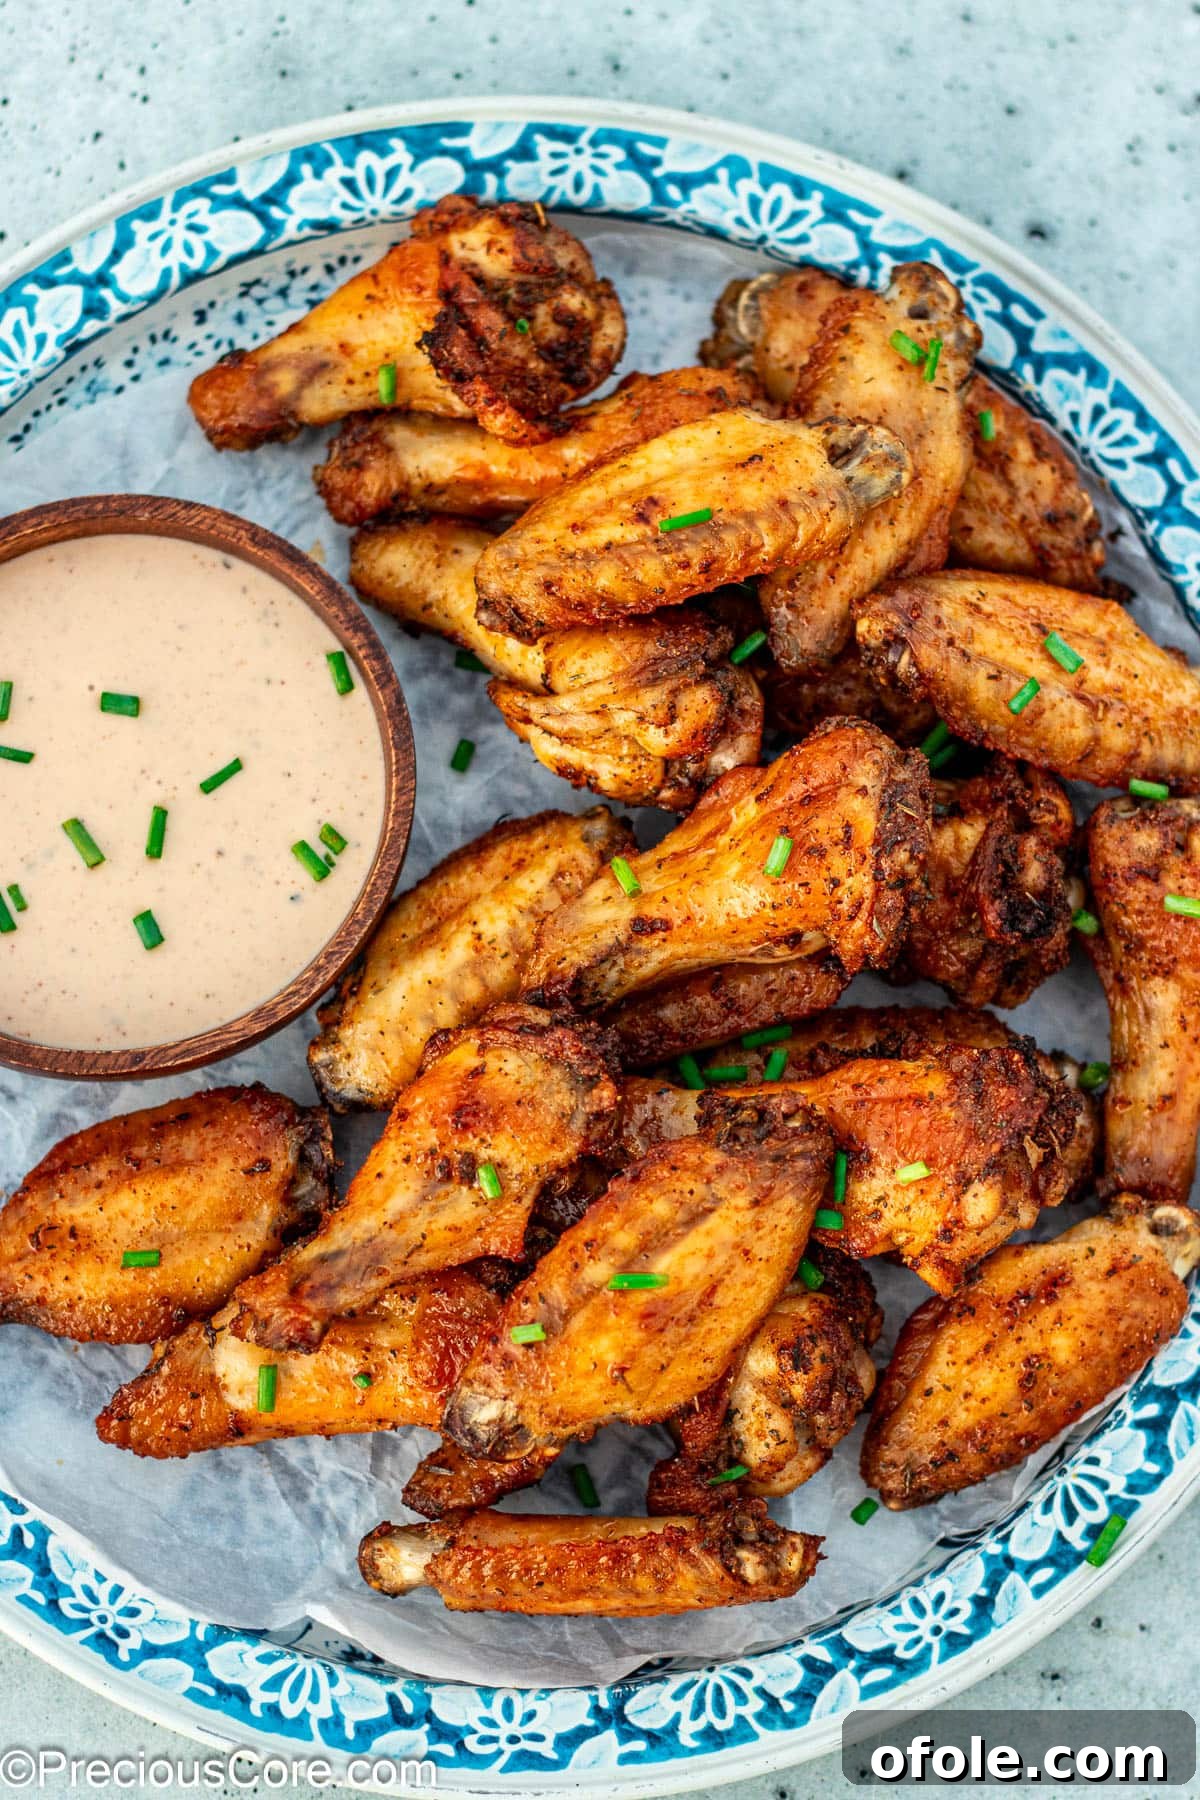
Forget complicated marinades or lengthy prep. With just about 10 minutes of active preparation time, you can have these chicken wings seasoned and ready for the oven. Once they’re in, your oven takes over, transforming them into a culinary masterpiece that easily rivals any restaurant-style wings you’ve ever tasted. This recipe truly is a game-changer for anyone looking for a quick, easy, and healthier way to enjoy their favorite finger food.
Are you new to making chicken wings at home? Don’t worry, I’ve got you covered! This comprehensive guide will walk you through every step, ensuring your success. Baking is arguably the simplest and most forgiving method for preparing chicken wings, and coating them in a robust dry rub ensures maximum flavor penetration. Read on for all the essential tips and tricks that will make you a wing-making pro in no time.
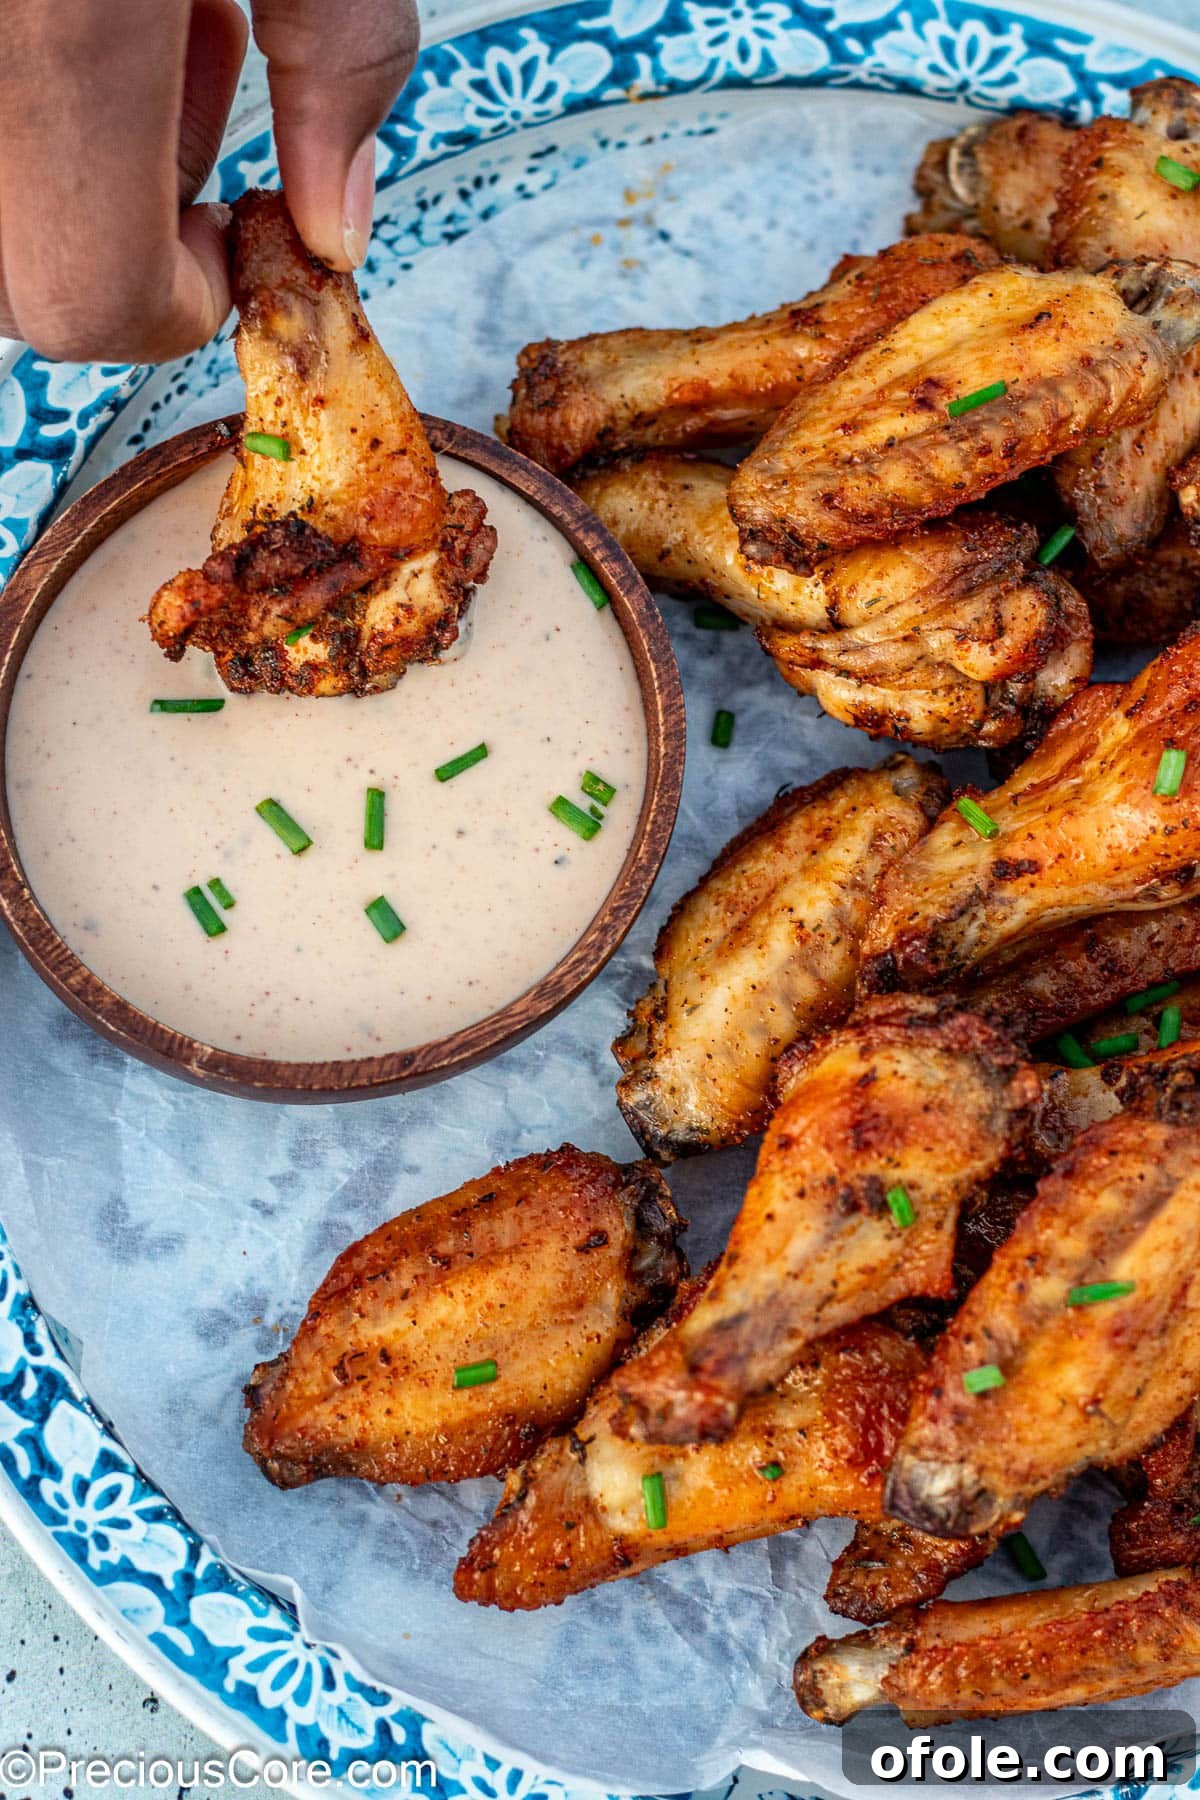
This dry rub chicken wing recipe is not only ridiculously easy, but it consistently delivers exceptionally flavorful wings. The savory blend of spices permeates the meat, creating a depth of flavor that’s perfect for dipping into your favorite creamy ranch, tangy blue cheese, or any other preferred sauce. Prepare to impress your family and friends with these perfectly seasoned, irresistibly crunchy delights.
Why Choose Baked Chicken Wings Over Fried?
You’ll absolutely love this “better-for-you” recipe because the wings are baked, not fried. This means no greasy splatters to clean up, no gallons of oil to dispose of, and a significantly lighter meal without sacrificing an ounce of flavor or crispness. Baking allows the fat to render slowly, crisping up the skin beautifully while keeping the meat incredibly moist. These wings are truly crispy on the outside and packed with a good balance of savory flavors – say goodbye to bland, boring wings!
If you’re a true wing enthusiast, be sure to also explore my melt-in-the-mouth Garlic Butter Wings and my intensely flavorful Jerk Chicken Wings for more delicious variations.
Table of Contents
- The Magic of Dry Rub Baked Chicken Wings
- Ingredients for Irresistible Wings
- Step-by-Step: How To Bake Dry Rub Wings
- Elevate Your Wings with Variations
- Perfect Pairings: Serving Chicken Wings
- Pro Tips for Baked Dry Rub Wings
- Commonly Asked Questions
- Similar Recipes to Explore
- Baked Dry Rub Chicken Wings Recipe Card
The Magic of Dry Rub Baked Chicken Wings
Creating scrumptious, crispy chicken wings doesn’t require a complicated secret sauce or expensive ingredients. All you truly need is a simple, well-balanced dry rub. Forget about relying on premade store-bought rubs, which often contain hidden sugars or preservatives. Crafting your own dry rub from a thoughtful combination of pantry staple spices and herbs is not only easy but also allows you to control the flavor profile precisely. The result? Finger-licking good wings with a depth of flavor that a wet sauce simply can’t achieve alone.
A quick dry rub is a fantastic way to infuse robust flavor into various meats, as seen in these mouthwatering Baked Dry Rub Ribs. For chicken, a great dry rub typically starts with a foundation of aromatic onion and garlic powder. From there, you can customize and enhance the blend with other spices and herbs to suit your taste preferences, creating endless possibilities for your wing nights.
Ingredients for Irresistible Wings
Gathering the right components is the first step towards phenomenal baked dry rub chicken wings. The beauty of this recipe lies in its simplicity, utilizing ingredients you likely already have on hand. Here’s everything you’ll need:
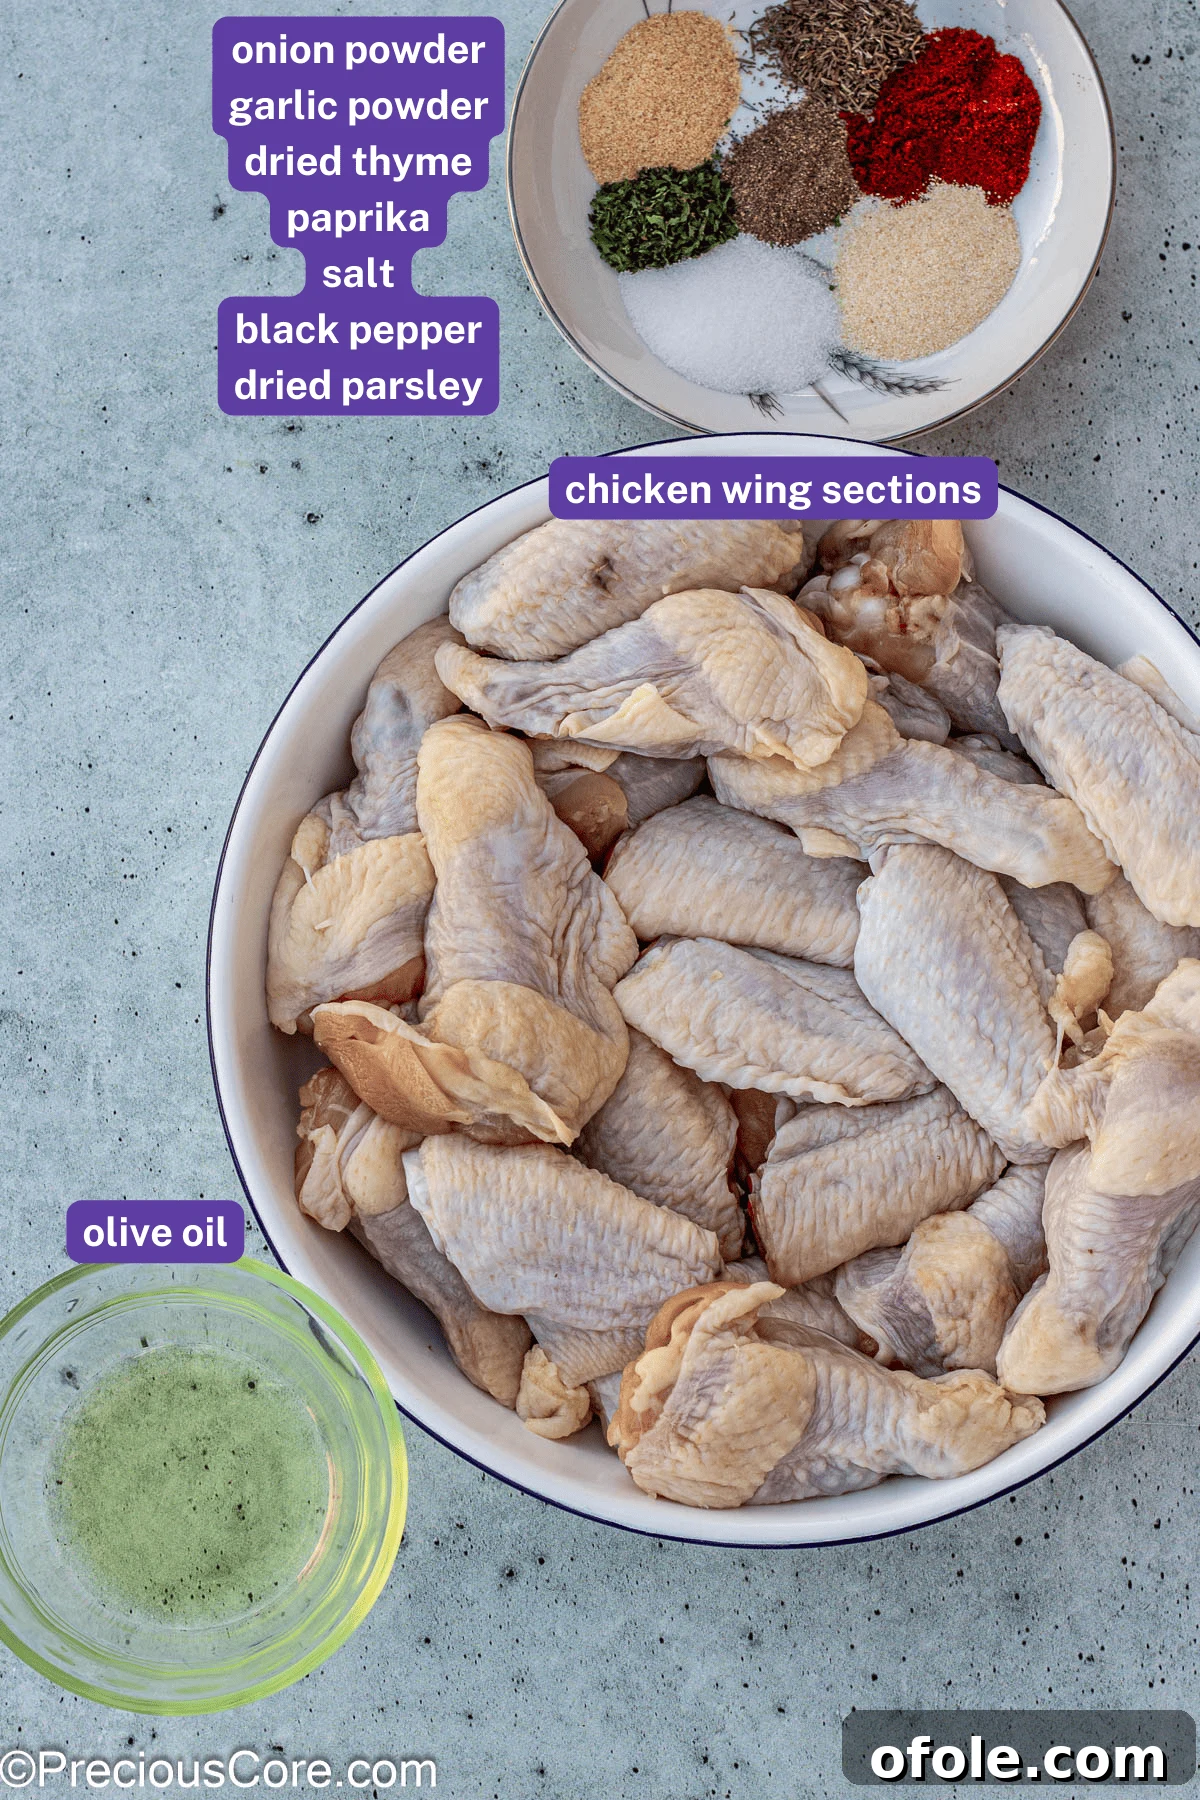
- Chicken Wings: For ultimate convenience, opt for “party wings.” These are chicken wings that have already been separated into drumettes and flats (paddles) with the tips discarded. If you buy whole wings, don’t worry – separating them yourself is straightforward. You’ll cut off the wing tip (which can be saved for stock!) and then separate the drumette from the flat at the joint.
- Olive Oil: A light coating of olive oil is crucial for two reasons: it helps the wings achieve that desirable crispy skin in the oven and acts as a binder, ensuring all those wonderful spices and herbs adhere perfectly to the chicken. You can also use any other neutral-flavored oil, such as avocado oil or vegetable oil.
- Herbs and Spices: The heart of our dry rub! A foundational blend of onion powder, garlic powder, and dried thyme creates an incredibly savory and aromatic base. To elevate the flavor and add visual appeal, consider incorporating paprika for a smoky depth and vibrant color, and dried parsley for a touch of freshness and additional color (while not adding significant flavor).
- Salt and Black Pepper: These are non-negotiable. Salt is essential for enhancing all the other flavors in the rub, bringing them to life, while freshly ground black pepper adds a subtle kick and aromatic warmth.
For the complete list of ingredients with precise measurements, please refer to the detailed recipe card located at the bottom of this post.
Top Tip: Separating Whole Chicken Wings
If you’ve purchased whole chicken wings, separating them is easy. First, locate the joint where the wing tip meets the flat and cut through it, discarding the tip (or saving it for homemade chicken stock!). Next, find the joint between the drumette and the flat, and cut through it. This will give you the three common wing sections. Don’t have time to make stock immediately? Simply gather all your wing tips in a Ziploc bag and store them in the freezer until you’re ready to simmer up a flavorful broth.
Step-by-Step: How To Bake Dry Rub Wings
These baked dry rub wings are the ultimate crowd-pleaser for game day, a fun pizza night, or any entertaining occasion. Follow these simple steps to achieve perfectly crispy and flavorful wings every time:
- Prepare the Wings: Begin by thoroughly patting your chicken wing sections dry with paper towels. This step is absolutely critical and should not be skipped! Removing excess moisture from the skin is the secret to achieving that coveted crispy texture and helps the oil and spices adhere properly to the chicken. Once dry, transfer the wings to a large mixing bowl.
- Add the Oil: Drizzle the olive oil evenly over the dried chicken wings. Toss them well, using your hands or tongs, to ensure every wing piece is lightly coated. The oil acts as a binder for the spices and helps render the fat, contributing to the crispiness.
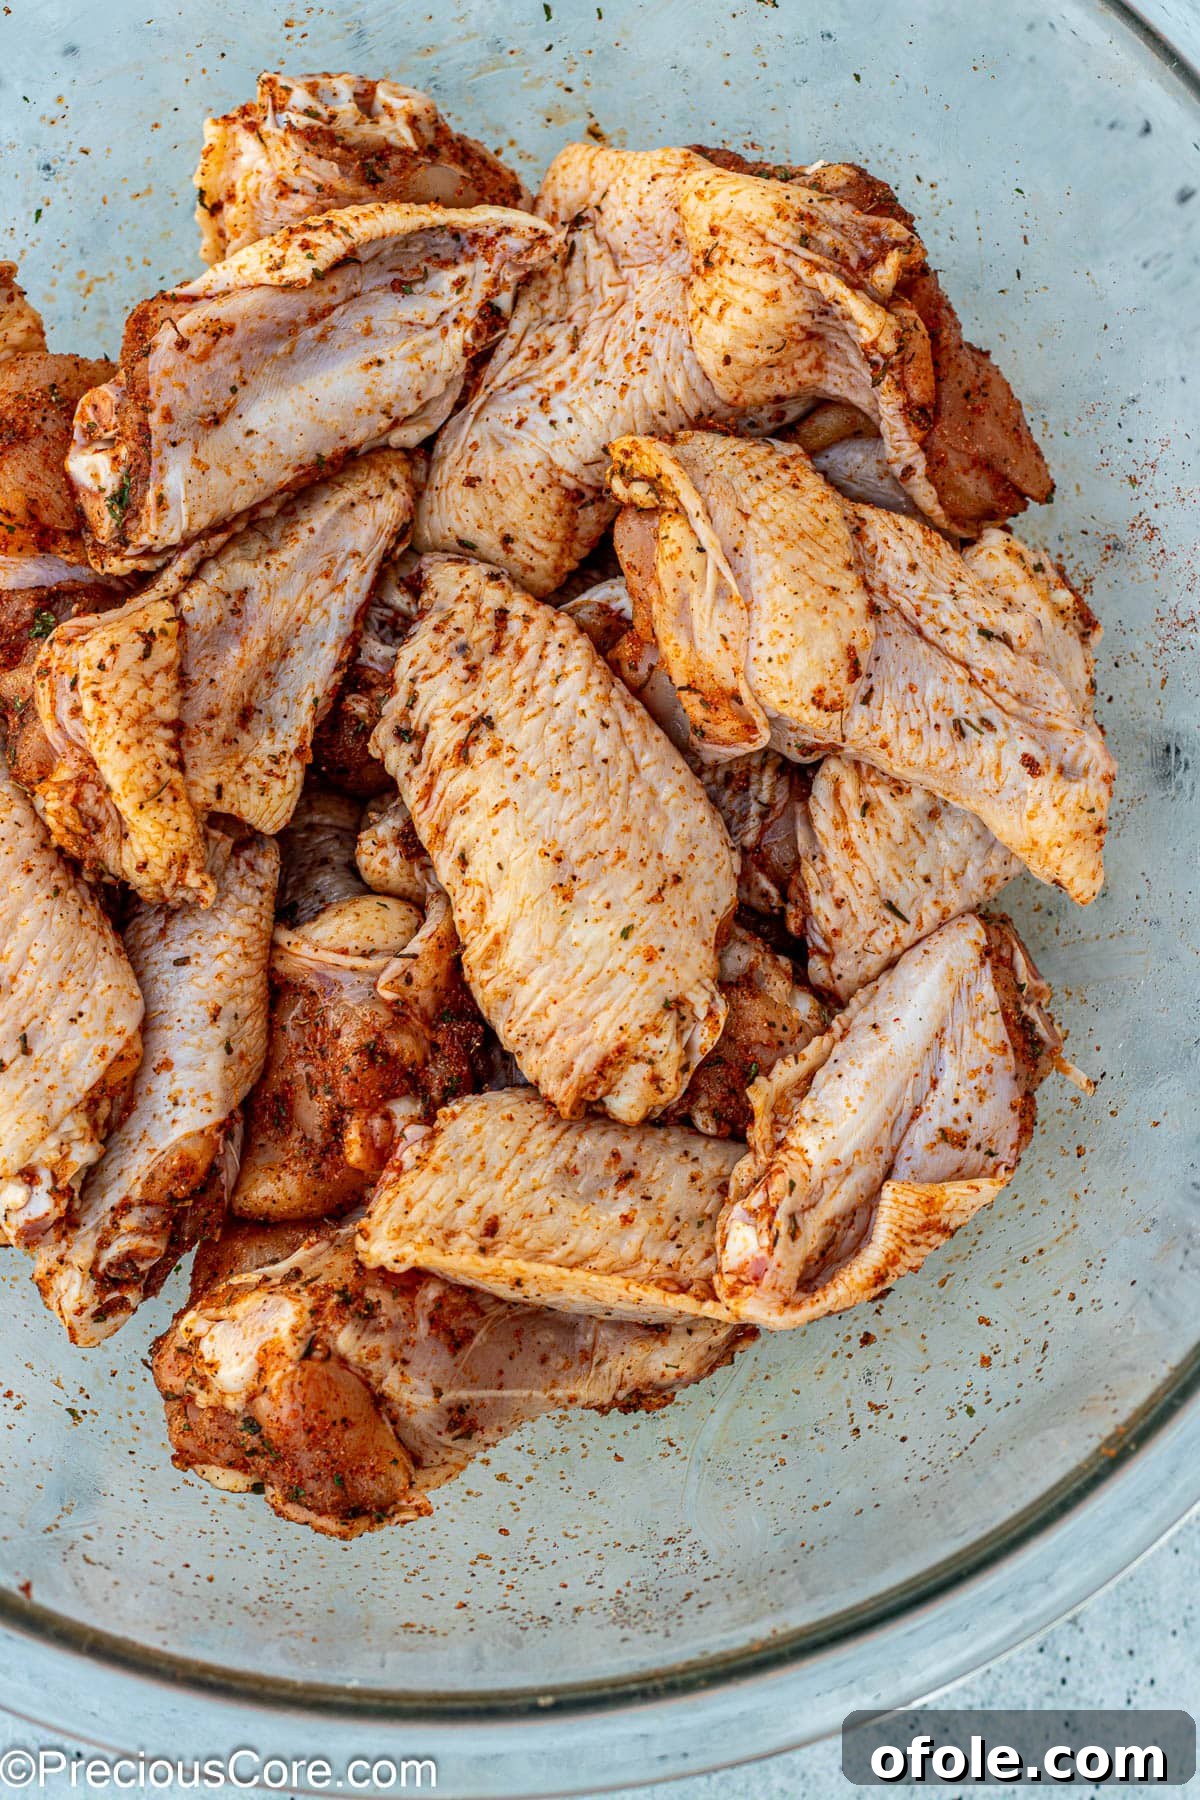
- Apply the Dry Rub: In a small separate bowl, combine all your chosen dry rub spices and herbs (salt, pepper, garlic powder, onion powder, thyme, parsley, paprika). Mix them well to ensure an even distribution of flavors. Sprinkle this blended dry rub generously over the oiled chicken wings in the large bowl. Toss vigorously until every single wing is thoroughly coated with the aromatic spice blend.
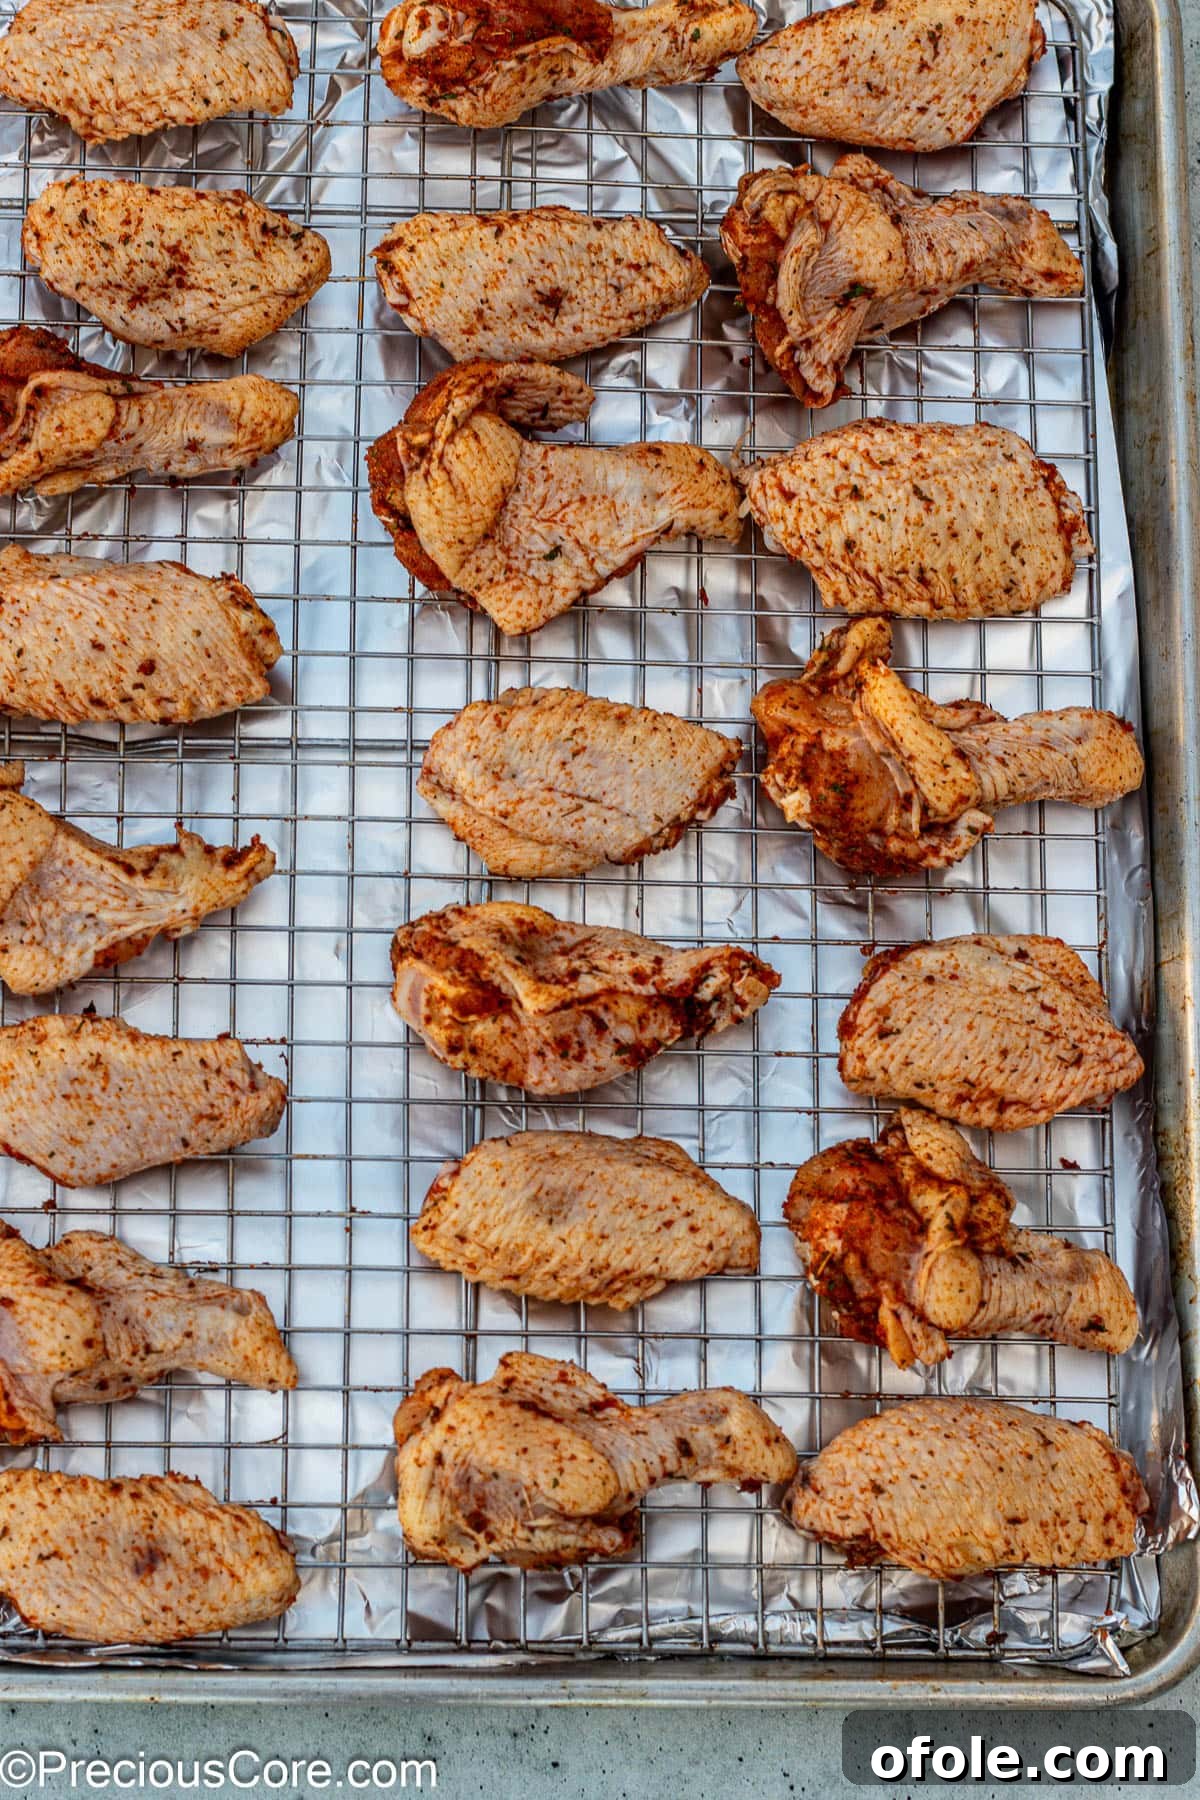
- Arrange on Baking Rack: Line a large baking sheet with aluminum foil for easy cleanup. Place an oven-safe wire rack on top of the foil-lined baking sheet. Arrange the seasoned chicken wings on the wire rack in a single layer. It’s crucial to leave ample space between each wing piece. This allows for proper airflow around the chicken, which is essential for uniform cooking and achieving maximum crispness.
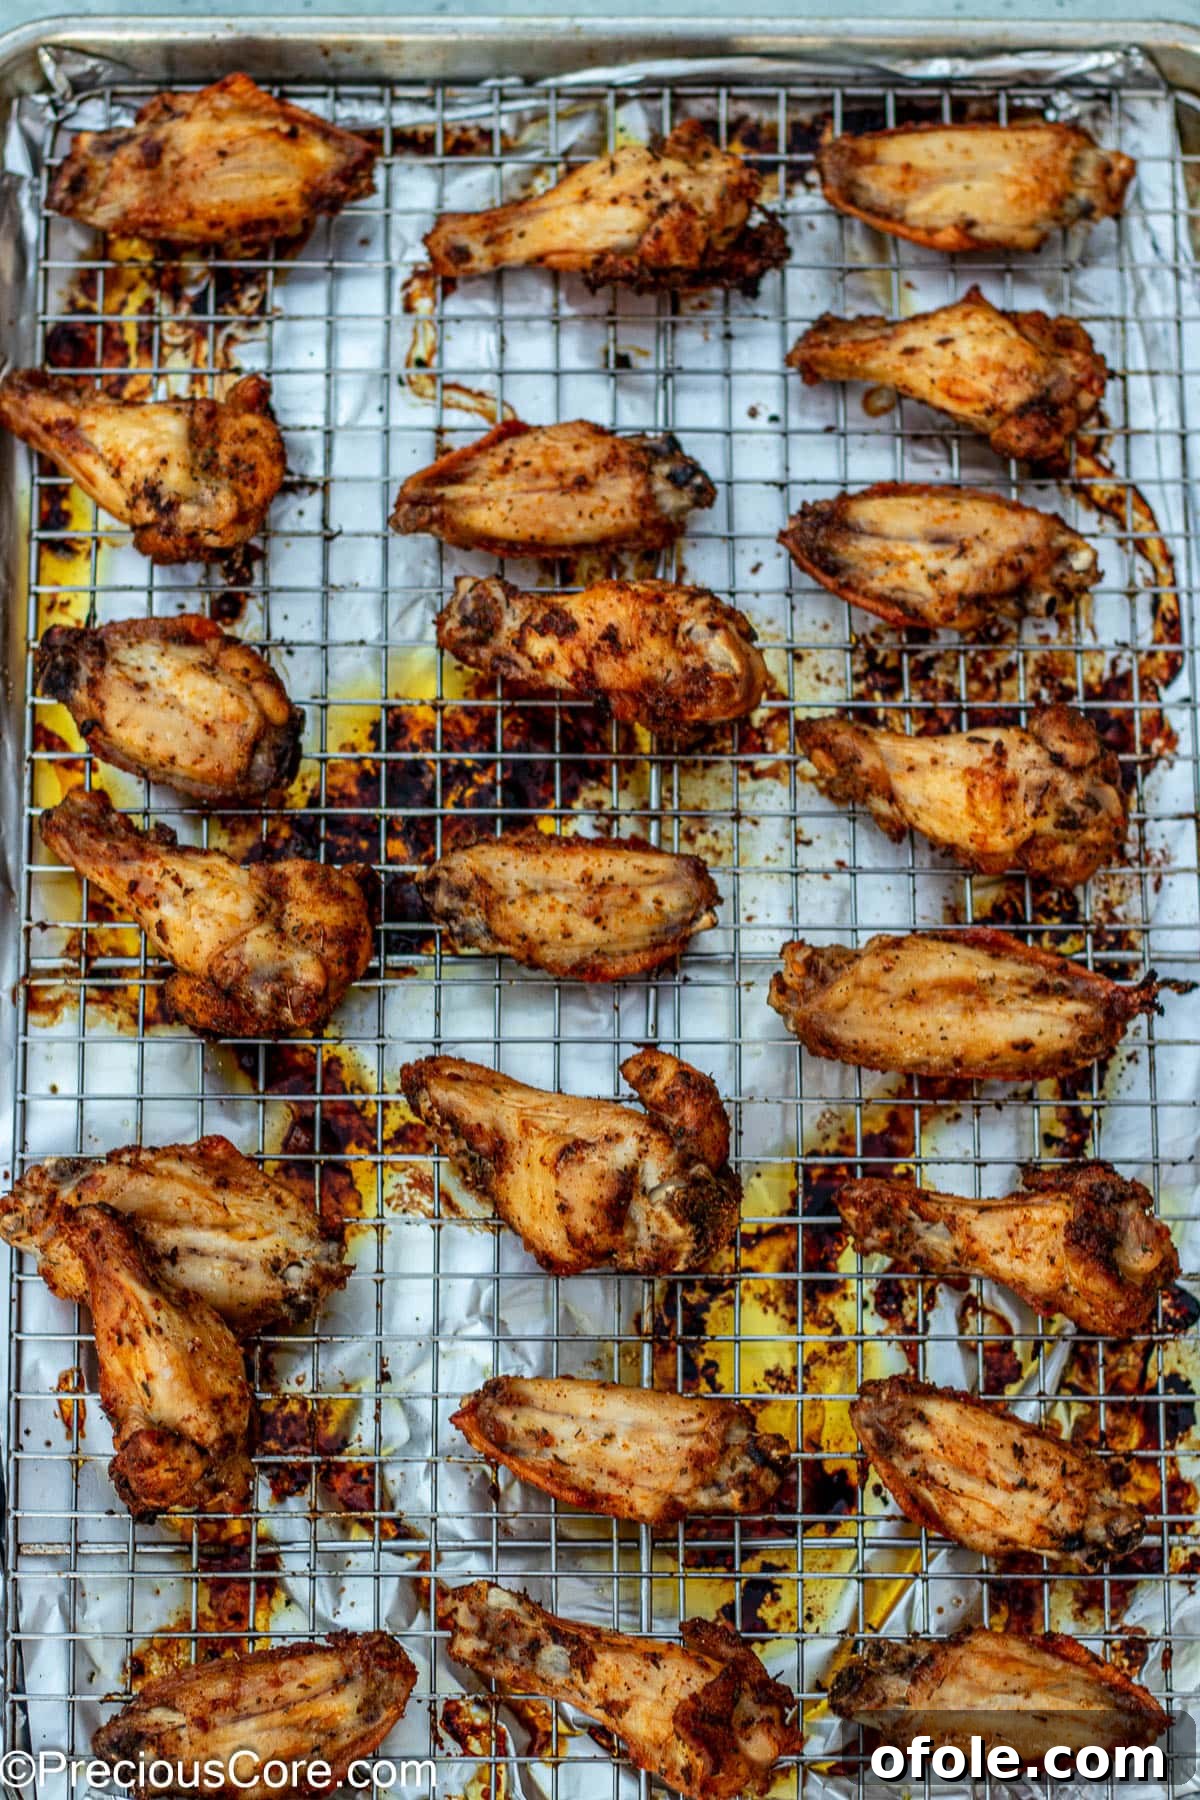
- Bake to Perfection: Preheat your oven to 400 degrees Fahrenheit (200 degrees Celsius). Bake the chicken wings for approximately 45 minutes. For even cooking and crisping, consider rotating the baking sheet halfway through the cooking time. The chicken wings are fully cooked and safe to eat when they register an internal temperature of 165 degrees Fahrenheit (74 degrees Celsius) when checked with an instant-read meat thermometer in the thickest part of the meat, avoiding the bone.
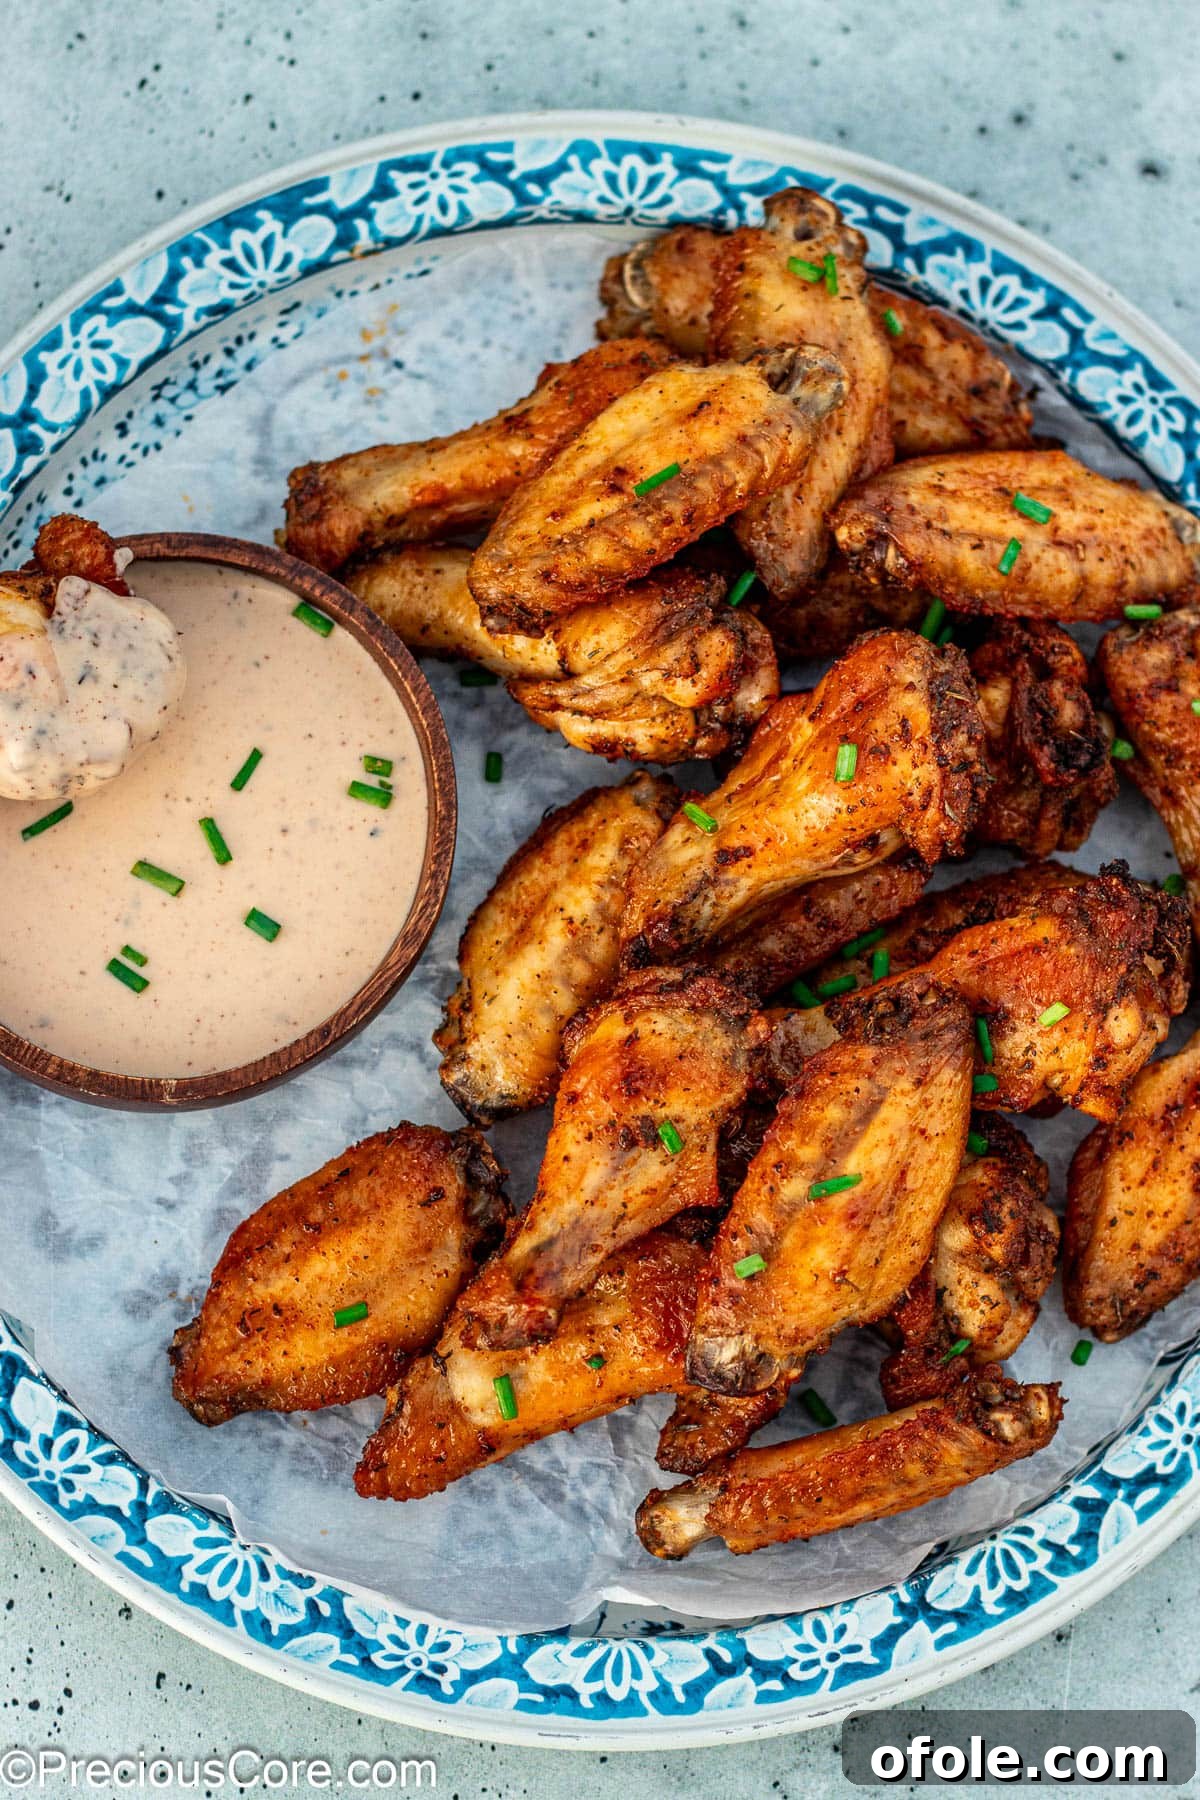
- Serve Warm: Once baked to crispy perfection, remove the wings from the oven. Let them rest for a few minutes before serving. Enjoy them warm with your favorite dipping sauces and sides!
Elevate Your Wings with Variations
While the classic dry rub is phenomenal, there are endless ways to customize your chicken wings and explore new flavor profiles. Experiment with these exciting variations to keep things fresh and cater to every palate:
- Lemon Pepper Wings: For a zesty and vibrant twist, generously season your chicken wings with a high-quality lemon pepper seasoning blend, then complement it with garlic powder and onion powder for depth.
- Spicy Wings: If you love a fiery kick, simply add a pinch or more of cayenne pepper or red pepper flakes to your standard dry rub. Adjust the amount to reach your desired level of heat!
- Hot Honey Wings: After baking your wings to crispy perfection, toss them in a luscious homemade hot honey sauce. Combine melted butter, your favorite hot sauce, and honey in a saucepan, simmer briefly, then pour over the warm wings for a sweet and spicy glaze.
- Smoky BBQ Wings: Incorporate smoked paprika, a touch of chili powder, and a hint of cumin into your dry rub for a deep, smoky BBQ flavor profile.
- Cajun/Creole Wings: Use a robust seasoning mix like a homemade or store-bought Cajun seasoning, or a zesty Italian seasoning blend for an aromatic and herbaceous alternative.
- Herbaceous Ranch Wings: Mix dried dill, chives, and extra garlic and onion powder into your dry rub for a flavor reminiscent of classic ranch dressing, perfect before dipping in actual ranch.
And don’t forget to explore other fantastic wing recipes like these Garlic Butter Wings, the bold Jerk Chicken Wings, and my Epic Oven Grilled Chicken Wings for even more inspiration.
Perfect Pairings: Serving Chicken Wings
These Baked Dry Rub Chicken Wings are incredibly versatile, making them a fantastic appetizer or a satisfying main course. The natural crispness and rich flavor of the wings mean they pair beautifully with a variety of dips and sides. Here are some serving suggestions to complete your meal:
- Classic Dips: Serve them with your favorite creamy ranch dressing, a pungent blue cheese dressing, or a smoky, sweet BBQ sauce.
- Fresh Sides: For a refreshing contrast, accompany the wings with crisp carrot and celery sticks. A light, cooling coleslaw or a simple green salad also makes an excellent side.
- Heartier Sides: Pair them with classic comfort foods like crispy French fries, sweet potato fries, creamy macaroni and cheese, or grilled corn on the cob.
- Unique Flavors: For an adventurous kick, consider serving them alongside this vibrant African Pepper Sauce for an unforgettable dipping experience.
- Complete Meal: If serving as a main dish, consider adding roasted vegetables like broccoli or asparagus, or a side of fluffy rice to round out the meal.
No matter how you serve them, these wings are sure to be a hit!
Pro Tips for Baked Dry Rub Wings
Achieving restaurant-quality baked wings at home is easier than you think, especially with these expert tips:
- The Secret to Super Crisp Wings: Pat and Air Dry! This is perhaps the most crucial step. After patting the chicken wings thoroughly dry with paper towels, take it a step further. Arrange them on a wire rack set over a baking sheet and let them air-dry in the refrigerator overnight (or for at least 4 hours). This extra time allows the skin to dry out completely, which promotes maximum crispiness in the oven as moisture is the enemy of crispy skin.
- Baking Powder for Next-Level Crunch: For an even crispier skin, consider adding a small amount of baking powder (NOT baking soda) to your dry rub. The baking powder helps to raise the skin’s pH, which leads to a more rapid breakdown of proteins, enhancing browning and creating tiny air bubbles on the surface. Add about 1 teaspoon of aluminum-free baking powder for every one pound of chicken wings. Mix it directly into your spice blend before coating the wings.
- Master the Oven Temperature: Baking at the correct temperature is vital for achieving the perfect balance of crispy skin and juicy meat. A consistent temperature of 400 degrees Fahrenheit (200 degrees Celsius) ensures that the wings cook through evenly, the fat renders efficiently, and the skin crisps up beautifully without drying out the meat.
- Don’t Overcrowd the Pan: Always arrange your wings in a single layer on the wire rack, leaving ample space between each piece. Overcrowding inhibits proper air circulation, causing the wings to steam instead of crisp, resulting in soggy skin.
- Broil for Extra Char (Optional): If your wings aren’t quite as crispy as you’d like after the main baking time, you can briefly broil them for 2-3 minutes at the end. Keep a close eye on them, as they can burn quickly under the broiler.
- Rest Before Serving: While tempting to dig in immediately, letting the wings rest for 5-10 minutes after baking allows the juices to redistribute throughout the meat, ensuring maximum tenderness and flavor.
Commonly Asked Questions
- Do you add dry rub before or after cooking wings?
- Dry rub should always be applied to wings before cooking them. This allows the spices and herbs to infuse into the chicken as it bakes, creating a deeper and more integrated flavor throughout the meat and skin.
- Is it better to marinate or dry rub chicken wings?
- Both marinating and dry rubbing are excellent methods for flavoring wings, and the “better” option often depends on your desired outcome and available time. Choose the marinating method if you have several hours (or even overnight) to let the wings soak in a liquid marinade, which can tenderize the meat and add moisture. Opt for the dry rub method for achieving incredibly tasty wings in a quicker time, as it focuses on crisping the skin and delivering concentrated flavor on the surface. For this recipe, dry rub is preferred for ultimate crispiness.
- How do you get seasoning to stick to wings?
- The key to making seasoning stick to wings is a combination of properly dried chicken and a light coating of oil. First, ensure your wings are thoroughly patted dry with paper towels. Then, toss the dry wings with a tablespoon or two of olive oil. The oil creates a slightly sticky surface that allows the dry rub to adhere effectively and evenly to every piece.
- Can I use an air fryer for this recipe?
- Absolutely! This dry rub recipe is perfect for air frying. Follow the same prep steps (patting dry, oil, dry rub), then arrange wings in a single layer in your air fryer basket, ensuring they are not overcrowded. Air fry at 375°F (190°C) for 20-25 minutes, shaking the basket or flipping the wings halfway through, until crispy and cooked through. Cooking times may vary by air fryer model.
- How do I store and reheat leftover baked wings?
- Store any leftover wings in an airtight container in the refrigerator for up to 3-4 days. To reheat and maintain crispiness, it’s best to use an oven or air fryer. Reheat at 350°F (175°C) for 10-15 minutes, or until heated through and the skin has re-crisped.
Similar Recipes to Explore
If you loved this Baked Dry Rub Chicken Wings recipe, you’ll definitely want to check out these other oven-powered and easy-to-make recipes from my collection. Perfect for expanding your repertoire of delicious and simple meals!
Epic Oven Grilled Chicken Wings
Garlic Butter Wings
Crispy Baked Chicken Drumsticks
Grilled Whole Red Snapper (Oven Grilled)
If you try this incredible recipe, please take a moment to leave a star rating below. Your feedback helps others discover and enjoy this recipe, and I always love hearing from you! Thank you!
Want to save this recipe for later? Enter your email address below, and we’ll send the full recipe straight to your inbox!
Save This Recipe
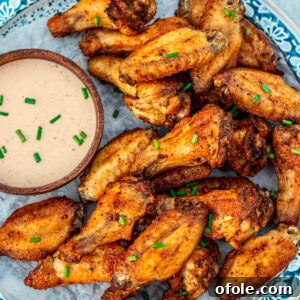
Baked Dry Rub Chicken Wings
The tastiest Baked Dry Rub Chicken Wings are made with a simple but epic dry rub using pantry staples. You’ll love these simple and tasty chicken wings.
10 mins
45 mins
55 mins
4 servings
Pin Recipe
Rate
Print Recipe
Ingredients
- 2 pounds chicken wings (completely thawed if frozen)
- 1 Tablespoon olive oil
- 1 teaspoon salt
- ½ teaspoon ground black pepper
- 1 teaspoon garlic powder
- 1 teaspoon onion powder
- ½ teaspoon dried thyme
- 1 teaspoon dried parsley
- 1 teaspoon paprika
Instructions
- Preheat oven to 400℉ (200℃). Line a sheet pan with aluminum foil. Place an oven-safe wire rack on top of the sheet pan.
- Remove chicken wings from the fridge at least 30 minutes before cooking to allow them to come closer to room temperature. Pat the chicken wings thoroughly dry with paper towels to remove any extra moisture. Add the dried chicken to a large mixing bowl.
- Drizzle the olive oil over the chicken and toss to combine, ensuring all wings are lightly coated. In a small mixing bowl, combine all the dry ingredients (salt, pepper, garlic powder, onion powder, thyme, parsley, paprika). Sprinkle the dry rub evenly over the chicken and toss well until each chicken wing is coated with the rub.
- Place the seasoned wings on the prepared baking rack in a single layer for even baking. Leave a bit of space between the chicken wings to allow for proper air circulation, which is crucial for helping the wings crisp up nicely.
- Place the baking sheet in the preheated oven and bake for 45 minutes. For best results, rotate the baking sheet halfway through cooking to ensure even browning. Chicken is done when it registers an internal temperature of 165℉ (74℃) on an instant-read meat thermometer inserted into the thickest part of the meat, avoiding the bone.
- Serve warm immediately with your favorite dipping sauces.
Notes
- Patting the chicken dry with paper towels before seasoning is an extremely important step for ensuring that the chicken skin crisps up well in the oven. Do not skip it!
- If you do not have an oven-safe wire rack for baking, you can bake them directly on a lightly greased baking pan or a baking pan lined with aluminum foil. While a rack is ideal for crispness, baking directly on the pan will still yield delicious results.
- Store any leftover wings in an airtight container in the refrigerator for up to 3 days. Reheat in the oven or air fryer for best crispness.
Nutrition
Carbohydrates: 1g |
Protein: 23g |
Fat: 23g |
Saturated Fat: 6g |
Polyunsaturated Fat: 5g |
Monounsaturated Fat: 10g |
Trans Fat: 0.2g |
Cholesterol: 94mg |
Sodium: 672mg |
Potassium: 221mg |
Fiber: 0.4g |
Sugar: 0.1g |
Vitamin A: 433IU |
Vitamin C: 1mg |
Calcium: 23mg |
Iron: 2mg
Additional Info
Appetizer, Main Dish
American, Western
Tried this recipe?
Mention @preciouscore or tag #PreciousCore!