
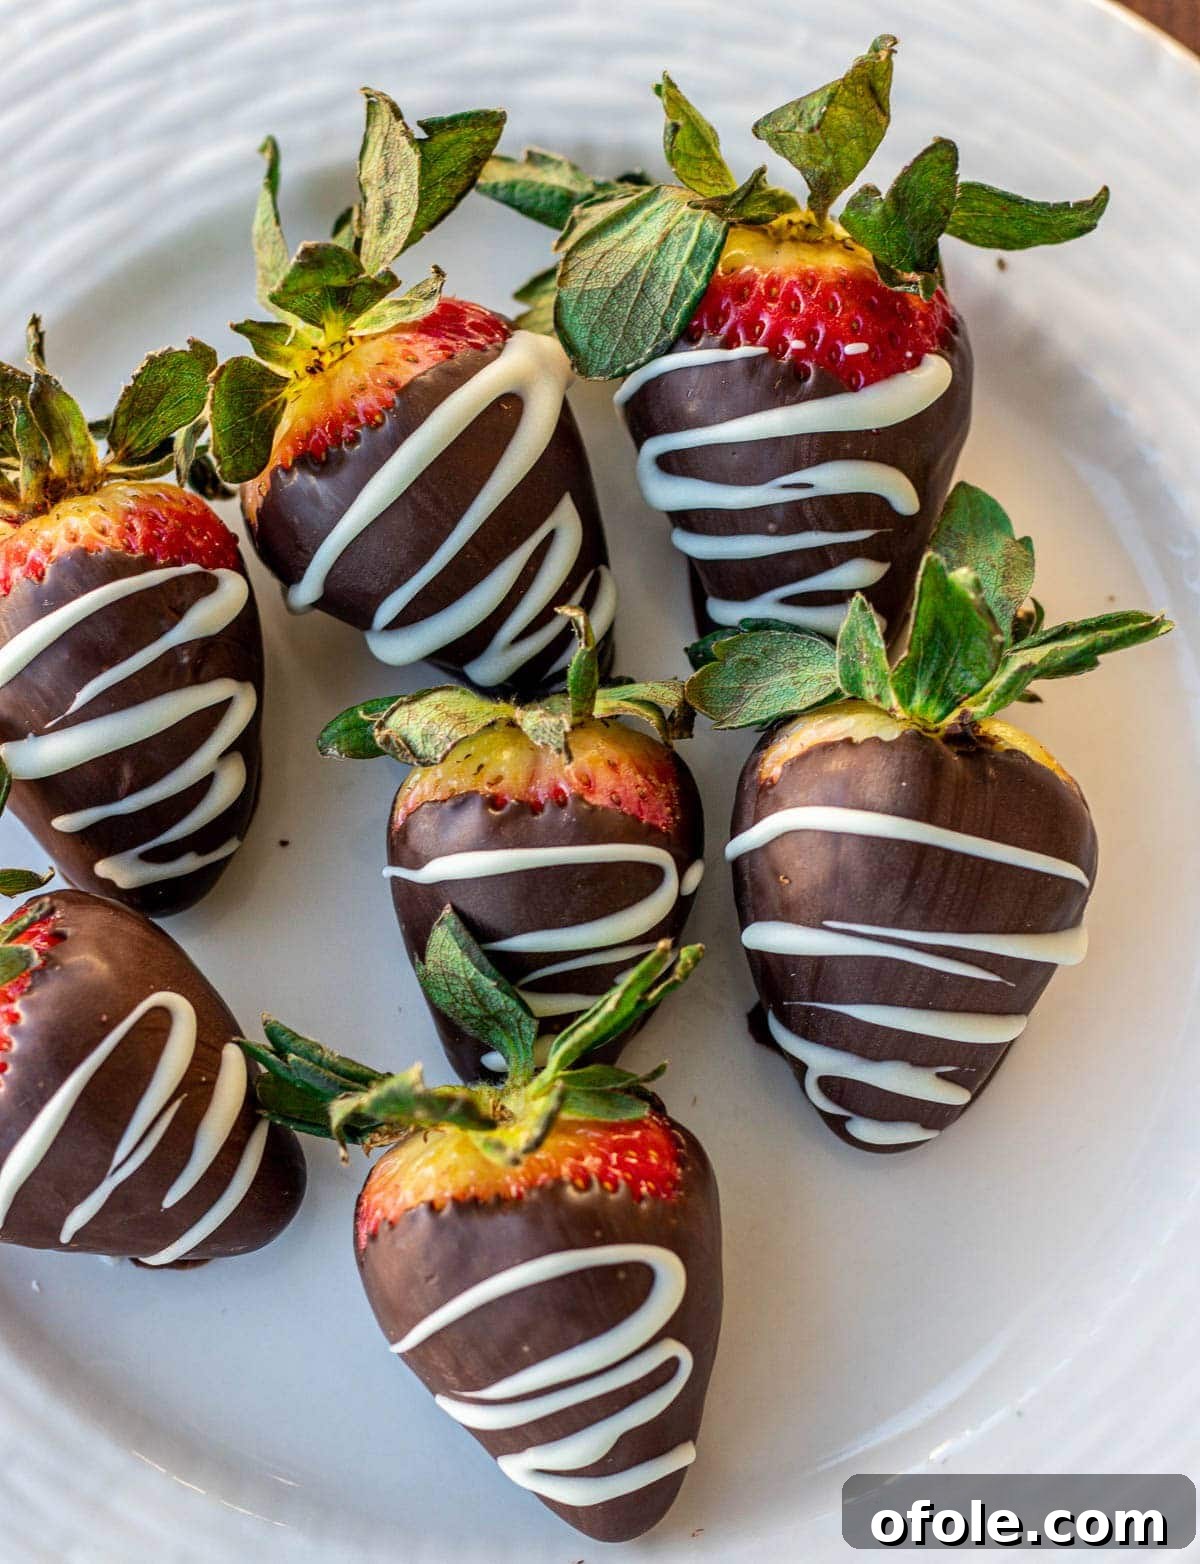
Indulge in Sweet Simplicity: How to Make Easy Chocolate Covered Strawberries
Discover how to make incredibly easy chocolate covered strawberries with just two simple ingredients and minimal effort, ready in under 30 minutes. These decadent yet refreshingly simple treats are perfect for elevating any occasion, from romantic Valentine’s Day gestures and heartfelt Mother’s Day gifts to a spontaneous craving for something sweet and sophisticated. Learn the secrets to crafting beautiful, gourmet-looking homemade chocolate dipped strawberries that impress every time.
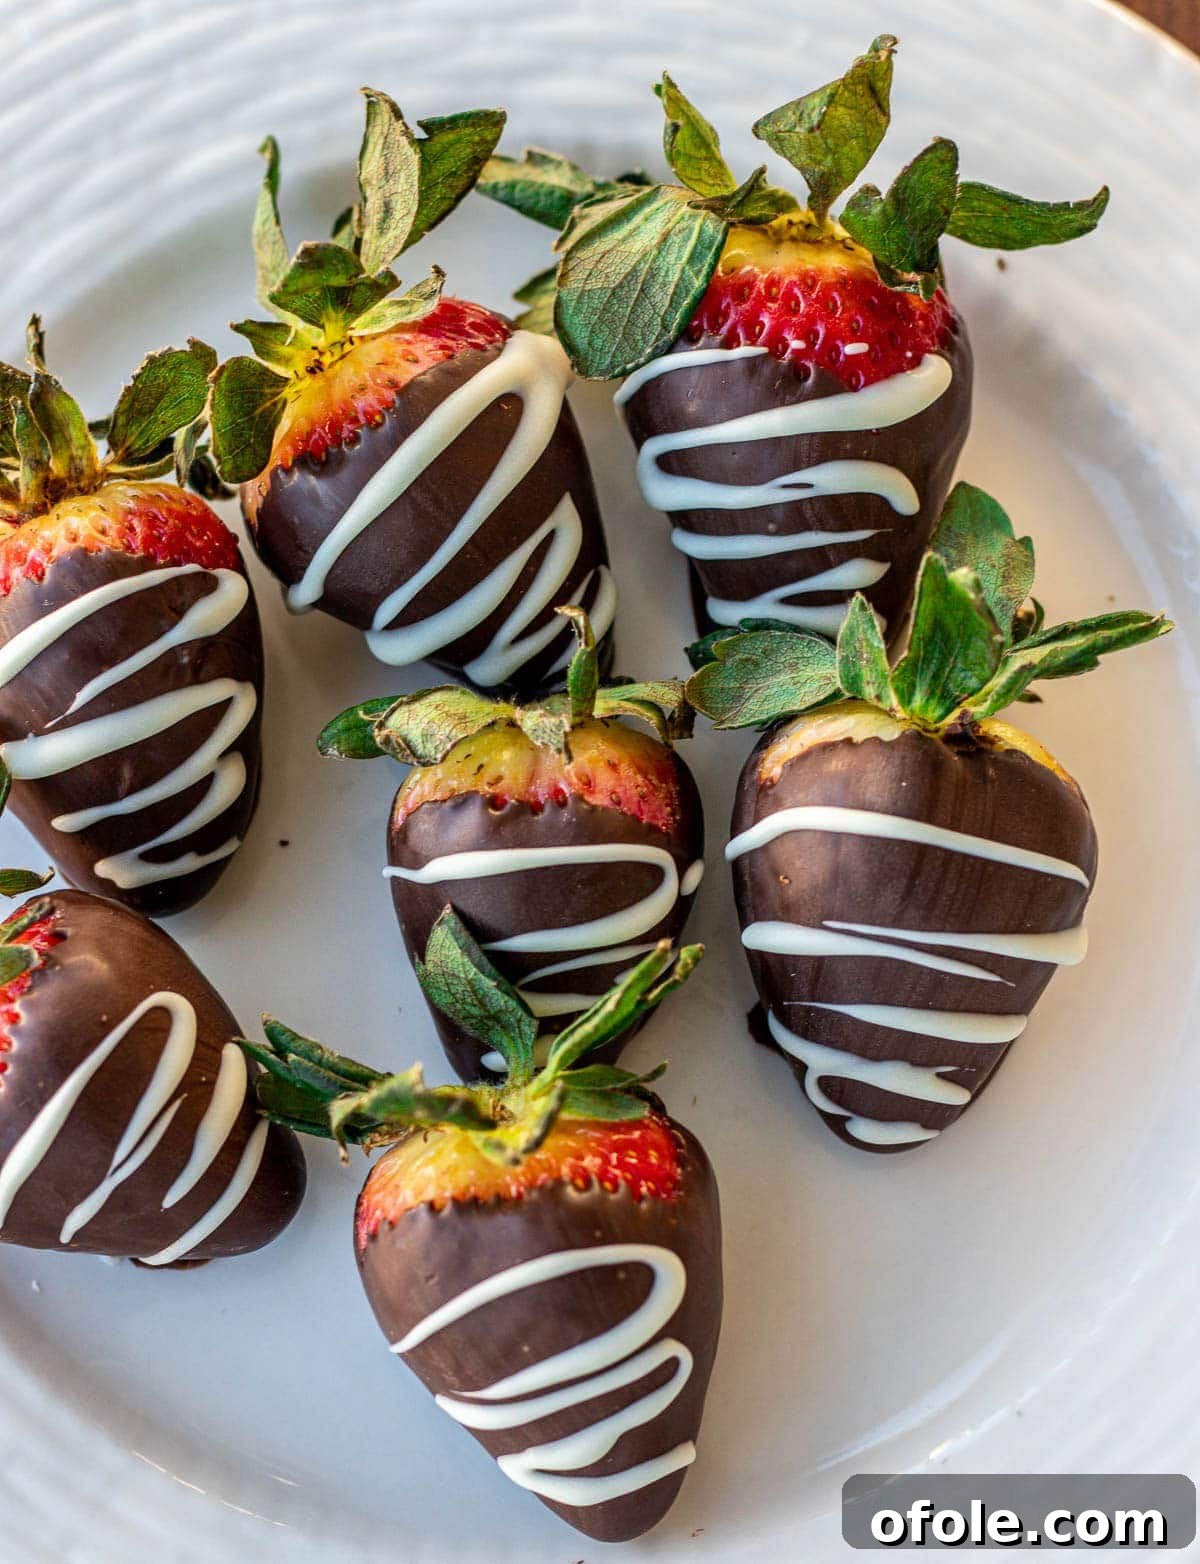
Few desserts capture hearts quite like the classic combination of plump, juicy strawberries enveloped in rich, velvety chocolate. It’s a timeless pairing that exudes elegance while offering a burst of fresh flavor with every bite. For years, this delightful treat has been a cherished tradition in my home, especially as holidays like Valentine’s Day or Mother’s Day approach. My daughters and I always look forward to creating these easy chocolate covered strawberries, turning a simple kitchen activity into a sweet family memory.
Our approach has always been delightfully straightforward. We grab whatever quality melting chocolate we have, melt it down, dip our carefully selected strawberries, and let them set to perfection. The process is so effortless, yet the results are always impressive. It wasn’t until my nine-year-old recently pointed out, “Mom, you don’t have a chocolate-covered strawberries recipe on your blog!” that I realized this simple joy needed to be shared.
And so, here it is! This post unveils my foolproof, super easy chocolate covered strawberries recipe, designed for anyone who wants to whip up a gourmet-looking dessert without the fuss. It’s truly a testament to how two humble ingredients can transform into something extraordinary.
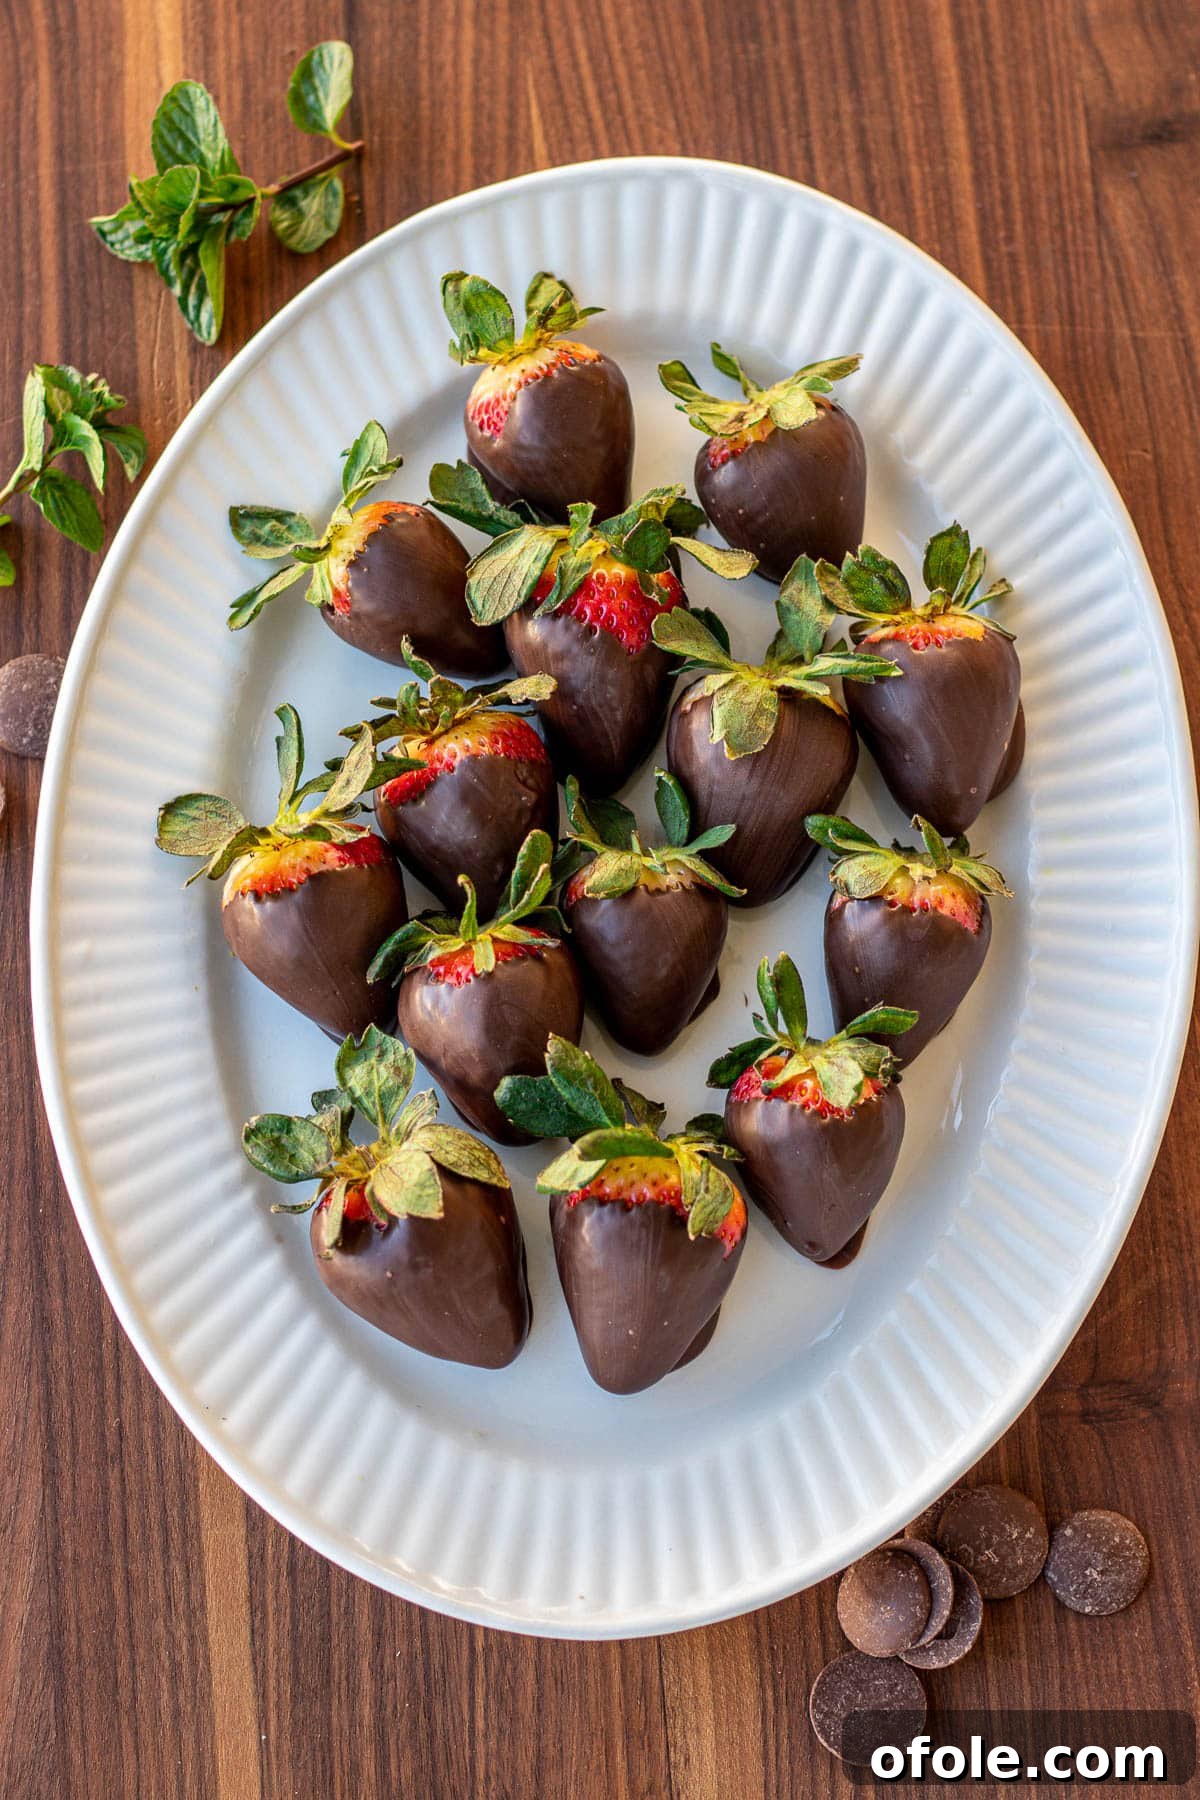
Adding to the inspiration, my partner recently brought home some absolutely gorgeous strawberries. I’m talking about those big, vibrantly red, incredibly juicy berries, bursting with authentic strawberry flavor. They were so perfect, it felt like a clear sign from the universe. What better way to honor such magnificent fruit than to transform them into one of my all-time favorite strawberry desserts? This recipe is more than just a sweet treat; it’s an experience waiting to happen, a small luxury you can easily create in your own kitchen.
Why You’ll Adore These Homemade Chocolate Dipped Strawberries
These aren’t just any chocolate dipped strawberries; they’re a revelation in simplicity and indulgence. Here’s why this recipe will quickly become one of your go-to dessert choices:
- **Deceptively Easy, Visually Stunning:** You’d think a dessert this elegant would require hours in the kitchen or special culinary skills. Think again! This recipe is unbelievably simple to master, demanding no fancy equipment or complex techniques. Yet, the outcome is always breathtakingly beautiful, making it ideal for impressing guests or simply treating yourself to a little gourmet luxury.
- **Incredibly Quick Preparation:** When time is of the essence, these quick chocolate strawberry treats are your best friend. The hands-on time is minimal, allowing you to coat a substantial batch of strawberries in rich chocolate in less than 15 minutes. This makes them the ultimate solution for last-minute party contributions, unexpected guests, or those sudden cravings that just can’t wait.
- **Versatile for Every Special Occasion:** While they shine brightly on Valentine’s Day and Mother’s Day, their charm extends far beyond. These chocolate covered strawberries are perfect for anniversaries, bridal showers, birthday celebrations, holiday gatherings, or even as a thoughtful hostess gift. Their inherent elegance makes them suitable for formal events, while their refreshing taste is welcome at casual get-togethers.
- **A Wholesome & Refreshing Element:** At their core, these are fresh, vibrant strawberries. The inclusion of fruit not only adds a lovely textural contrast but also a refreshing tang that cuts through the sweetness of the chocolate. It’s a delightful way to incorporate fresh produce into a decadent dessert, making you feel a little less guilty about indulging.
- **Infinitely Customizable:** From a simple dark chocolate coating to an elaborate drizzle of white chocolate, sprinkles, or nuts, these strawberries are a blank canvas for your creativity. Tailor them to your taste, the occasion, or the preferences of your loved ones, ensuring every batch is uniquely yours.
Essential Ingredients for Perfect Chocolate Covered Strawberries
You truly only need two main ingredients for this simple chocolate strawberry recipe, but selecting the right ones makes all the difference:
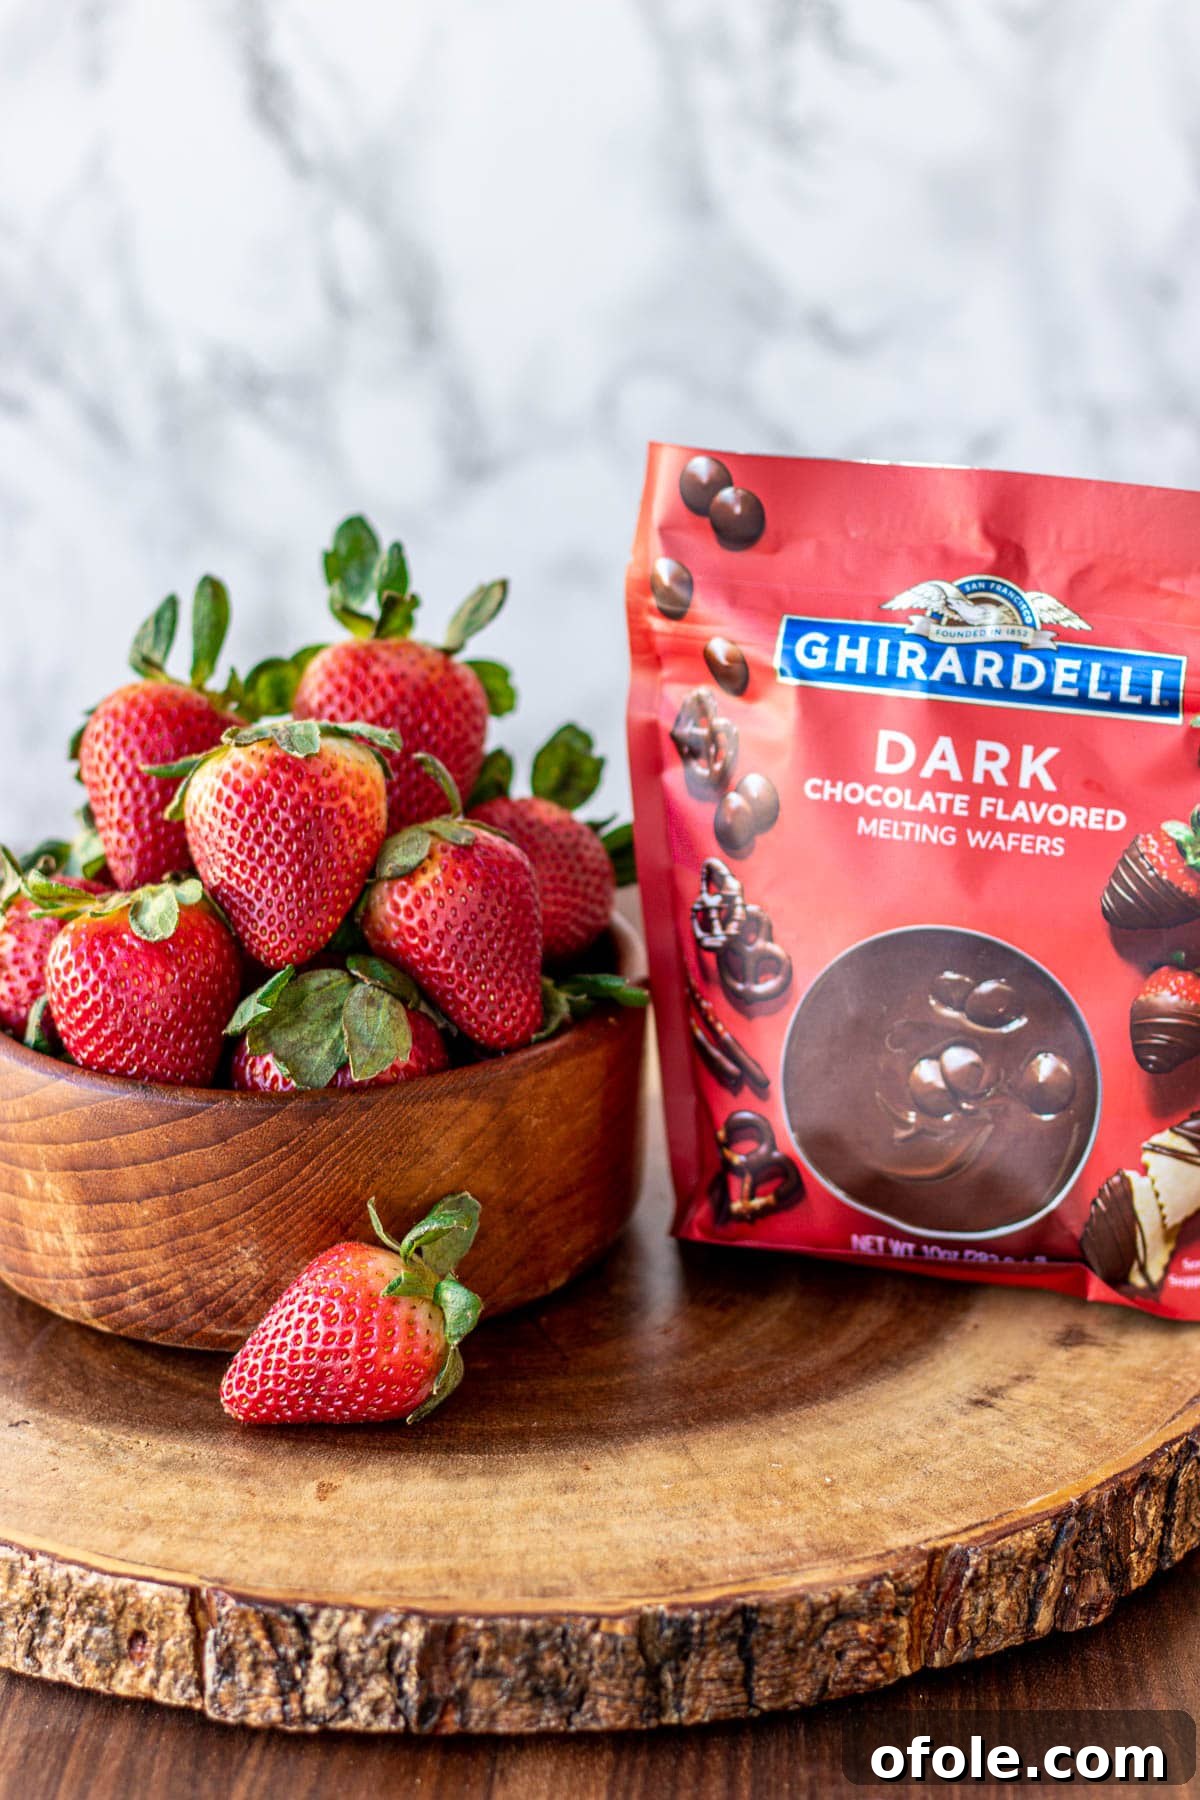
Fresh Strawberries: The star of our show! For the best results, seek out the largest, reddest, and most aromatic strawberries you can find. Peak season berries will offer the most intense, sweet-tart flavor that beautifully complements the chocolate. Look for firm, unblemished berries with bright green caps. The richer the red color, the more luscious their natural flavor will be, ensuring a truly exceptional strawberry dessert experience.
Melting Chocolate: The quality of your chocolate will significantly impact the finish and taste. While any melting chocolate will technically work for chocolate covered strawberries, some options are superior. My personal recommendation for a smooth, glossy finish is Ghirardelli Dark Chocolate Flavored Melting Wafers. These wafers are specifically formulated for melting, providing a beautiful, even coating without the need for tempering. However, feel free to use your preferred type:
- **Dark Chocolate:** Offers a sophisticated, slightly bitter contrast to the sweet berries, a favorite for many.
- **Semi-Sweet Chocolate:** A classic choice, providing a balanced sweetness that appeals to most palates. Brands like Baker’s Semi-Sweet Chocolate Premium Baking Bar melt wonderfully.
- **Milk Chocolate:** For those who prefer a sweeter, creamier profile.
- **White Chocolate:** Creates a stunning visual contrast and a creamy, sweet flavor. It’s also ideal for drizzling patterns.
- **Candy Melts:** Available in various colors, these are great for festive occasions and offer an incredibly easy melting experience, though their flavor profile is distinct from actual chocolate.
Aim for chocolate that melts smoothly to achieve that signature gourmet look and feel.
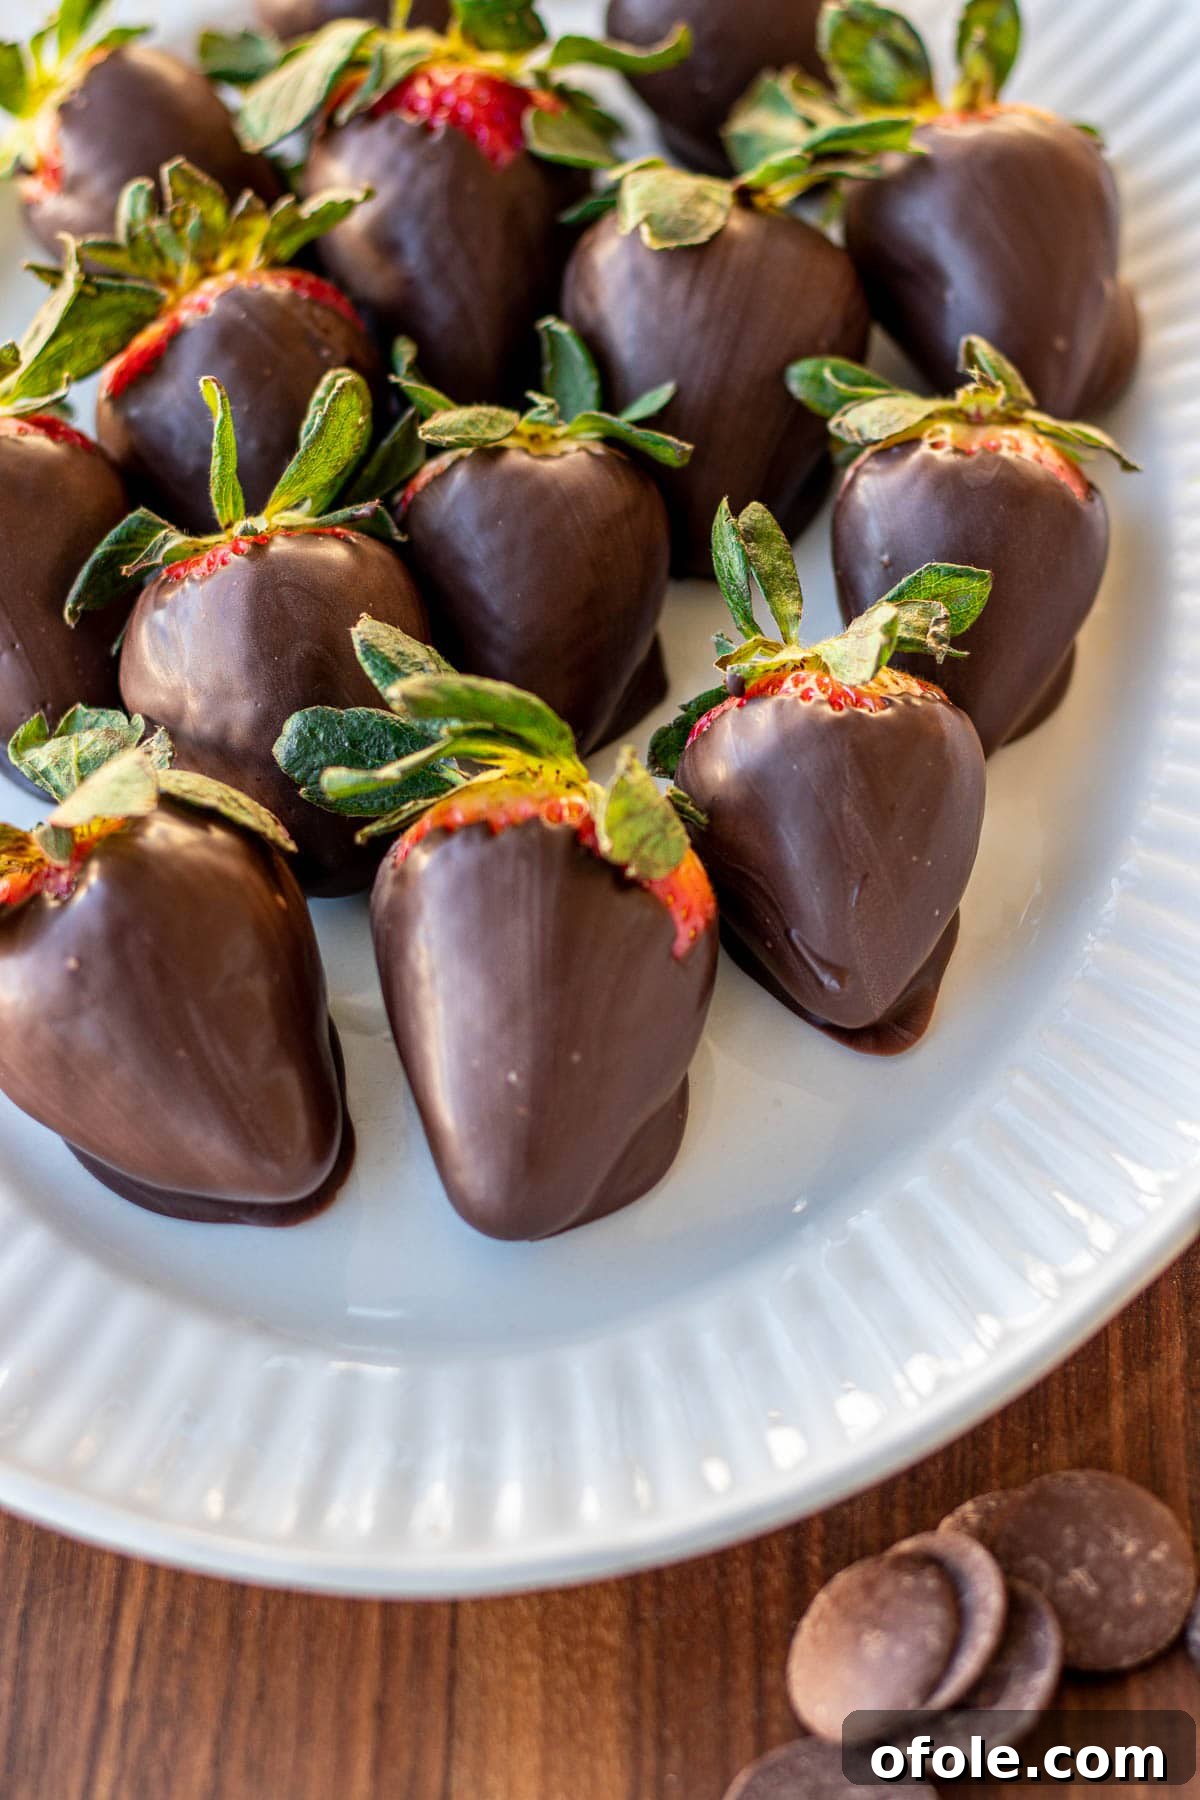
Step-by-Step Guide: How to Make Chocolate Covered Strawberries Easily
Creating these delightful treats is incredibly simple. Follow these detailed steps to achieve perfect homemade chocolate dipped strawberries every time:
Step 1: Prepare Your Strawberries – Rinse and Thoroughly Dry
The crucial first step for perfectly coated strawberries is ensuring they are completely dry. Begin by rinsing your fresh strawberries under cool running water to remove any dirt or residue. For an extra clean, extend shelf life, and remove pesticide residue, consider giving them a quick vinegar bath (see “Tips” section for details). After rinsing, lay them out on a clean baking sheet lined with several layers of paper towels. Gently pat each strawberry dry, one by one, ensuring no moisture remains. Any water droplets can cause the chocolate to seize or prevent it from adhering properly. If time allows, you can even let them air dry in a single layer on paper towels overnight in the refrigerator.
Step 2: Master the Melt – Preparing Your Chocolate
Achieving perfectly melted, smooth chocolate is key to a beautiful finish. You have two excellent methods:
-
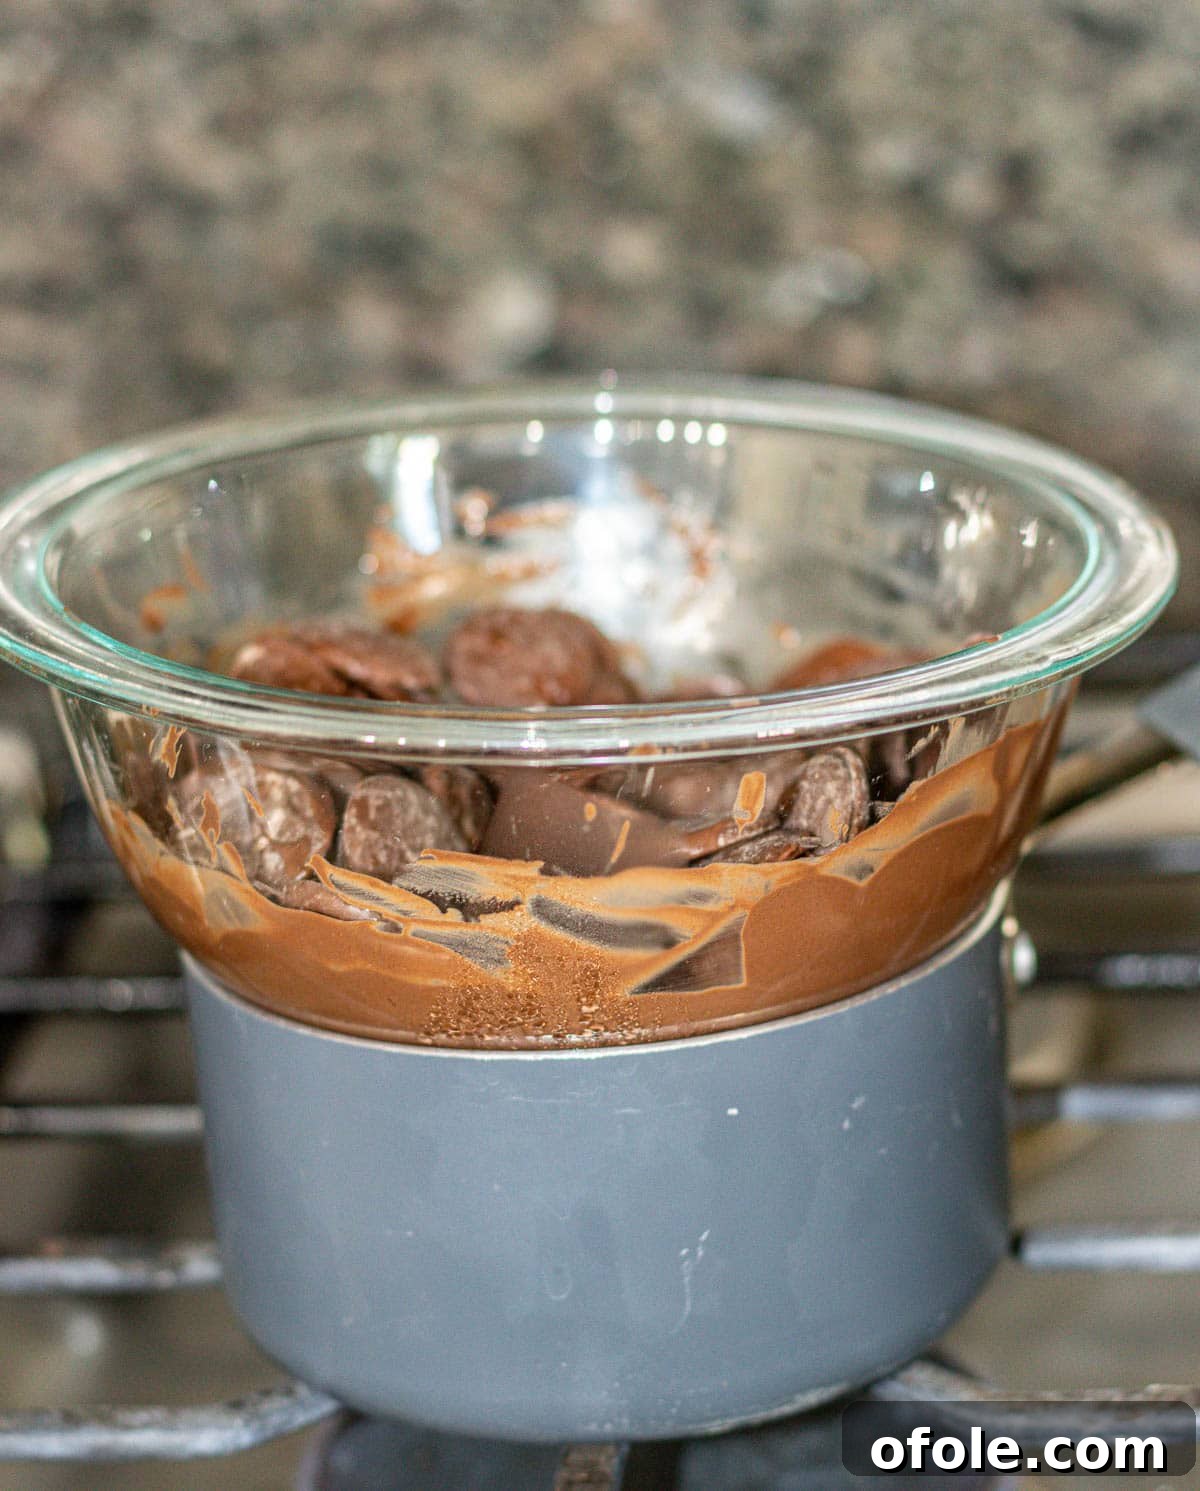
Double Boiler Method (Stovetop): This is my preferred method for consistent, lump-free melting.
- Fill a small saucepan with about 1-2 inches of water and place it on medium heat.
- Place your chosen melting chocolate in a heatproof mixing bowl (a small Pyrex bowl works perfectly) that can comfortably sit on top of the saucepan without touching the water.
- Allow the water to heat to a gentle simmer (do not let it boil vigorously, as steam can introduce moisture and cause the chocolate to seize).
- Once simmering, place the bowl with chocolate on top of the saucepan. The steam from the simmering water will gently and indirectly heat the chocolate.
- Stir the chocolate continuously with a rubber spatula or spoon until it is completely melted and smooth. Remove from heat as soon as it’s fully melted to prevent overheating.
-
Microwave Method: A quicker alternative, but requires careful attention.
- Place your chocolate in a microwave-safe bowl.
- Microwave on high for 30-second intervals.
- After each 30-second burst, remove the bowl and stir the chocolate thoroughly, even if it doesn’t look melted. Chocolate retains its shape even when softened.
- Continue this process until the chocolate is fully melted and has a smooth, dripping consistency. Be extremely careful not to overheat, as burned chocolate is unusable.
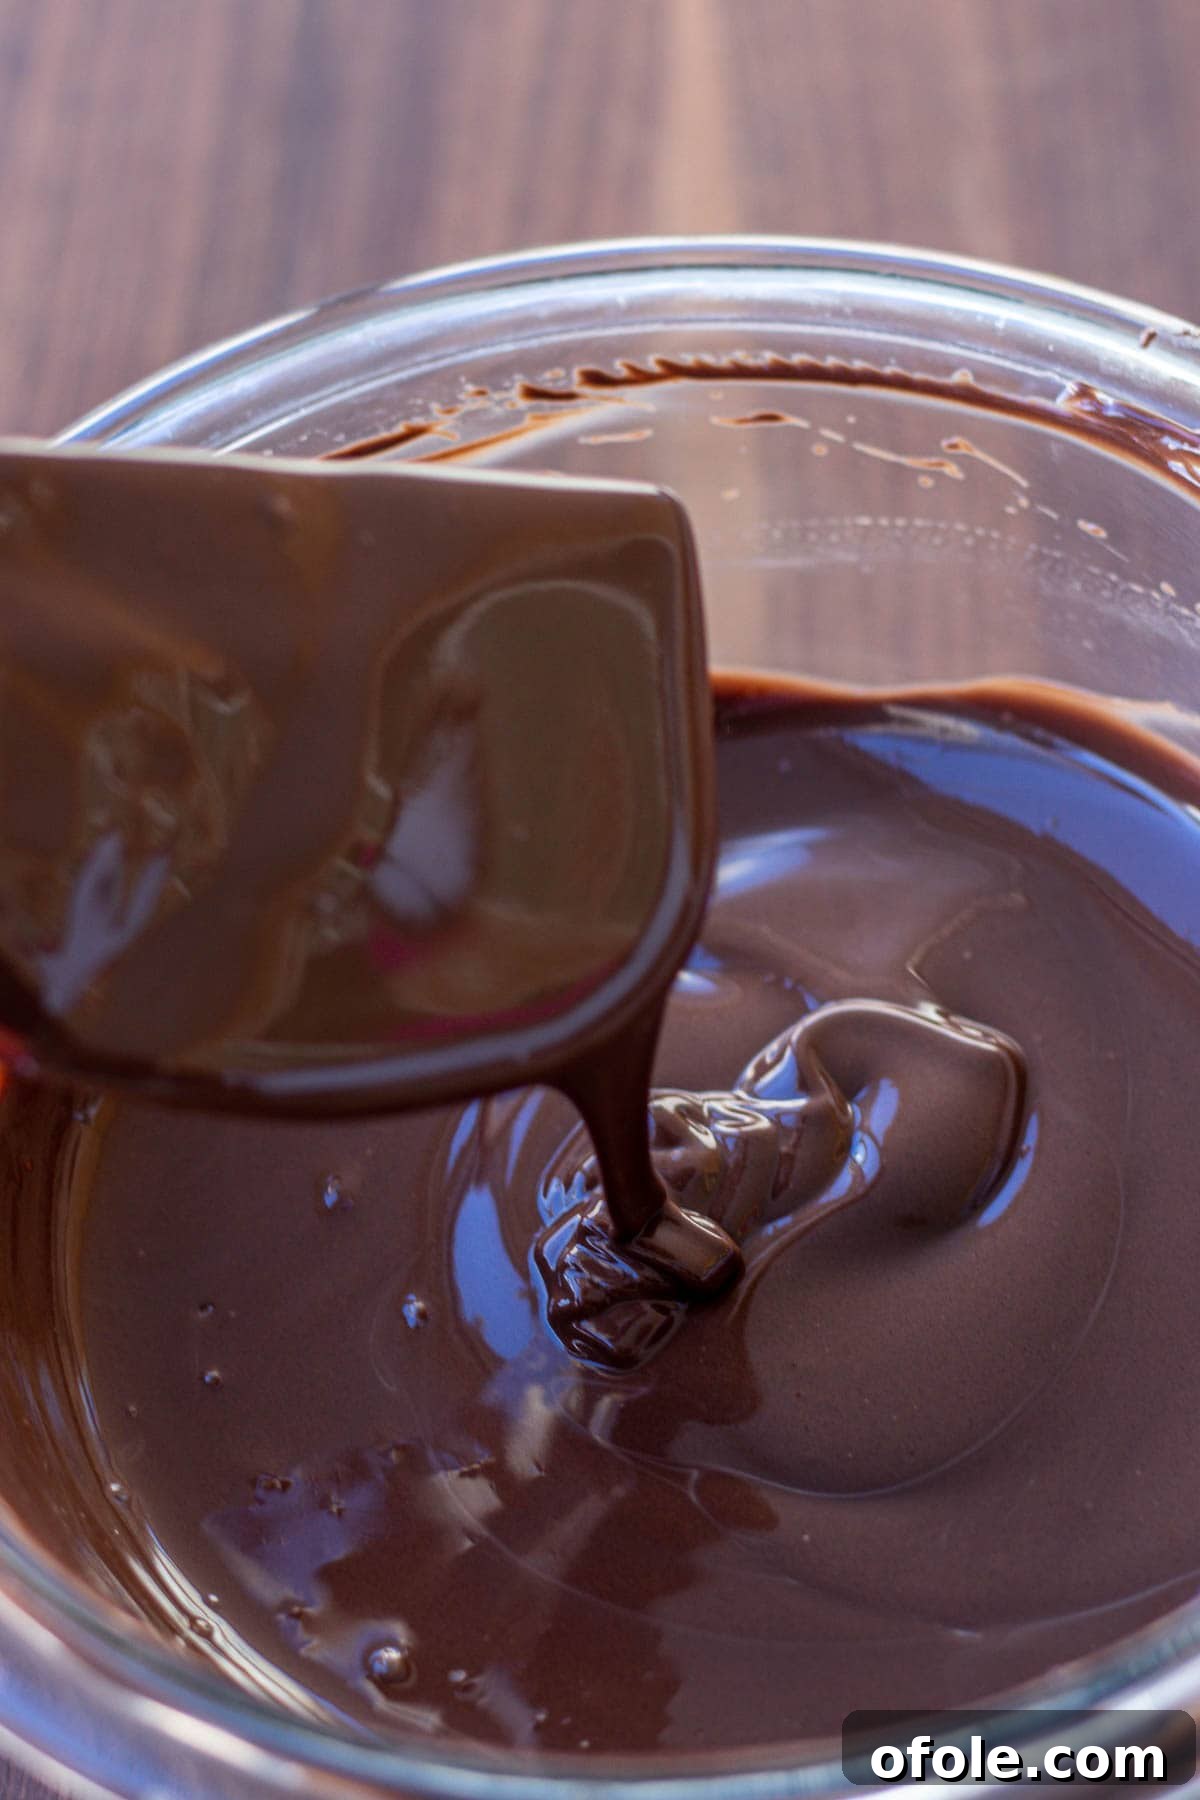
The melted chocolate should be glossy and free-flowing. Its thickness might vary slightly depending on the type of chocolate you’ve chosen.
Step 3: The Art of Dipping – Coating Your Strawberries
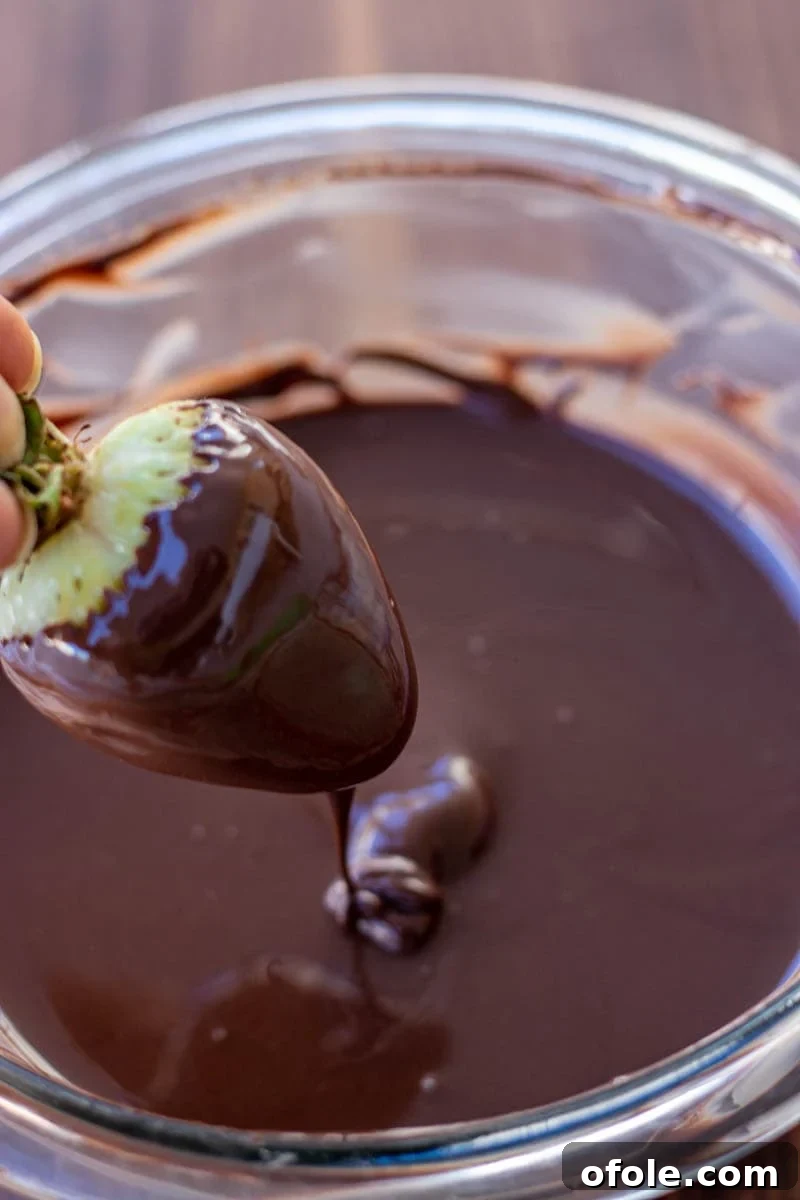
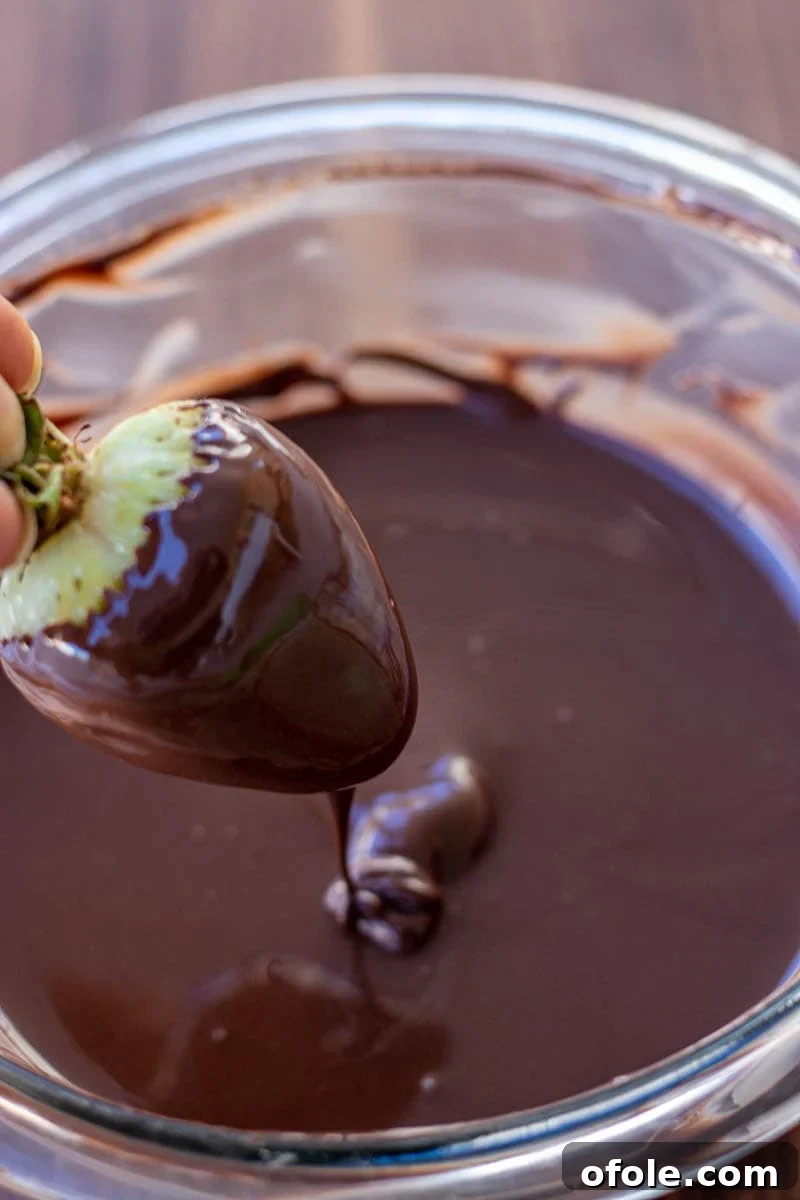
This is where the magic happens! Hold a strawberry by its green leaves (or stem, if available) and gently submerge it into the melted chocolate. Rotate and dip the strawberry a few times to ensure it’s completely coated to your desired level. For a cleaner look, allow any excess chocolate to drip off by gently tapping the strawberry against the edge of the bowl. Aim for a smooth, even layer.
Step 4: Setting the Perfection – Arranging and Chilling
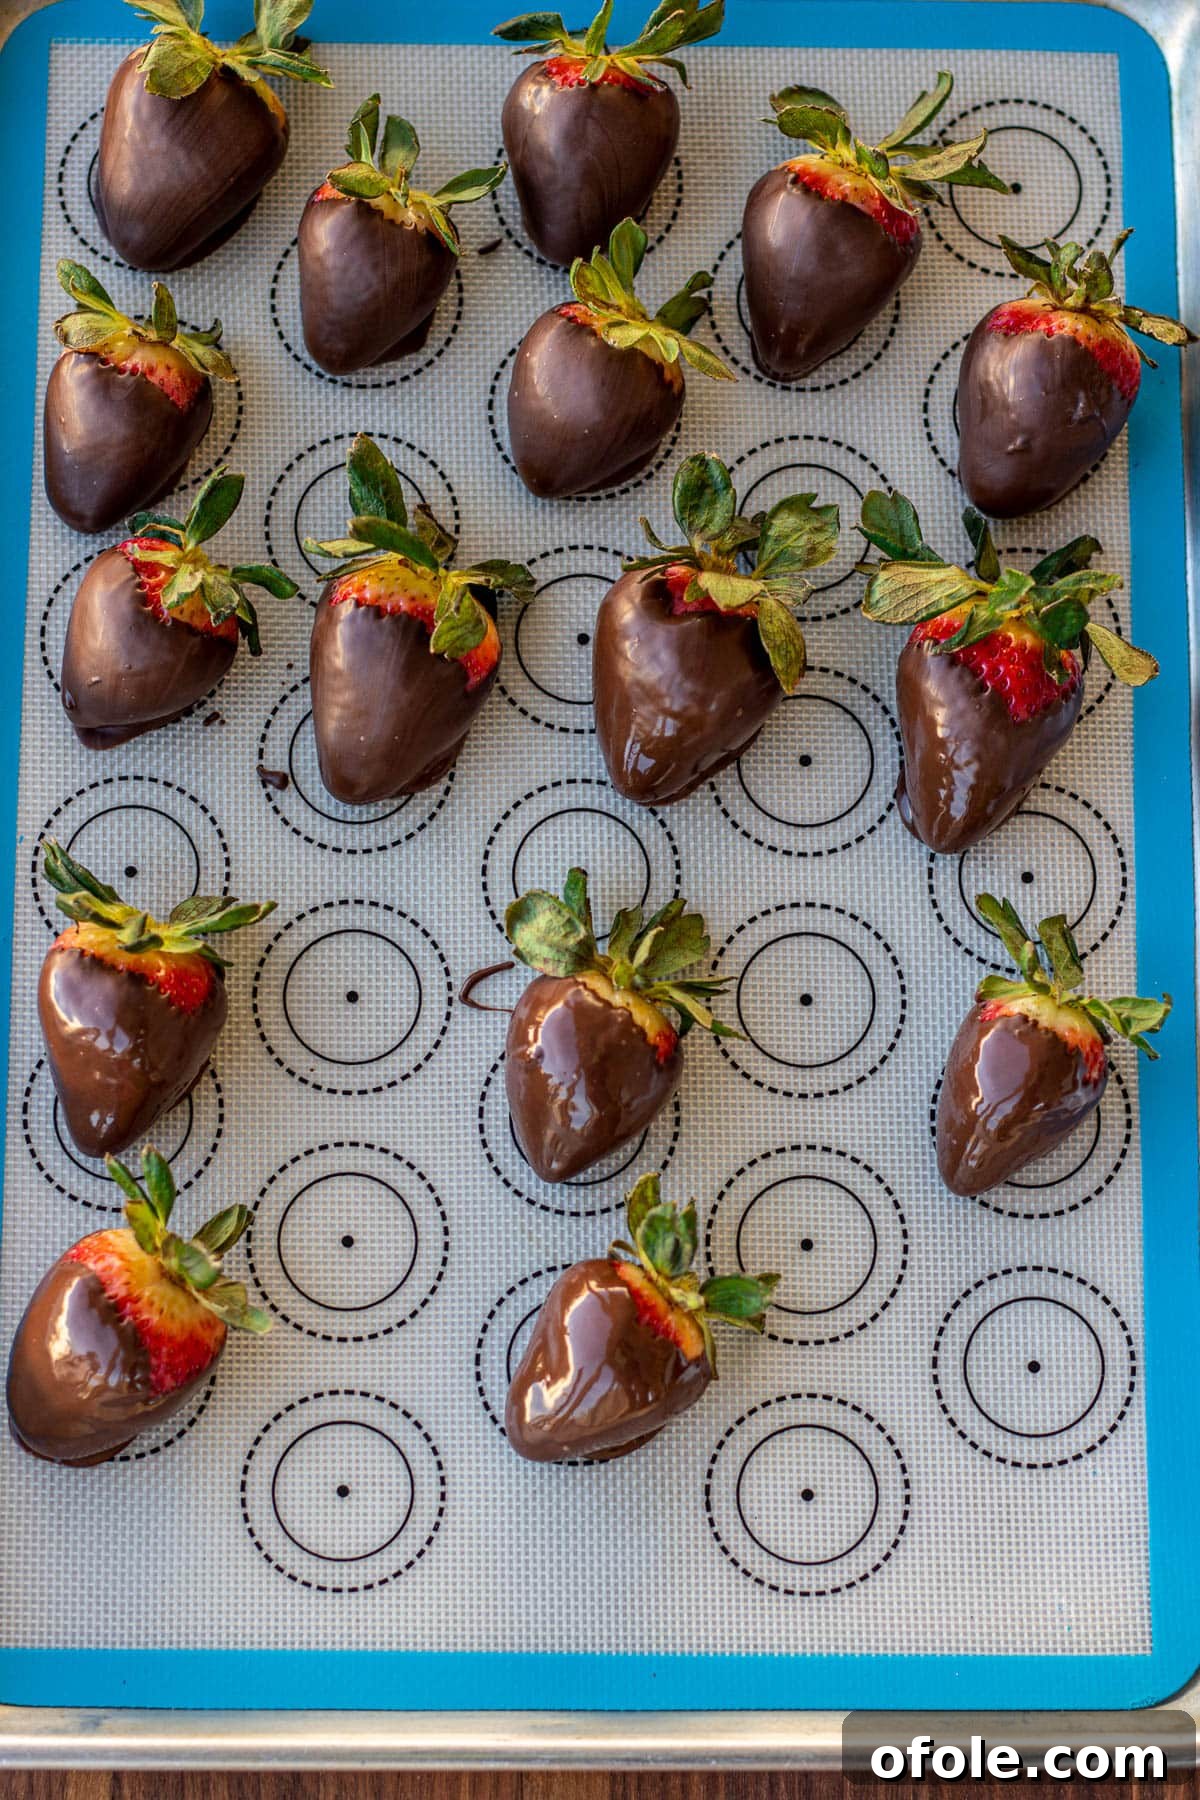
Once dipped, carefully place each chocolate dipped strawberry onto a baking sheet that you’ve lined with either parchment paper or a silicone mat. These liners prevent sticking and make for easy removal once the chocolate hardens. Arrange them in a single layer, ensuring they don’t touch each other.
Step 5: Finishing Touches and Setting
Allow the strawberries to set at room temperature until the chocolate is firm and matte, which typically takes about 20-30 minutes. If you’re short on time or want to speed up the process, you can transfer the baking sheet to the refrigerator for about 10-15 minutes. Once hardened, your easy chocolate covered strawberries are ready to be admired and devoured!
Optional: Drizzle with White Chocolate
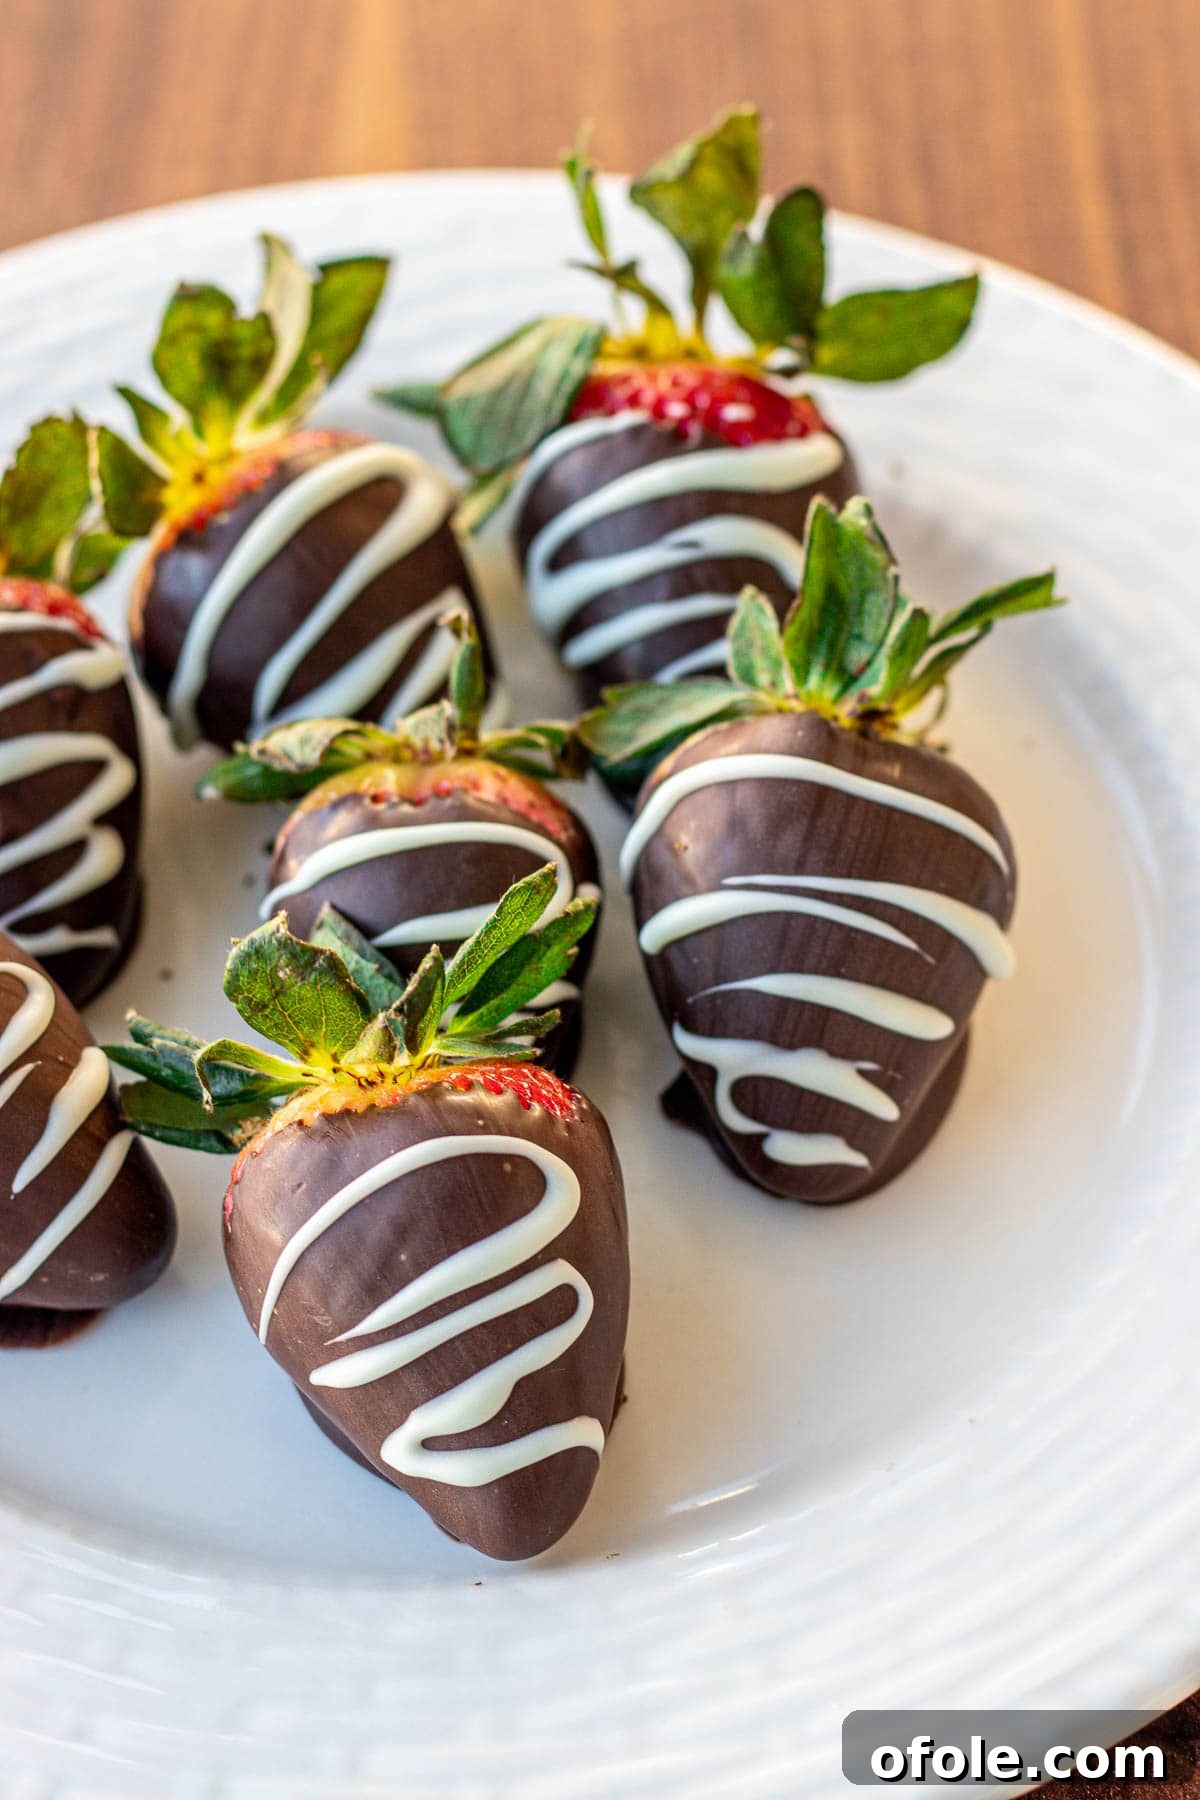
For an extra touch of elegance and flavor contrast, melt some white chocolate using the same methods described above. Once melted, scoop a small amount onto a butter knife or use a piping bag with a very small tip. Drizzle it artfully over the set dark (or milk/semi-sweet) chocolate strawberries, moving the knife or bag back and forth to create a decorative pattern. Let this drizzle set before serving.
Expert Tips for the Best Easy Chocolate Covered Strawberries
Elevate your homemade chocolate dipped strawberries from good to absolutely phenomenal with these tried-and-true tips:
- The Vinegar Wash Secret: For exceptionally clean strawberries and extended freshness, give them a quick soak. In a large mixing bowl, combine 8 cups of cool water with half a cup of white vinegar. Submerge the strawberries and let them sit for 10 minutes. Drain them thoroughly in a colander, then rinse under fresh water one last time. This helps remove dirt, pesticides, and bacteria.
- Mastering the Dry: This cannot be stressed enough – strawberries must be COMPLETELY dry before dipping. After rinsing, meticulously pat each strawberry dry with paper towels. If you’re planning ahead, washing them and letting them air dry on a paper towel-lined baking sheet in the refrigerator overnight is an excellent strategy. Even a tiny bit of moisture can prevent the chocolate from adhering smoothly or cause it to seize.
- No Water in the Chocolate: When melting chocolate, especially using the double boiler method, ensure no water or steam condensation gets into the chocolate. Water causes chocolate to “seize,” turning it into a lumpy, rough, unworkable paste. Use a clean, dry bowl and spatula.
- Optimal Chocolate Temperature: For the smoothest dip and quickest set, ensure your melted chocolate is warm but not piping hot. If it’s too hot, it can thin out too much and won’t coat as well; if it’s too cool, it will be too thick and chunky.
- Tall, Narrow Bowl for Dipping: Instead of a wide, shallow bowl, use a tall, narrow mug or bowl for your melted chocolate. This allows you to achieve a deeper, more even coating with less chocolate, as the depth ensures the strawberry is fully submerged.
- Immediate Topping Application: If you plan to add sprinkles, crushed nuts, coconut flakes, or other coatings, do so immediately after dipping the strawberry, while the chocolate is still wet and tacky. This ensures your toppings adhere firmly.
- Drizzle with Patience: If you’re adding a contrasting drizzle (like white chocolate over dark), wait until the first layer of chocolate is completely set and hardened. Drizzling over wet chocolate will cause the colors to bleed and the lines to blur.
- Best Enjoyed Fresh: Chocolate covered strawberries are at their absolute best when enjoyed on the same day they are made. The strawberries are freshest, and the chocolate retains its perfect texture. While they can be stored in the refrigerator for 1-2 days in an airtight container, the strawberries may start to weep or soften, affecting their quality.
- Proper Storage: Store any leftover chocolate covered strawberries in a single layer in an airtight container in the refrigerator. This prevents condensation and keeps them fresh for as long as possible.
Creative Variations for Your Chocolate Covered Strawberries
Unleash your creativity and personalize your homemade chocolate dipped strawberries with these exciting variations:
- **Nutty Delight:** Immediately after dipping in chocolate, roll the strawberries in finely crushed nuts like peanuts, almonds, pistachios, or walnuts for a delightful crunch and added flavor.
- **Tropical Twist:** Coat the chocolate-dipped strawberries in toasted coconut flakes for a hint of tropical sweetness and texture.
- **Fun with Sprinkles:** Add colorful sprinkles for a festive and playful touch, perfect for birthdays or themed parties. Edible glitter can also add a touch of sparkle.
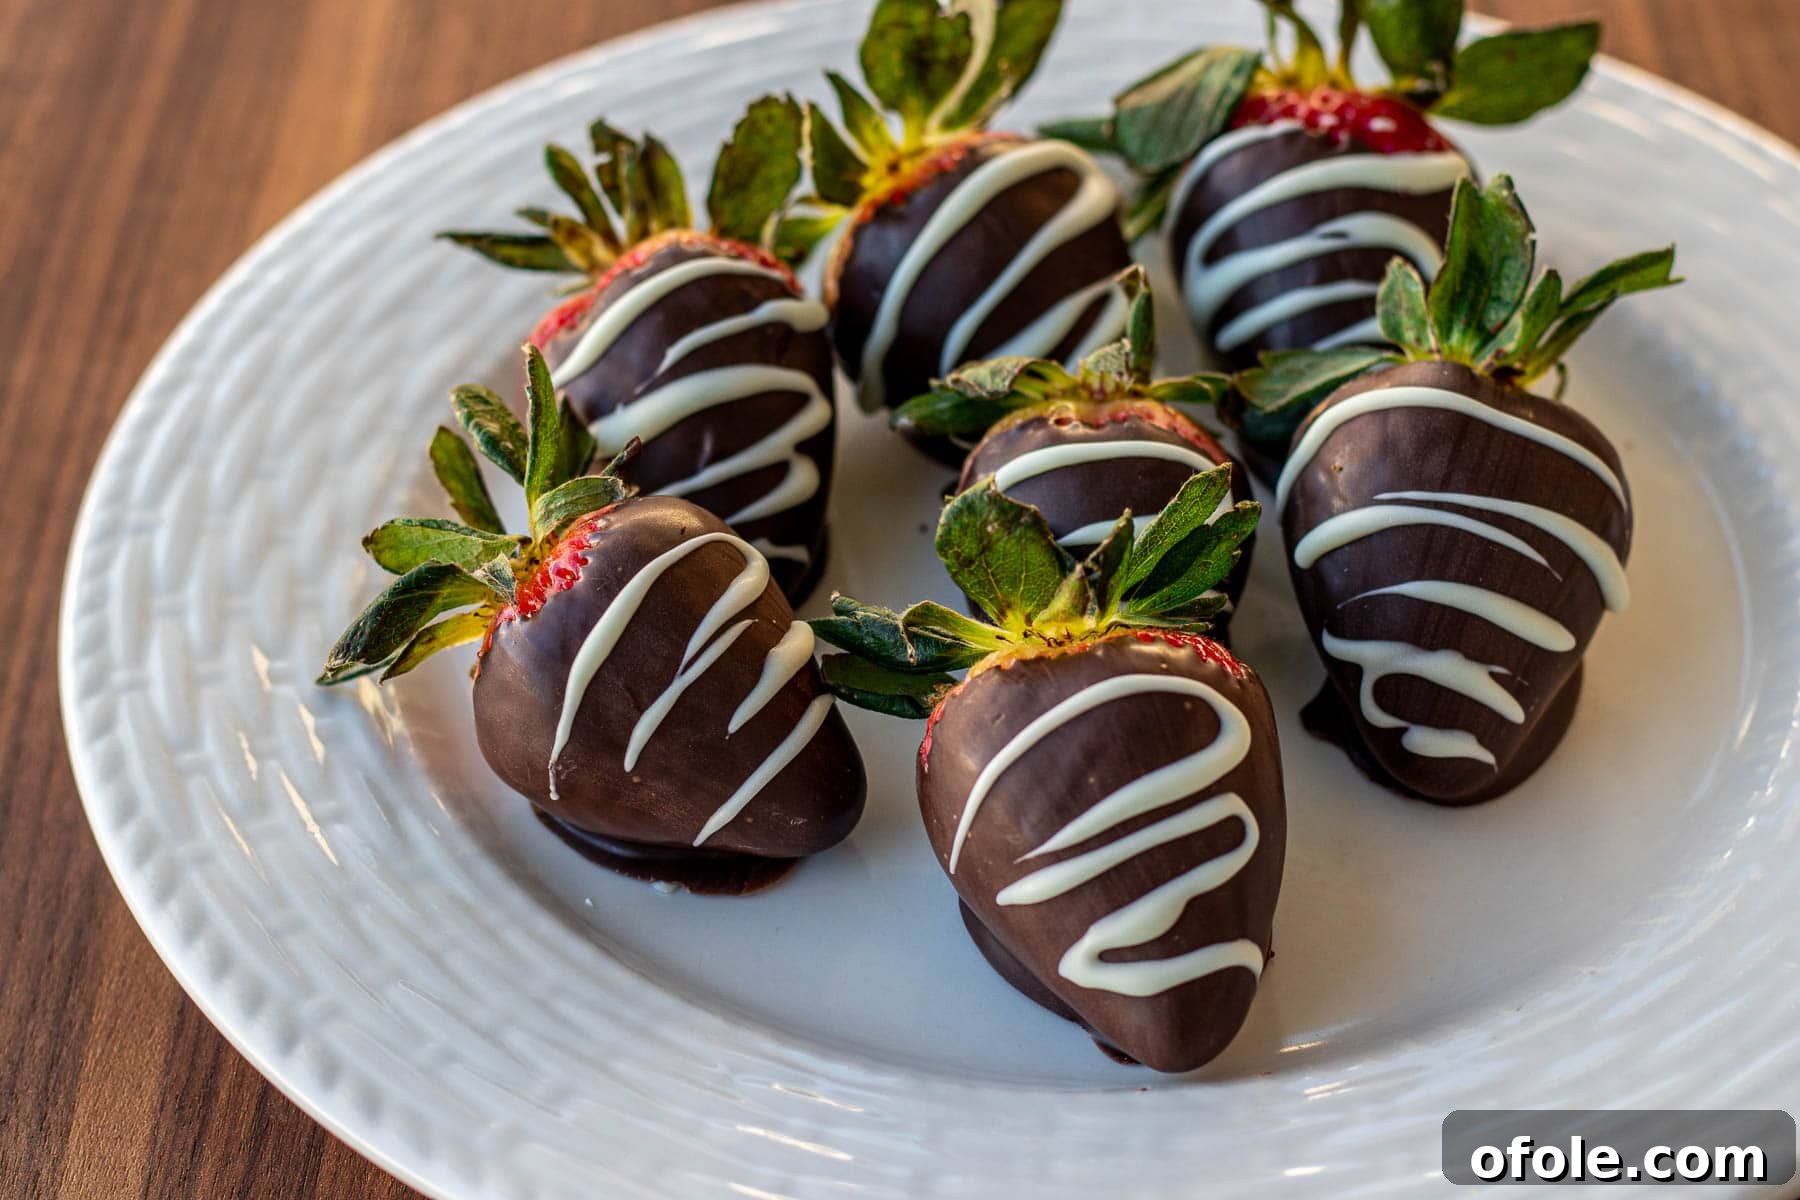
- **Elegant Drizzles:** As detailed above, drizzle with contrasting melted white chocolate once the first chocolate layer has set. You can also use milk or dark chocolate to drizzle over white chocolate dipped berries.
- **Rainbow Array:** Dip strawberries in various colors of melted white chocolate or candy melts to create a vibrant, multi-colored display, fantastic for kids’ parties or baby showers.
- **Half-Dipped Perfection:** For a lighter look and feel, only dip the strawberries halfway into the chocolate, showcasing the beautiful red fruit.
- **Gourmet Swirls:** After dipping in one type of chocolate (e.g., dark), quickly dip the tip into a contrasting melted chocolate (e.g., white) and swirl gently with a toothpick for an artistic marbled effect.
- **Boozy Berries:** For an adult treat, soak the strawberries in a liqueur like Grand Marnier or a fruit-flavored vodka for about 30 minutes before patting them dry and dipping them in chocolate.
- **Chocolate Covered Strawberry Bouquet:** Arrange your finished gourmet chocolate strawberries on skewers and present them as a beautiful, edible bouquet, a truly impressive gift! (See this YouTube tutorial for inspiration).
Choosing the Best Chocolate for Your Dipped Strawberries
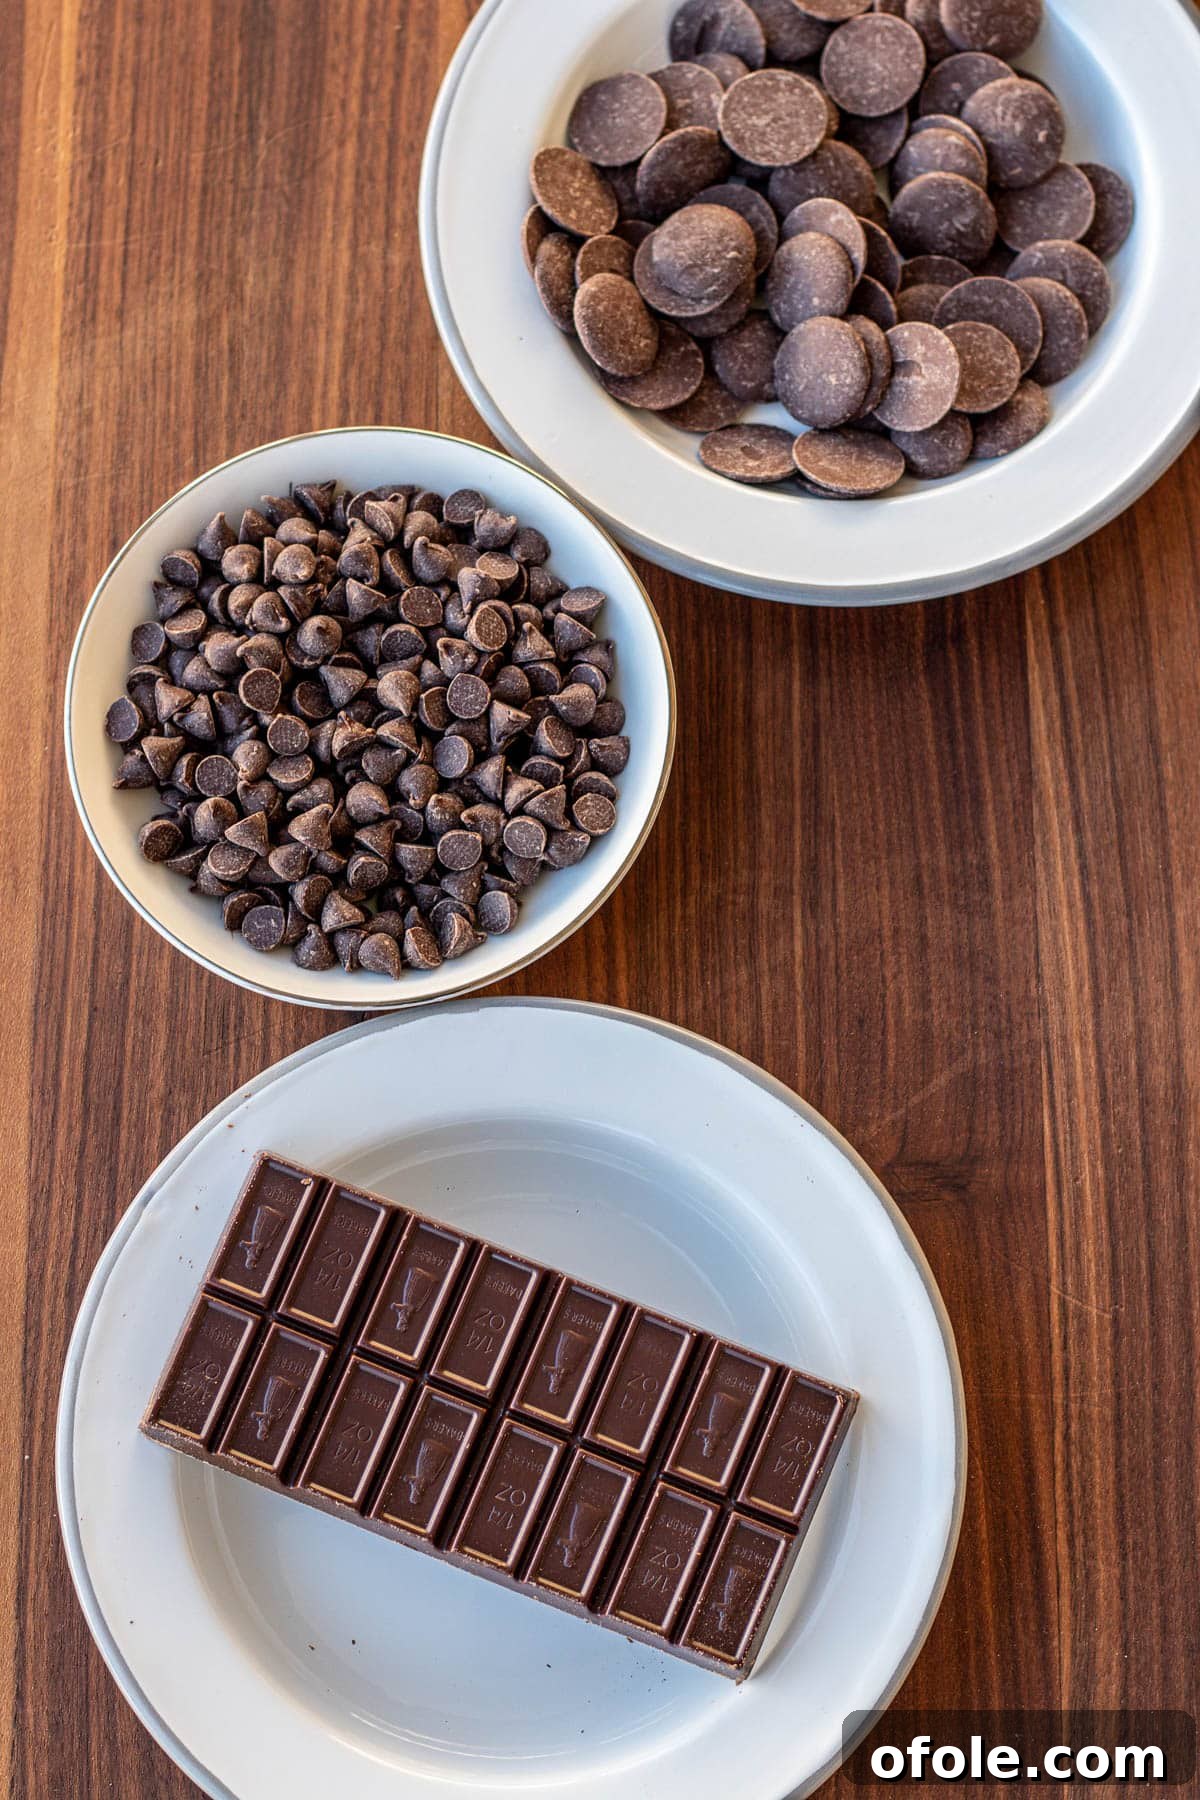
While any melting chocolate can technically be used, understanding the nuances of different types will help you achieve your desired aesthetic and taste for chocolate covered strawberries:
- **Melting Chocolate Wafers/Compound Chocolate:** These are often labeled as “melting wafers” or “candy melts.” They are specifically designed to melt smoothly and harden quickly without needing to be tempered. This makes them the easiest and most reliable option for a glossy, professional-looking finish. Brands like Ghirardelli or Wilton wafers are excellent choices. They typically provide a thinner, very smooth coating.
- **Baking Chocolate Bars (e.g., Baker’s Premium Baking Bars):** These are high-quality chocolates that can be chopped and melted. They offer a rich, authentic chocolate flavor and melt beautifully. However, for a super shiny, snap-off coating that resists fingerprints and melting at room temperature, they ideally need to be tempered. If not tempered, they will still taste delicious but might appear dull or “bloom” with white streaks, and be softer at room temperature.
- **Chocolate Chips:** While convenient, chocolate chips are formulated with stabilizers to maintain their shape during baking, meaning they melt to a thicker, often less smooth consistency compared to wafers or chopped baking bars. This can result in a thicker coating on your strawberries, which some people enjoy for a more substantial bite, but it might not yield the perfectly smooth, gourmet look. If using chocolate chips, consider adding a teaspoon of coconut oil or shortening per cup of chips to help thin them out for a smoother dip.
- **Real Chocolate vs. Compound Chocolate:** Real chocolate contains cocoa butter, which contributes to its rich flavor and smooth melt. Compound chocolate (often found in candy melts or some wafers) uses vegetable fats instead of or in addition to cocoa butter. Compound chocolates are easier to work with as they don’t require tempering and are less prone to seizing, but real chocolate generally offers a superior flavor.
Ultimately, the best choice depends on your priorities: ease of use, aesthetic finish, and flavor profile. For beginners or those seeking a flawless, simple coating, melting wafers are highly recommended. For true chocolate connoisseurs who don’t mind a bit more effort (or a slightly less “perfect” finish without tempering), good quality baking bars are excellent.
Explore More Easy Chocolate Desserts
If you loved the simplicity and indulgence of these easy chocolate covered strawberries, you’re in for a treat! Here are more of my favorite fuss-free chocolate recipes to satisfy your sweet tooth:
- Easy Homemade Chocolate Ice Cream
- The Easiest Chocolate Chip Cookies Ever
- Classic Easy Chocolate Cake
- Irresistible Chocolate Bread Recipe

Easy Chocolate Covered Strawberries
Learn how to make gorgeous easy chocolate covered strawberries with just 2 ingredients in 30 minutes. Perfect for any special occasion or a quick sweet indulgence.
Prep Time: 10 mins
Resting Time: 20 mins
Total Time: 30 mins
Servings: 6 servings
Ingredients
- 1 pound large strawberries (approximately 16-18 strawberries)
- 10 oz melting chocolate (such as Ghirardelli Dark Chocolate Flavored Melting Wafers, or your preferred melting chocolate)
Instructions
- Rinse And Dry The Strawberries: Rinse the strawberries thoroughly under cool water. Pat them completely dry with paper towels, one at a time, to ensure no moisture remains. You can also let them air dry or dry overnight in the fridge on paper towels.
- Melt The Chocolate:
- Double Boiler Method: Place a small pot with 2 inches of water on medium heat. Put chocolate in a small heatproof mixing bowl. Once the water is simmering (not boiling), place the bowl over the pot. Stir with a spatula until the chocolate is smooth and melted.
- Microwave Method: Place chocolate in a microwave-safe bowl. Heat on high for 30-second intervals, stirring thoroughly after each interval, until completely melted and smooth. Be careful not to burn the chocolate.
- Dip The Strawberries Into The Chocolate: Hold a strawberry by its leaves and dip it into the melted chocolate. Rotate and dip a few times to ensure a complete and even coating. Let excess chocolate drip off. Place the dipped strawberry on a baking sheet lined with parchment paper or a silicone mat. Repeat with all strawberries.
- Let The Strawberries Set: Allow the chocolate covered strawberries to set at room temperature for about 20-30 minutes until the chocolate hardens and appears matte. To expedite this, place the baking sheet in the refrigerator for approximately 10-15 minutes.
- Serve: Serve and enjoy your delicious homemade chocolate dipped strawberries immediately for the best freshness and taste.
Notes
- Chocolate-covered strawberries are best enjoyed on the same day they are made.
- If adding nuts or sprinkles, apply them immediately after dipping while the chocolate is still wet.
- If drizzling with white chocolate or an additional layer of chocolate, wait until the first coating has fully set.
- Refer to the blog post above for more detailed tips and variations for perfect results.
Nutrition
Calories: 128kcal | Carbohydrates: 19g | Protein: 1g | Fat: 6g | Saturated Fat: 5g | Polyunsaturated Fat: 0.1g | Monounsaturated Fat: 0.03g | Sodium: 22mg | Potassium: 116mg | Fiber: 2g | Sugar: 16g | Vitamin A: 9IU | Vitamin C: 44mg | Calcium: 12mg | Iron: 0.3mg
Additional Info
Course: Dessert
Cuisine: Western
Calories: 128
*This post contains affiliate links.