
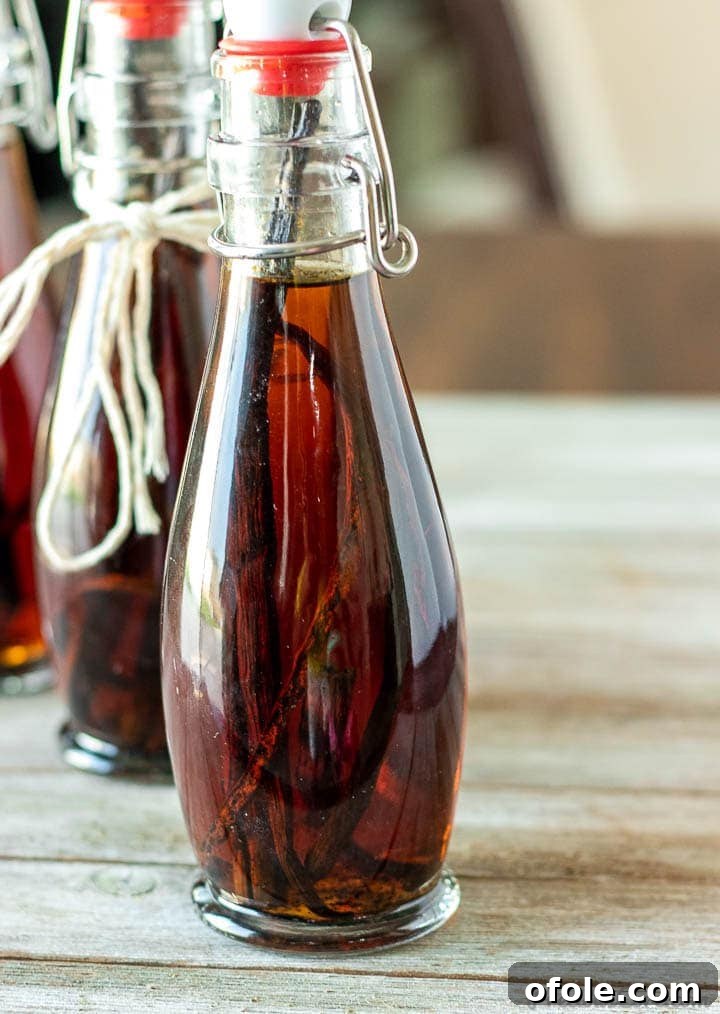
Homemade Vanilla Extract is a true culinary game-changer, elevating your baked goods, desserts, and even savory dishes to an extraordinary level. Forget the generic, often artificial flavor of store-bought alternatives; crafting your own pure vanilla extract is surprisingly simple, requiring just two essential ingredients. This guide will walk you through creating a rich, aromatic vanilla extract that will transform your kitchen and impress everyone who tastes your creations. Prepare to unlock a world of intense flavor, unmatched quality, and a deeply satisfying DIY experience!
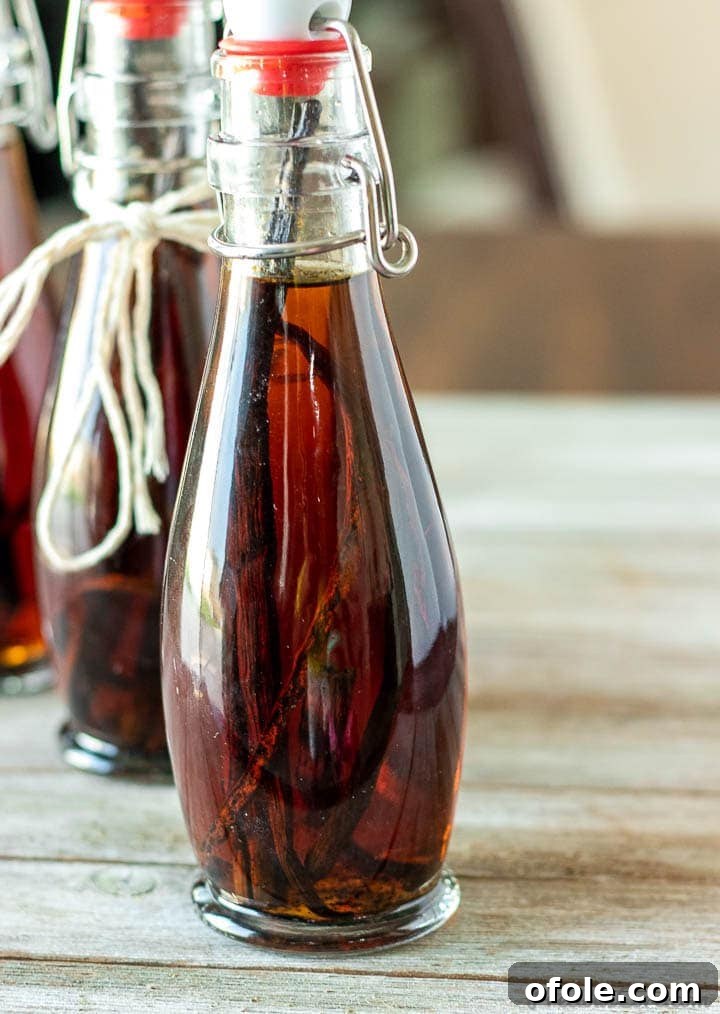
The journey to homemade vanilla extract often begins with curiosity. Many home bakers, inspired by social media or the desire for superior ingredients, discover the profound difference that a truly pure vanilla extract can make. If you’ve ever wondered how to achieve that deep, authentic vanilla aroma and taste, you’re in the right place. Crafting your own vanilla is not only a delightful project but also a rewarding investment in your culinary future. Let’s explore the compelling reasons why you should embark on this flavorful adventure.
Why Embrace Homemade Vanilla Extract?
Making your own vanilla extract offers a multitude of benefits that extend far beyond simply saving a few dollars. It’s about quality, control, and a touch of personal magic in your cooking. Here are the top reasons to start your homemade vanilla journey today:
1. Unrivaled Flavor Depth and Potency:
The most compelling reason to make your own vanilla extract is the unparalleled flavor. Homemade extract boasts a significantly more intense, complex, and nuanced vanilla profile compared to most commercial versions. Store-bought extracts can sometimes taste flat or alcohol-heavy. By contrast, your homemade creation will be infused with the rich, aromatic compounds directly from whole vanilla beans, yielding a depth of flavor that can elevate any recipe. This intensity comes from patiently steeping high-quality beans in alcohol, allowing all the delicate notes to fully develop. When you use this extract in your cakes, cookies, custards, or frostings, you’ll immediately notice the difference – a richer, more authentic vanilla essence that truly shines.
2. A Cost-Effective Culinary Investment:
While the initial outlay for quality vanilla beans might seem a little higher than a small bottle of store-bought extract, homemade vanilla is remarkably economical in the long run. Vanilla beans can be re-used multiple times! Once your first batch of extract is ready, you can simply “top off” the bottle with more vodka as you use it. The beans will continue to infuse the alcohol, creating endless batches of delicious extract. This means your initial purchase of beans can yield years of vanilla, drastically reducing your ongoing cost compared to continuously buying small, expensive bottles of commercial extract. It’s an investment that pays dividends in flavor and savings over time.
3. Exquisite, Thoughtful Homemade Gifts:
Homemade vanilla extract makes for an exceptionally thoughtful and personalized gift. Beautifully bottled, perhaps with a custom label and a ribbon, it becomes a gourmet present perfect for holidays, hostess gifts, birthdays, or just to show appreciation to fellow food lovers. Imagine gifting a small batch of your artisanal vanilla, knowing that each drop will bring joy and deliciousness to the recipient’s kitchen. It’s a gift that speaks volumes about your care and culinary passion, standing out from typical store-bought offerings.
4. A Fun and Rewarding DIY Experience:
Beyond the practical benefits, there’s a unique satisfaction in creating something truly special from scratch. The process of making vanilla extract is incredibly simple yet deeply rewarding. It’s a hands-on project that connects you more intimately with your ingredients and the magic of flavor creation. There’s a certain joy in watching the extract deepen in color and scent over time, knowing you’re cultivating a premium ingredient that will enhance countless future meals. It’s a simple pleasure that many home cooks cherish.
5. Complete Control Over Ingredients:
When you make vanilla extract at home, you have full control over what goes into it. This means no artificial colors, flavors, or preservatives that can sometimes be found in commercial extracts. You choose the quality of your vanilla beans and the type of alcohol, ensuring a pure, natural product. For those with dietary restrictions or who simply prefer clean eating, this level of control is invaluable. You can confidently use your homemade extract, knowing exactly what’s in it.
6. Opportunity for Customization and Experimentation:
Making your own allows for endless experimentation. You can explore different varieties of vanilla beans (Madagascar, Tahitian, Mexican, etc.) or different types of alcohol bases (vodka, rum, bourbon, brandy) to create unique flavor profiles tailored to specific recipes or personal preferences. Want a smoky vanilla for a BBQ rub? Try bourbon. Craving a floral note for a delicate pastry? Tahitian beans and vodka might be your choice. This versatility opens up a new dimension of culinary creativity.
Essential Ingredients for Crafting Your Vanilla Extract
The beauty of homemade vanilla extract lies in its simplicity. You only need two core ingredients, but selecting the right ones makes all the difference in achieving a truly exceptional product.
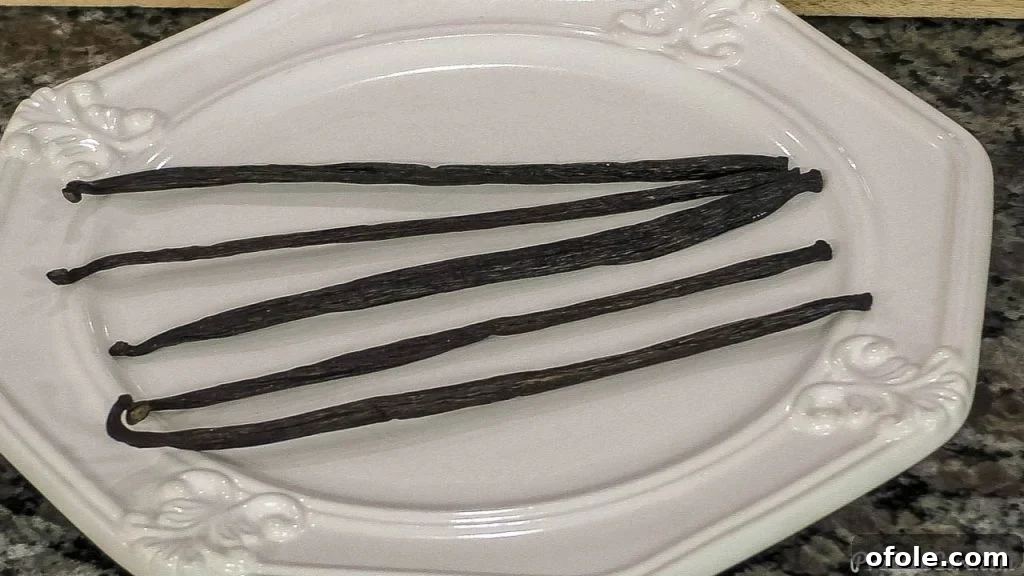
1. Premium Vanilla Beans: The Soul of Your Extract
For homemade vanilla extract, Grade B vanilla beans are your best choice. Unlike Grade A “gourmet” beans, which are plump and moist, Grade B beans are drier and often have splits. This dryness means their vanilla flavor is more concentrated and their sugar content is lower, making them ideal for extraction into alcohol. They are specifically cured to enhance their vanillin content, which is key for a potent extract.
- Madagascar Vanilla Beans (Bourbon Vanilla): These are the most common and widely loved vanilla beans, celebrated for their classic, rich, creamy, sweet, and buttery flavor profile. They are perfect for all-purpose baking and create a beautifully balanced extract.
- Tahitian Vanilla Beans: Distinctly different, Tahitian beans offer floral, fruity, and cherry-like undertones. They are often favored for lighter desserts, fruit-based dishes, and delicate pastries where their unique aromatic qualities can truly shine.
- Mexican Vanilla Beans: Known for their bold, smoky, and slightly spicy notes, Mexican vanilla beans add a deeper, more robust flavor to extract, making them excellent for chocolate-based desserts or savory applications.
- Other Varieties: Explore beans from Uganda or Indonesia for unique smoky, earthy, or even chocolatey notes. Each region offers a distinct flavor “terroir.”
You can find high-quality Grade B vanilla beans from various online retailers specializing in spices or directly on Amazon.com.
2. High-Quality Alcohol Base: The Flavor Carrier
The alcohol acts as a solvent, extracting the aromatic compounds from the vanilla beans and preserving them. The standard recommendation is to use 80 proof (40% alcohol by volume) liquor. This alcohol content is ideal for efficient extraction and meets the FDA’s definition of vanilla extract.
- Unflavored Vodka: This is the most popular and recommended choice because of its neutral flavor profile. It allows the pure essence of the vanilla beans to shine through without any interference from the alcohol itself. This is your go-to for a classic, clean vanilla extract.
- Rum: For a sweeter, warmer, and slightly caramel-flavored extract, dark or light rum can be an excellent choice. It pairs wonderfully with certain desserts, especially those featuring tropical fruits or nuts.
- Brandy: Brandy adds fruity and oaky undertones to the vanilla extract. It creates a sophisticated, complex flavor that is particularly good in rich cakes, custards, and holiday baking.
- Bourbon: If you enjoy a smoky, robust, and subtly sweet vanilla, bourbon is a fantastic option. It naturally contains its own vanilla notes from oak barrel aging, which enhances and deepens the vanilla bean flavor. Ideal for chocolate recipes or recipes where a bolder vanilla presence is desired.
When selecting your alcohol, remember that the goal is extraction, not consumption of the alcohol itself. Therefore, a mid-range, unflavored liquor is perfectly sufficient; there’s no need for top-shelf spirits unless you desire a specific flavor contribution.
Can I Make Vanilla Extract Without Alcohol?
Yes, absolutely! For those who prefer to avoid alcohol, you can create a non-alcoholic vanilla extract using food-grade glycerin. Glycerin is a plant-based oil that acts as an excellent solvent for vanilla. The process is similar, though the infusion time might be slightly longer, and the resulting extract will have a thicker consistency. Ensure you use pure vegetable glycerin for this method.
The Ideal Ratio of Ingredients for Homemade Vanilla Extract:
A good rule of thumb for standard strength vanilla extract is to use:
- 5-6 vanilla beans per 8 ounces (240 ml) of 80 proof alcohol.
- Alternatively, you can use 3 beans per 4 ounces (120 ml) of alcohol.
This ratio ensures a rich, potent extract. For a “double-fold” or extra-strong extract, you can double the amount of vanilla beans per ounce of alcohol. Remember, these are guidelines; you can adjust the bean quantity slightly based on the size of your beans and your desired flavor intensity.
Best Beans for Intense Flavor and Color:
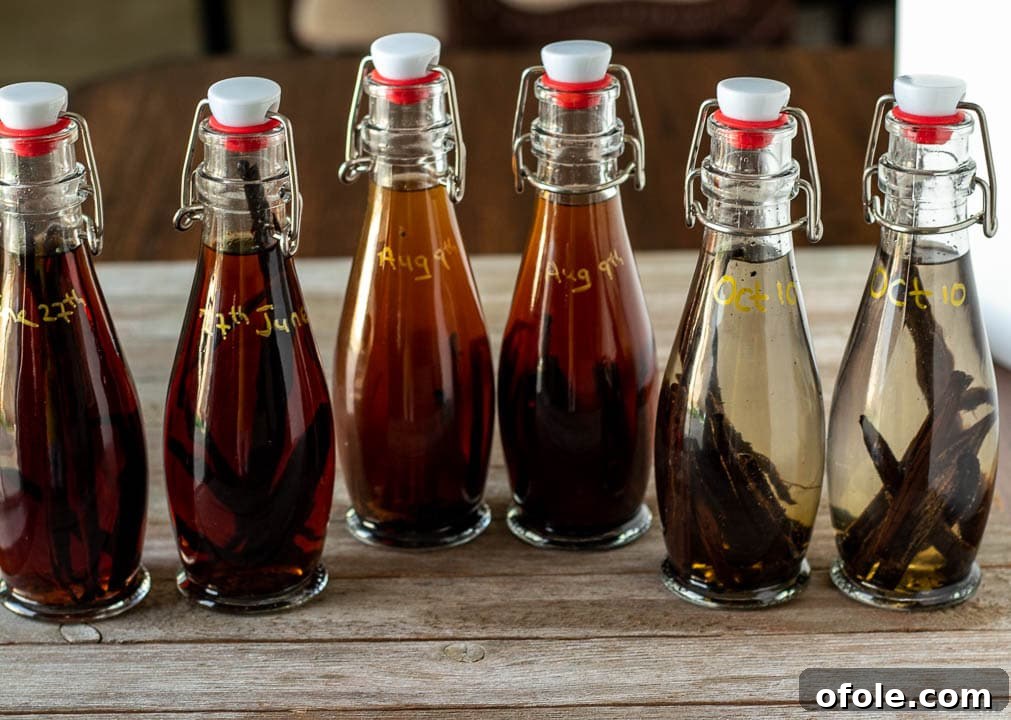
From personal experience, while both Madagascar and Tahitian beans produce excellent extract, Madagascar Grade B vanilla beans tend to yield a more intense, classic vanilla color and a robust, universally appealing flavor profile. Tahitian beans offer a beautiful aroma but might result in a slightly lighter color and a more delicate, floral flavor.
A Step-by-Step Guide to Crafting Homemade Vanilla Extract
Making vanilla extract is a testament to the idea that great things take time. The process is simple, but patience is your most important ingredient. Here’s how to do it:
- Prepare Your Vanilla Beans: Using a sharp paring knife, carefully make a slit lengthwise down each vanilla bean, from one end to the other. You want to split the bean open but not cut all the way through, allowing you to expose the tiny, aromatic seeds inside. Gently scrape the seeds from the inside of the bean and place both the scraped seeds and the split bean pods into a clean glass jar or bottle with a tight-fitting lid. Splitting and scraping increases the surface area, maximizing flavor extraction. If your beans are too long for your bottle, you can cut them in half after splitting.
- Combine with Alcohol: Carefully pour your chosen 80 proof alcohol over the vanilla beans in the jar. A small funnel can be very helpful here to prevent spills. Ensure that the vanilla beans are completely submerged in the alcohol. This is crucial for proper extraction and to prevent mold growth.
- Seal and Shake: Securely cover the jar or bottle with its tight-fitting lid. Give the bottle a good shake to ensure the beans are fully coated and distributed throughout the alcohol. This initial shake helps kickstart the infusion process.
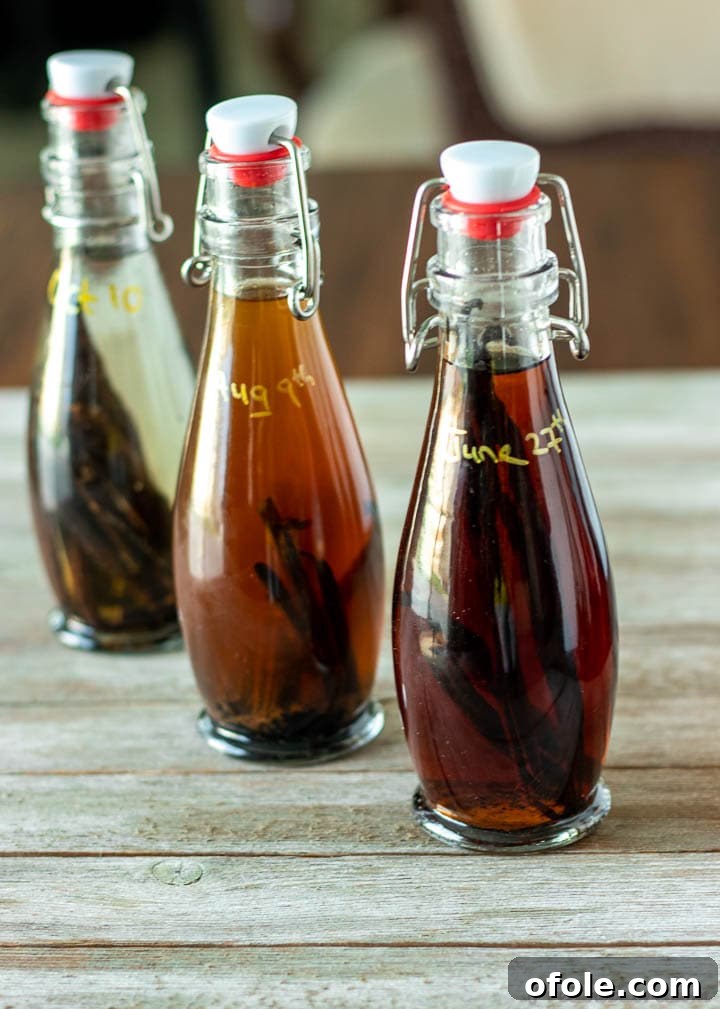
- Store and Infuse: Store your vanilla extract in a cool, dark place away from direct sunlight. A pantry, cupboard, or basement is ideal. Direct sunlight can degrade the vanilla compounds and slow down the extraction. For optimal infusion, shake the bottle gently about once per week. This redistributes the beans and ensures even flavor development.
- Patience is Key for Flavor Development:
- Minimum Infusion: Your vanilla extract will be ready to use after about 1 month. At this point, it will have a pleasant vanilla aroma and flavor, suitable for most baking.
- Optimal Infusion: For a truly deep, rich, and more intense flavor, allow the extract to steep for at least 6 months. Many connoisseurs even recommend 12 months or longer for the finest, most complex vanilla. The longer it infuses, the more robust and nuanced the flavor becomes.
- Maintenance and Re-use: You can use the homemade vanilla extract with the beans still in the jar, or you can strain the beans out if you prefer. As you use the vanilla, you can “top off” the bottle with more 80 proof alcohol. The beans will continue to infuse the new alcohol, essentially creating an endless supply of vanilla. If you notice the flavor becoming less intense over time, simply add a few fresh vanilla beans to revitalize the batch. The beans themselves can be used for up to a year or two, depending on how often you top off and how strong you prefer your extract.
Important Tools and Ingredients for Your Vanilla Extract Journey
While the ingredients list is short, having the right tools can make the process even smoother:
- High-Quality Madagascar Vanilla Beans: Essential for that classic, rich vanilla flavor.
- Floral Tahitian Vanilla Beans: For those seeking a more delicate and fruity vanilla profile.
- Elegant Vanilla Extract Labels: Perfect for dating your batches and personalizing gifts.
- Airtight Glass Bottles: Crucial for proper infusion and storage, preventing evaporation.
- Small Funnel: Extremely useful for cleanly pouring alcohol into narrow-necked bottles.
- Sharp Paring Knife: For precisely splitting your vanilla beans to expose their flavorful seeds.
Unleash the Flavor: What to Cook with Your Homemade Vanilla Extract
Once your homemade vanilla extract is ready, get ready to elevate every recipe it touches. Its intense flavor and rich aroma will make your favorite treats even more extraordinary. Here are just a few ideas to get you started:
- Classic Plain Cake: A simple cake becomes a showstopper with the depth of homemade vanilla.
- Moist Yogurt Cake: The subtle tang of yogurt is beautifully complemented by rich vanilla notes.
- Irresistible Chocolate Chip Cookies: A good vanilla extract is the secret weapon for truly exceptional cookies.
- Creamy Homemade Vanilla Ice Cream: Experience true vanilla bliss in every scoop.
- Decadent Vanilla Pound Cake: Let vanilla take center stage in this classic, buttery cake.
- Fluffy Pancakes or Waffles: Add a splash to your batter for an instantly elevated breakfast.
- Rich Custards and Puddings: Vanilla is the heart of many custards, bringing warmth and sweetness.
- Whipped Cream or Frostings: A touch of homemade vanilla transforms ordinary toppings into gourmet delights.
- Coffee or Hot Chocolate: A few drops can add a luxurious, aromatic twist to your favorite beverages.
- Savory Dishes: Don’t limit vanilla to sweets! It can enhance sauces for pork, chicken, or seafood, adding unexpected depth and warmth.
Visual Learner? Watch How To Make Vanilla Extract!
Sometimes, seeing the process in action makes all the difference. Watch me demonstrating how to make Homemade Vanilla Extract in the video below. It’s an easy and straightforward process!
If you enjoy my cooking videos and want to stay updated with my latest recipes and culinary tips, please consider SUBSCRIBING to my YouTube Channel! Your support helps me create more valuable content for you.
Subscribe to my channel
Subscribe
Explore More Delightful Homemade Recipes
If you love the satisfaction of creating pantry staples and delicious dishes from scratch, here are a few more homemade recipes that are definitely worth trying:
- Rich Homemade Tomato Paste: A concentrated burst of flavor for your sauces and stews.
- Easy Homemade French Bread: Crusty on the outside, soft on the inside – perfect with any meal.
- Indulgent Homemade Chocolate Ice Cream: A creamy, dreamy dessert that rivals any store-bought version.
- Velvety Homemade Mayonnaise Recipe: Fresh, flavorful, and incredibly versatile.
If you decide to make this incredible Homemade Vanilla Extract, please take a moment to leave a star rating below. Your feedback helps others discover and enjoy this recipe, and I absolutely love hearing about your culinary successes! Thank you for your support!
Homemade Vanilla Extract
10 minutes
10 minutes
1
8 oz bottle
Rate
Print Recipe
Equipment
-
Bottles with tight-fitting lids
-
Small funnel
-
Sharp paring knife
Ingredients
- 5-6 vanilla beans (Grade B Madagascar or Tahitian Vanilla Beans recommended)
- 8 oz 80 proof unflavored vodka (240 ml, or other 80 proof alcohol like rum, bourbon, or brandy)
Instructions
-
Using a sharp knife, make a lengthwise slit from one end of each vanilla bean to the other. Carefully scrape the tiny seeds from the inside of the bean. Cut the vanilla beans in half if they are too long for your chosen bottle. Place both the scraped seeds and the split bean pods into a clean glass bottle with a tight-fitting lid.
-
Pour the 80 proof vodka (or other alcohol) over the vanilla beans, ensuring they are fully submerged. A funnel can make this step easier and mess-free.
-
Securely cover the bottle with its lid and shake it well to combine and distribute the beans.
-
Store your vanilla extract at room temperature in a cool, dark place, away from direct sunlight. Shake the bottle gently about once per week to aid in the infusion process.
-
Your homemade vanilla extract will be ready to use after approximately 1 month. For a significantly richer and more intense flavor, allow it to steep for at least 6 months, or even longer for gourmet quality.
-
You can continue to store and use the vanilla extract with the beans still inside the jar. As you deplete the extract, simply add more vodka to the bottle to replenish your supply. The beans will continue to infuse, making more vanilla extract. If the vanilla flavor begins to wane, you can add a few fresh vanilla beans to re-invigorate the batch.
Notes
Yes, you can make vanilla extract without alcohol. Vanilla extract can be made using food-grade glycerin, which is a plant-based oil. The process is similar, but infusion times may vary.
Nutrition
Additional Info
Tried this recipe?
Mention @preciouscore or tag #PreciousCore!