
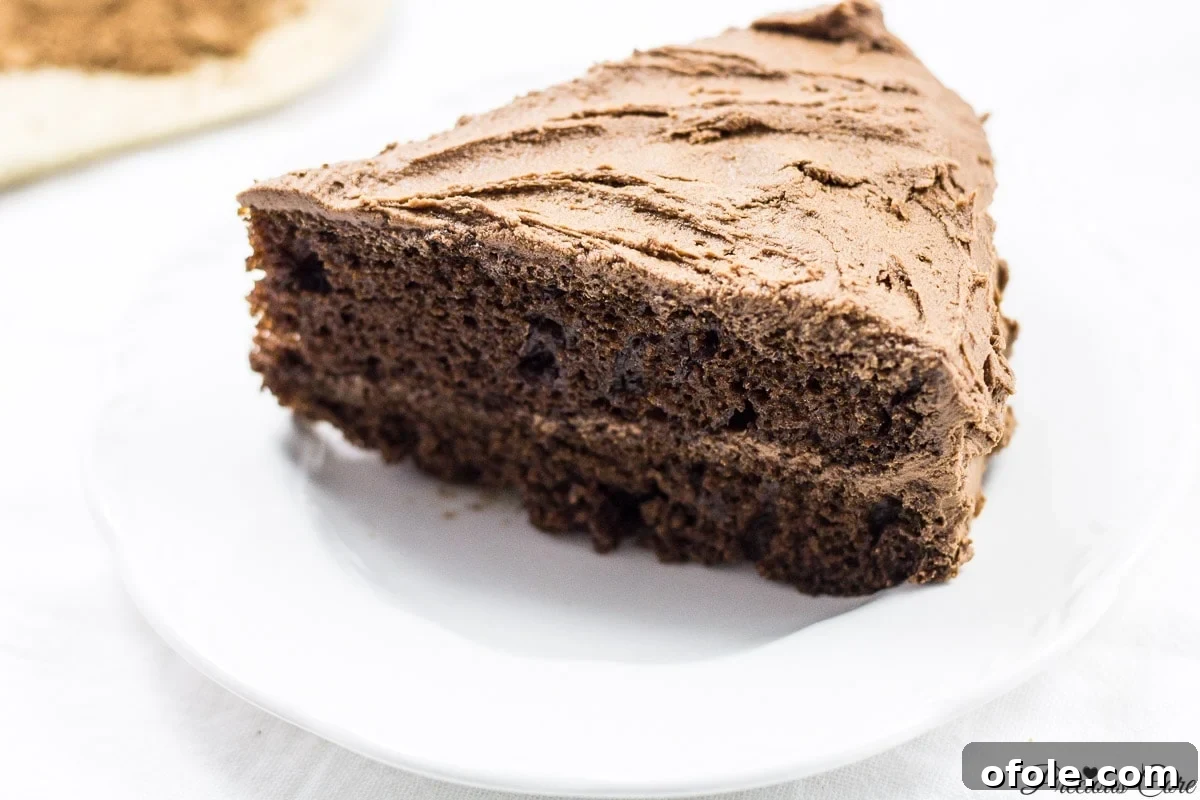
After a brief hiatus from the wonderful world of baking, I’m thrilled to announce that cakes are officially back on the blog! While my kitchen shelves already boast a delightful collection of 10 delicious cake recipes, I found myself on a much-needed sabbatical from creating and sharing new cake concoctions. That all changed one Sunday afternoon, thanks to a captivating conversation with a dear friend. She called, bubbling with excitement, recounting the exquisite aroma and taste of some lemon and orange rind-infused cakes she had just pulled from her oven. Her description was so vivid, so tempting, that I had to remind her to cease her delicious persuasion. I had vowed to myself that I wouldn’t cook that particular Sunday. For those who know me, you’ll understand the sheer willpower required for such a feat. It’s incredibly challenging for me to resist the urge to cook, especially when I’m at home. My mind and body seem to conspire, constantly nudging me towards the kitchen. The feeling of not yielding to that powerful culinary desire is akin to a recovering addict striving to stay clean – completely and utterly intense. Yet, I prevailed that Sunday, cooking absolutely nada! But as Monday dawned, I eagerly made up for lost time. My baking spree included a delightful banana cake, savory fish pies, and this truly ah-mazing, utterly classic chocolate cake that I’m so excited to share with you today.
Baking Adventures with Little Helpers: Our Homeschool Cooking Practicals
One of the many joys I find in homeschooling is its incredible versatility. It allows me to seamlessly involve my children in almost everything I do, turning everyday activities into valuable learning experiences. My recent baking marathon was no exception; it was a full-fledged family affair. I cheerfully announced that we were having “homeschool cooking practicals,” a term that instantly sparked excitement in their eyes. With aprons donned and spirits high, we embarked on our cake-making adventure. They were brimming with enthusiasm, though their patience wore thin when I frequently paused to capture photos for the blog. However, documenting the process was essential! Many of you have consistently asked me for a reliable and delicious chocolate cake recipe, and I made a solemn promise to deliver. Today, that promise is fulfilled with a recipe that is not only incredibly simple but also yields a show-stopping dessert.
Mastering the Art of the Classic Chocolate Cake: Simple Ingredients, Incredible Flavor
This classic chocolate cake recipe is a testament to the idea that extraordinary flavor doesn’t require an intimidating list of ingredients or complex techniques. With just one bowl and a handful of pantry staples, you can create a moist, rich, and utterly decadent chocolate cake that will impress everyone. Before we dive into the baking process, let’s gather our “cast of characters”—the essential ingredients that will transform into this delightful treat.
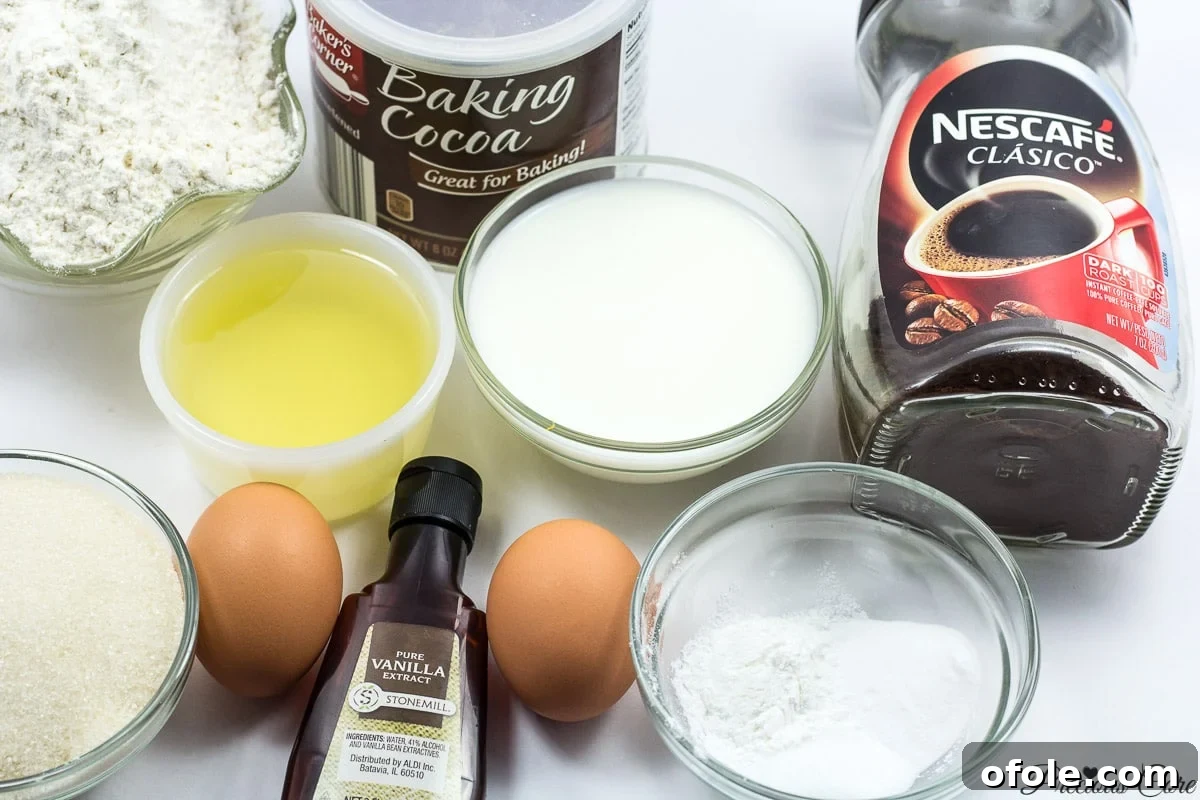
You’ll need all-purpose flour, granulated sugar, unsweetened cocoa powder, vanilla extract, fresh eggs, liquid milk, baking powder, baking soda, a pinch of salt, vegetable oil (or your preferred neutral oil like canola), and instant coffee. Don’t worry if you don’t see the boiling water in the picture; it’s a crucial, though invisible, player in achieving that perfect cake texture. For the precise measurements and proportions of each ingredient, you’ll find a detailed, printable recipe card further down this post.
A little secret ingredient in this recipe is the instant coffee. While optional, I highly recommend including it. The coffee doesn’t make the cake taste like coffee; instead, it remarkably deepens and intensifies the chocolate flavor, elevating it to new heights. It provides that subtle yet impactful “push” that makes all the difference. You can certainly omit it if you prefer, but for a truly rich chocolate experience, it’s a game-changer.
Step-by-Step Instructions for Your Decadent Chocolate Cake
Making this incredible chocolate cake is surprisingly straightforward. All you truly need are your ingredients, a single mixing bowl, and the sheer will to create something delicious. Let’s get started:
Step 1: Prepare Your Baking Pans and Preheat the Oven
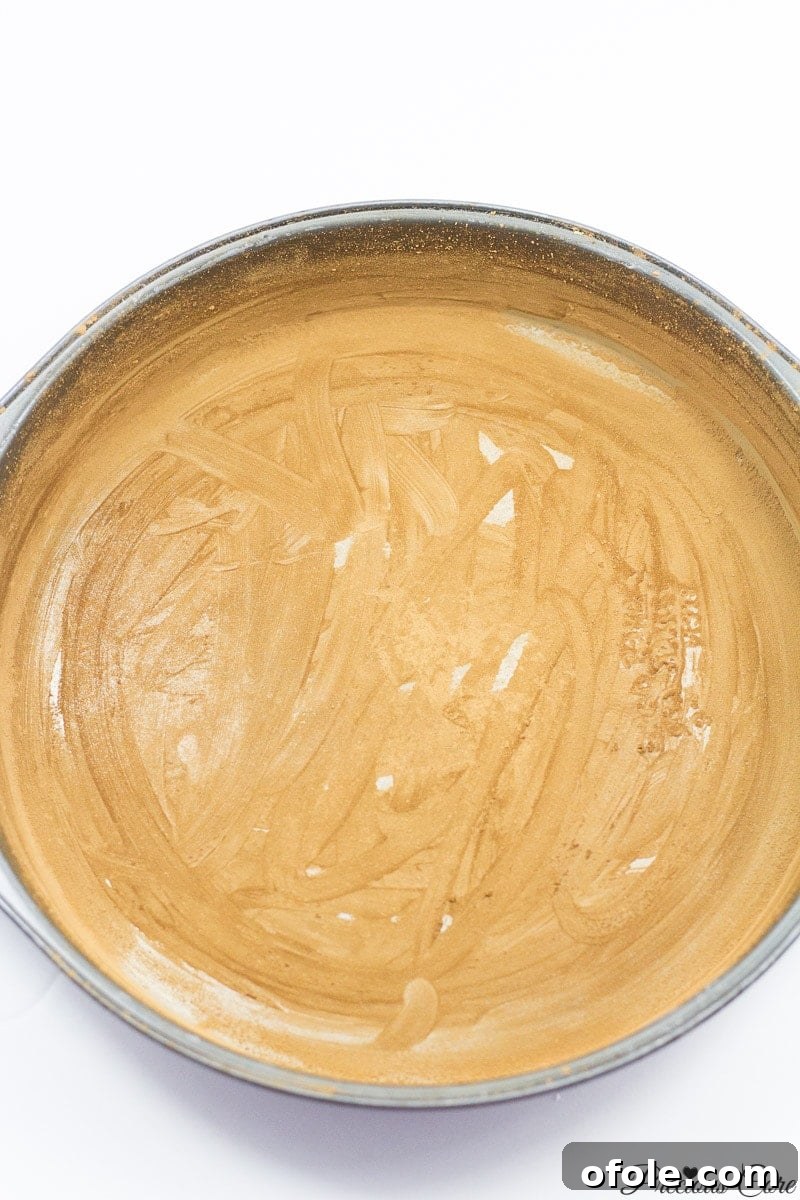
Begin by preheating your oven to 350 degrees F (180 degrees C). This ensures your oven is at the correct temperature when your batter is ready, allowing for even baking. Next, meticulously grease two 9-inch round baking tins. Once greased, dust them generously with a layer of cocoa powder. This not only prevents sticking but also adds another layer of rich chocolate flavor to the cake’s exterior. Ensure the cocoa powder coats every surface evenly for a pristine finish.
Step 2: Combine All Dry Ingredients
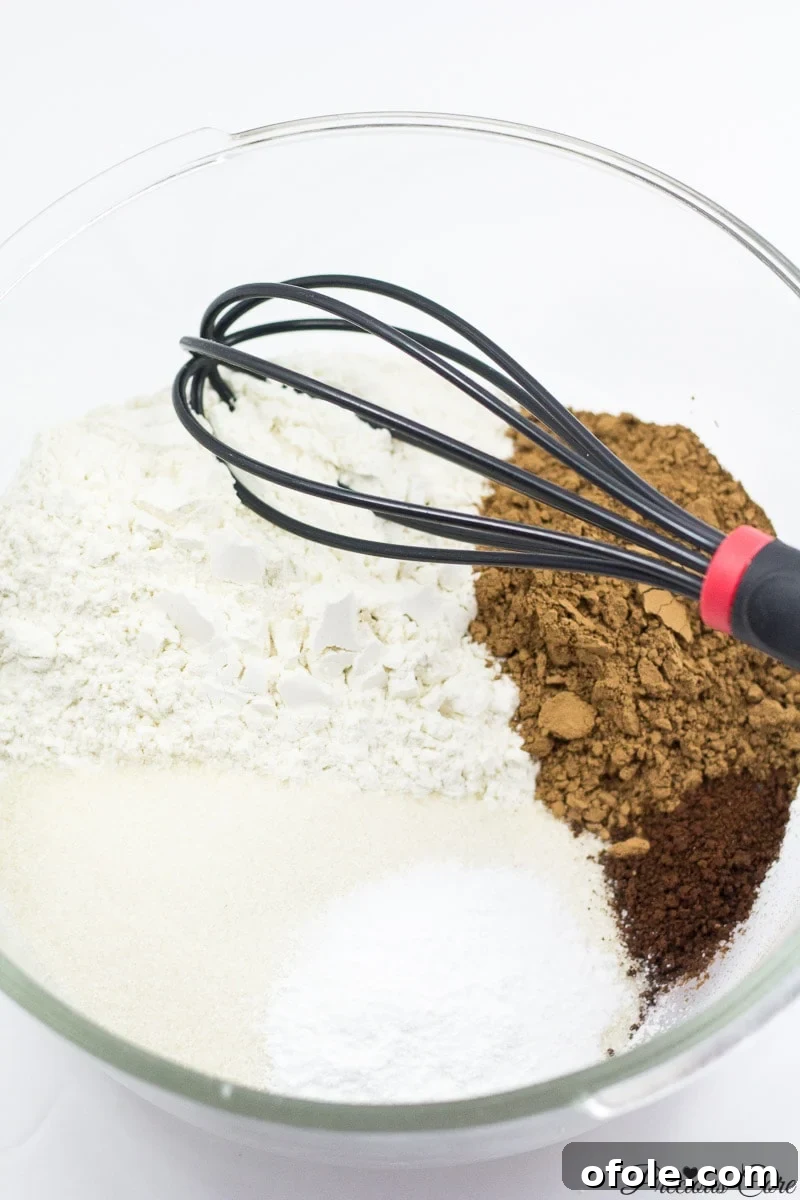
In your large mixing bowl, combine all the dry ingredients. This includes your all-purpose flour, unsweetened cocoa powder, baking powder, baking soda, granulated sugar, salt, and instant coffee powder. Precision here ensures a balanced flavor and proper leavening.
Step 3: Whisk and Add Wet Ingredients (Except Boiling Water)
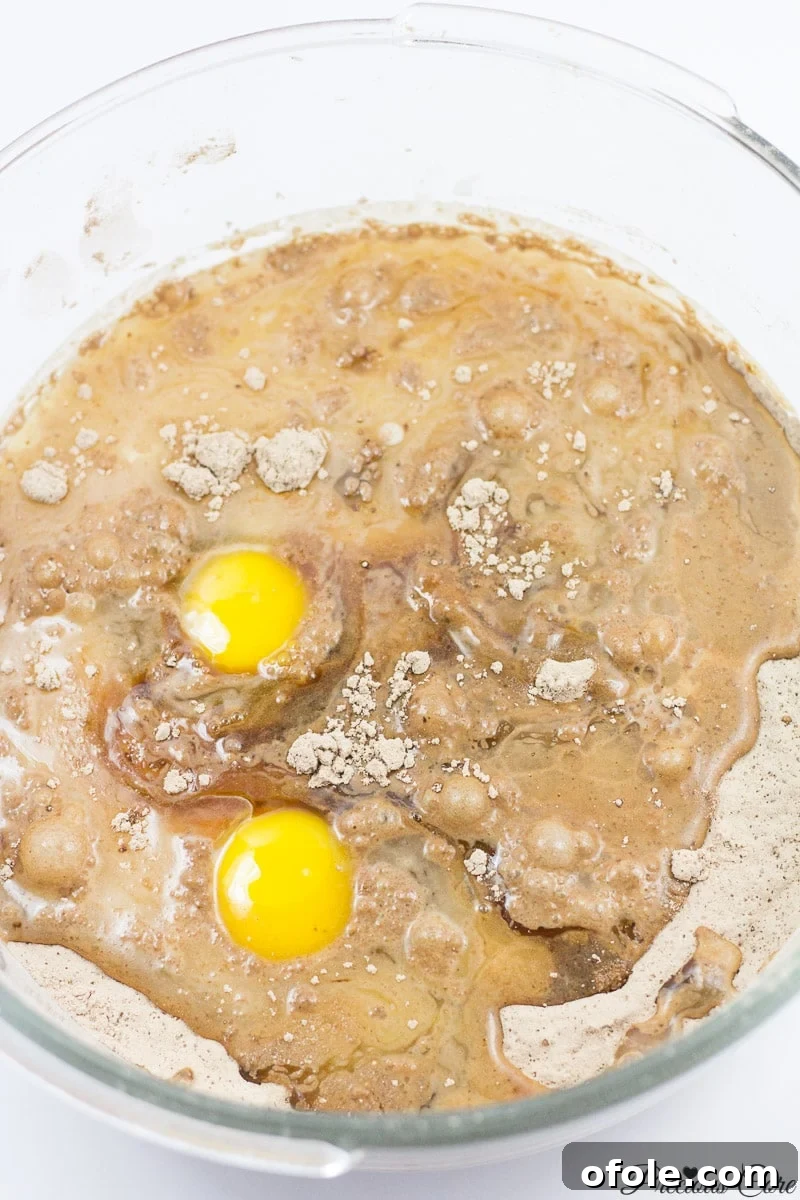
Give the dry ingredients a good whisk until they are thoroughly combined and no lumps remain. This aeration also helps to lighten the flour mixture. Once whisked, add in the wet ingredients: the large eggs, liquid milk, vegetable oil, and vanilla extract. These liquids will begin to bring our batter to life.
Step 4: Mix Until Just Combined
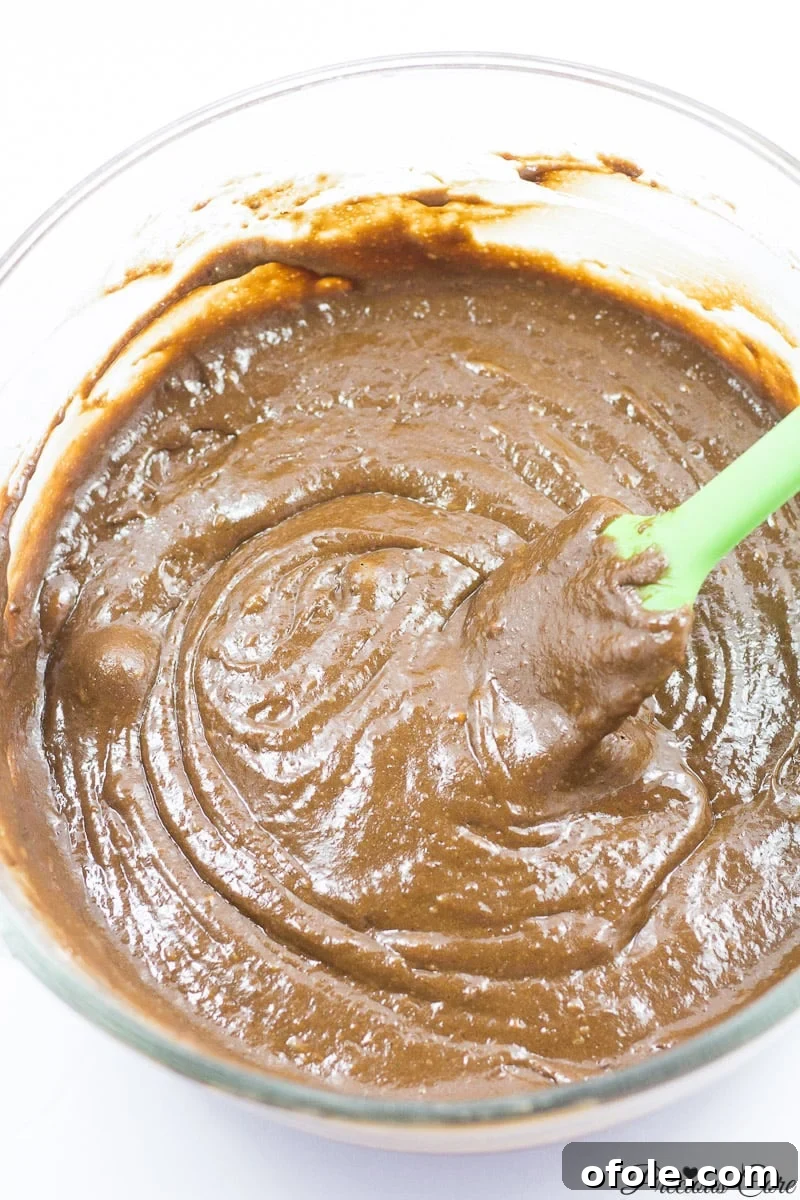
Now, gently mix all the ingredients until they are just combined. I personally find that a kitchen spatula works wonders for this step, effectively scraping down the sides of the bowl and ensuring everything is incorporated without overmixing. Overmixing can lead to a tough cake, so mix until the batter is smooth, but don’t beat it excessively.
Step 5: Incorporate Boiling Water
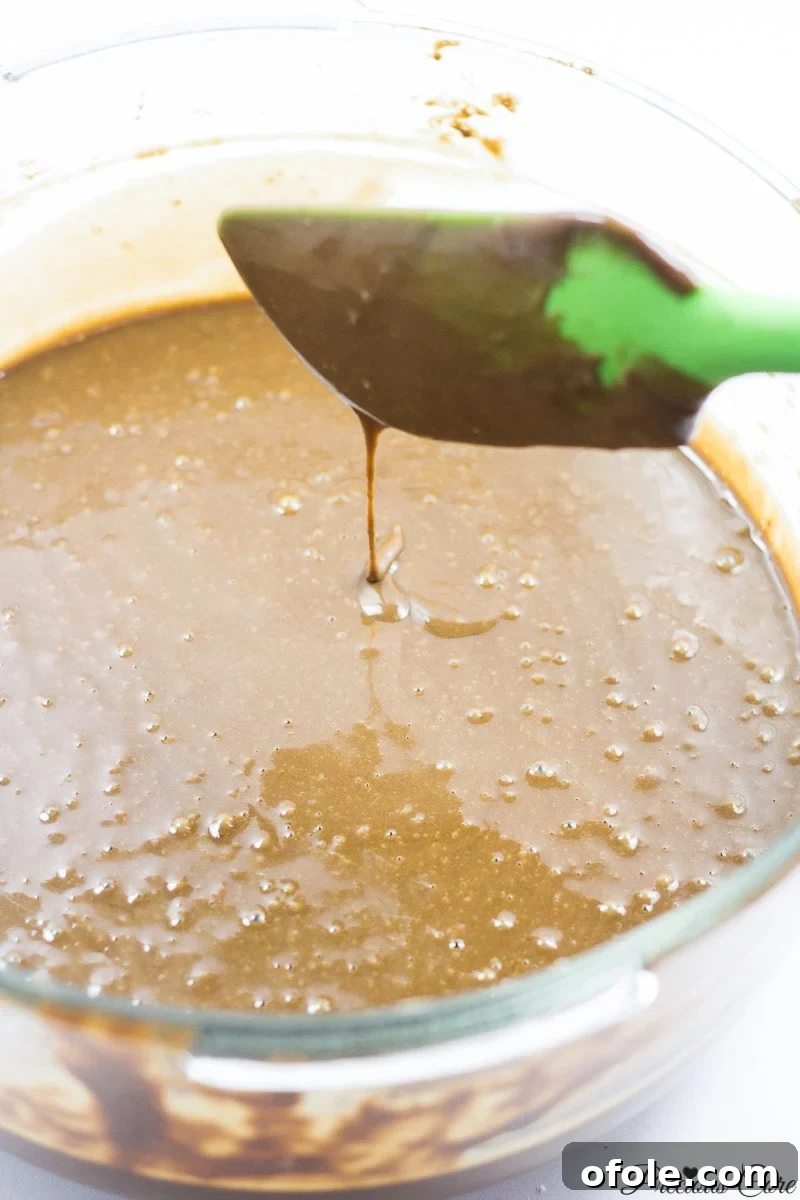
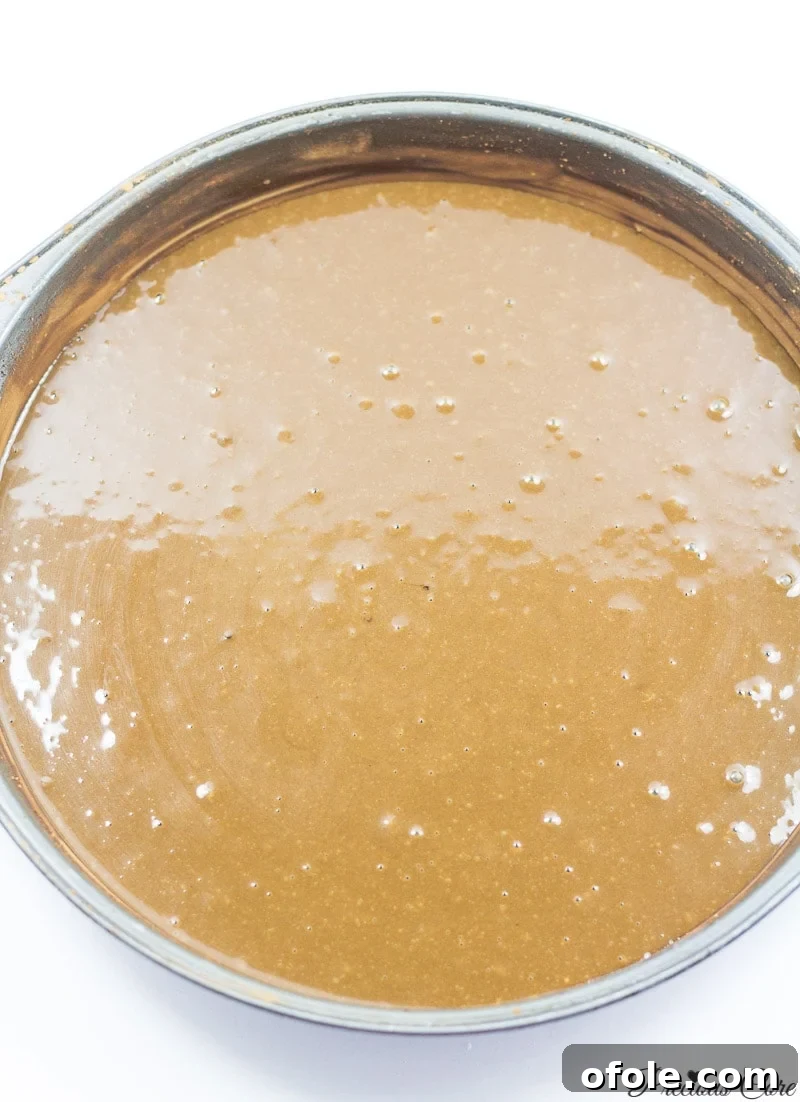
The next step might seem unusual, but trust me, it’s a game-changer: add boiling water to the batter. Yes, boiling water! This hot liquid plays a vital role in dissolving the cocoa powder completely, thus intensifying its flavor and creating a beautifully dark, moist cake. You’ll notice the batter becoming very thin at this stage. Do not be alarmed or discouraged; this is precisely how it should be. It’s still cake batter, not soup, and this thin consistency is what contributes to its ultimate moistness and tender crumb.
Step 6: Pour and Bake
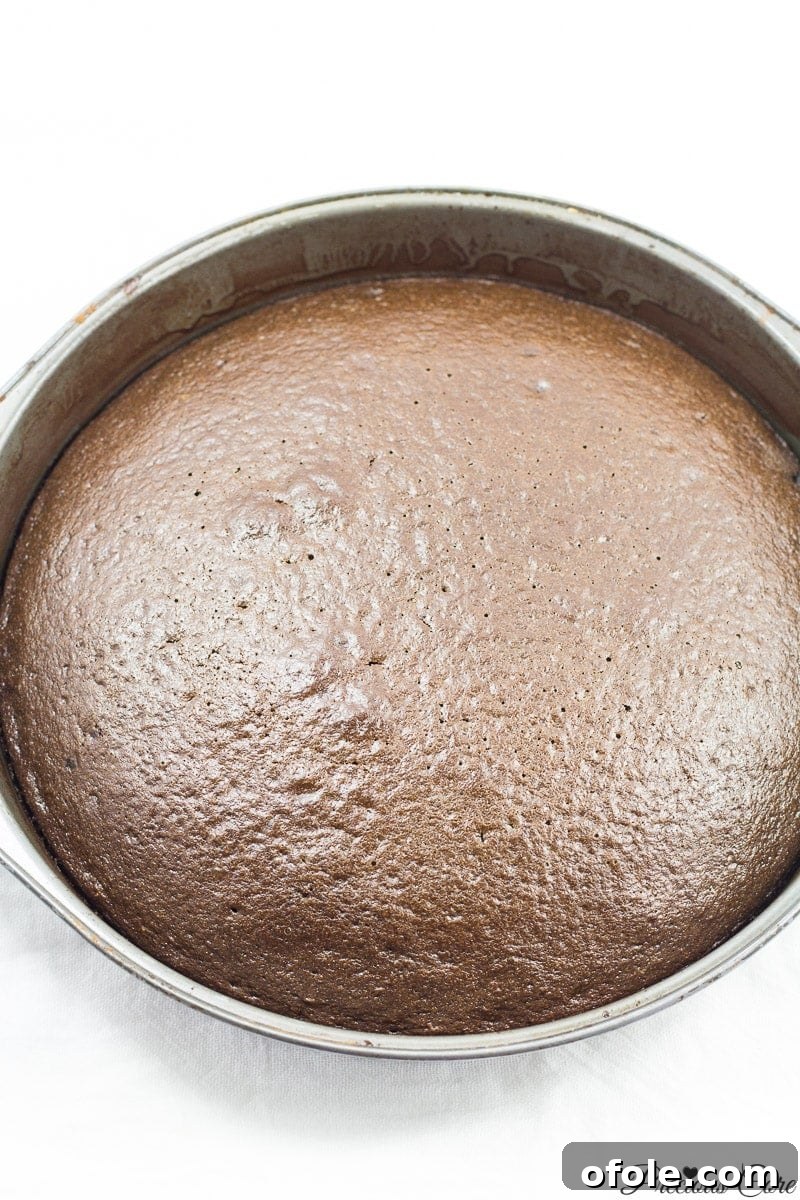
Carefully pour the thin chocolate cake batter evenly into your two prepared baking pans. Distribute it as equally as possible to ensure both cake layers bake uniformly. Transfer the pans to your preheated oven and bake for approximately 35 minutes. The true test of doneness is when a toothpick inserted into the center of the cakes comes out clean, with no wet batter clinging to it. This indicates your cakes are perfectly baked and ready.
Decadent Chocolate Buttercream Frosting: The Perfect Companion
While this cake is utterly delightful on its own – so much so that I often find myself wanting to dig right in after it cools – I wanted to present you with the complete, show-stopping dessert experience. That’s why I whipped up a batch of the most amazing chocolate buttercream frosting. This frosting is not just an adornment; it’s an integral part of the classic chocolate cake experience, adding a layer of creamy, sweet perfection.
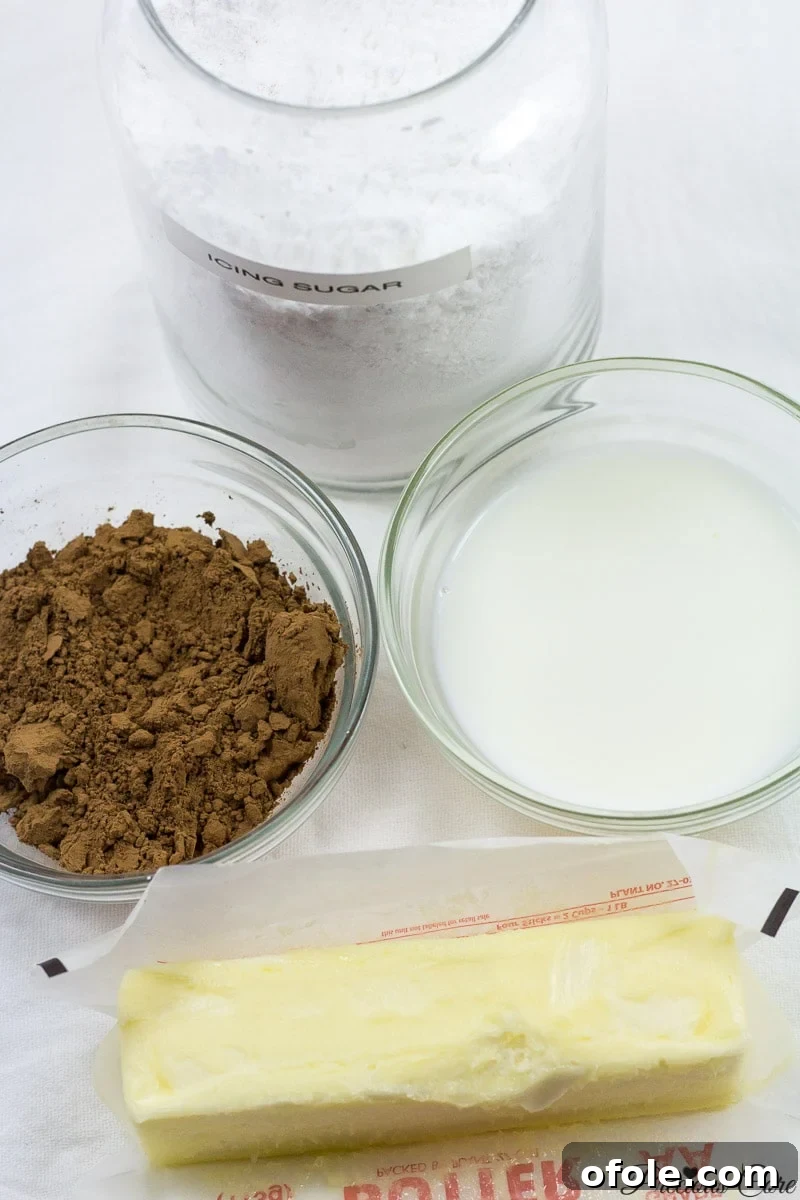
For this luscious chocolate buttercream, you will need: confectioners’ (icing) sugar, unsweetened cocoa powder, a small amount of liquid milk (I typically use just two tablespoons to start), and softened unsalted butter. A crucial ingredient typically used is vanilla extract, but during my baking spree, I was unfortunately out of it. If you have it, please include 1 tablespoon for an even richer flavor profile.
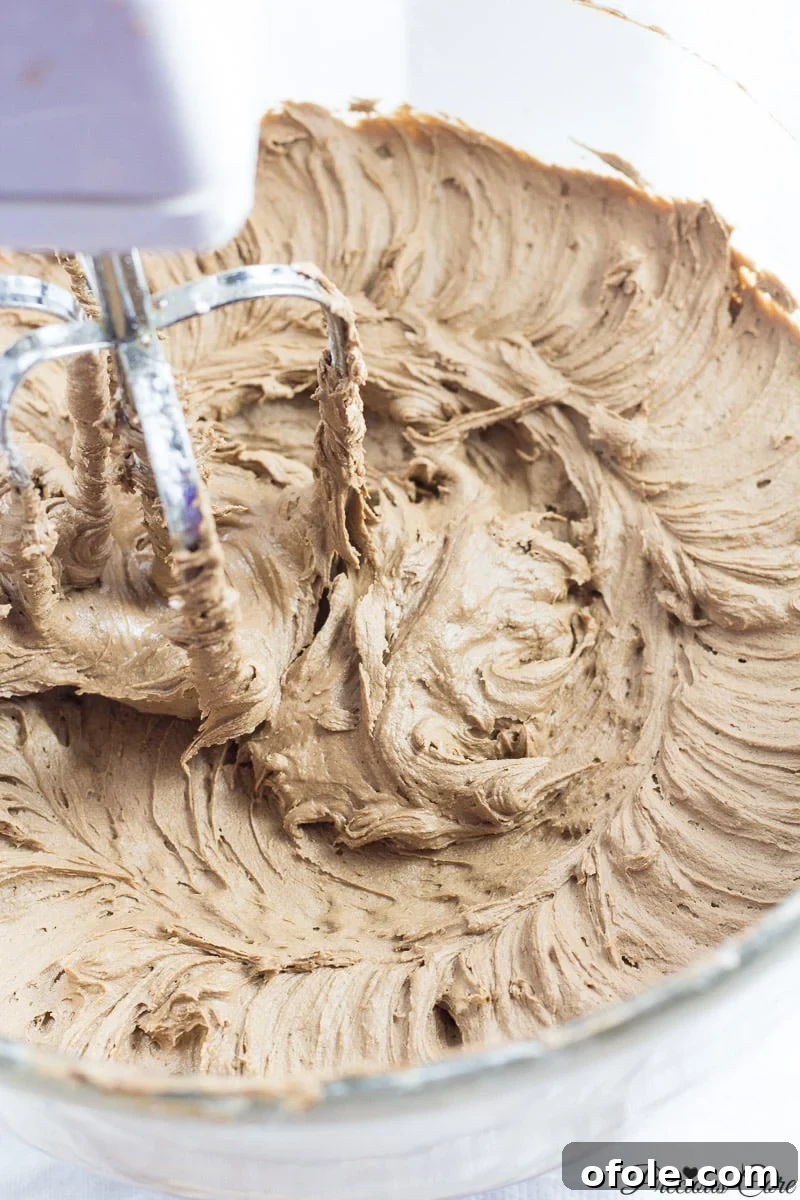
To prepare the frosting, start by creaming the softened butter until it’s light and fluffy. This can be easily achieved with a stand mixer, which makes the process effortless. Gradually add the icing sugar, one cup at a time, beating well after each addition to ensure a smooth, lump-free consistency. Then, slowly incorporate the cocoa powder and liquid milk, adding more milk in tiny increments if needed, until you reach a creamy, spreadable consistency. This frosting is pure perfection, wonderfully rich and smooth. It’s so versatile that you could even use it to frost a vanilla or white cake if you wish!
Assembling Your Masterpiece: The Art of Frosting
Once your beautiful cake layers have completely cooled—this is paramount, as frosting warm cake will result in a melty mess—it’s time for assembly. Start by carefully trimming the tops of your cakes to create a flat, even surface. This ensures your layers sit perfectly balanced without any unsightly mounds. Once leveled, place your first cake layer upside down on your serving platter or cake stand. This often provides a flatter top surface for your base layer. Begin by generously applying a layer of your luscious chocolate buttercream frosting onto this first cake.
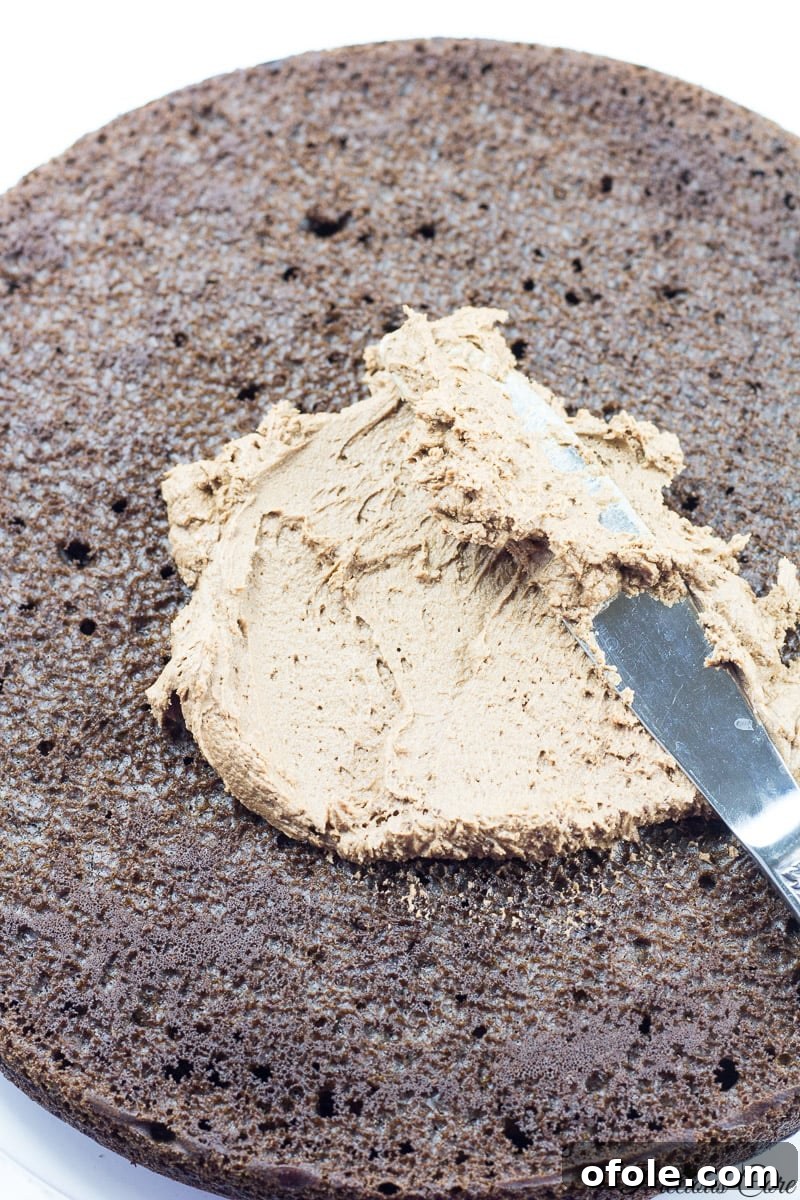
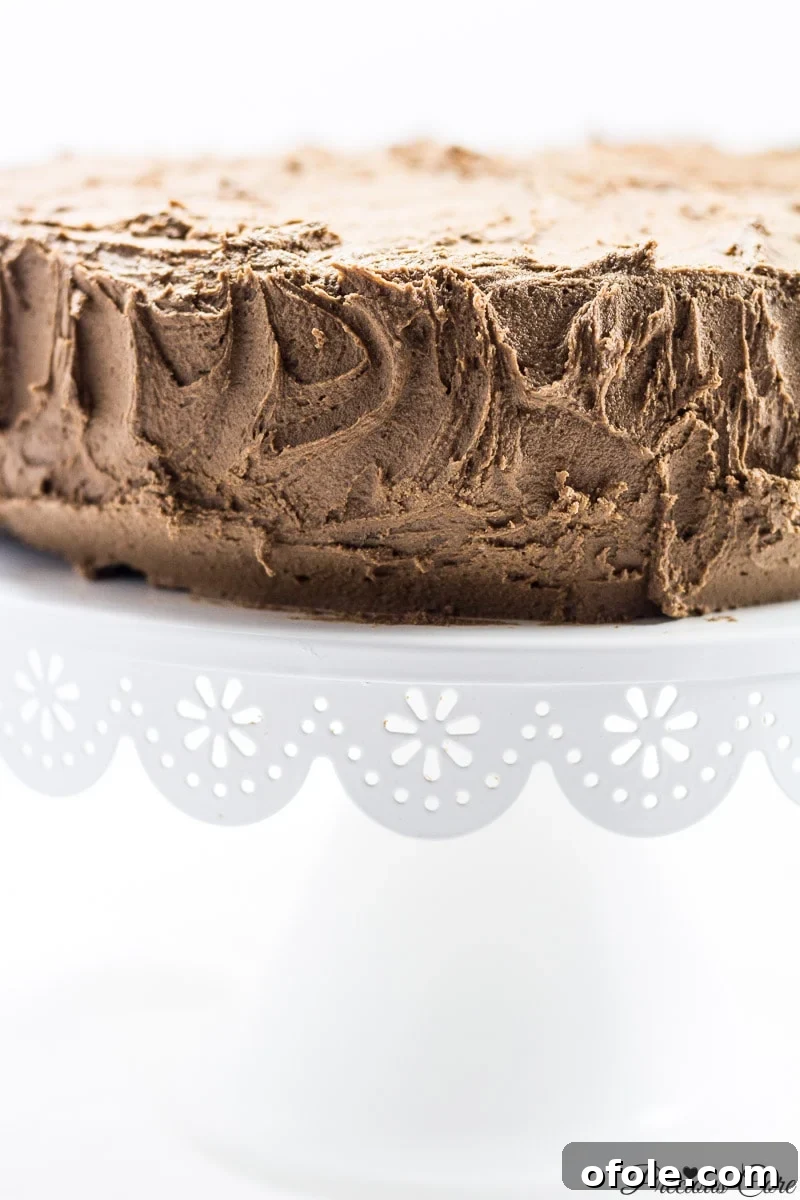
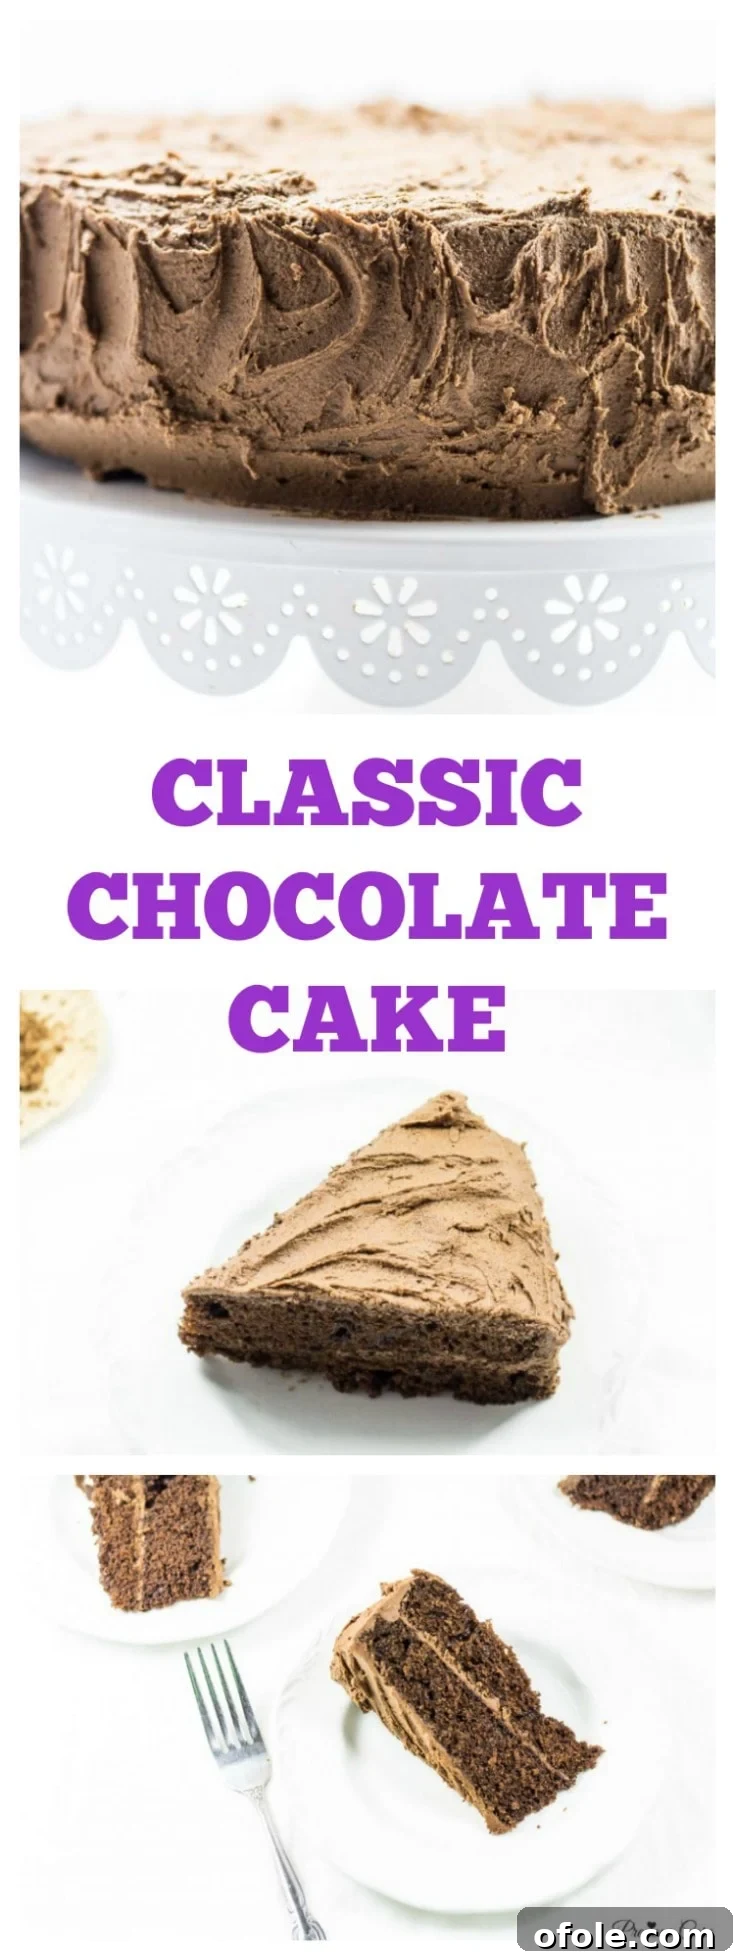
Next, carefully place the second cake layer directly on top of the frosted first layer, gently pressing down to secure it. Now, it’s time to frost the entire exterior, covering both layers so they appear as one cohesive, grand chocolate cake. Don’t worry about perfection; homemade cakes have a charming rustic appeal. For an added touch of elegance, I used a simple butter knife to create a delicate, wavy pattern around the sides of the cake. This simple trick adds visual interest and a professional-looking finish. Here is the glorious finished product, ready to be admired and devoured:
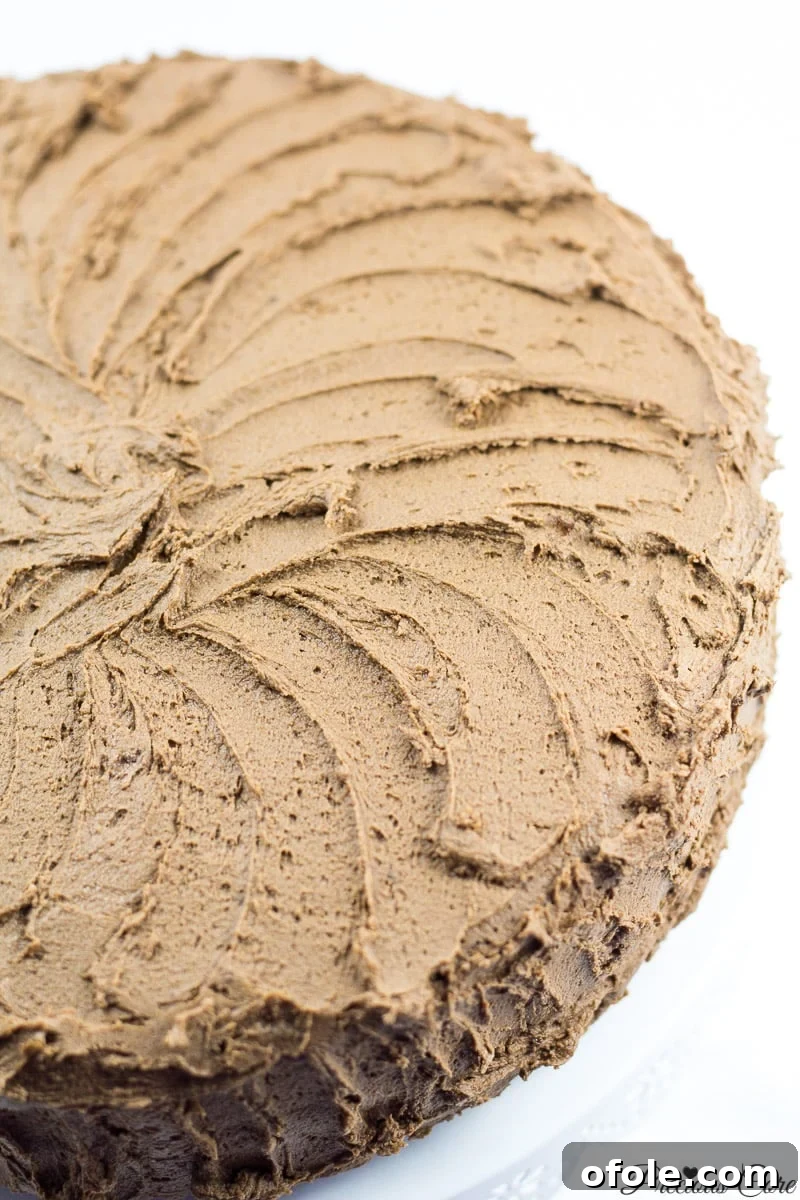
Who’s ready for a slice of pure joy?
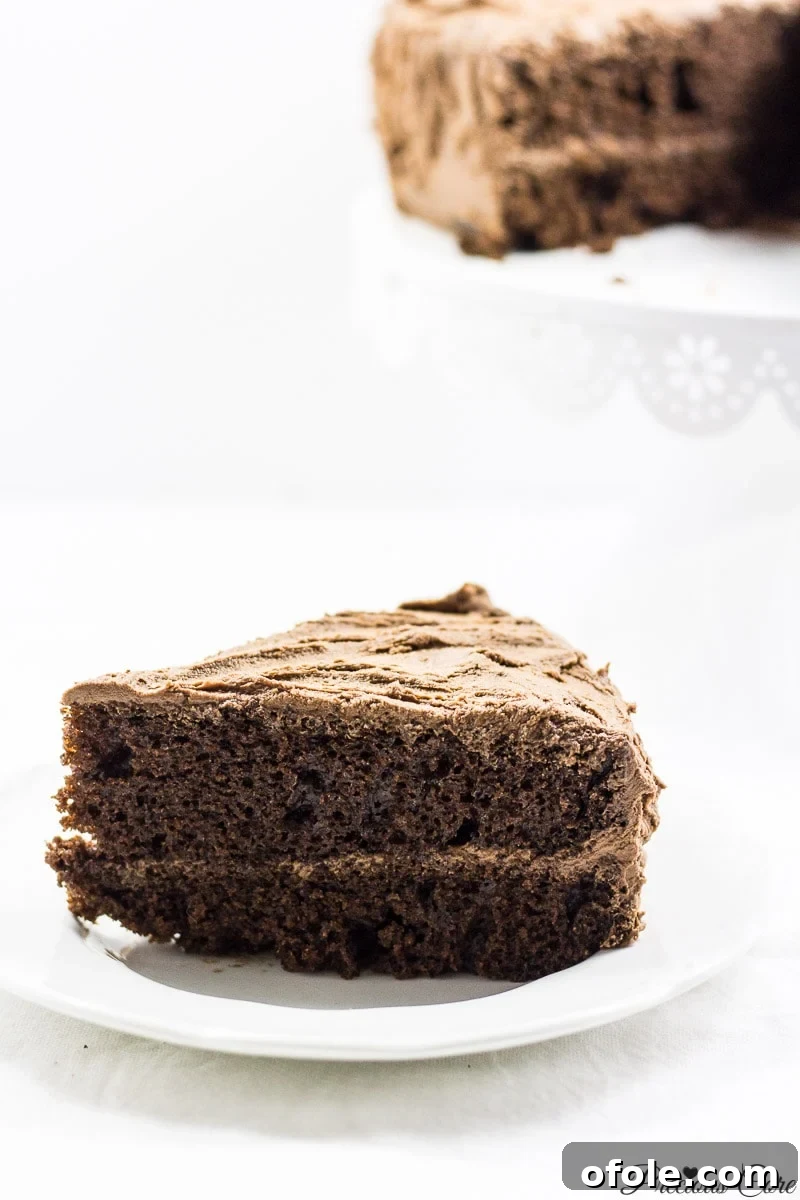
This classic chocolate cake is everything you could ever wish for: perfectly chocolatey, incredibly luscious, intensely rich, and yes, wonderfully indulgent. Enjoy every single bite, my friends! It’s a treat that truly embodies comfort and celebration.
P.S. If you’re looking to explore more chocolate baking, be sure to check out this fantastic recipe for easy and moist chocolate cupcakes – they are just as irresistible!
Classic Chocolate Cake
15 minutes
35 minutes
50 minutes
12 servings
Rate
Print Recipe
Ingredients
Chocolate Cake
- 2 cups flour (240 g)
- 1/2 cup cocoa powder (50 g)
- 1 teaspoon baking powder – heaped
- 1 teaspoon baking soda – heaped
- 1 teaspoon instant coffee powder
- 1-2 cups sugar I used 1 cup (200-400 g)
- 1 teaspoon salt
- 2 large eggs
- 1 cup liquid milk (240 ml)
- 1/2 cup vegetable oil or oil of choice – I used canola (118 ml)
- 2 teaspoons vanilla extract
- 1 cup boiling water (236 ml)
Chocolate Buttercream Frosting
- 1/2 cup butter (113 g) – softened
- 3 cups icing sugar (375 g)
- 2 tablespoons liquid milk (or more as needed)
- 1 tablespoon vanilla extract
- 1/2 cup cocoa powder (50 g)
Instructions
Chocolate Cake
-
Heat oven to 350 degrees F (180 degrees C). Grease and dust with cocoa powder, two 9-inch round baking pans.
-
In a large mixing bowl, whisk together the flour, cocoa powder, baking powder, baking soda, instant coffee powder, salt and sugar.
-
Add eggs, milk, oil and vanilla extract to the whisked powder. Mix well until everything is well incorporated.
-
Add boiling water to the batter and mix well. It is going to become very thin. This is normal.
-
Pour the batter into prepared cake pans and bake at 350 degrees F (180 degrees C) for about 35 minutes until a toothpick inserted in the middle of both cakes comes out clean.
-
Let the cake cool completely then spread frosting on top if you so wish.
Chocolate Buttercream Frosting
-
Put softened butter into a stand mixer and cream on low for about one minute until light and fluffy. Gradually add in icing sugar, one cup at a time, beating the butter and sugar well after each addition. Add in milk and vanilla extract and beat until smooth. Add the cocoa powder and beat to a spreading consistency. If the frosting is too light, add more sugar. If it is too thick, add a little more milk, one teaspoon at a time.
Notes
Nutrition
Carbohydrates: 68g |
Protein: 5g |
Fat: 19g |
Saturated Fat: 8g |
Polyunsaturated Fat: 6g |
Monounsaturated Fat: 5g |
Trans Fat: 0.4g |
Cholesterol: 50mg |
Sodium: 404mg |
Potassium: 184mg |
Fiber: 3g |
Sugar: 48g |
Vitamin A: 313IU |
Calcium: 68mg |
Iron: 2mg
Additional Info
Tried this recipe?Mention @preciouscore or tag #PreciousCore!
If you bake this incredible classic chocolate cake, I would absolutely love to see your creations! Please share a photo on Instagram and tag me: @preciouscore. Don’t forget to use the hashtag #PreciousCore. Your beautiful bakes always bring a smile to my face!