
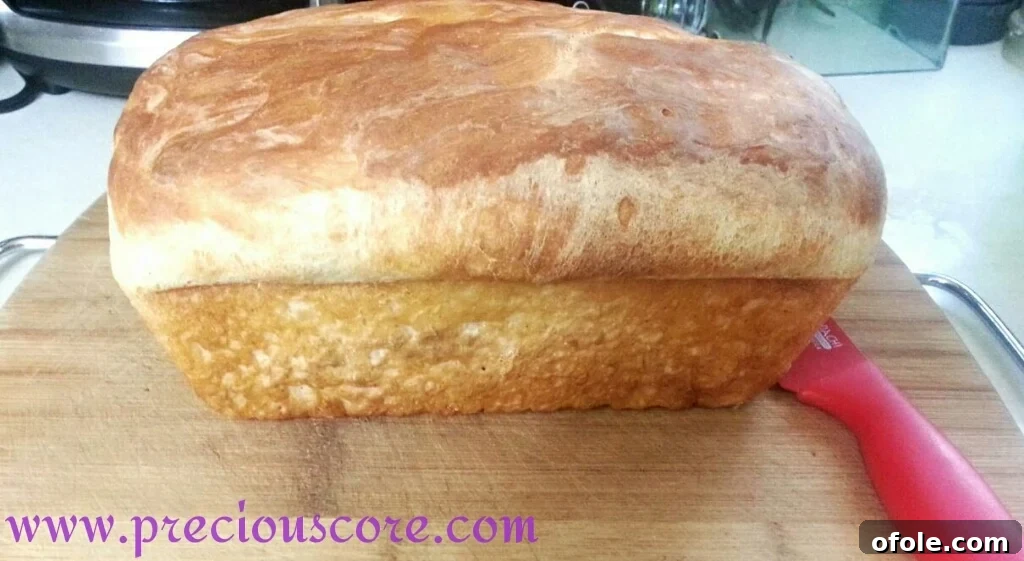
Discover the Heartwarming Secret of Authentic Kumba Bread: A Cameroonian Delicacy
Journey into the heart of Cameroonian culinary traditions with me as we explore the beloved “Kumba Bread.” This isn’t just any bread; it’s a staple, a symbol of hospitality, and a source of profound childhood memories for many across Cameroon. Known for its soft, slightly sweet, and utterly addictive texture, Kumba Bread hails primarily from the vibrant town of Kumba in the South West region of Cameroon. It’s in this bustling town that the first bakeries perfected these delightful loaves, embedding their name firmly into the bread’s identity.
For those familiar with West African cuisine, the essence of Kumba Bread often draws comparisons to Nigeria’s equally famous Agege Bread. Both share a similar appeal: a pillowy softness, a robust crust, and a comforting flavor that makes them perfect for any meal, whether alongside a savory stew or simply enjoyed with a hot beverage. This article will not only delve into the cultural significance of this treasured loaf but also guide you through a step-by-step process to recreate its magic right in your own kitchen.
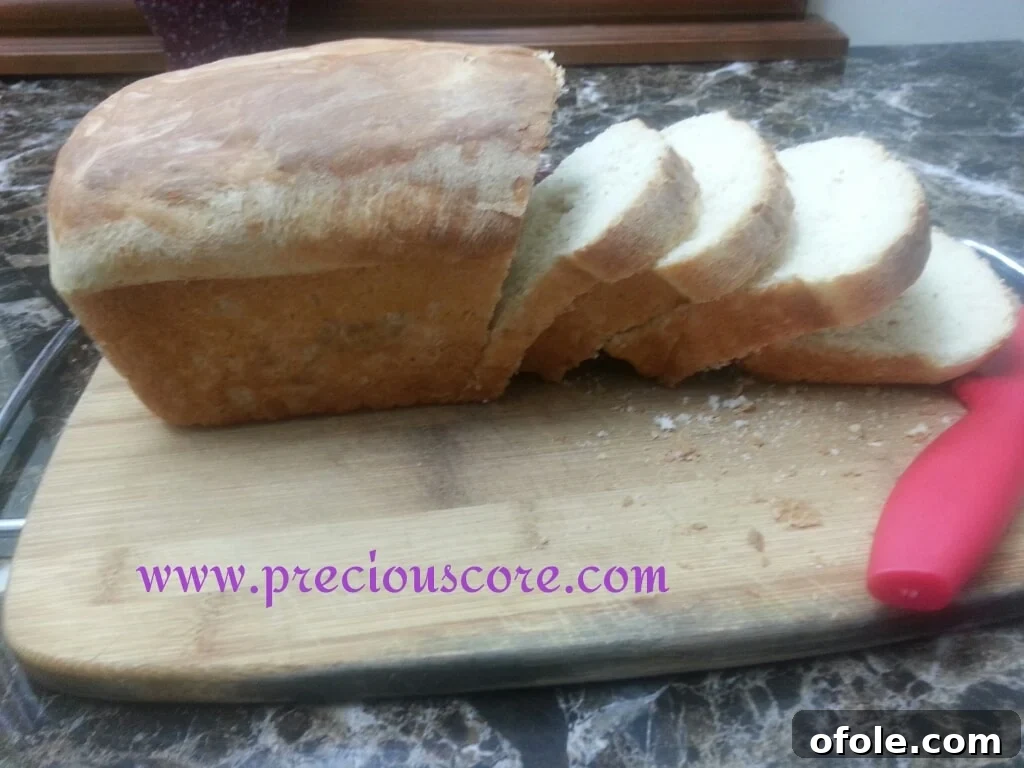
More Than Just Bread: A Taste of Nostalgia and Community
The mere mention of Kumba Bread evokes a cascade of sweet memories for me. I can vividly recall the warmth of holding a fresh loaf, still slightly warm from the bakery, and pairing it with a steaming mug of Ovaltine. It was the quintessential breakfast, a simple pleasure that marked the beginning of many happy days. Kumba Bread wasn’t just food; it was a gesture, a social currency. Expecting a visitor from out of town? The unspoken expectation was often a fresh loaf of Kumba Bread as a gift. It signified care, a taste of home, and a truly warm welcome.
I still chuckle remembering a particular incident involving my younger brother. We were expecting a relative from Mamfe to visit us in Yaounde. Upon their arrival, my brother, with all the innocence and bluntness only a child possesses, openly expressed his disappointment that our guest had arrived without the much-anticipated Kumba Bread. It was an embarrassing moment for the adults, but a testament to how deeply ingrained this bread was in our culture and expectations of hospitality. It speaks volumes about the bread’s significance – it was more than just sustenance; it was a cherished part of family gatherings and a beloved treat.

The Joy and Benefits of Baking Bread at Home
If there’s one culinary confession I’m ready to make, it’s this: I am absolutely addicted to making homemade bread. The process itself is therapeutic, a meditative dance of flour, water, and yeast transforming into something magical. Beyond the sheer joy of creation, there are countless benefits to baking your own bread, especially a traditional recipe like Kumba Bread.
Firstly, the control you gain over ingredients is unparalleled. You can choose to use whole wheat flour for added fiber, incorporate your favorite dried fruits for an extra burst of flavor, or even add seeds for a nutritional boost. The possibilities are endless, allowing you to tailor each loaf precisely to your preferences and dietary needs. No more worrying about hidden additives, artificial preservatives, or excessive sugars often found in store-bought varieties.
Secondly, the aroma! There’s truly nothing quite like the comforting, intoxicating smell that fills your home as a fresh loaf bakes. It’s an unbeatable scent that promises warmth, comfort, and deliciousness, creating an inviting atmosphere that store-bought bread simply cannot replicate. It transforms your kitchen into the heart of your home, a place of warmth and nurturing. Finally, the pride of presenting a homemade loaf to family and friends, knowing every ingredient that went into it, is incredibly rewarding. It’s a taste of love, baked with your own hands.
Today, I’m thrilled to share my tried-and-true recipe for making authentic Kumba Bread at home, allowing you to experience this delightful Cameroonian tradition firsthand.
Authentic Homemade Kumba Bread Recipe
This recipe is designed to bring the true essence of Cameroonian Kumba Bread into your kitchen. It’s a straightforward process, resulting in a soft, fluffy, and flavorful loaf that will transport your taste buds straight to West Africa.
Prep & Cook Times:
- Prep Time: 20 minutes
- Inactive (Rising) Time: Approximately 2 hours (this includes two rises)
- Cook Time: 20 minutes
- Yield: 1 delicious loaf
Utensil Needed:
- Standard Loaf Baking Pan (8.5 x 4.5 inches or similar)
- Large mixing bowls
- Measuring cups and spoons
- Plastic wrap or a clean kitchen towel
Ingredients:
- Flour: 3 cups (All-Purpose or Bread Flour works beautifully. Bread flour will give you a slightly chewier texture, while all-purpose is wonderfully soft.)
- Active Dry Yeast: 2 and 1/4 teaspoons (or 1 small sachet/packet). Ensure your yeast is fresh for optimal rising.
- Warm Water: 1 cup (Crucially, the water should be between 105-115°F / 40-46°C. Too hot will kill the yeast, too cold won’t activate it.)
- Granulated Sugar: 2 tablespoons (Feeds the yeast and adds a subtle sweetness to the bread.)
- Salt: 1 teaspoon (Essential for flavor and controls yeast activity.)
- Ground Nutmeg: Half teaspoon (This spice adds a distinctive, aromatic warmth characteristic of many West African breads.)
- Dry Whole Milk Powder: Half cup (Adds richness, tenderness, and enhances the crust color. If you don’t have dry milk, you can use regular milk in place of some water, reducing the water quantity slightly, but dry milk is ideal for this recipe.)
- Vegetable Oil: 2 tablespoons (For moisture in the dough and for greasing the bowl.)
Step-by-Step Instructions: Crafting Your Kumba Bread
Now for the most exciting part: bringing these simple ingredients together to create something truly delicious. Follow these steps carefully for a perfect loaf every time.
1. Activate the Yeast:
In a large mixing bowl, pour in your warm water. Sprinkle the yeast and a pinch of your sugar over the water. Stir gently and let it sit for about 5-10 minutes. You’ll know your yeast is active and healthy when it becomes foamy and bubbly. This blooming process is crucial for a good rise.

2. Combine Dry Ingredients:
While the yeast is activating, in a separate, larger bowl, combine your flour, the remaining sugar, salt, ground nutmeg, and dry whole milk powder. Whisk them together thoroughly to ensure all ingredients are evenly distributed. This prevents pockets of unmixed ingredients in your final dough.
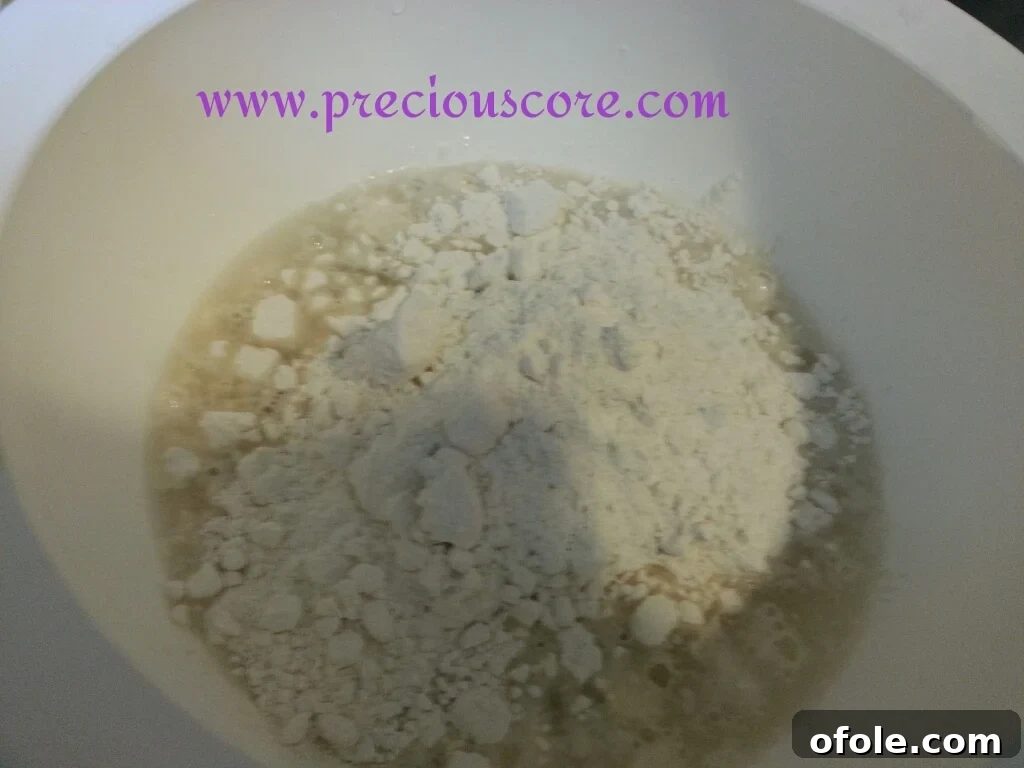
3. Form the Dough:
Once your yeast is active, pour the foamy yeast mixture into the bowl with your dry ingredients. Add 1 tablespoon of the vegetable oil. Begin mixing with a wooden spoon or your hands until a shaggy dough starts to form. If the dough is too dry, add a tiny bit more warm water, a tablespoon at a time, until it comes together. The goal is a soft, pliable dough that is slightly sticky but not overly wet. A hard dough at this stage will unfortunately lead to a dense, hard loaf, so err on the side of softness.
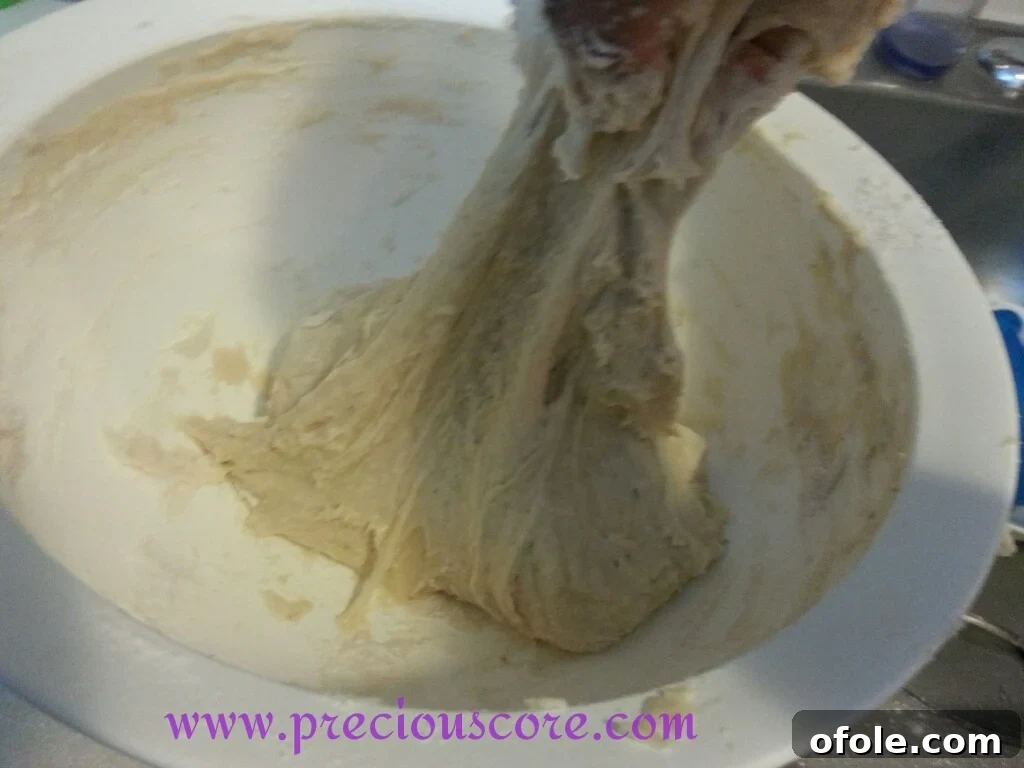
4. Knead the Dough:
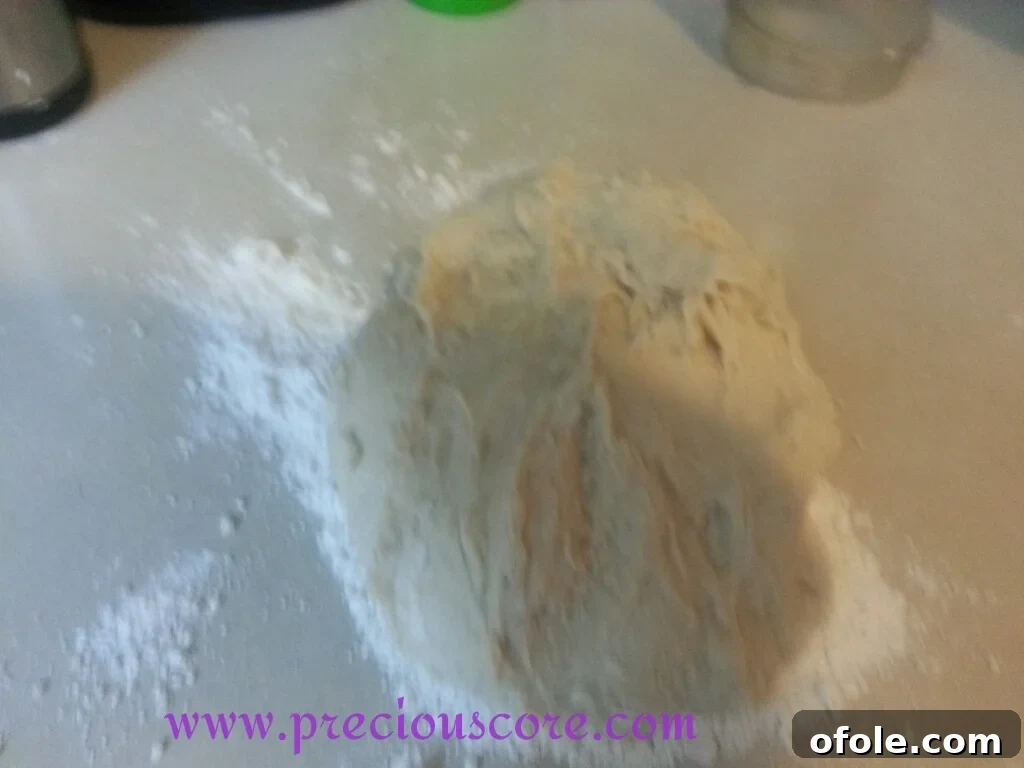
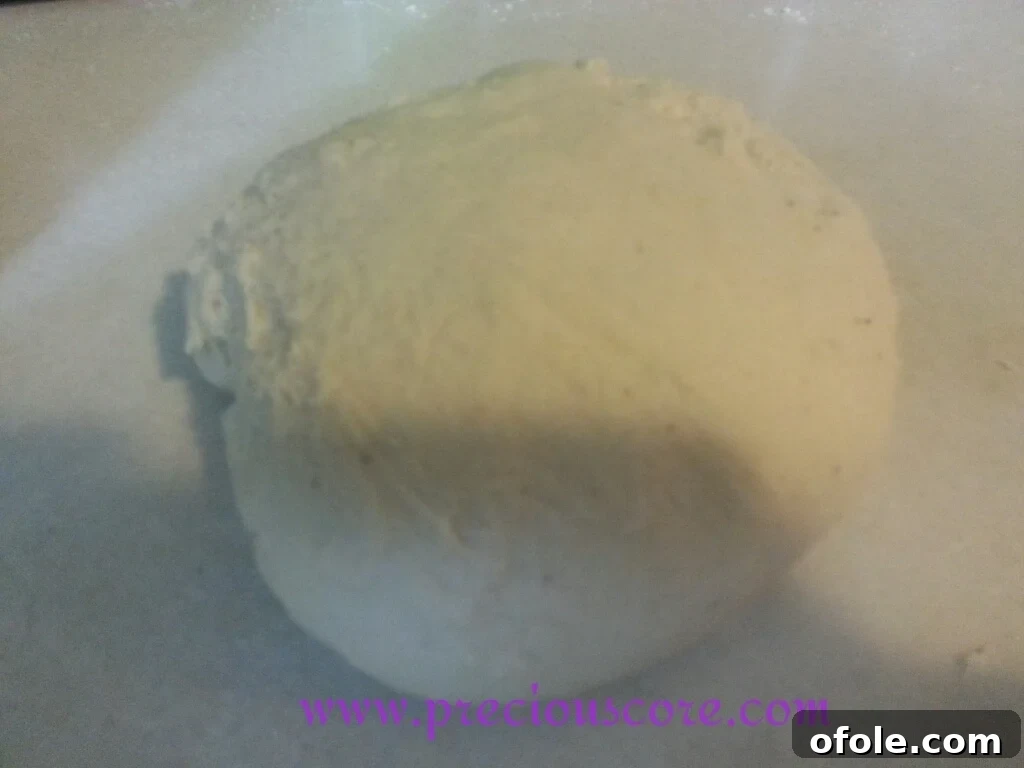
Lightly flour a clean work surface. Turn the dough out onto the floured surface. Begin to knead the dough vigorously for 5-10 minutes. Kneading is a crucial step that develops the gluten in the flour, which gives bread its structure and elasticity. If you have more time, kneading for up to 15-20 minutes will yield an even smoother, more elastic dough and a finer crumb in the finished bread. During kneading, the dough will transform from sticky and rough to smooth, elastic, and less sticky. It should spring back when lightly poked.
5. First Rise (Bulk Fermentation):
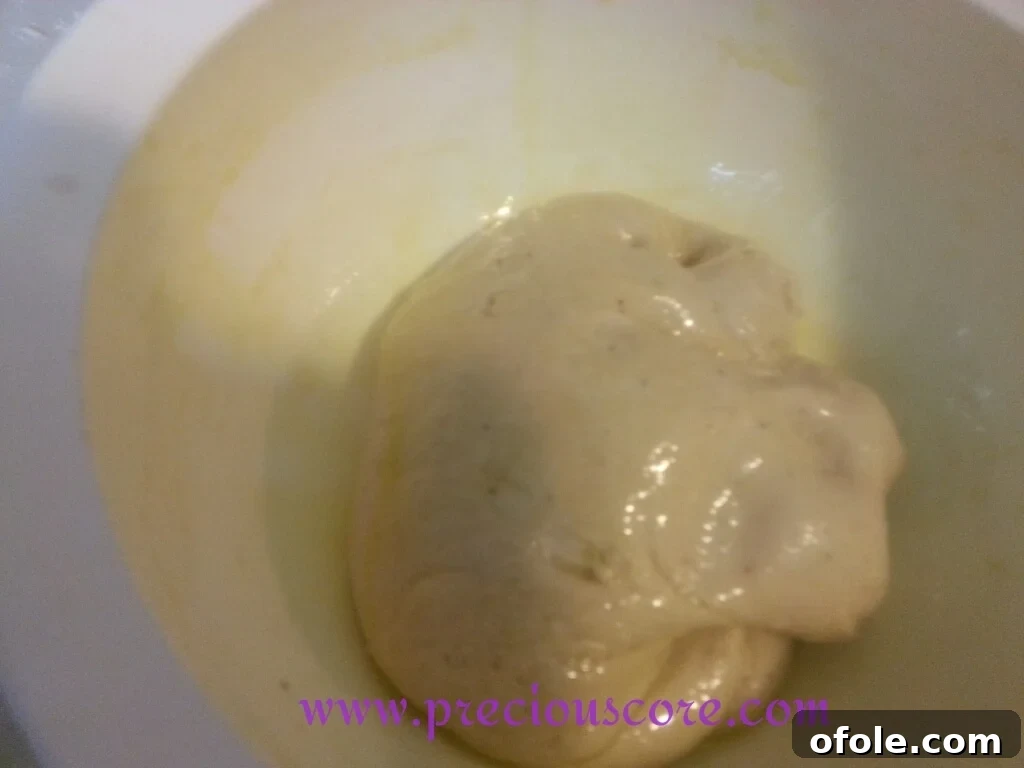
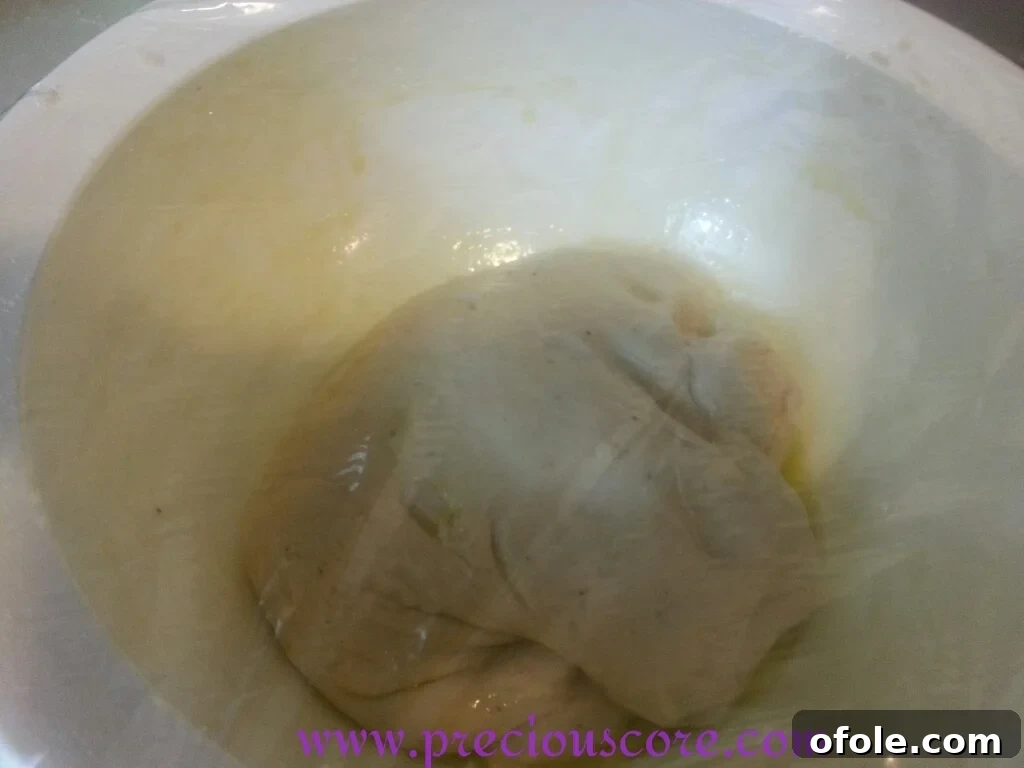
Take the remaining 1 tablespoon of vegetable oil and lightly grease a clean, large mixing bowl, ensuring the oil coats the entire inner surface. Place your kneaded dough into the greased bowl, then turn it once to coat the entire dough ball with oil. This prevents it from sticking to the bowl as it rises and keeps the surface from drying out.
6. Create a Warm Environment for Rising:
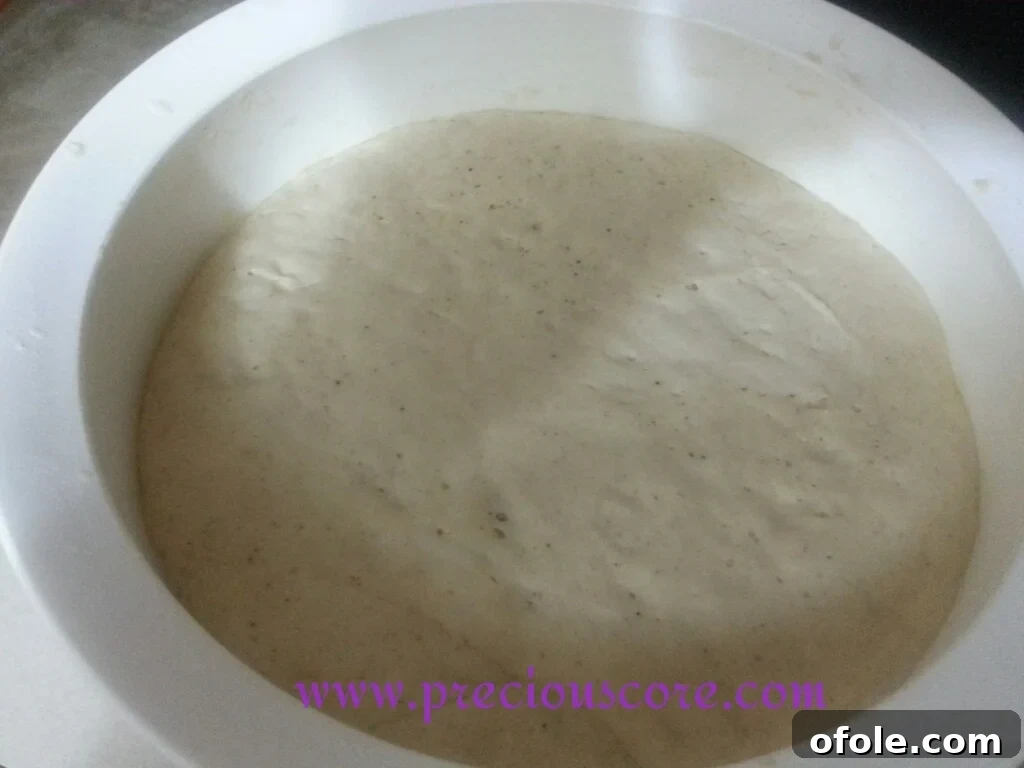
Cover the bowl snugly with plastic wrap, then drape a clean kitchen towel over it for extra insulation. Place the bowl in a warm, draft-free place to rise for about 1 to 1.5 hours, or until it has more than doubled in size. A great trick for a warm spot is to turn your oven on for just one minute, then turn it off and let the dough rise inside the slightly warmed oven. This creates a perfect environment for yeast activity. When you uncover it and see that beautifully risen dough, you’ll know good things are indeed happening!

7. Shape the Loaf:
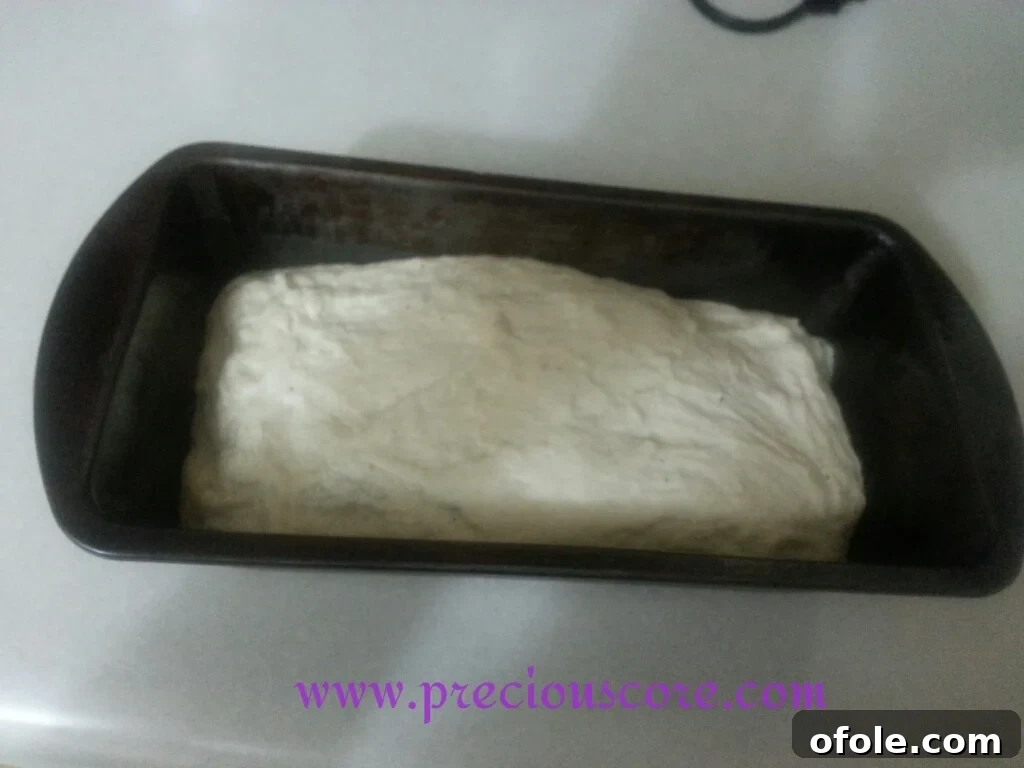
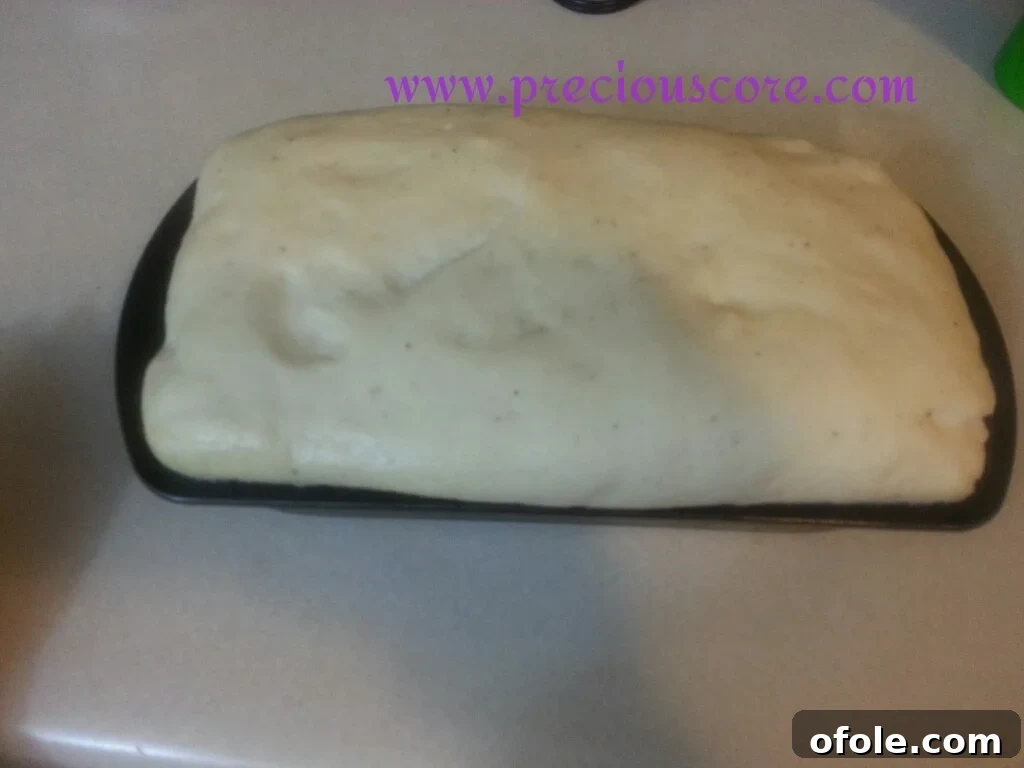
Gently punch down the risen dough to deflate it, releasing the trapped gases. Turn it out onto a lightly floured surface and gently shape it into a rectangle that will fit neatly into your greased loaf pan. Ensure the loaf pan is well-greased to prevent sticking. Place the shaped dough seam-side down into the prepared loaf pan.
8. Second Rise (Proofing):
Cover the loaf pan loosely with plastic wrap or a kitchen towel again, and let it rise in a warm place for another 30 minutes, or until it has noticeably puffed up and almost doubled in size within the pan. This second rise is important for a light and airy texture.
9. Bake Your Kumba Bread:
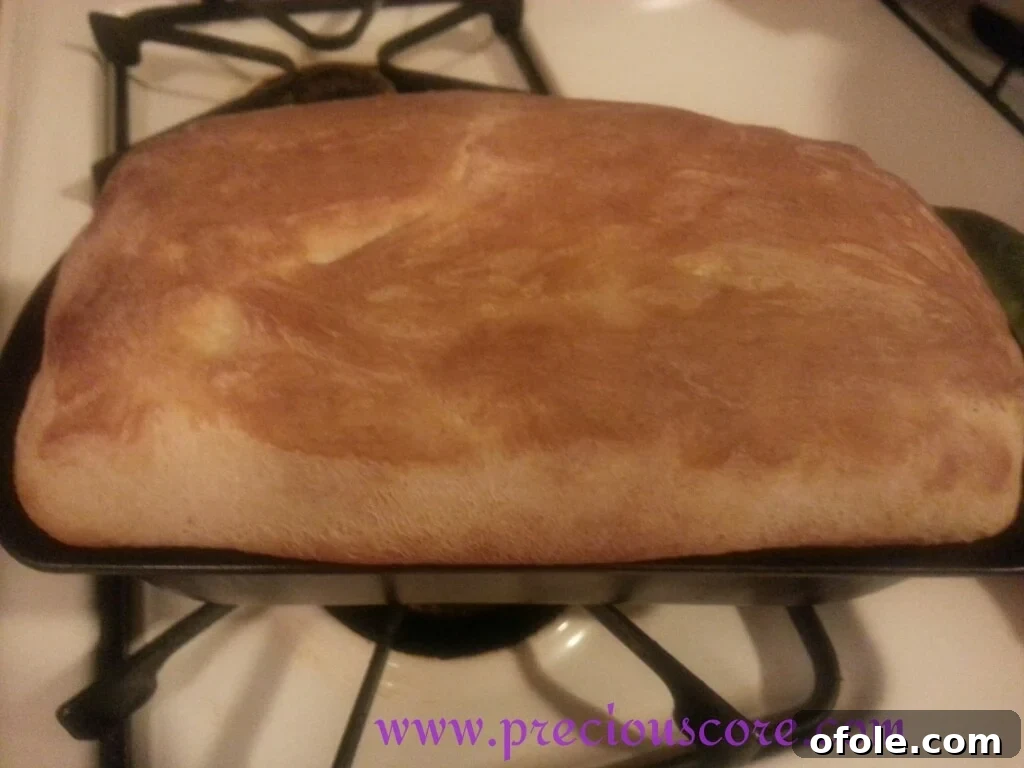
Preheat your oven to 350°F (175°C). Once preheated, carefully place the loaf pan into the oven. Bake for approximately 15-20 minutes, or until the top of the bread achieves a beautiful pale golden-brown color. The internal temperature should reach about 200-210°F (93-99°C) for a fully cooked loaf. Remove from the oven and immediately transfer the bread from the pan to a wire rack to cool completely. Cooling on a rack prevents the bottom from becoming soggy.
Important Notes & Tips for Perfect Kumba Bread:
- For a Glossy Finish: If you desire a beautiful, shiny crust, whisk one egg with a tablespoon of water to create an egg wash. Brush this mixture lightly over the top of the dough just before placing it in the oven for baking.
- Storage: Store leftover Kumba Bread at room temperature in an airtight container or bread bag for up to 3-4 days. For longer storage, slice and freeze for up to 3 months.
- Flour Type: While all-purpose flour works well, using bread flour with its higher protein content can result in a slightly chewier texture and a more structured crumb, characteristic of traditional sandwich breads.
- Yeast Freshness: Always check your yeast’s expiration date. Old yeast will not activate properly, leading to a dense loaf.
- Don’t Overbake: Overbaking can lead to a dry, tough loaf. Keep an eye on the color and consider using a thermometer for accuracy.
Serving Suggestions: How to Enjoy Your Kumba Bread
Kumba Bread is incredibly versatile and can be enjoyed in a multitude of ways. Its soft texture and slightly sweet flavor make it a perfect companion for both sweet and savory dishes.
- Classic Breakfast: Pair a slice with a hot beverage like Ovaltine, Milo, or coffee. Spread with butter, jam, or peanut butter for a simple yet satisfying start to your day.
- Savory Sandwiches: Its sturdy yet soft structure makes it ideal for sandwiches. Fill it with fried eggs, sardines, corned beef, or any of your favorite sandwich fillings. It holds up well without getting soggy.
- Alongside Soups & Stews: Use it to mop up delicious West African soups and stews, such as egusi soup, okra soup, or groundnut soup. The bread’s mild flavor complements the rich, complex flavors of these dishes perfectly.
- Sweet Treats: Toast it lightly and drizzle with honey, or turn stale Kumba Bread into a comforting bread pudding.
- A Gift of Love: Just as it was for me growing up, a freshly baked loaf of Kumba Bread makes a thoughtful and cherished gift for friends and family.
Frequently Asked Questions About Kumba Bread
Q: What makes Kumba Bread different from regular white bread?
A: Kumba Bread typically has a slightly denser yet softer crumb than commercial white bread. It often incorporates a hint of nutmeg and dry milk, which contributes to its unique flavor profile and rich aroma. Its traditional shaping and baking method also give it a distinct appearance and texture that sets it apart.
Q: Can I use whole wheat flour for Kumba Bread?
A: Yes, you can substitute some or all of the all-purpose flour with whole wheat flour for a healthier version. Keep in mind that whole wheat flour absorbs more liquid, so you might need to add a little extra water to achieve the desired dough consistency. The texture will also be denser and nuttier.
Q: My dough isn’t rising. What went wrong?
A: The most common culprits for dough not rising are inactive yeast (either expired or killed by too hot water) or a cold environment. Ensure your water temperature is correct (105-115°F/40-46°C), your yeast is fresh, and your rising spot is warm and draft-free. Give it enough time to rise; sometimes it just needs a little longer.
Q: How can I achieve a soft crust?
A: To ensure a soft crust, avoid overbaking. Brushing the top of the hot loaf with butter immediately after it comes out of the oven can also help soften the crust as it cools. Cooling on a wire rack also prevents moisture from building up and hardening the bottom crust.
Q: Can I make this Kumba Bread recipe in a stand mixer?
A: Absolutely! A stand mixer with a dough hook attachment will make the kneading process much easier. Knead on medium-low speed for about 7-10 minutes, or until the dough is smooth, elastic, and pulls away from the sides of the bowl.
Explore More Delicious Bread Recipes:
If you’ve enjoyed making Kumba Bread, you might love exploring these other delightful bread recipes:
- Milk Bread: A wonderfully soft and fluffy bread that needs no filling, perfect on its own.
- Dinner Rolls: These melt-in-your-mouth rolls are an absolute delight and a perfect accompaniment to any meal.
- Chocolate Bread: A decadent treat, truly the love of my life and a family favorite!
- Coconut Bread: A tropical dream for all coconut lovers, packed with aromatic flavor.
Happy Baking!
Warmly,