
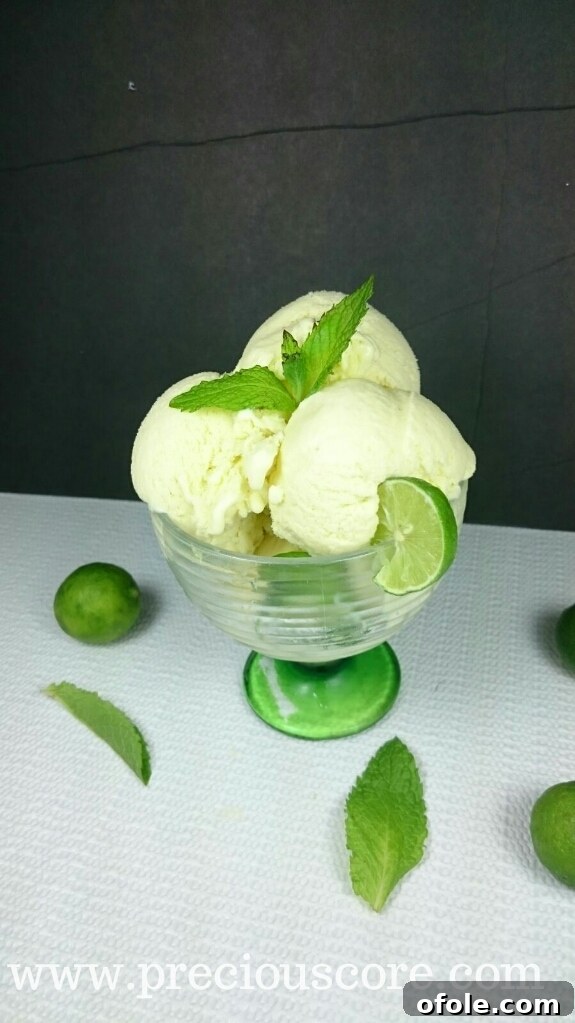
Indulge in Refreshing Homemade Key Lime Mint Ice Cream: A No-Churn Recipe Revelation
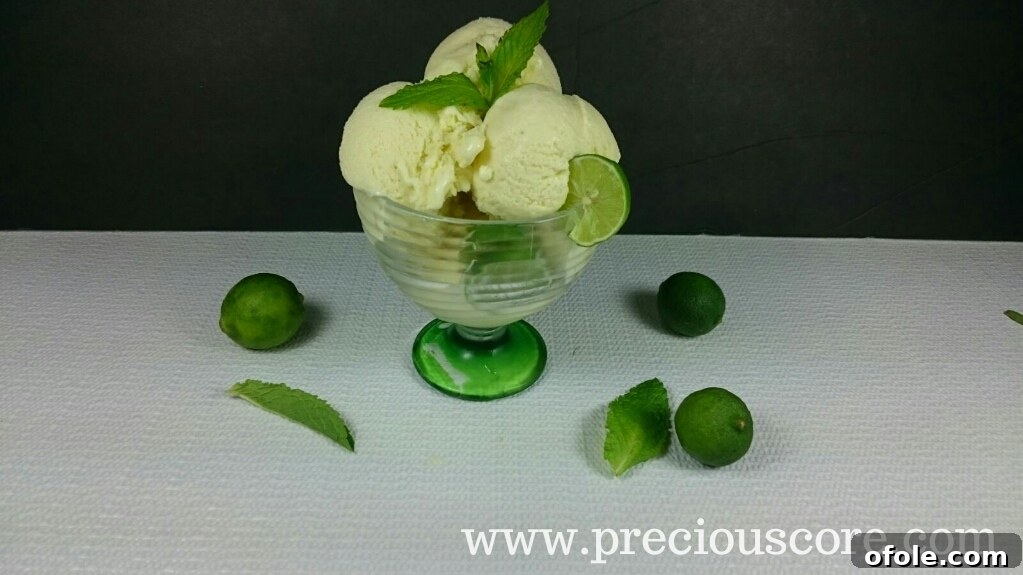
Imagine a dessert that captures the essence of a vibrant summer day, a symphony of zesty lime and cool, aromatic mint, all nestled in a creamy, dreamy ice cream. This isn’t just any ice cream; it’s a culinary revelation, a homemade delight that promises to transform even the most skeptical palates into ardent admirers. We’re talking about a Key Lime Mint Ice Cream so extraordinary, it feels like a whisper from foodie heaven itself. This recipe is designed to bring that ethereal experience right into your kitchen, effortlessly and deliciously.
The inspiration for this unique creation struck unexpectedly, a perfect alignment of fresh, organic mint leaves and an abundance of fragrant limes. The idea sparked, leading to an experimental journey to combine these magnificent flavors into a frozen treat. The result? An unbelievably smooth, intensely flavorful ice cream that perfectly balances tartness with subtle sweetness, delivering an invigorating burst of freshness with every spoonful. This is more than just a recipe; it’s an experience waiting to unfold, proving that the most memorable desserts often come from simple, pure ingredients.
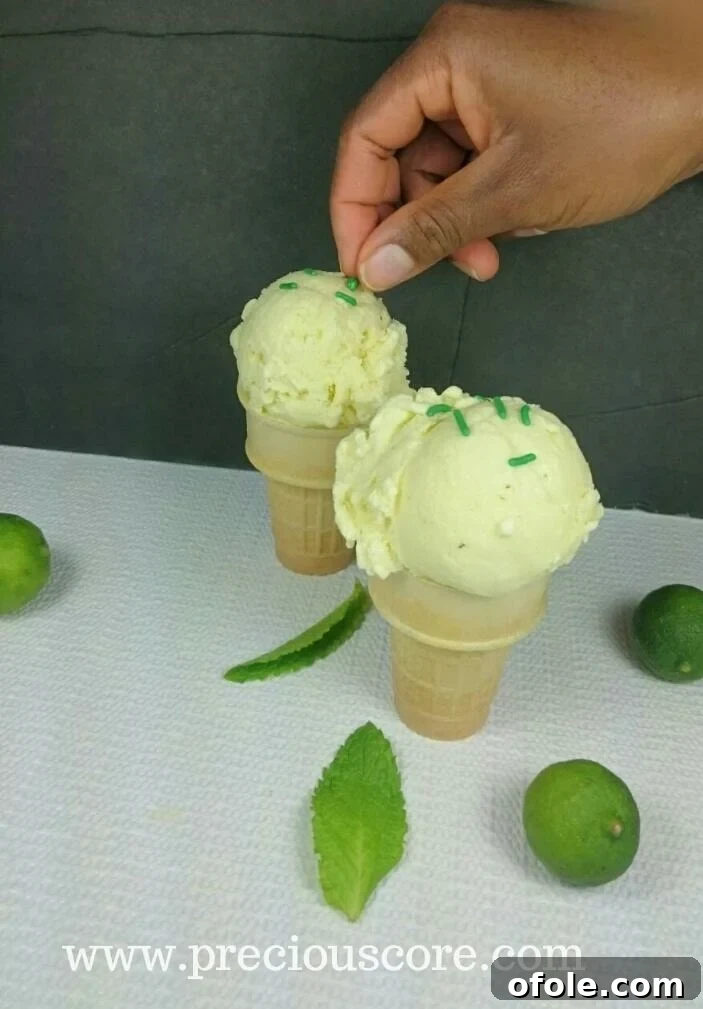
Forget the elaborate culinary visions or dramatic epiphanies—sometimes, the simplest ingredients lead to the most profound discoveries. This Key Lime Mint Ice Cream is precisely that: a simple yet profound creation. It boasts a perfectly balanced flavor profile where the bright, citrusy tang of key limes harmonizes beautifully with the cool, invigorating notes of fresh mint. The texture is sublime—rich, velvety, and utterly creamy, a testament to what homemade ice cream truly can be. It’s a delightful paradox: refreshingly light yet incredibly satisfying.
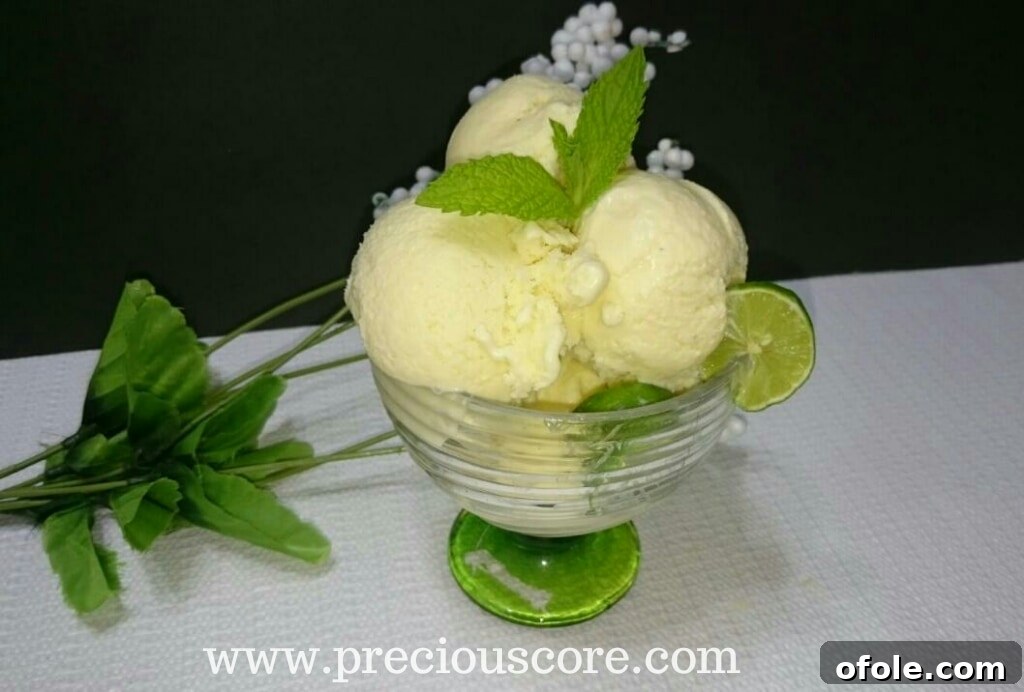
This delightful concoction is genuinely one-of-a-kind. While mint ice cream and key lime ice cream are popular on their own, finding a recipe that brilliantly combines both fresh, vibrant flavors into a single, cohesive dessert is rare. We set out to create something truly special, a recipe that would stand out and become a new staple in your dessert repertoire. The objective was clear: craft a dessert that’s not just delicious, but memorably unique, offering a distinct departure from traditional ice cream flavors.
Even those who claim not to be ice cream enthusiasts might find themselves utterly captivated by this creation. The unique blend of tart and sweet, coupled with the refreshing notes, creates an irresistible appeal that is often lacking in heavier, sweeter ice creams. It’s a game-changer, capable of converting even the most steadfast ice cream skeptics into fervent fans. Prepare for joyous reactions and requests for second (or third!) servings when you present this masterpiece. It’s truly the perfect remedy for anyone who thinks they don’t like ice cream.
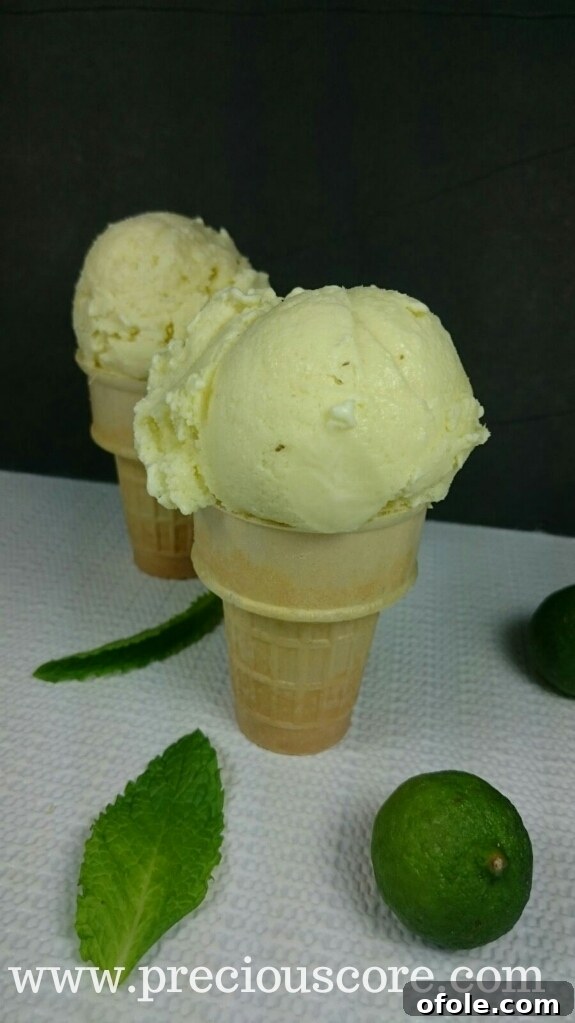
The Dynamic Duo: Key Limes and Fresh Mint
The heart of this extraordinary ice cream lies in its star ingredients: key limes and fresh mint. Key limes, those wonderfully small citrus gems, are renowned for their intense, aromatic flavor that is distinctly more fragrant and complex than their larger Persian counterparts. Their tartness is sharper, yet it carries a subtle floral sweetness that makes them perfect for desserts. If you can get your hands on them, they are highly recommended for this recipe, as their unique flavor profile truly shines. However, don’t let their absence deter you! If only larger limes are available, they will work beautifully as well, lending their bright, zesty character to the ice cream. The key is fresh, quality ingredients, regardless of size.
And then there’s the mint. Not just any mint, but fresh, vibrant mint leaves, ideally organic, bursting with their signature cool, clean aroma. Mint is the perfect counterpoint to the limes, adding a refreshing finish that elevates the entire dish. The invigorating notes of mint cut through the richness of the cream and the tang of the lime, creating a balanced and harmonious flavor. Together, they create a flavor profile that is both invigorating and comforting, making this ice cream an absolute standout. The freshness is unparalleled, offering a truly unique dessert experience.
While this recipe highlights the exquisite combination of key lime and mint, its foundation is incredibly versatile. If these specific flavors aren’t to your liking, or if you simply wish to experiment, you can easily adapt the base custard. Simply omit the limes and mint, and you’ll have a rich, creamy vanilla ice cream base ready for your preferred flavorings, whether it’s chocolate, berries, or a swirl of caramel. This versatility makes the recipe an excellent starting point for any homemade ice cream adventure, allowing you to unleash your creativity in the kitchen.
No Ice Cream Maker? No Problem! The Art of No-Churn Ice Cream
One of the most common questions when it comes to homemade ice cream is, “Do I need an ice cream maker?” The answer, delightfully, is no! Many home cooks and dessert enthusiasts shy away from making their own ice cream, believing specialized equipment is absolutely essential. However, we’re here to prove that you can achieve a wonderfully creamy, scoopable texture right in your own freezer, without any fancy gadgets or expensive machinery. This no-churn method is a game-changer for those who want to enjoy the luxury of homemade ice cream without the added expense or storage of another kitchen appliance.
The secret lies in understanding how ice cream forms. The goal is to prevent large ice crystals from forming, which can make ice cream gritty and unpleasant. An ice cream maker continuously churns the mixture, incorporating air and breaking up ice crystals as they form. When making ice cream without a machine, we replicate this process manually by stirring the mixture regularly as it freezes. This simple yet effective technique ensures a smooth, luscious consistency that rivals churned ice cream. So, put your worries aside; your freezer is all the equipment you need to create this incredible Key Lime Mint Ice Cream, and you’ll be amazed at the professional-quality results you can achieve.
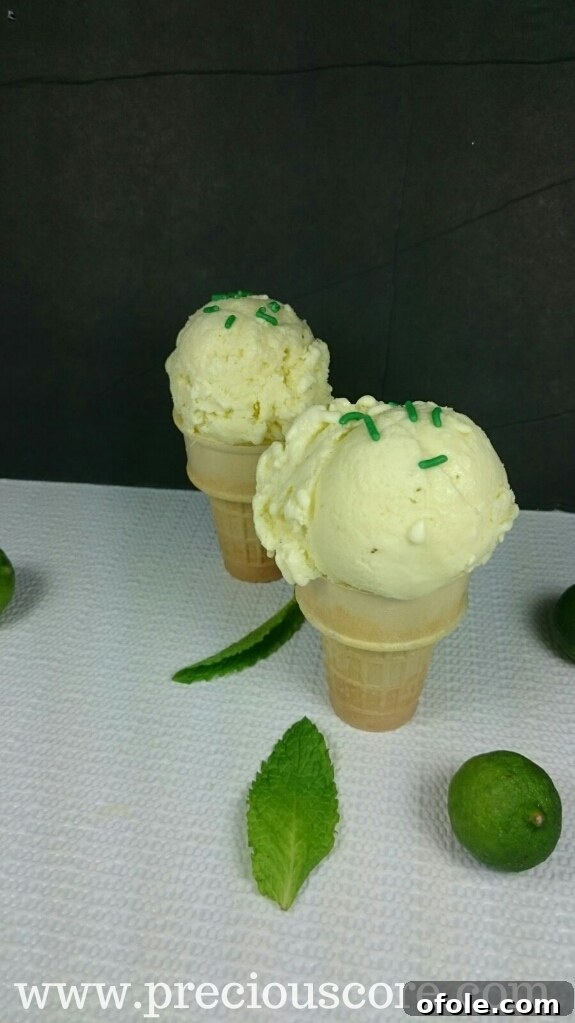
Get ready to embark on a delightful culinary journey. The anticipation is almost as sweet as the ice cream itself! Let’s dive into creating this refreshing masterpiece.
Key Lime Mint Ice Cream Recipe
This recipe yields a refreshing and creamy ice cream that’s perfect for any occasion. Prepare to be amazed by its vibrant flavor and smooth texture! This detailed guide ensures success, even for first-time ice cream makers.
Prep Time: 20 minutes
Inactive Time (Chilling & Freezing): Approximately 6-8 hours (or overnight for best results)
Yield: About 1 quart (approximately 4-6 generous servings)
Ingredients:
- 8 large egg yolks (from high-quality, fresh eggs for optimal richness and color)
- 2 cups half-and-half (a blend of equal parts whole milk and light cream; see note below for substitution options)
- 2 cups heavy whipping cream (essential for the ultimate creamy texture and luxurious mouthfeel)
- 2 cups 2% milk (or whole milk for a slightly richer base, enhancing the overall body of the ice cream)
- 1 and 1/3 cups granulated sugar (adjust to taste, especially considering the tartness of your limes)
- 20-25 fresh mint leaves (packed, for an intense and invigorating mint flavor)
- 20 small key limes (or 4-5 regular limes, aiming for approximately 1/2 cup of fresh lime juice)
- 1 teaspoon pure vanilla extract (optional, but highly recommended as it subtly enhances and rounds out the overall flavor profile)
Note on Dairy: If half-and-half is unavailable, you can achieve a similar dairy base by using a total of 3 cups of whole milk and 3 cups of heavy cream. This combination will create a slightly richer custard, which is also incredibly delicious.
Step-by-Step Directions:
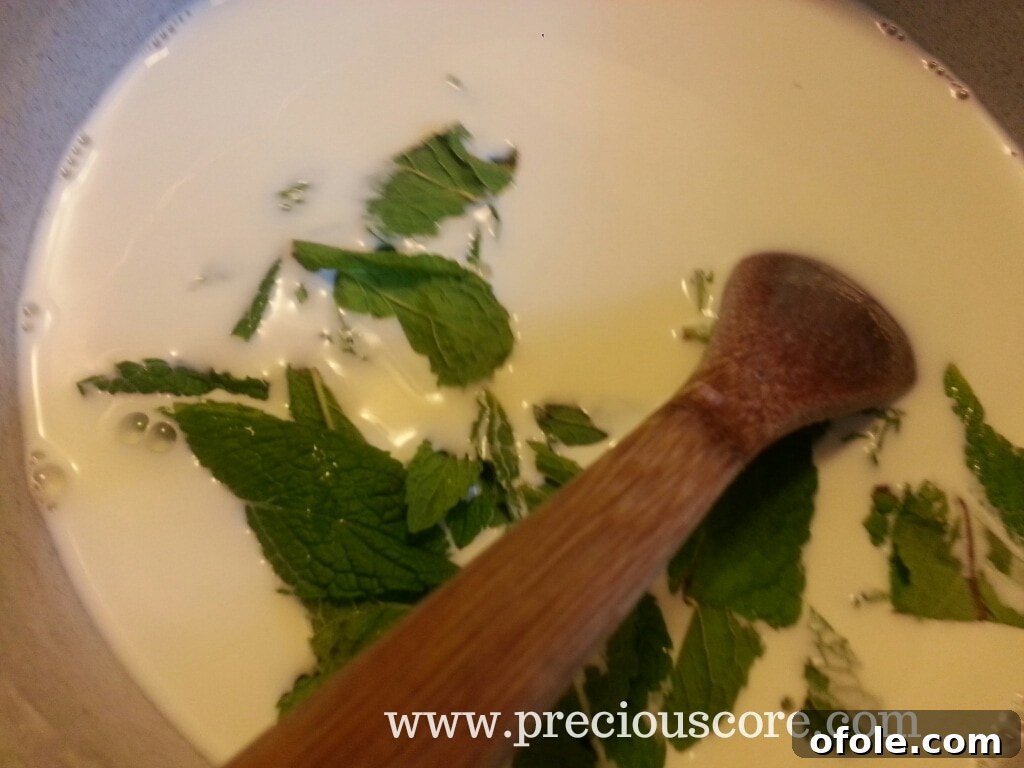
1. Prepare the Dairy Base with Mint Infusion: In a medium-sized, heavy-bottomed pot, combine the 2% milk, heavy whipping cream, and half-and-half. Placing the pot over medium heat, stir occasionally to prevent the dairy from scorching at the bottom. As the mixture begins to warm, add the fresh mint leaves. The goal here is to gently heat the dairy, allowing the mint to slowly infuse its refreshing aroma and flavor without bringing the mixture to a rapid boil. Keep a careful eye on it, ensuring it gets hot and steamy but does not boil vigorously, which can negatively impact the delicate proteins in the dairy.
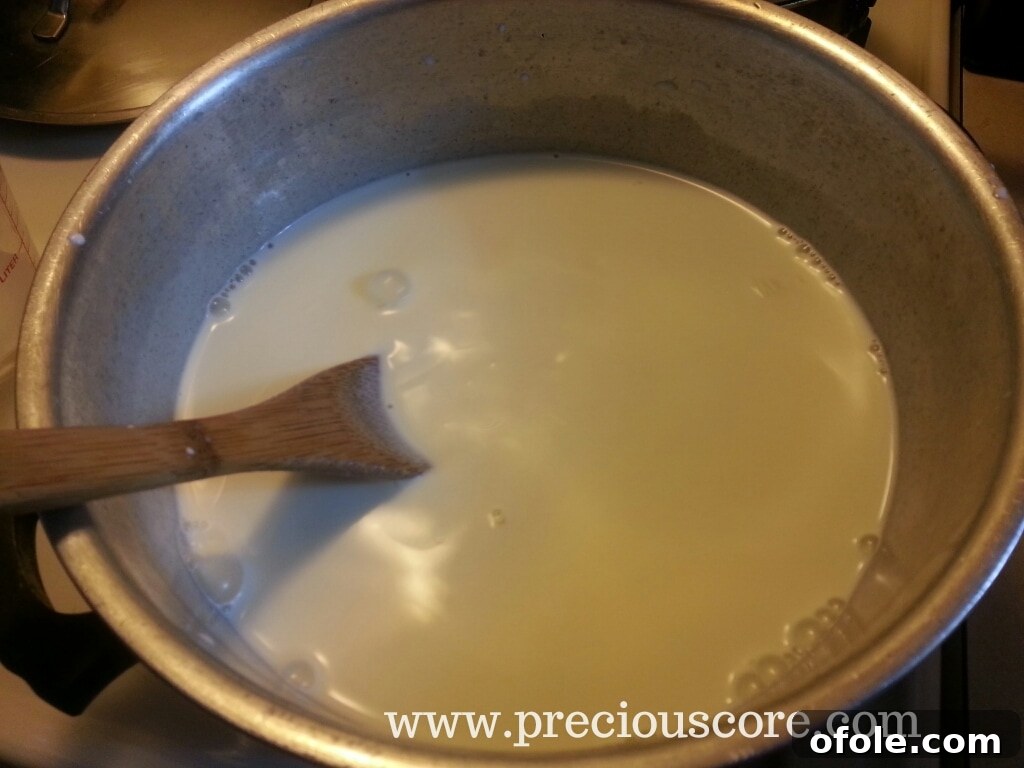
Observe the mint leaves as they begin to release their vibrant essence into the warming dairy. The aroma alone is a delightful precursor to the flavors to come!
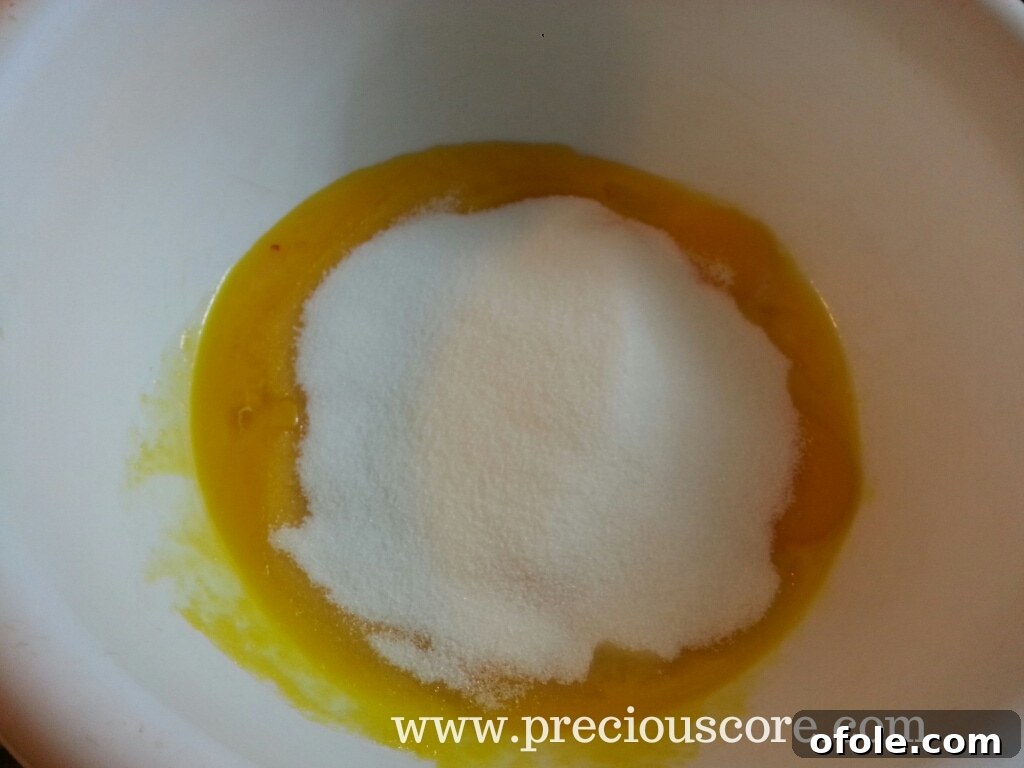
2. Prepare the Egg Yolk and Sugar Mixture: While the dairy mixture is heating on the stove, take a separate, large mixing bowl. Carefully separate the 8 egg yolks from their whites and place them into the bowl. Ensure no white bits are present, as they can affect the custard’s texture. Add the granulated sugar to the egg yolks.
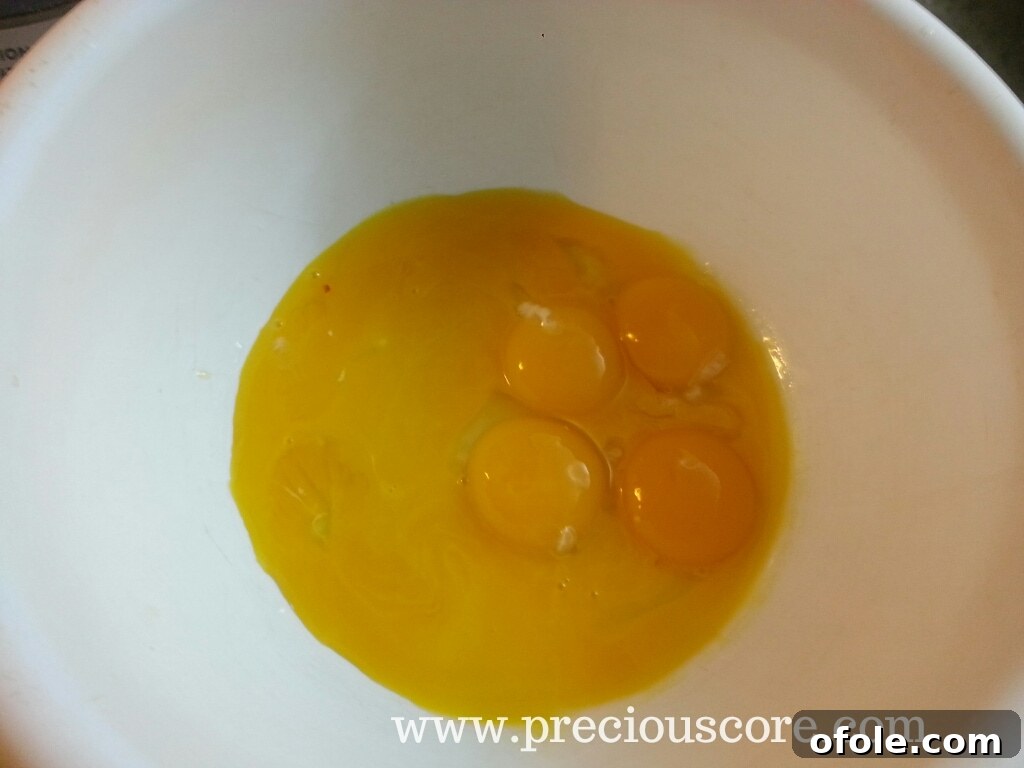
Generously add the measured granulated sugar to the vibrant egg yolks.
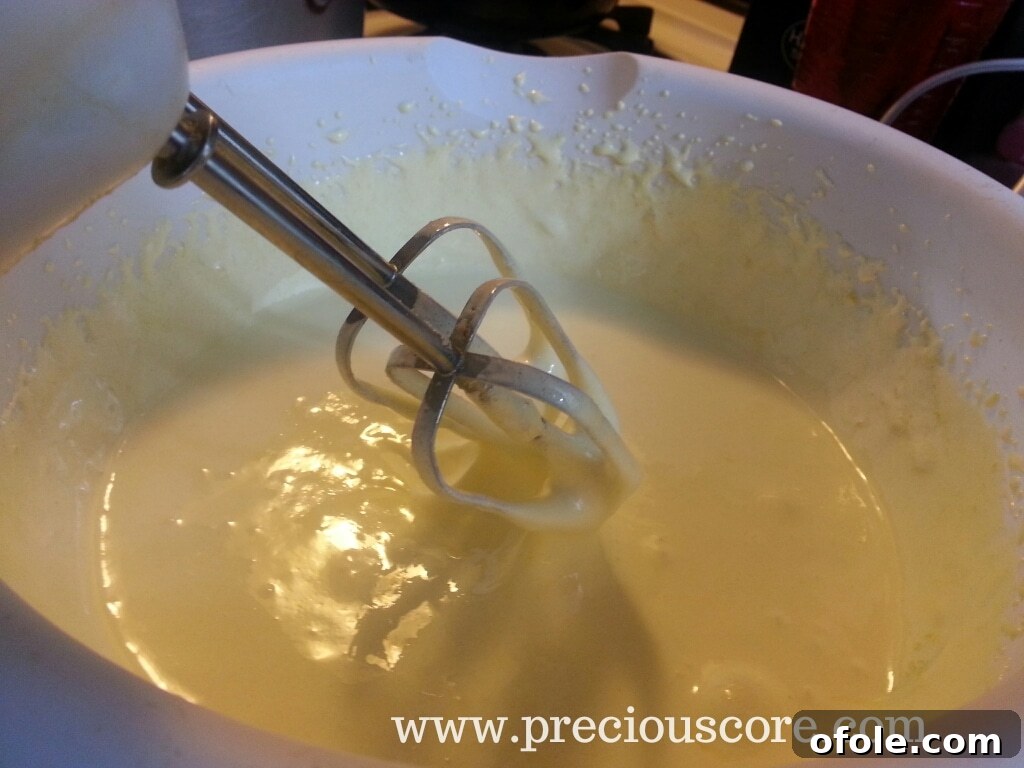
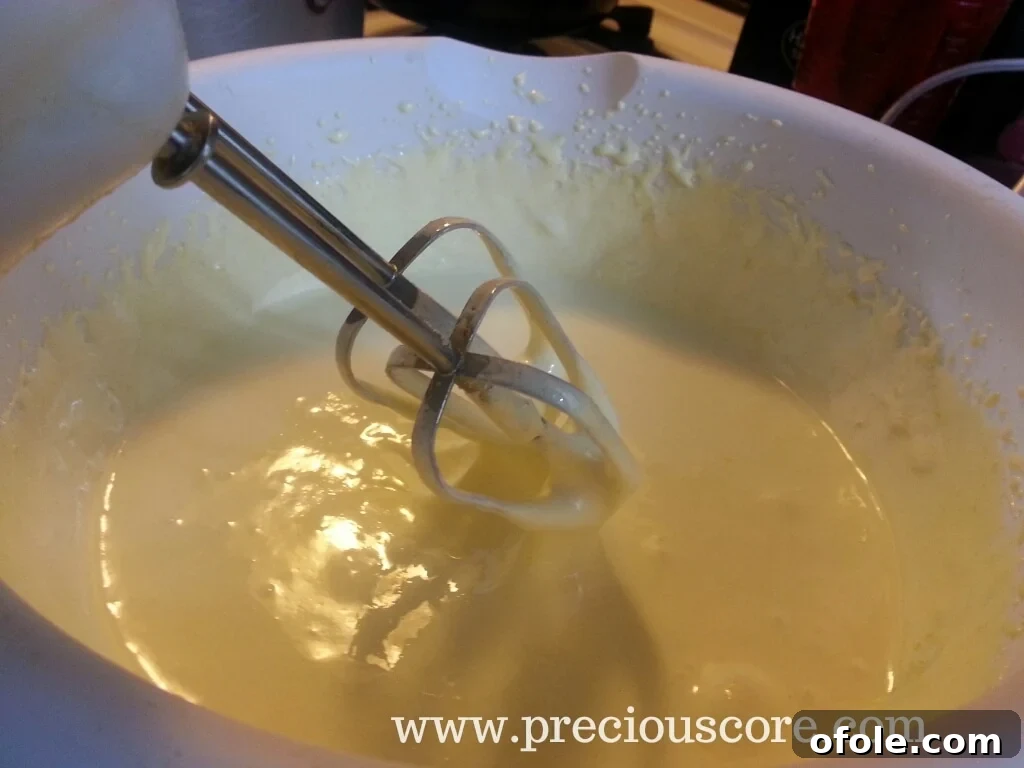
3. Whisk the Yolks and Sugar: Using a sturdy whisk or an electric hand mixer, beat the egg yolks and sugar together vigorously until the mixture becomes pale yellow, thick, and creamy. It should visibly increase in volume and form “ribbons” when the whisk is lifted, slowly dissolving back into the mixture. This process incorporates air, dissolves the sugar, and creates a stable, emulsified base for your custard. During this time, remember to periodically stir your dairy and mint mixture on the stove to ensure it doesn’t scald or stick to the bottom of the pot.
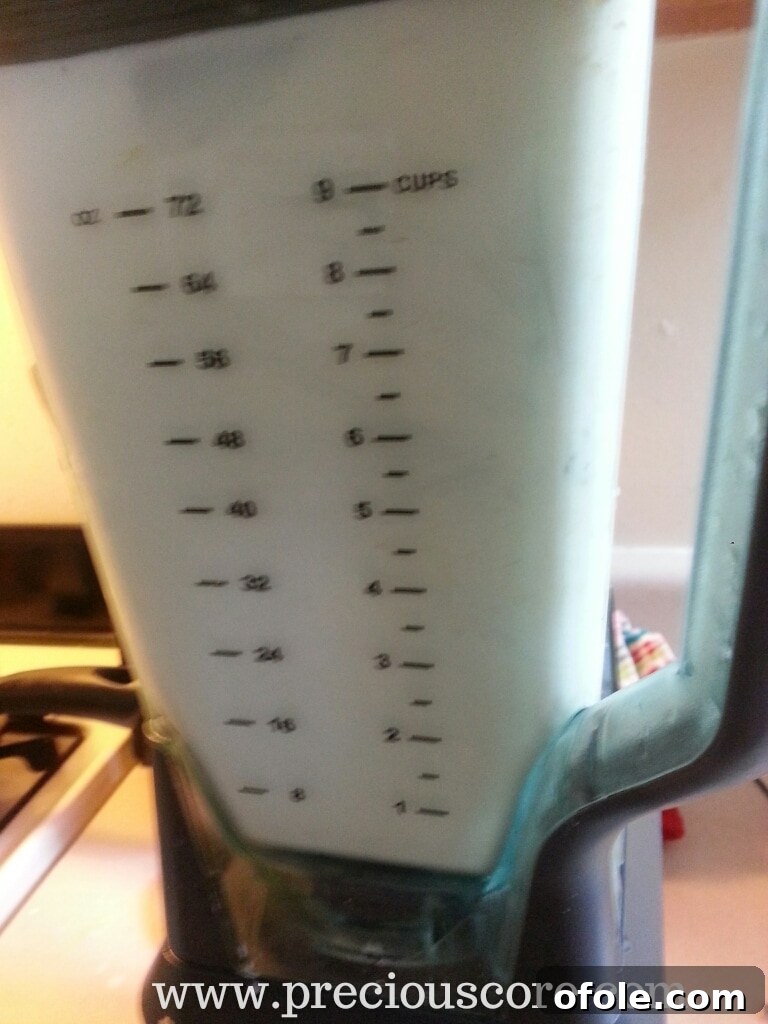
4. Blend the Mint-Infused Dairy: Once the dairy mixture is hot (but not boiling), carefully pour it into a blender. Blend thoroughly until the mint leaves are completely broken down and their vibrant green color and intense flavor are fully incorporated into the milk. This step is crucial for achieving that consistent, fresh, minty punch throughout the ice cream without any large mint pieces. Blend until smooth and frothy.
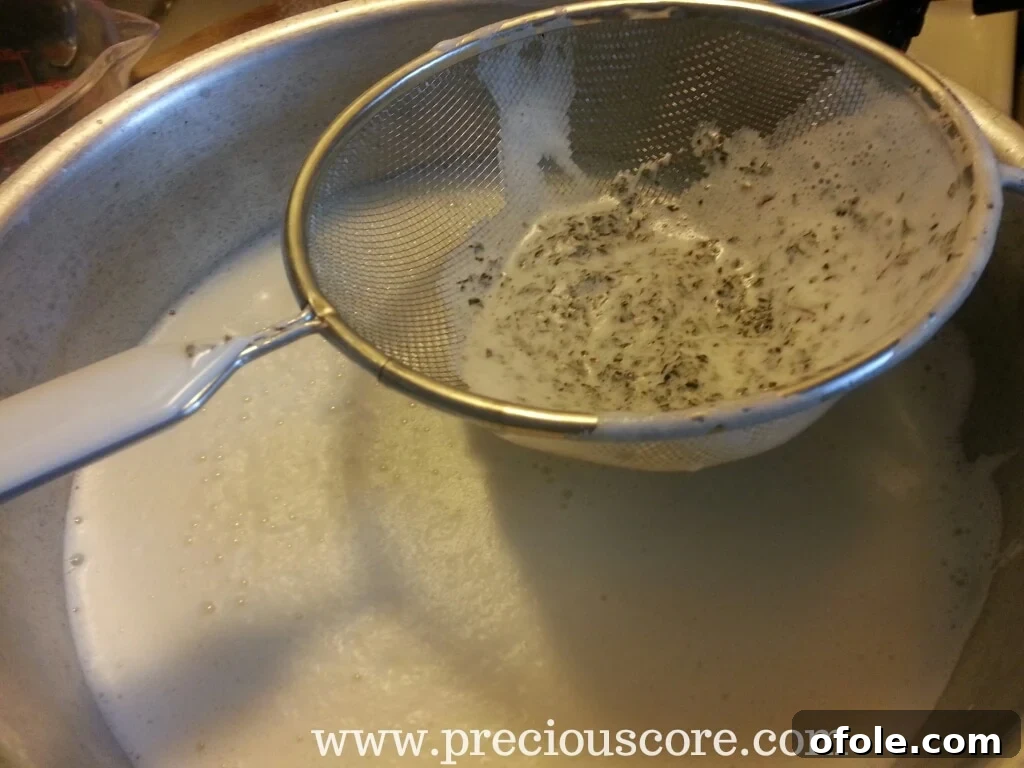
5. Strain the Minty Dairy: Strain the blended mixture back into the same pot (or a clean one) using a fine-mesh sieve. This step removes any remaining fibrous bits of mint, ensuring an incredibly smooth and luxurious ice cream base without any unwanted textures. Press down on any solids in the sieve to extract maximum flavor.
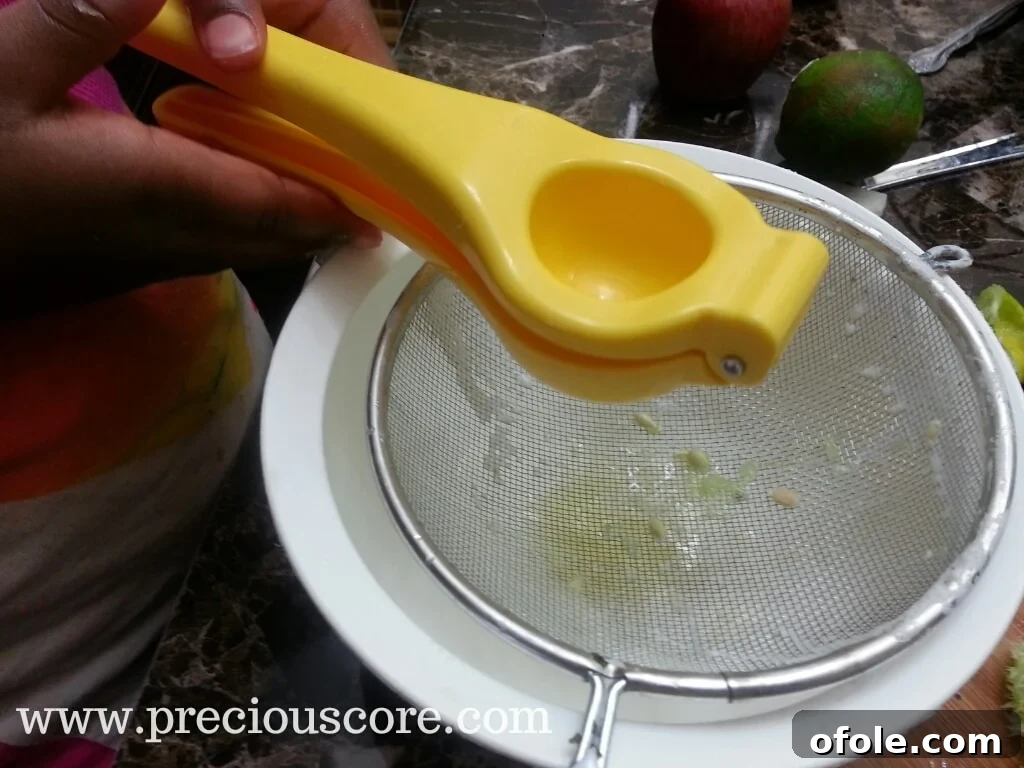
6. Prepare the Key Lime Juice: Now, it’s time to prepare the star citrus! Halve all your key limes (or regular limes if using).

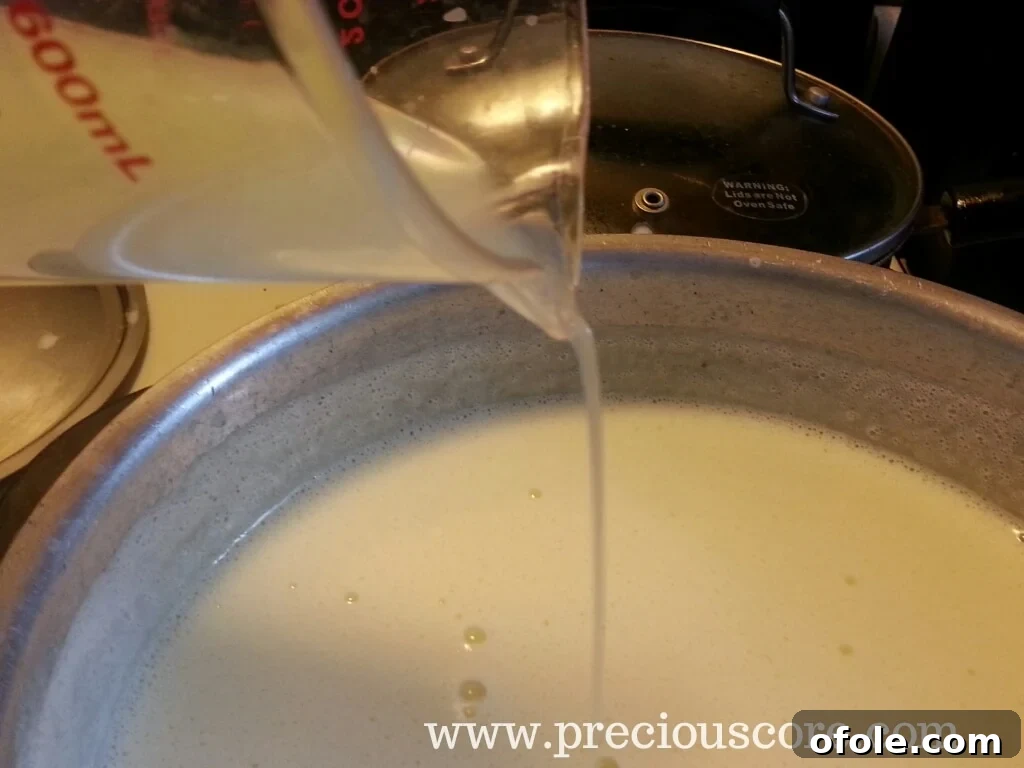
Extract the juice using a citrus juicer or by hand, pressing through a small strainer to catch any seeds or pulp. You should aim for about 1/2 cup of fresh key lime juice. Set the fresh lime juice aside. As you work on this, return the strained mint-infused dairy to medium heat, stirring occasionally to keep it warm, but again, ensure it does not boil over.
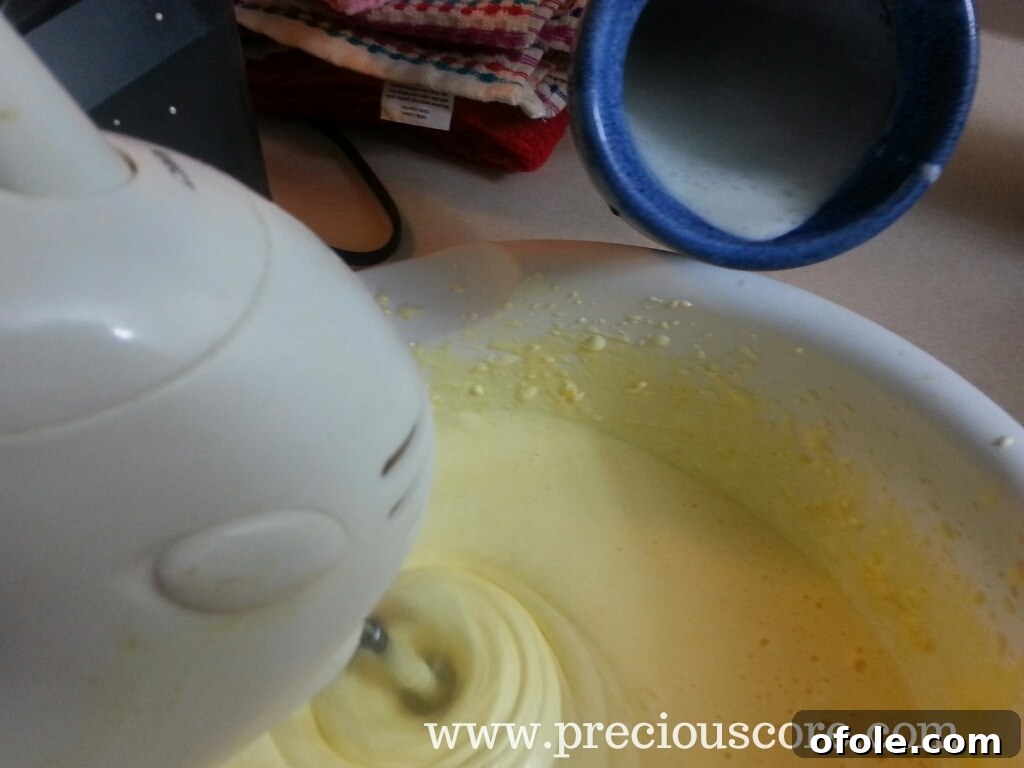
7. Temper the Egg Yolks: This is a crucial step to prevent the eggs from scrambling when added to the hot dairy. While continuously whisking the egg yolk and sugar mixture, slowly pour in about 1 to 2 cups of the warm mint-infused dairy from the pot. This gradual process, known as tempering, slowly raises the temperature of the egg yolks without cooking them, preparing them for the hotter mixture. Keep whisking vigorously to combine thoroughly and ensure a smooth, lump-free mixture.
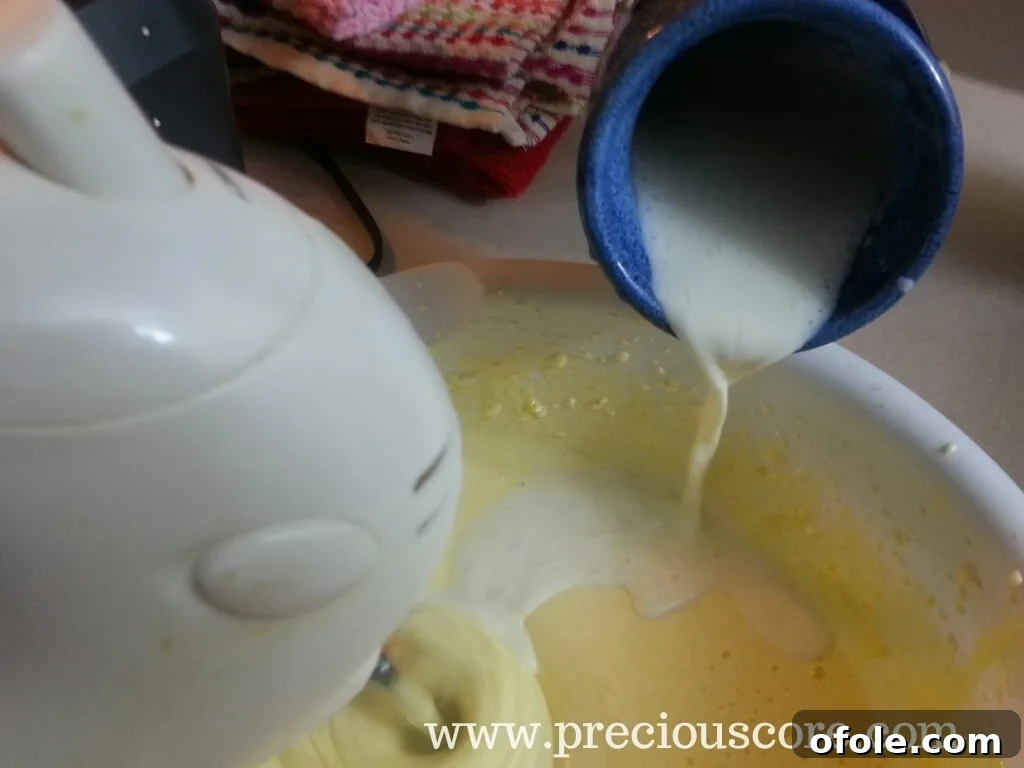
8. Combine and Cook the Custard: Now, slowly pour the tempered egg yolk mixture back into the pot with the remaining warm mint-infused dairy. Continue to stir constantly with a whisk or a wooden spoon over medium-low heat. This continuous stirring is vital to prevent the eggs from settling at the bottom and scrambling, ensuring a homogenous and smooth custard.
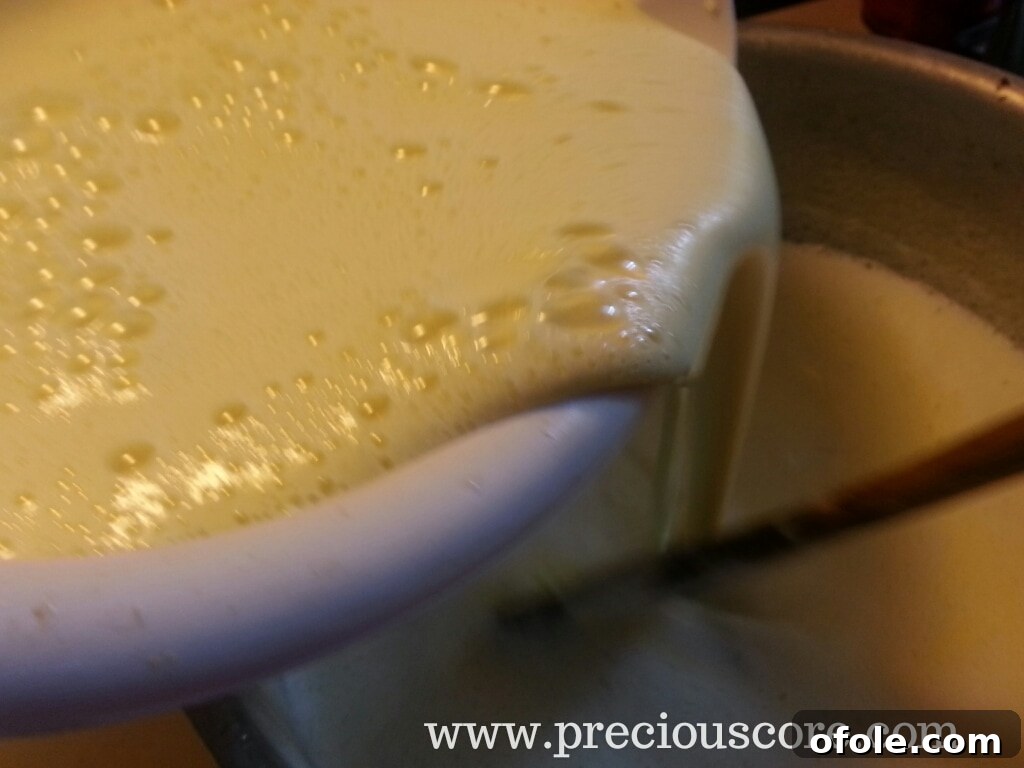
9. Add Lime Juice and Vanilla: As soon as the custard base is fully combined and begins to slightly thicken, stir in your freshly squeezed key lime juice and the optional vanilla extract. This is the moment where the vibrant flavors truly begin to sing, transforming the base into our signature Key Lime Mint Ice Cream custard! Taste and adjust the sweetness if desired, remembering that flavors will mellow slightly when frozen.
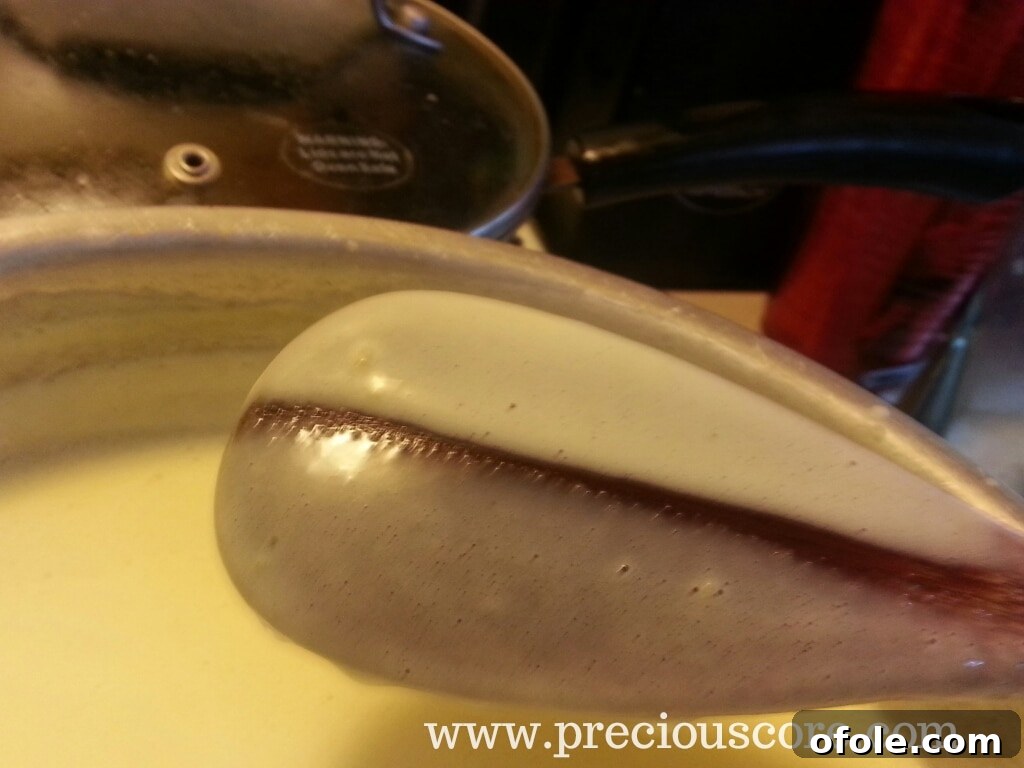
10. Thicken the Custard: Continue to cook the mixture, stirring constantly, until it thickens enough to coat the back of a wooden spoon. To test for readiness, dip a spoon into the custard, then run your finger across the back of the spoon. If the line holds and the custard doesn’t immediately run together, it’s ready. Do not let it boil, as this can curdle the eggs and ruin the custard’s smooth texture. This step is crucial for achieving that rich, creamy texture in your final ice cream.
11. Chill the Custard: Remove the pot from the heat and immediately pour the hot custard into a clean bowl.
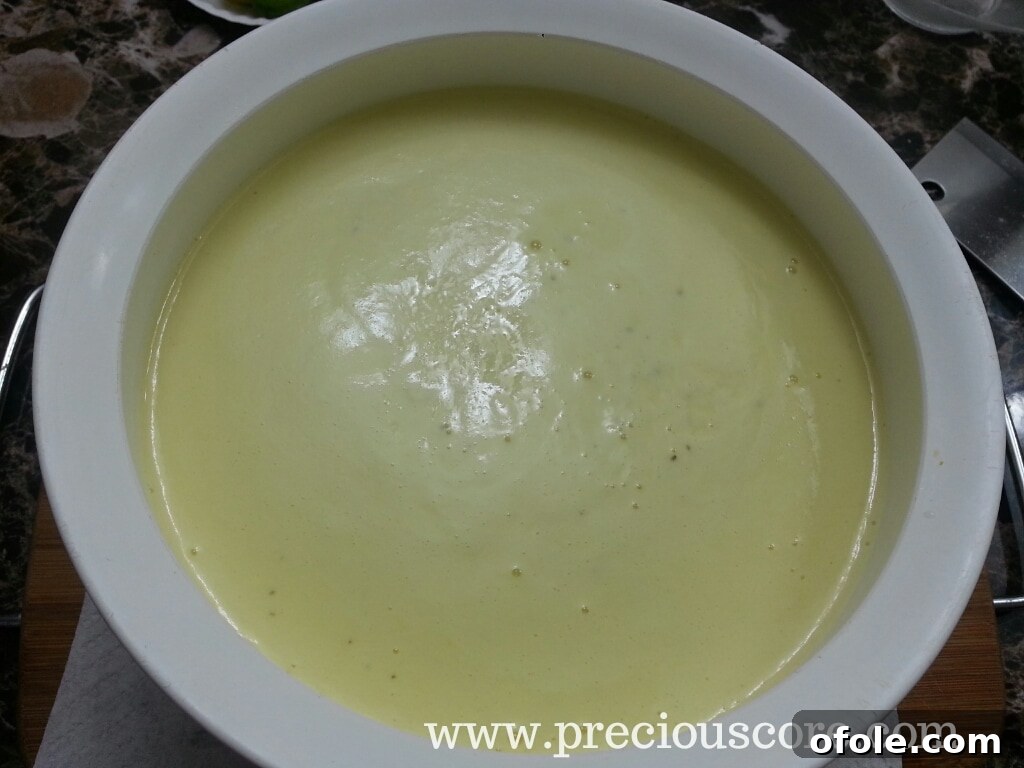
Cover the surface of the custard directly with plastic wrap, pressing it down gently so it touches the entire surface. This crucial step prevents a “skin” from forming as the custard cools, ensuring a silky-smooth result. Place the bowl in the refrigerator and chill completely, ideally for at least 4-6 hours, or even better, overnight. A thoroughly chilled custard is key for the best ice cream texture and efficient freezing.
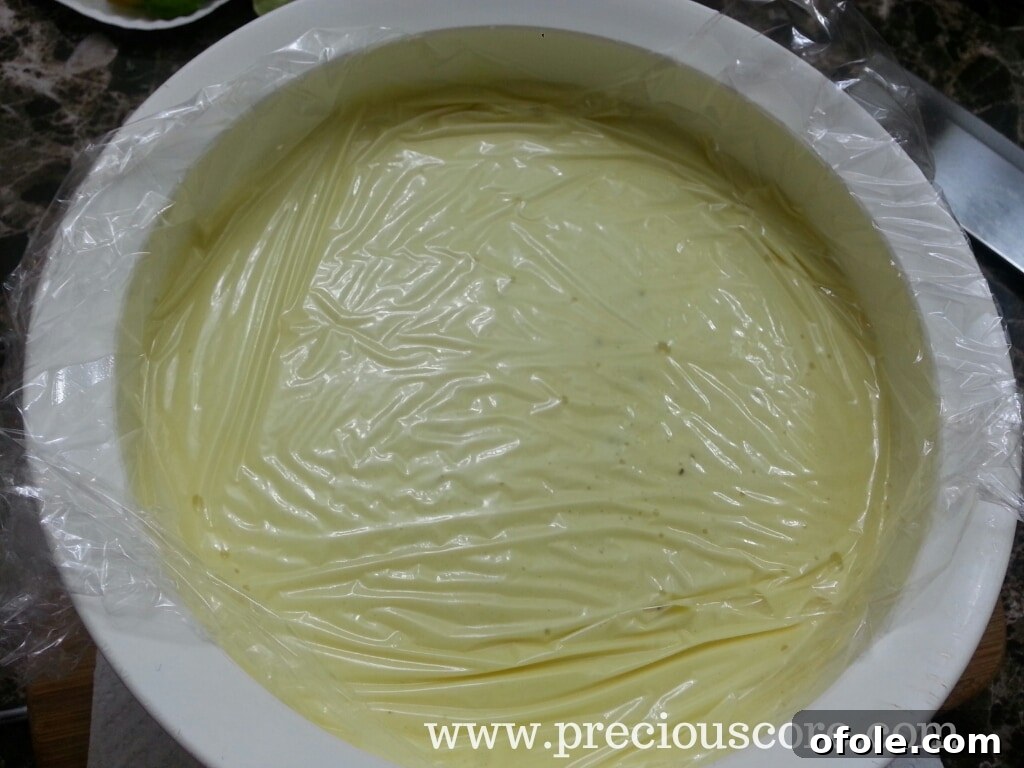
12. Prepare for Freezing: Once the custard is completely cold and thoroughly chilled, remove it from the refrigerator and peel off the plastic wrap. You’ll notice it has thickened considerably and will have a beautiful pale green hue.
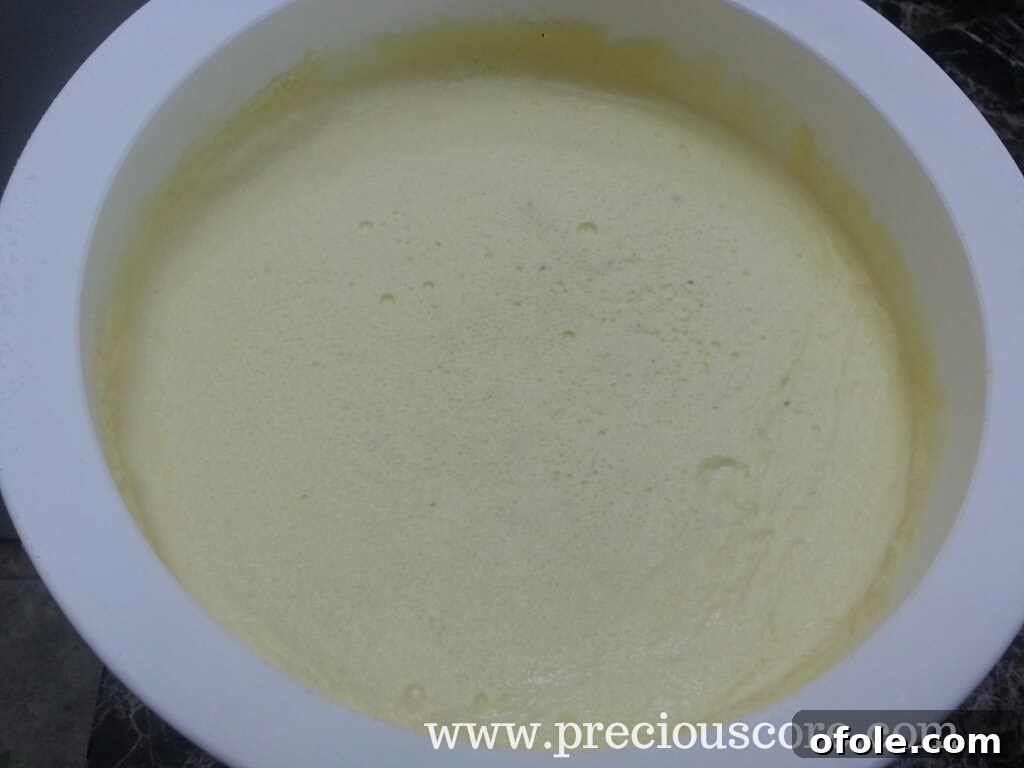
Give the custard a good whisk to loosen it up and ensure an even, uniform consistency. It will appear lighter and slightly thinner after whisking, but don’t worry, it will thicken beautifully and acquire its creamy texture during the freezing process.
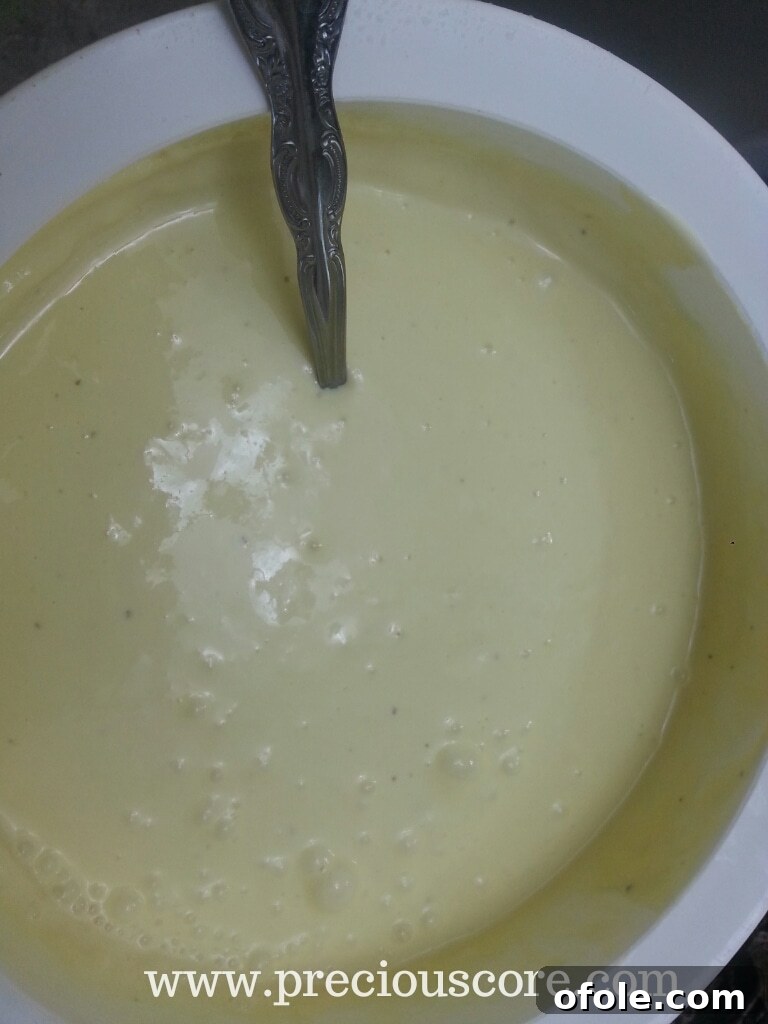
13. Freezing (No-Churn Method): If you are fortunate enough to own an ice cream maker, at this point, pour your chilled custard into the machine and churn according to the manufacturer’s instructions until it reaches a soft-serve consistency. Then transfer it to an airtight container and freeze until firm.
For those of us embracing the no-churn method (which yields equally fantastic results and proves you don’t need special equipment!), pour your chilled custard into a shallow, freezer-safe container. A metal loaf pan or a flat dish works well as it allows for quicker and more even freezing. Place the container in your freezer.
The crucial step for achieving a smooth, creamy texture without an ice cream maker is regular stirring. After every 30-45 minutes for the first 3-4 hours, remove the container from the freezer. Vigorously stir the mixture with a fork or a spoon, making sure to scrape down the sides and break up any ice crystals that have started to form. This action mimics the churning process of an ice cream machine, preventing large, icy crystals and ensuring a smooth, scoopable consistency. Continue this stirring process until the ice cream reaches a thick, slushy consistency. You might even enjoy a little taste test each time you stir – it’s part of the fun!
If you skip this crucial stirring process, your ice cream will likely freeze into a solid, icy block rather than the creamy, luxurious dessert we all crave. So, remember: consistent, diligent stirring is your key to no-churn success and an unbelievably smooth homemade ice cream!
Keep stirring and checking until it achieves a desirable thickness and texture!
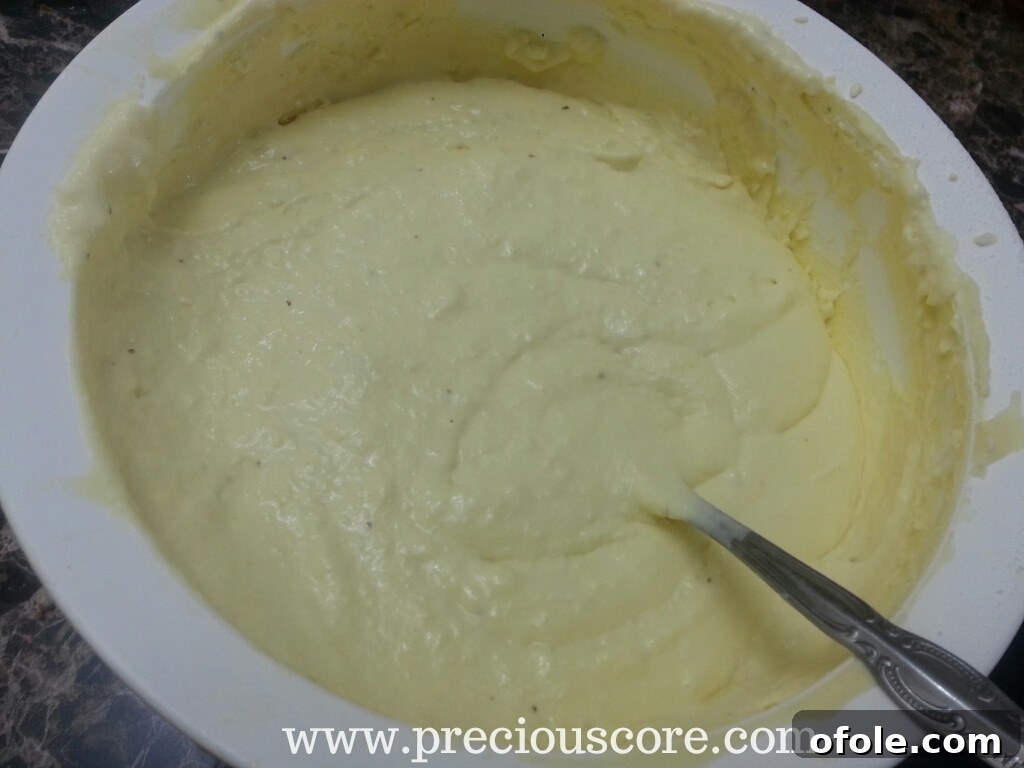
Once the ice cream reaches this consistency – thick, but still somewhat pliable and scoopable, like a very firm soft-serve – you can stop stirring. It’s almost ready to be fully enjoyed!
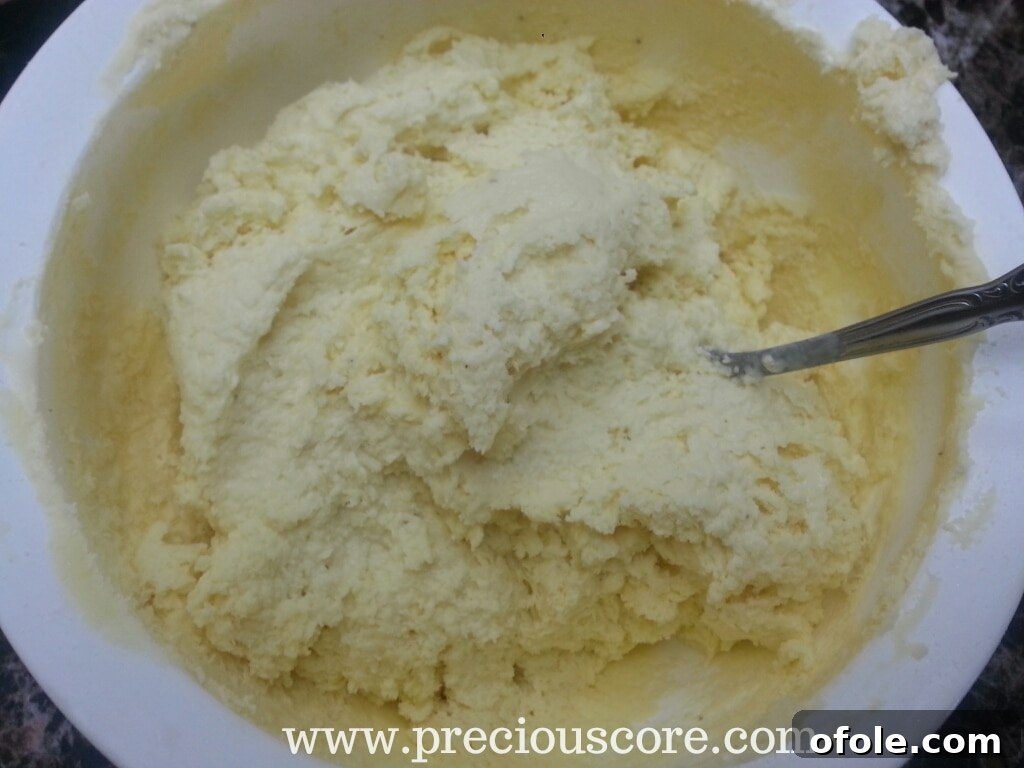
14. Final Freeze and Serve: Once your ice cream has reached the desired consistency from stirring, transfer it to an airtight container for its final freeze. This helps prevent freezer burn and keeps it fresh. Allow it to firm up in the freezer for another 2-3 hours (or longer if needed) until it reaches your preferred firmness for scooping.
Congratulations! You’ve successfully created a batch of incredibly refreshing homemade Key Lime Mint Ice Cream. Take a moment to pat yourself on the back – this is a delicious achievement that showcases your culinary prowess!
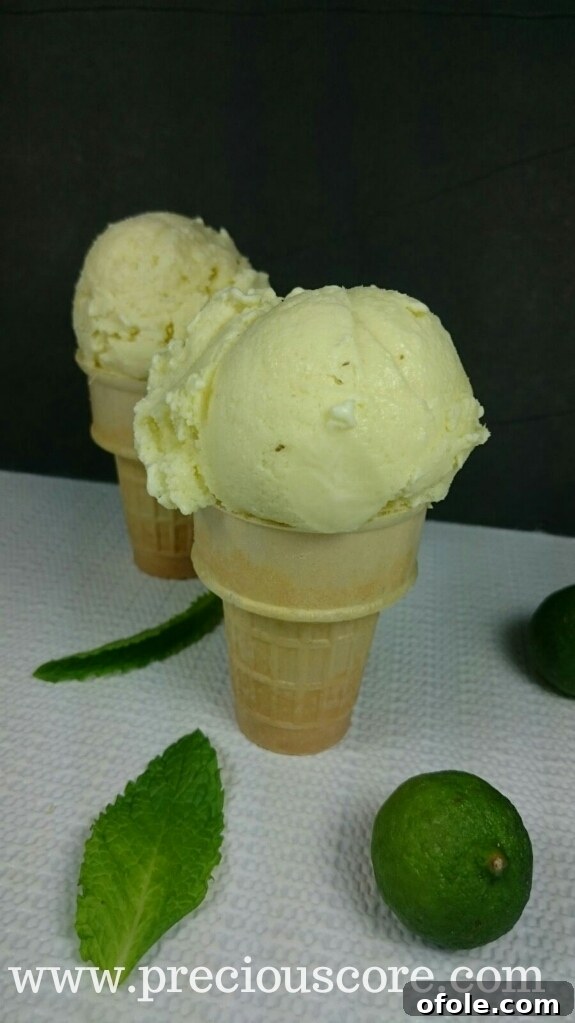
Scoop generously and savor the unique blend of zesty lime and cool mint. It’s the perfect treat for a warm day, a delightful dessert for special occasions, or simply to satisfy a craving for something truly extraordinary and invigorating. Share it with loved ones, or keep it all to yourself – we won’t tell!
Expert Tips for the Best Key Lime Mint Ice Cream:
- Enhance with Zest: For an even more intense lime flavor and a beautiful visual appeal, add a teaspoon or two of fresh key lime zest to the dairy mixture along with the mint leaves, or directly to the strained custard before chilling. The zest carries potent aromatic oils that will deepen the citrus notes.
- Sweetness Adjustment: Key limes can vary significantly in tartness. It’s always a good idea to taste the custard after adding the lime juice and before chilling. If you prefer a sweeter ice cream, you can dissolve a little more granulated sugar (start with a tablespoon at a time) into the warm custard, stirring until fully dissolved.
- Optimal Storage: To maintain the ice cream’s creamy texture and prevent ice crystal formation or freezer burn, store it in an airtight container. Press a piece of plastic wrap directly onto the surface of the ice cream before sealing the container. Store it in the coldest part of your freezer. It will keep beautifully for up to two weeks.
- Perfect Serving Softness: Like most homemade ice creams, this can become quite firm when fully frozen. For easier scooping and an ideal texture, simply remove it from the freezer 5-10 minutes before you plan to serve. This allows it to soften slightly, reaching that perfect, scoopable consistency.
This Key Lime Mint Ice Cream is more than just a dessert; it’s a testament to the joy of homemade treats and the vibrant, refreshing flavors of nature. It’s incredibly versatile, deeply satisfying, and bound to become a celebrated favorite in your household. Enjoy every delightful, minty-limey spoonful!
Click here for a convenient printable version of this delicious recipe!
“Every good gift and every perfect gift is from above…”