
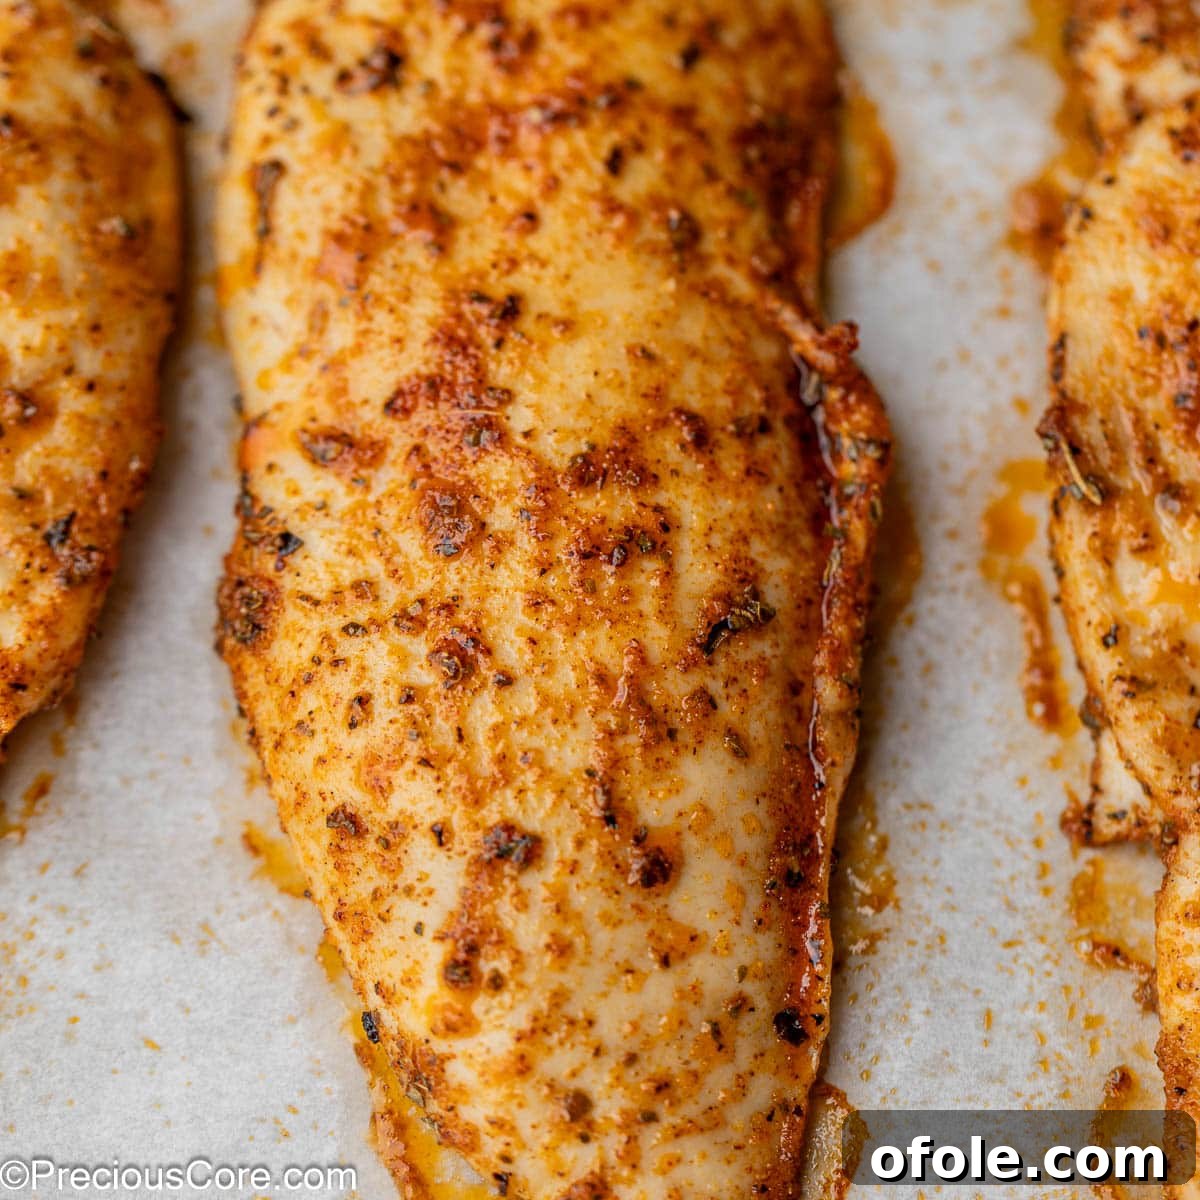
Tired of dry, bland chicken breasts? Discover the secret to making Baked Thin Chicken Breasts that are incredibly juicy, bursting with flavor, and astonishingly quick – ready to serve in just 15 minutes!
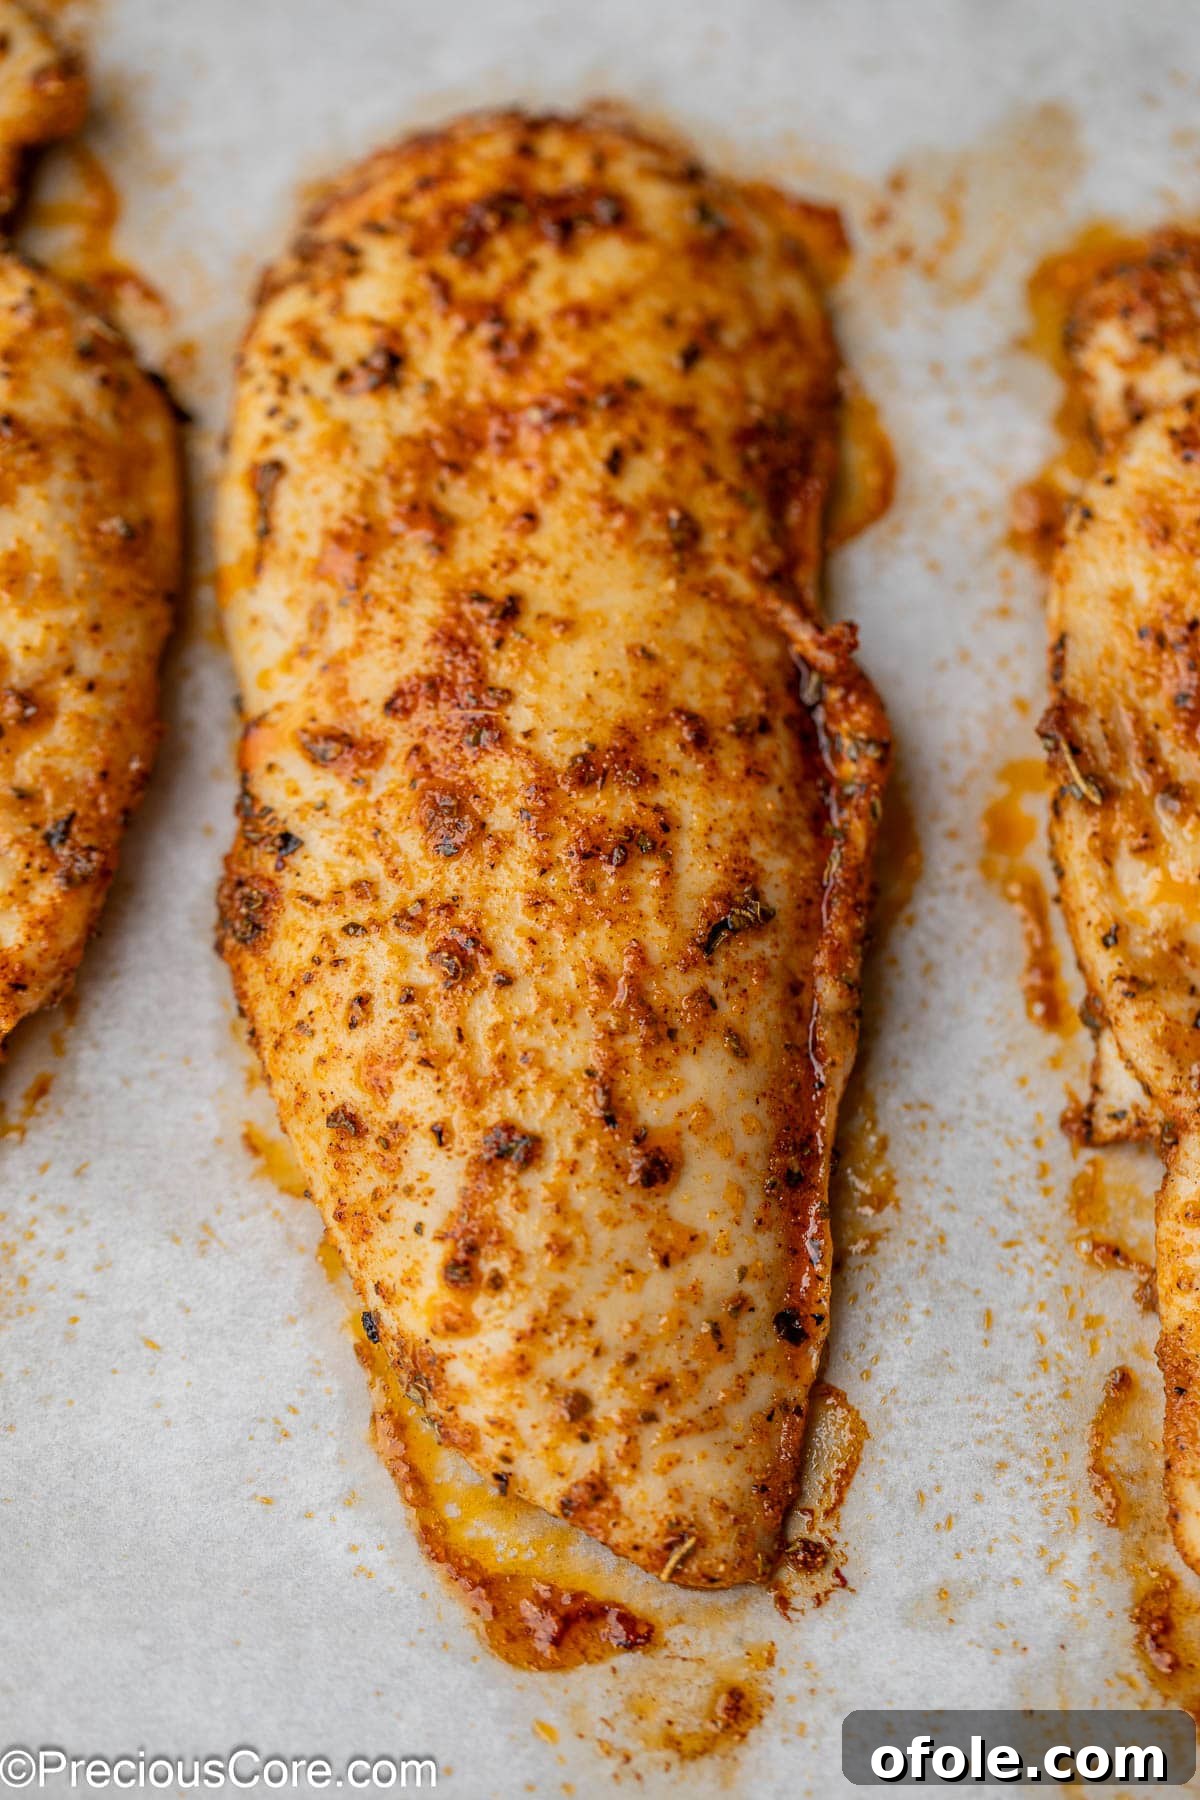
This recipe for thin chicken breasts is remarkably straightforward, making it an ideal choice for novice cooks or anyone seeking a delicious, stress-free meal solution. Its simplicity doesn’t compromise on flavor or tenderness, ensuring a delightful culinary experience with minimal effort.
If chicken is a staple in your diet, you’ll love exploring some of my other popular chicken creations. Be sure to try my Pan Seared Chicken Tenders for a quick stovetop option, the comforting Baked Chicken Leg Quarters, or the consistently delicious Perfect Grilled Chicken for outdoor cooking.
Table of Contents
- Introduction to Baked Thin Chicken Breasts
- Why This Recipe Will Become Your Favorite
- Essential Ingredients for Flavorful Chicken
- How to Prepare Your Own Thin Chicken Cutlets
- Step-by-Step Guide: How to Bake Thin Chicken Breasts
- Creative Substitutions and Variations
- Expert Tips for Perfectly Baked Thin Chicken Breasts
- Ensuring Your Chicken is Perfectly Done
- Frequently Asked Questions About Baked Chicken
- Serving Suggestions for Baked Chicken
- More Irresistible Chicken Recipes
- Baked Thin Chicken Breasts Recipe Card
Introduction to Baked Thin Chicken Breasts
For those seeking a versatile and consistently delicious chicken preparation, this baked thin chicken breasts recipe is an absolute game-changer. It’s designed to be a dependable staple in your kitchen, offering a flavorful foundation for a myriad of meals. Whether you’re planning a casual weeknight dinner or preparing for a more elaborate lunch, these tender and juicy chicken breasts fit seamlessly into any culinary occasion.
Over my many years of cooking, I’ve perfected the art of baking chicken that remains exceptionally juicy and packed with flavor. The secret lies not just in the quality of the chicken, but in the thoughtful application of seasonings and the precision of the cooking method. I’m excited to share all these insights and techniques with you, ensuring your thin chicken breasts are always a resounding success.
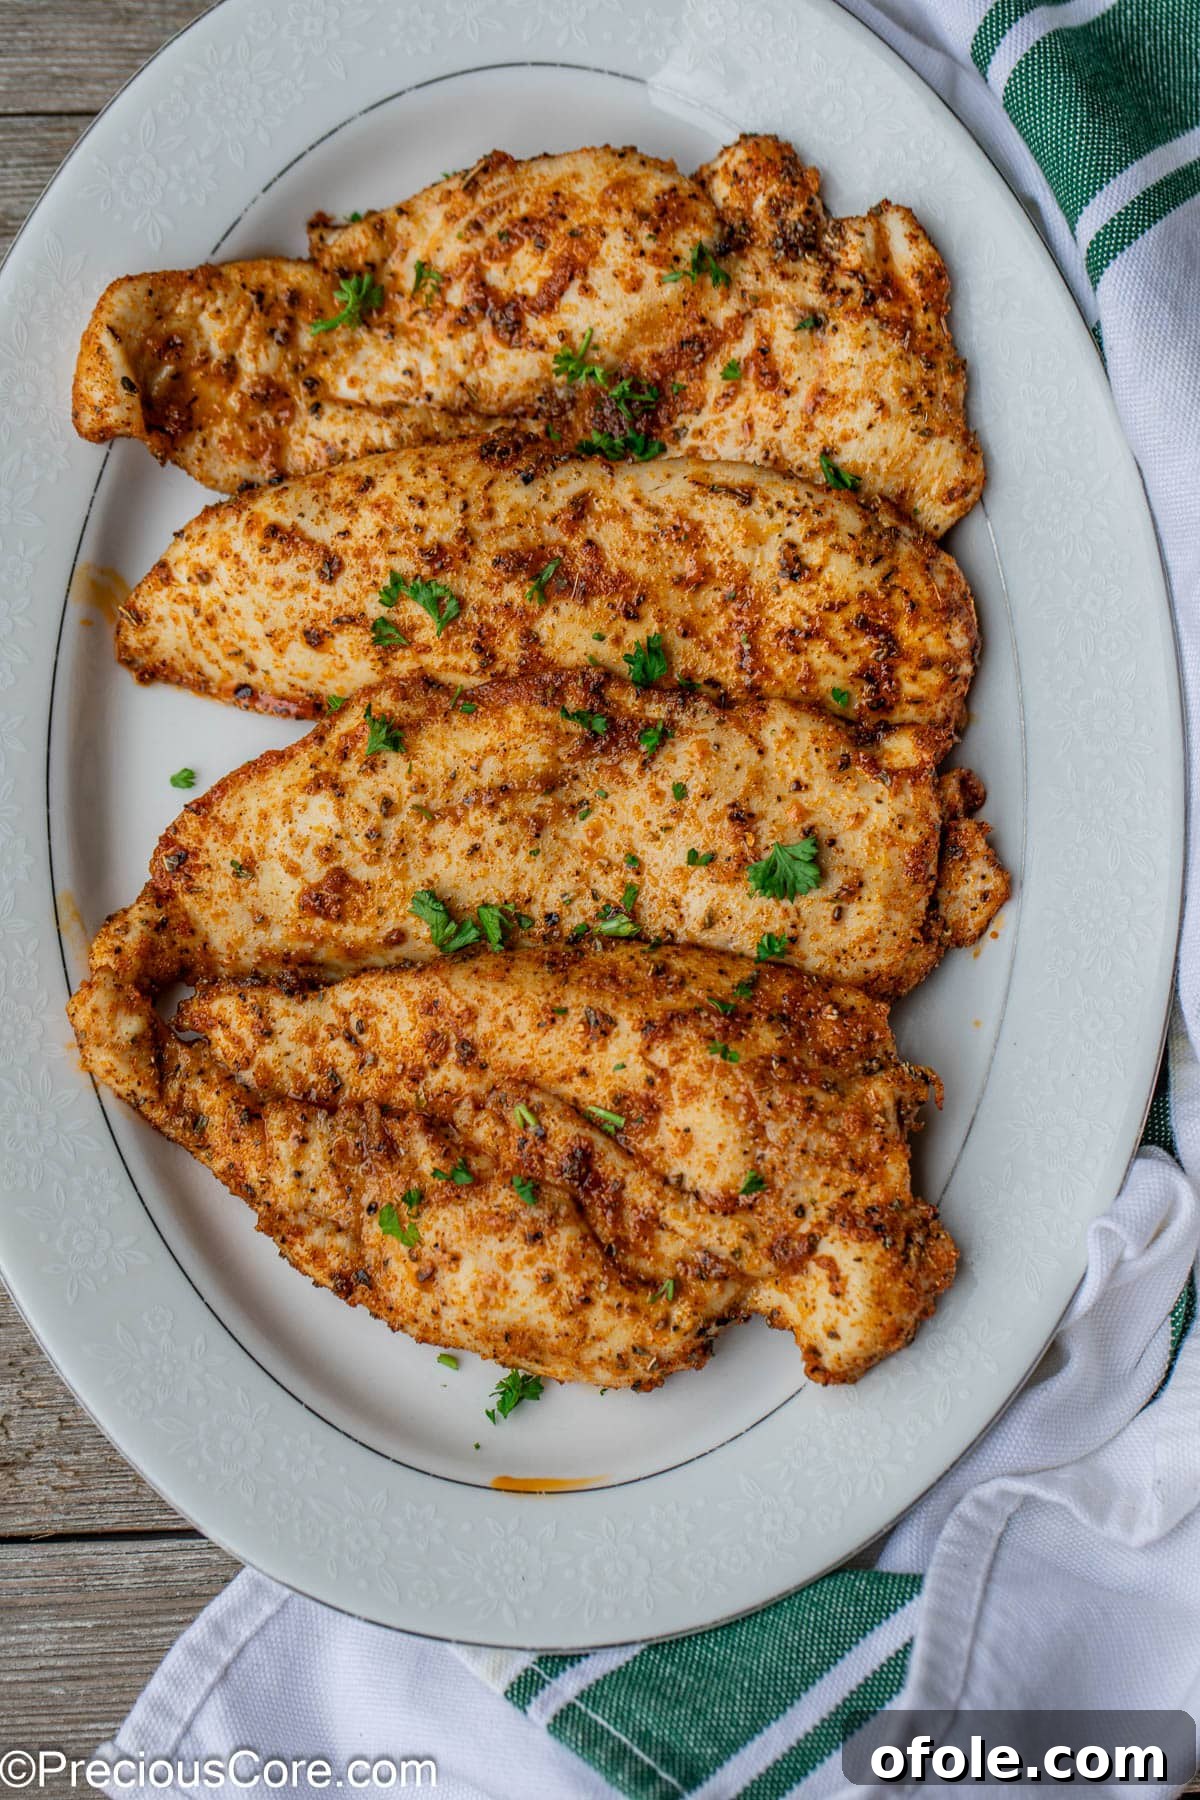
Why This Recipe Will Become Your Favorite
This baked thin chicken breasts recipe isn’t just another meal; it’s a culinary experience designed for convenience, flavor, and satisfaction. Here’s why it will quickly earn a permanent spot in your recipe collection:
- Achieve Perfectly Juicy and Exquisitely Seasoned Chicken: The dread of serving dry, tough, or under-flavored chicken is a thing of the past. Our carefully balanced blend of seasonings penetrates every fiber of the thin chicken breasts, creating a succulent and aromatic dish that will impress even the most discerning palates. The quick cooking time also plays a crucial role in locking in moisture, guaranteeing a tender bite every time.
- A Delightful and Healthy Option for the Whole Family: This recipe is a true crowd-pleaser, making it an excellent choice for family dinners. Kids and adults alike will relish the delicious flavor and perfect texture of this healthy protein. It’s a guilt-free meal that provides essential nutrients, allowing you to feel good about what you’re serving. Plus, its mild yet captivating flavor profile ensures even picky eaters will ask for seconds.
- The Ultimate Solution for Effortless Meal Prep: streamline your week by incorporating these baked thin chicken breasts into your meal prep routine. Cook a larger batch and easily store portions in airtight containers for convenient lunches or quick weeknight dinners. This versatile chicken pairs beautifully with a wide array of sides, including fluffy rice, hearty pasta, fresh steamed or roasted vegetables, and crisp salads, offering endless possibilities for delicious and varied meals throughout the week.
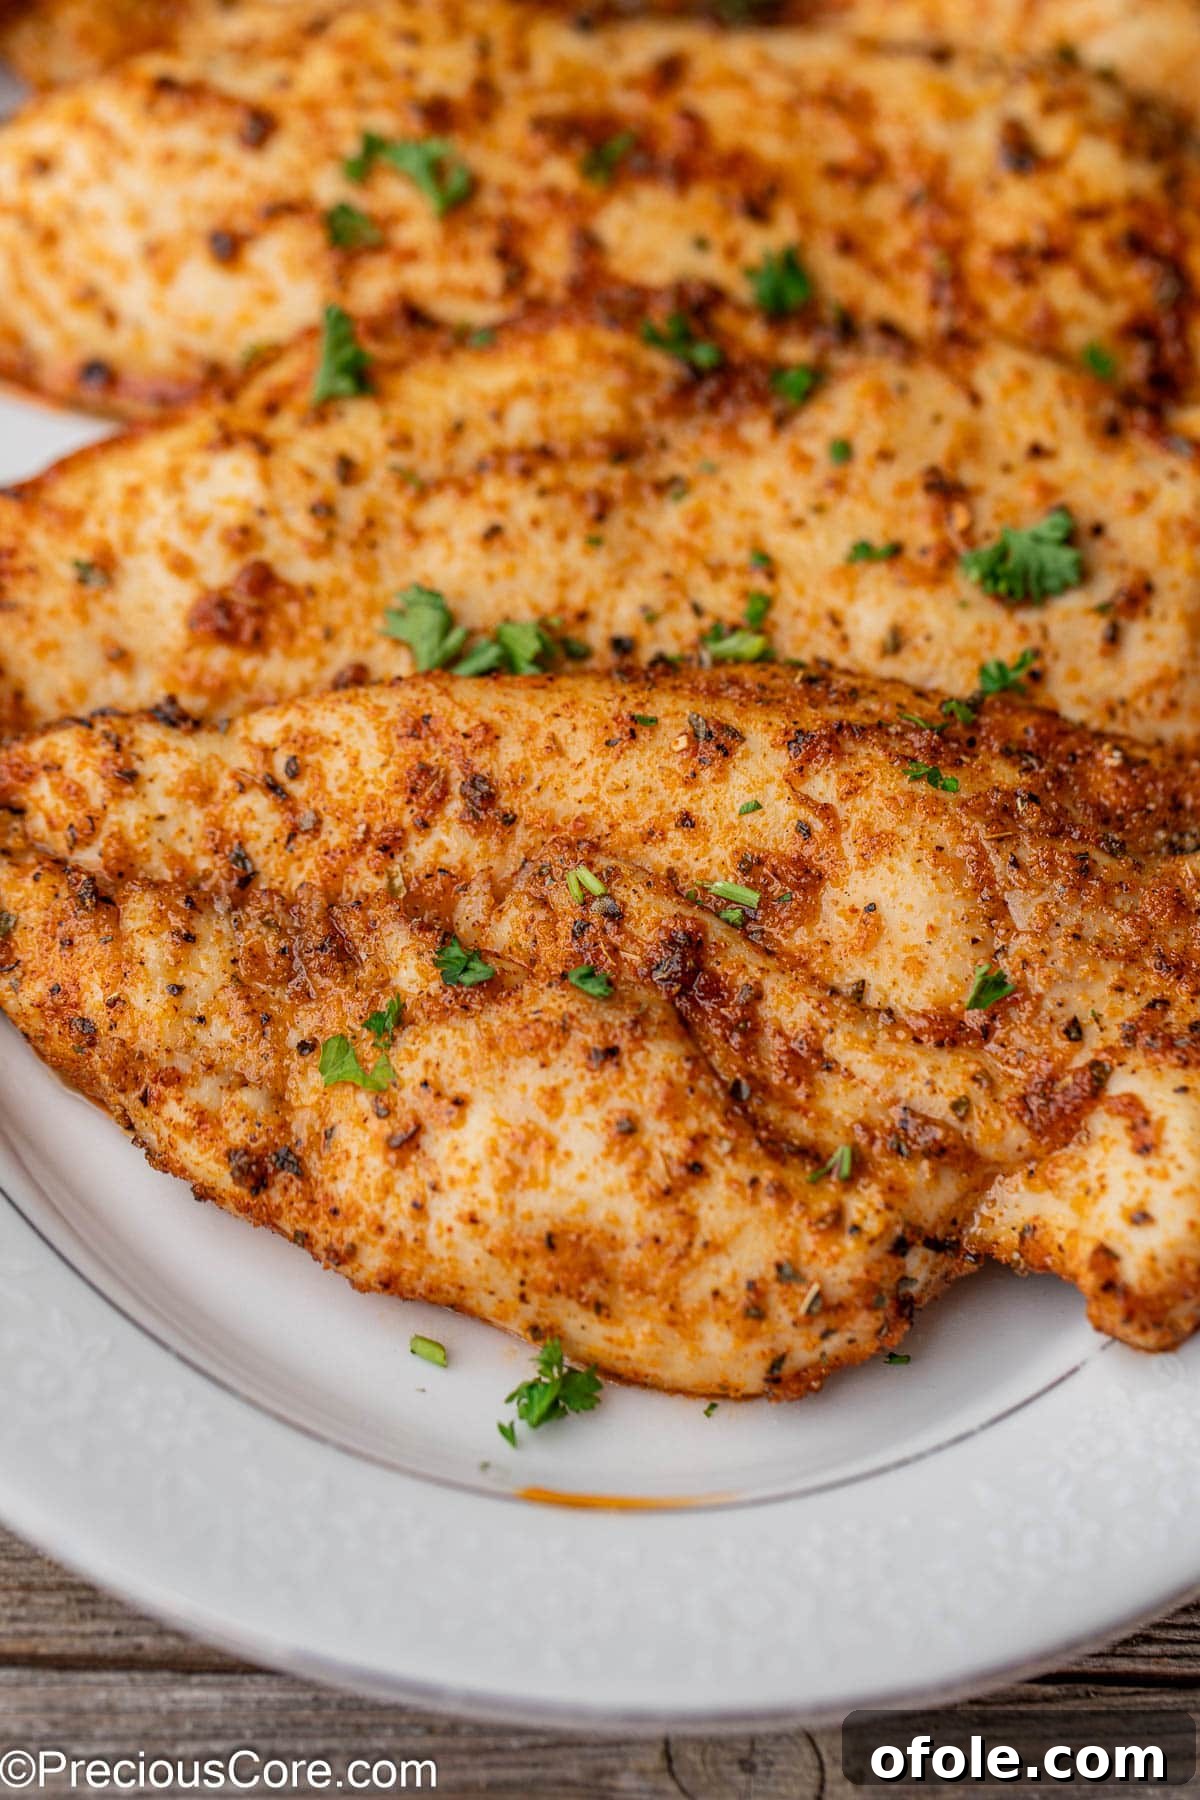
Essential Ingredients for Flavorful Chicken
Crafting truly delicious baked thin chicken breasts starts with a few key ingredients. Here’s a detailed look at what you’ll need and the role each plays in creating a memorable meal:
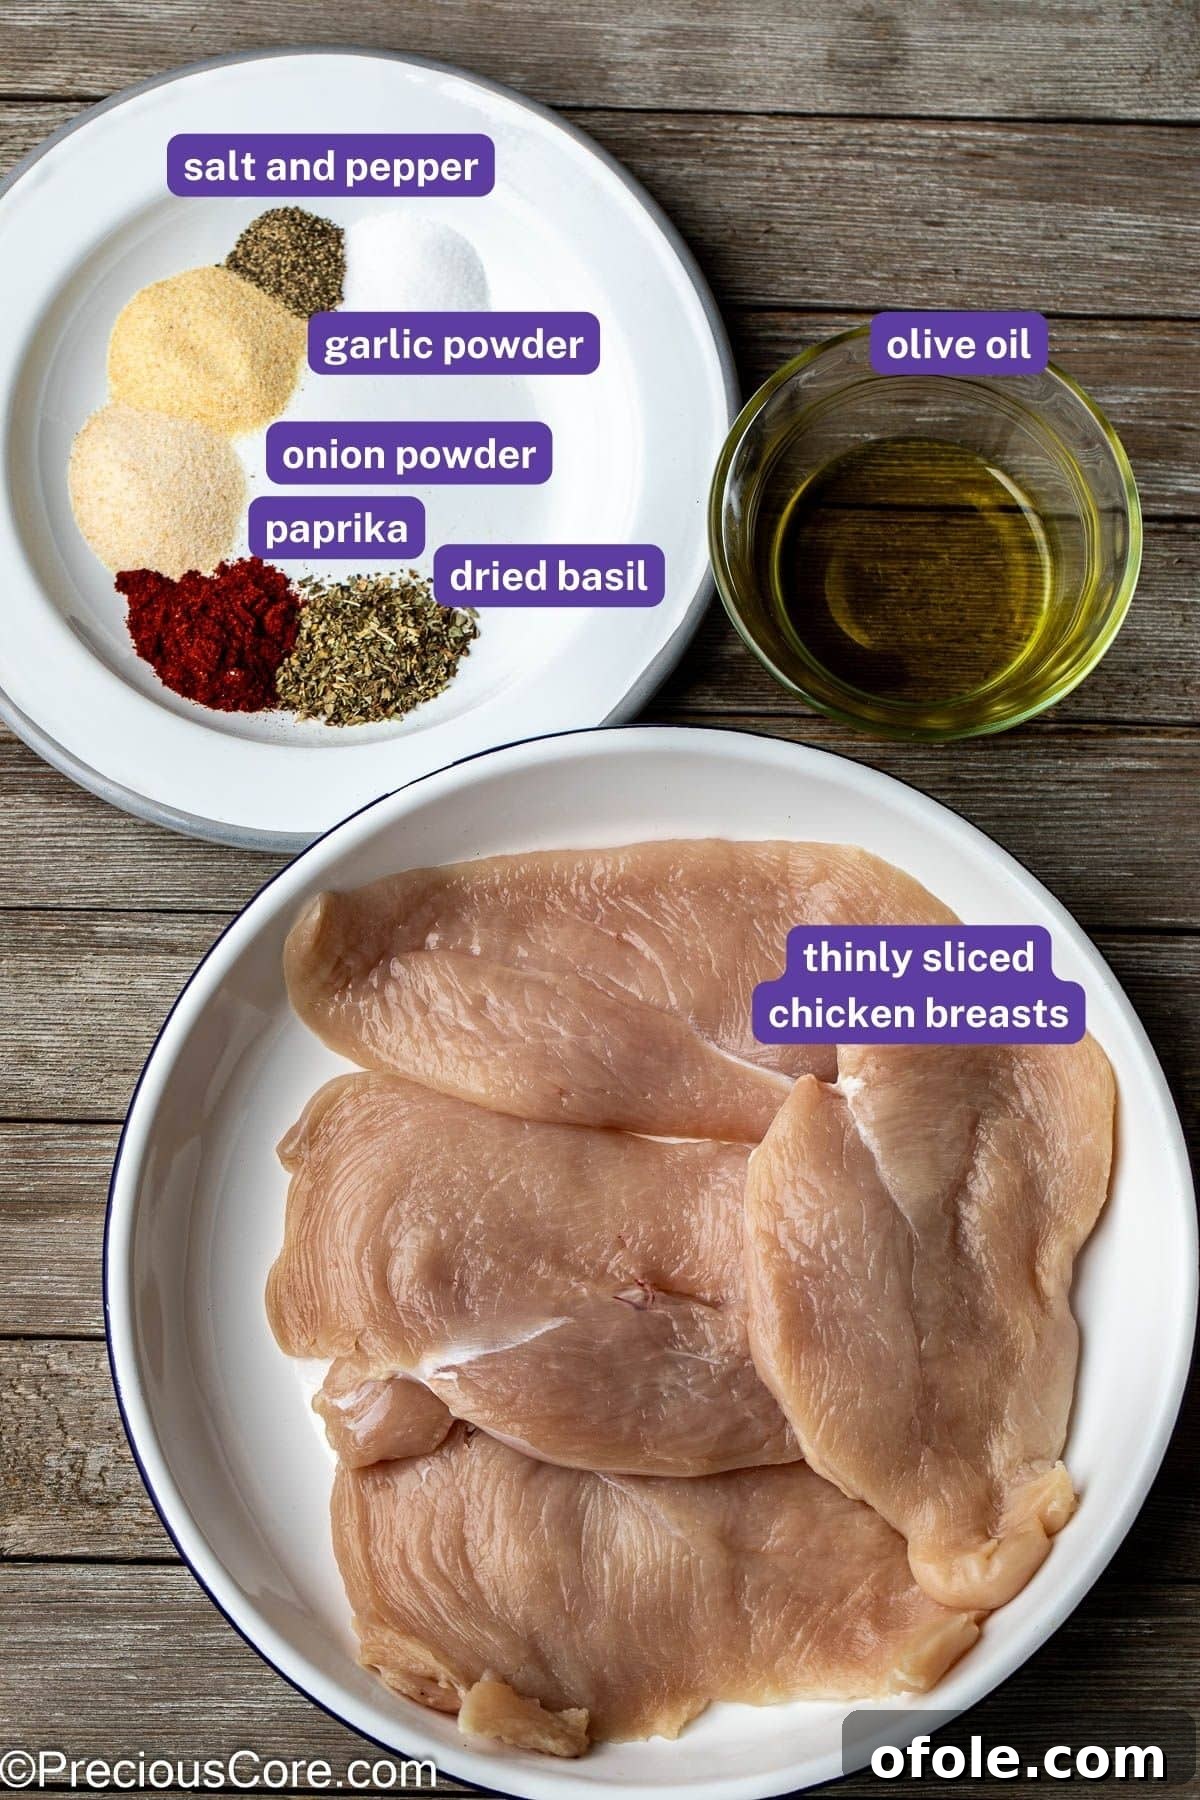
- Thin Chicken Breasts: The star of our dish! These thinner cuts are naturally designed for speed and tenderness. Their reduced thickness allows for incredibly fast and even cooking, making them ideal for those hectic days when you need a wholesome meal on the table without delay. When baked, they develop a beautiful golden-brown crust while remaining wonderfully juicy inside.
- Olive Oil: More than just a lubricant, olive oil is crucial for both flavor and texture. It helps the chicken achieve that desirable golden-brown exterior through the Maillard reaction, enhances moisture retention, and acts as a binder, ensuring all the aromatic seasonings adhere perfectly to the meat. This creates a flavorful crust that seals in the juices.
- Paprika: This vibrant spice is a cornerstone of our seasoning blend. Whether you opt for sweet, smoky, or hot paprika, it contributes a lovely warm, peppery undertone and imparts a rich, inviting color to the chicken. Smoked paprika, in particular, can add a depth that mimics a subtle grilled flavor.
- Garlic Powder and Onion Powder: These pantry staples are indispensable for building a robust savory base. They complement the natural flavor of chicken beautifully, offering an allium richness without the risk of burning that fresh minced garlic might pose at high oven temperatures. Their powdered forms ensure even distribution and consistent flavor in every bite.
- Dried Basil: Basil introduces a sweet, slightly peppery, and herbaceous note that elevates the overall aroma and taste profile of the chicken. Its subtle green flecks also contribute to an appealing visual presentation, making the dish look as good as it tastes.
- Salt and Black Pepper: The fundamental seasonings. Salt is essential for enhancing flavor and tenderizing the meat, while freshly ground black pepper adds a pleasant kick and aromatic complexity. Achieving the right balance of these two is key to a perfectly seasoned dish.
Remember to consult the comprehensive recipe card below for precise measurements of each ingredient to ensure the best results.
How to Prepare Your Own Thin Chicken Cutlets
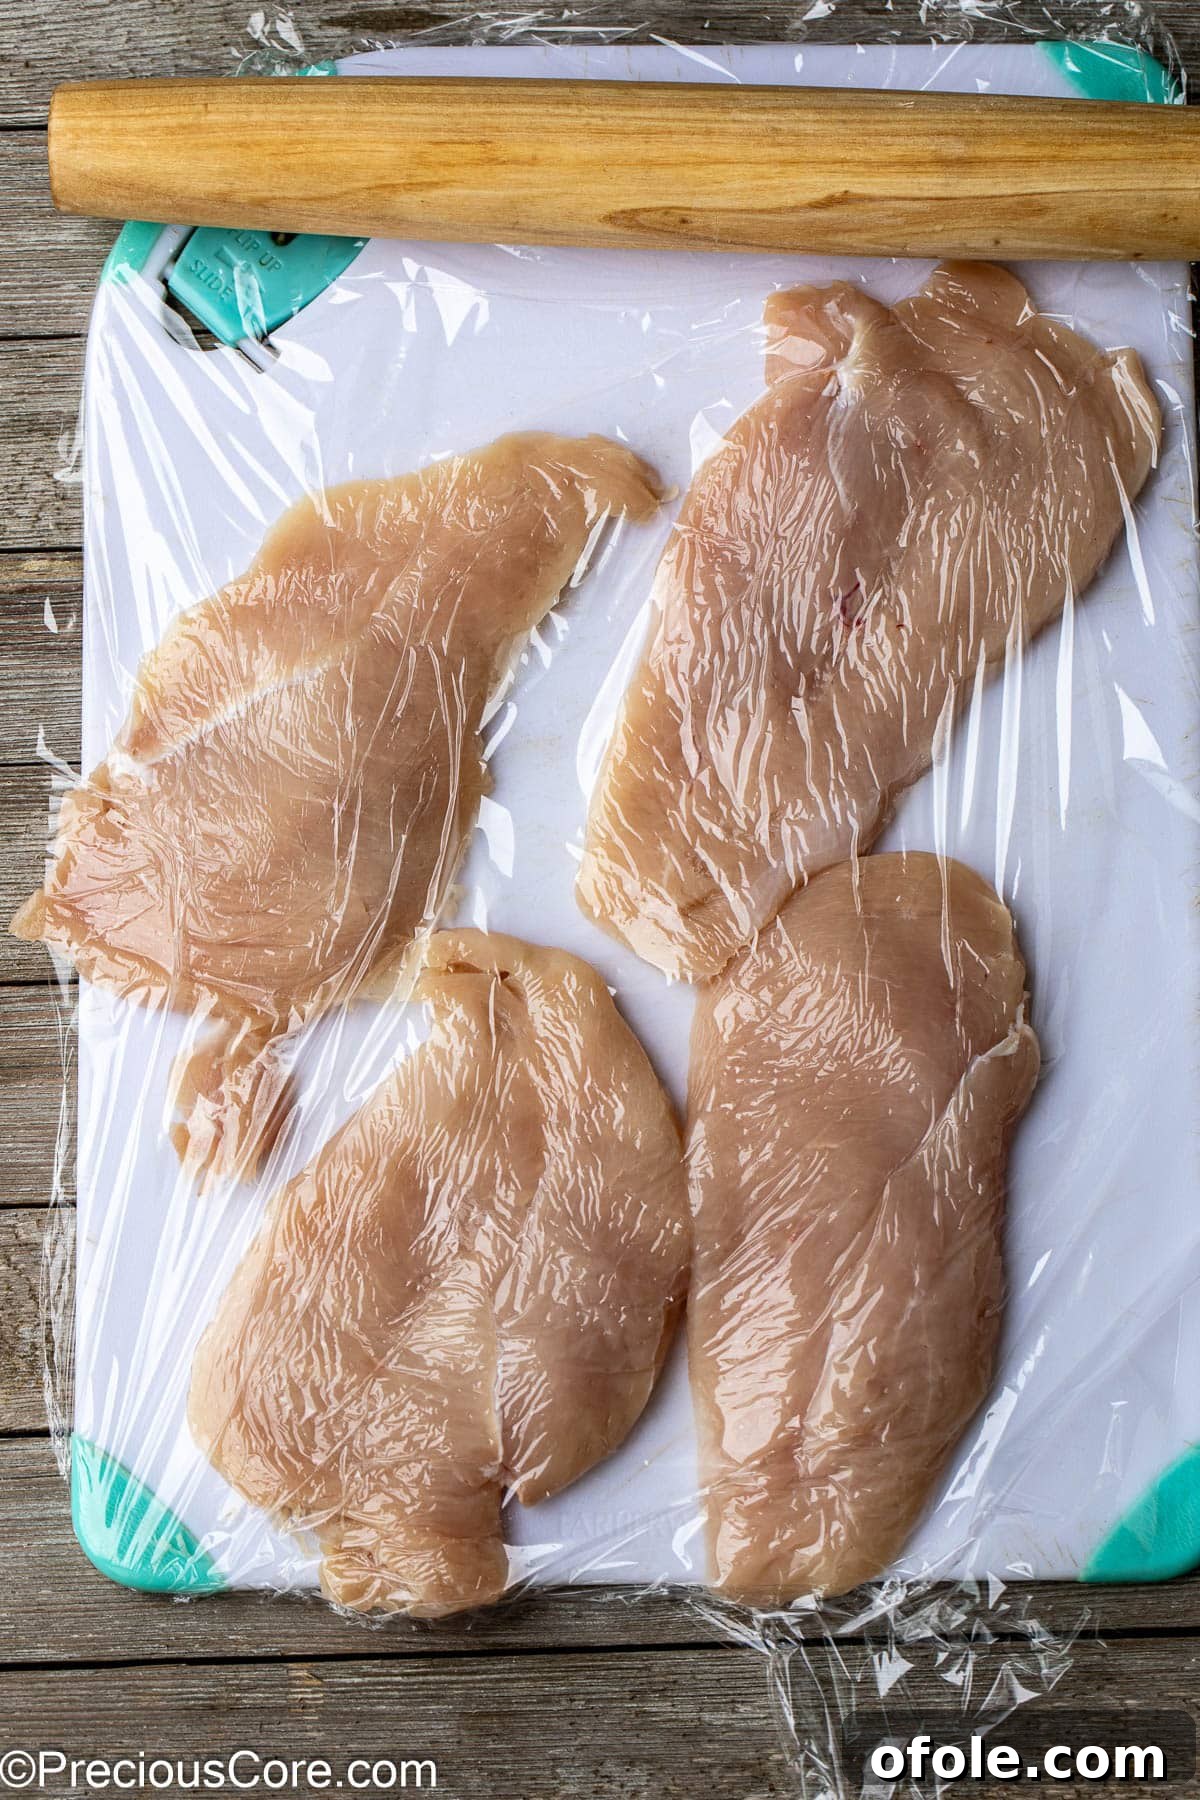
For a budget-friendly option and custom control, you can easily create your own thin chicken breasts at home. Start with standard boneless, skinless chicken breasts. Place one breast on a cutting board and, using a sharp chef’s knife, carefully slice it horizontally through the middle, creating two thinner cutlets. Repeat with remaining breasts. Then, for even more consistent thickness and tenderness, place each cutlet between two pieces of plastic wrap or in a large freezer bag. Using a kitchen mallet or a rolling pin, gently pound the chicken until it reaches your desired uniform thickness. This crucial step not only helps promote even cooking but also tenderizes the meat, ensuring every bite is perfectly cooked and succulent.
Step-by-Step Guide: How to Bake Thin Chicken Breasts
Achieving juicy, flavorful baked thin chicken breasts is incredibly simple when you follow these clear, step-by-step instructions. For the best results, always allow your chicken to come to room temperature for about 10-20 minutes before cooking, as this promotes more even cooking. Visual aids of the process are included below to guide you.
- Preheat Your Oven: Begin by preheating your oven to the recommended temperature of 400°F (200°C). Allowing the oven to reach its full temperature ensures that the chicken starts cooking immediately upon entry, contributing to a better sear and moisture retention.
- Prepare Your Baking Sheet: Line a baking sheet with parchment paper for easy cleanup and to prevent sticking. Alternatively, you can lightly spray the baking sheet with cooking spray. This step ensures that your beautifully seasoned chicken doesn’t adhere to the pan.
- Pat Dry and Flatten Chicken: Once your chicken breasts have rested at room temperature, pat them thoroughly dry with paper towels. Excess moisture can inhibit browning, so this step is vital for a golden crust. If your chicken breasts aren’t already thinly sliced, now is the time to slice them horizontally and then flatten them with a meat mallet or rolling pin to an even thickness (about ½-inch). Drizzle both sides of the chicken breasts generously with olive oil.
- Season to Perfection: In a small bowl, combine the salt, black pepper, garlic powder, onion powder, dried basil, and paprika. Mix them well to create a uniform seasoning blend. Evenly sprinkle this aromatic mixture over both sides of the chicken, then gently rub it into the meat with your fingertips. This ensures the flavors deeply penetrate the chicken for maximum taste.
- Arrange on Baking Sheet: Carefully place the seasoned chicken breasts in a single layer on the prepared baking sheet, ensuring there’s a little space between each piece for optimal air circulation and even cooking.
- Bake Until Done: Transfer the baking sheet to the preheated oven and bake for approximately 10-13 minutes. The precise cooking time will depend on the exact thickness of your chicken breasts and your oven’s calibration. The most accurate way to determine doneness is by checking the internal temperature with a meat thermometer, aiming for 165°F (74°C).
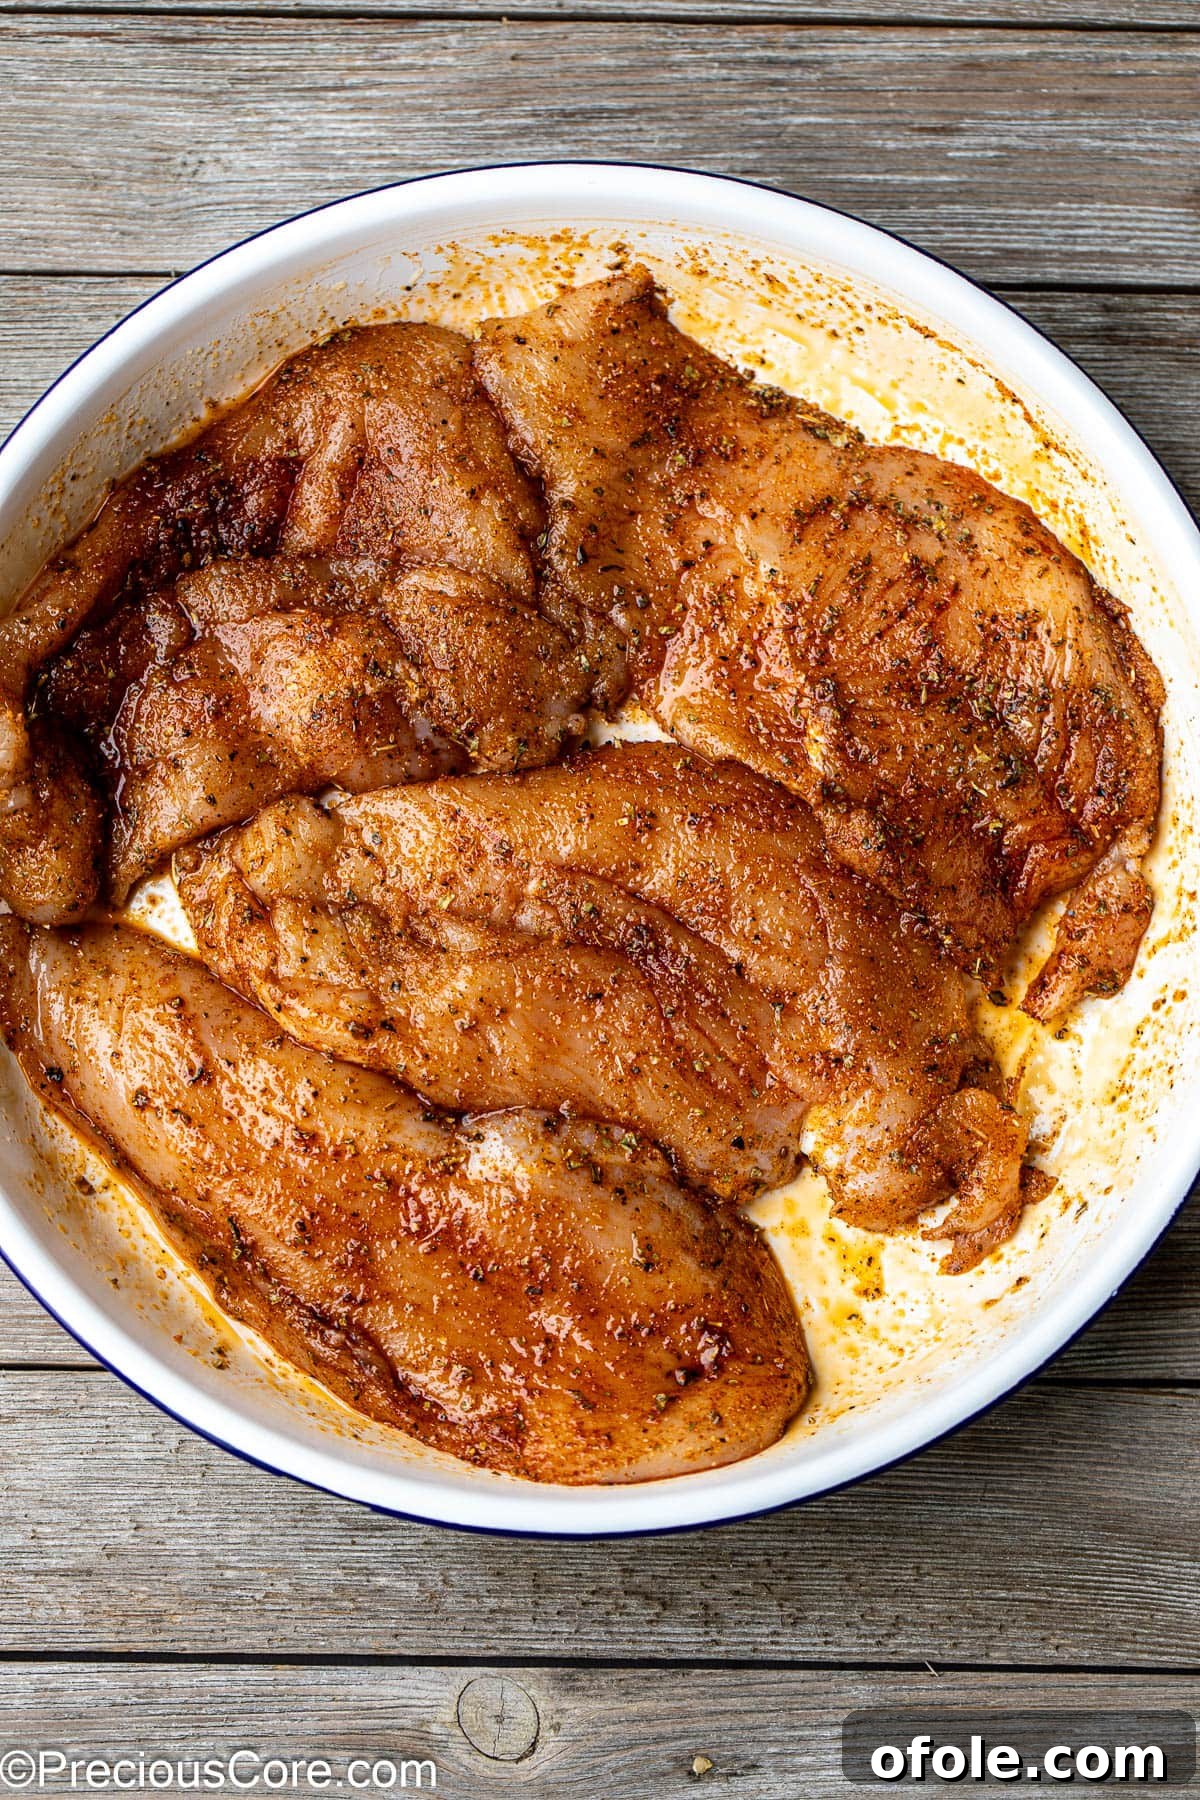
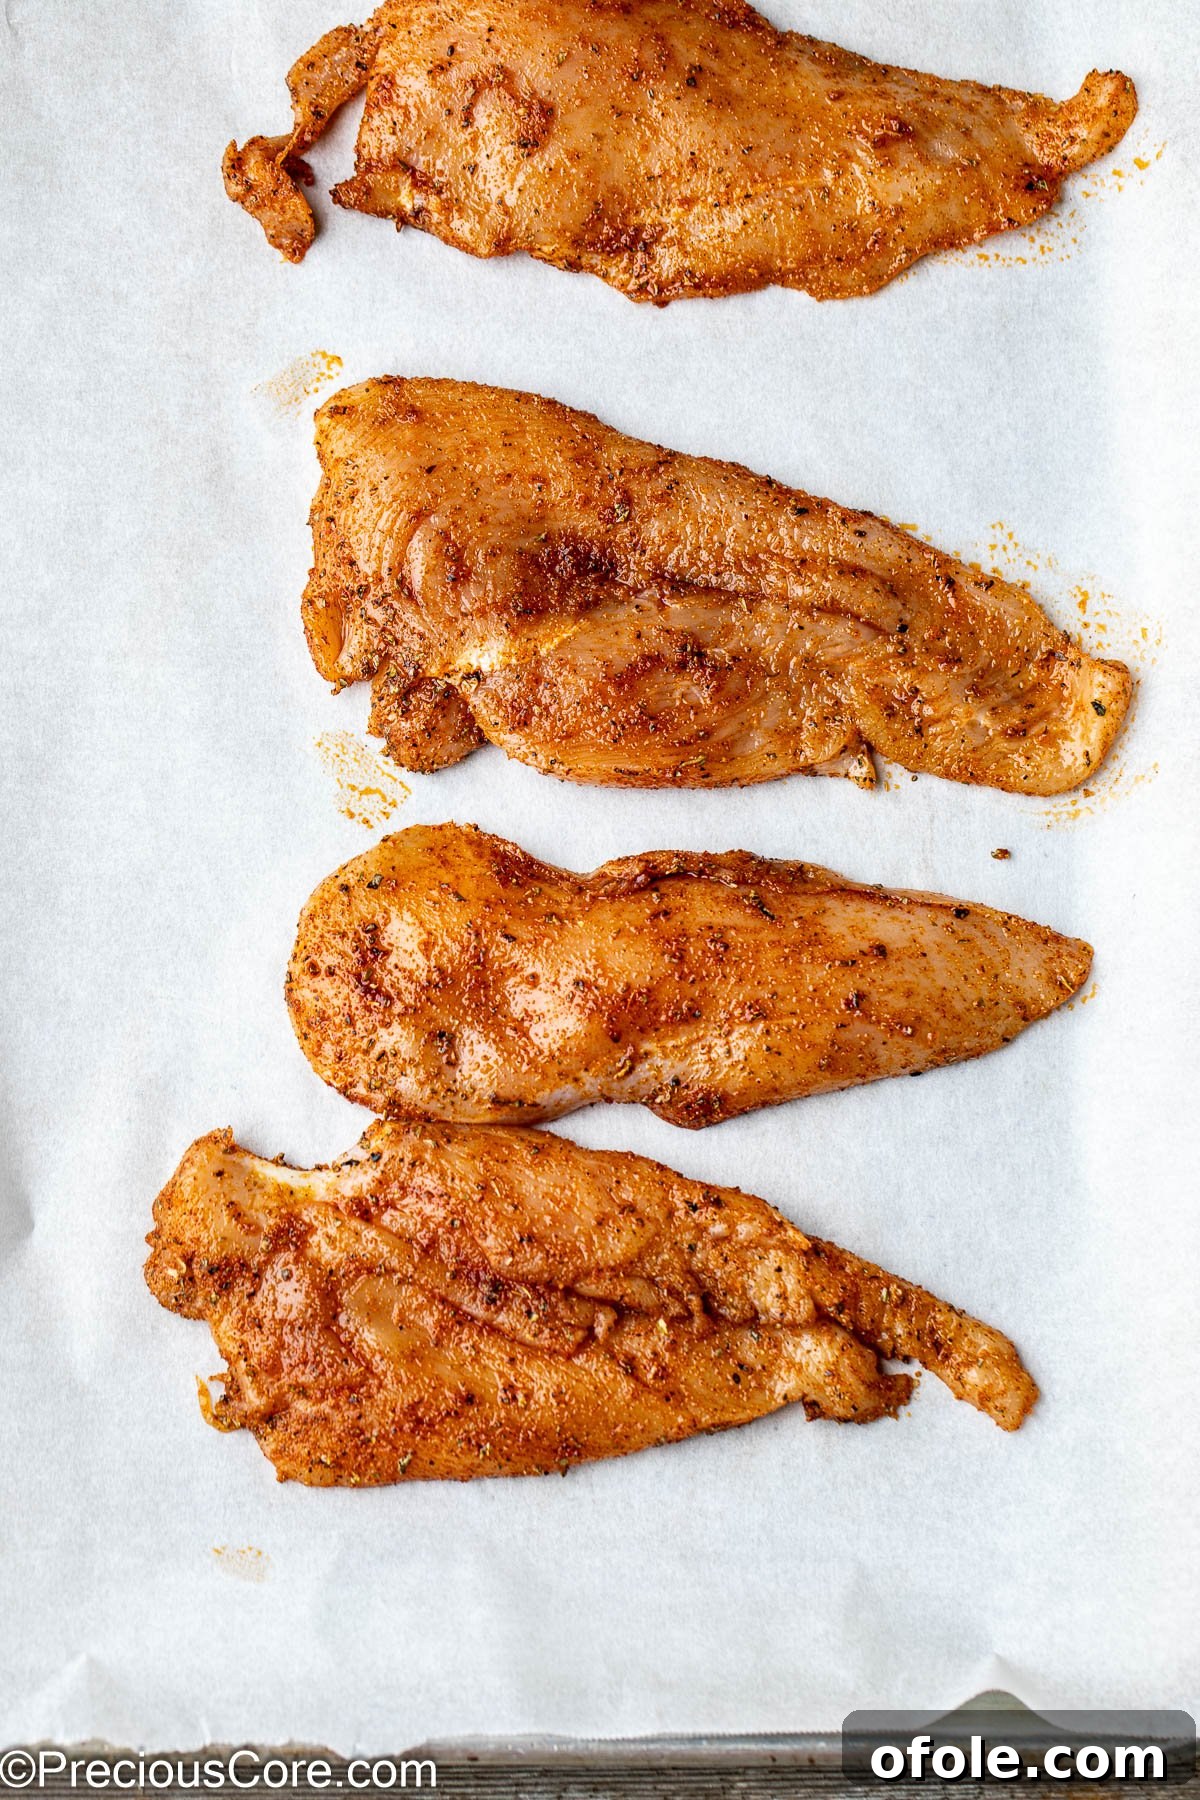
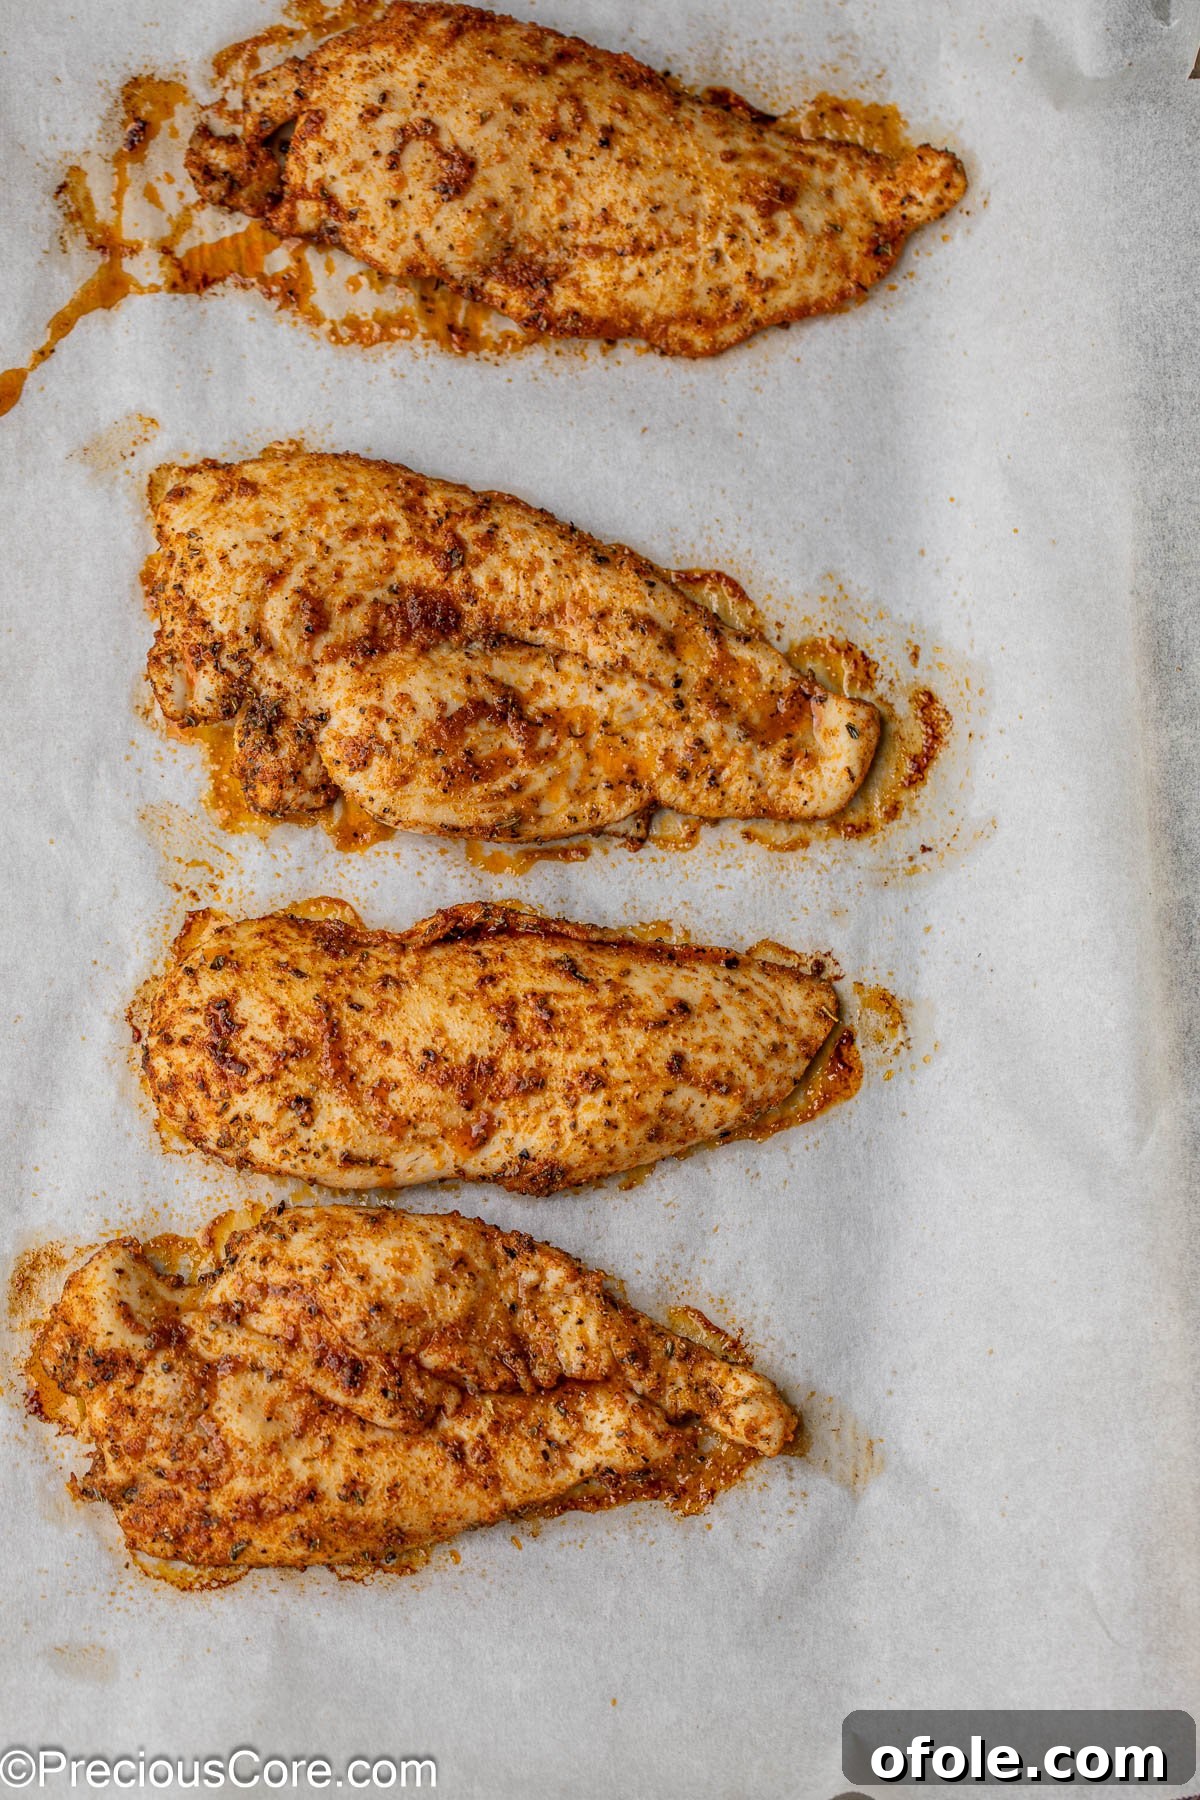
To confirm the chicken is thoroughly cooked and safe to eat, always insert a reliable meat thermometer into the thickest part of a chicken breast. The internal temperature should register at least 165°F (74°C) to be considered perfectly done and safe.
For an alternative cooking method, this recipe can also be prepared in an air fryer. Air frying thin chicken breasts often results in an even crispier exterior. Just be vigilant about the cooking time, as air fryers cook very efficiently, and overcooking can quickly lead to dry chicken. Check doneness with a meat thermometer to ensure juicy results.
Creative Substitutions and Variations
One of the many charms of this baked chicken recipe is its remarkable adaptability. Feel free to experiment with these suggestions to tailor the dish to your taste and dietary needs:
- Using Whole Chicken Breasts: While this recipe is optimized for thin cutlets, you can certainly use standard whole boneless, skinless chicken breasts. Just be aware that thicker breasts will require a longer baking time, typically ranging from 20-30 minutes, depending on their size. Always use an instant-read thermometer inserted into the thickest part to confirm it reaches 165°F (74°C). Consider brining thicker breasts beforehand to ensure maximum juiciness.
- Experiment with Different Seasonings: The world of spices offers endless possibilities for customizing your chicken. Beyond our recommended blend, consider additions like fragrant rosemary, earthy thyme, pungent cumin, or a touch of spicy cayenne pepper for heat. Herb blends such as Italian seasoning or a vibrant Cajun seasoning can also transform the flavor profile with minimal effort. Don’t be afraid to create your own signature rub!
- Add a Crispy Breadcrumb Coating: For an irresistible crunch, mix your chosen seasonings with crispy breadcrumbs, such as panko. After drizzling the chicken with olive oil as directed, firmly press each side into the seasoned breadcrumb mixture before baking. This creates a golden, crunchy crust that adds a delightful textural contrast to the tender chicken interior. For an even more complex flavor, toast the breadcrumbs lightly in a pan with a little butter before coating.
- Marinate for Deeper Flavor: If you have extra time, a short marinade can infuse the chicken with even more flavor and tenderize it further. A simple marinade of olive oil, lemon juice, herbs, and garlic can work wonders. Even 30 minutes can make a difference, but a few hours or overnight in the refrigerator will yield the most profound results.
- Citrus Zest Boost: For a bright, fresh flavor, grate a little lemon or orange zest into your seasoning blend. The citrus oils add a fragrant aroma and a subtle tang that beautifully complements the chicken.
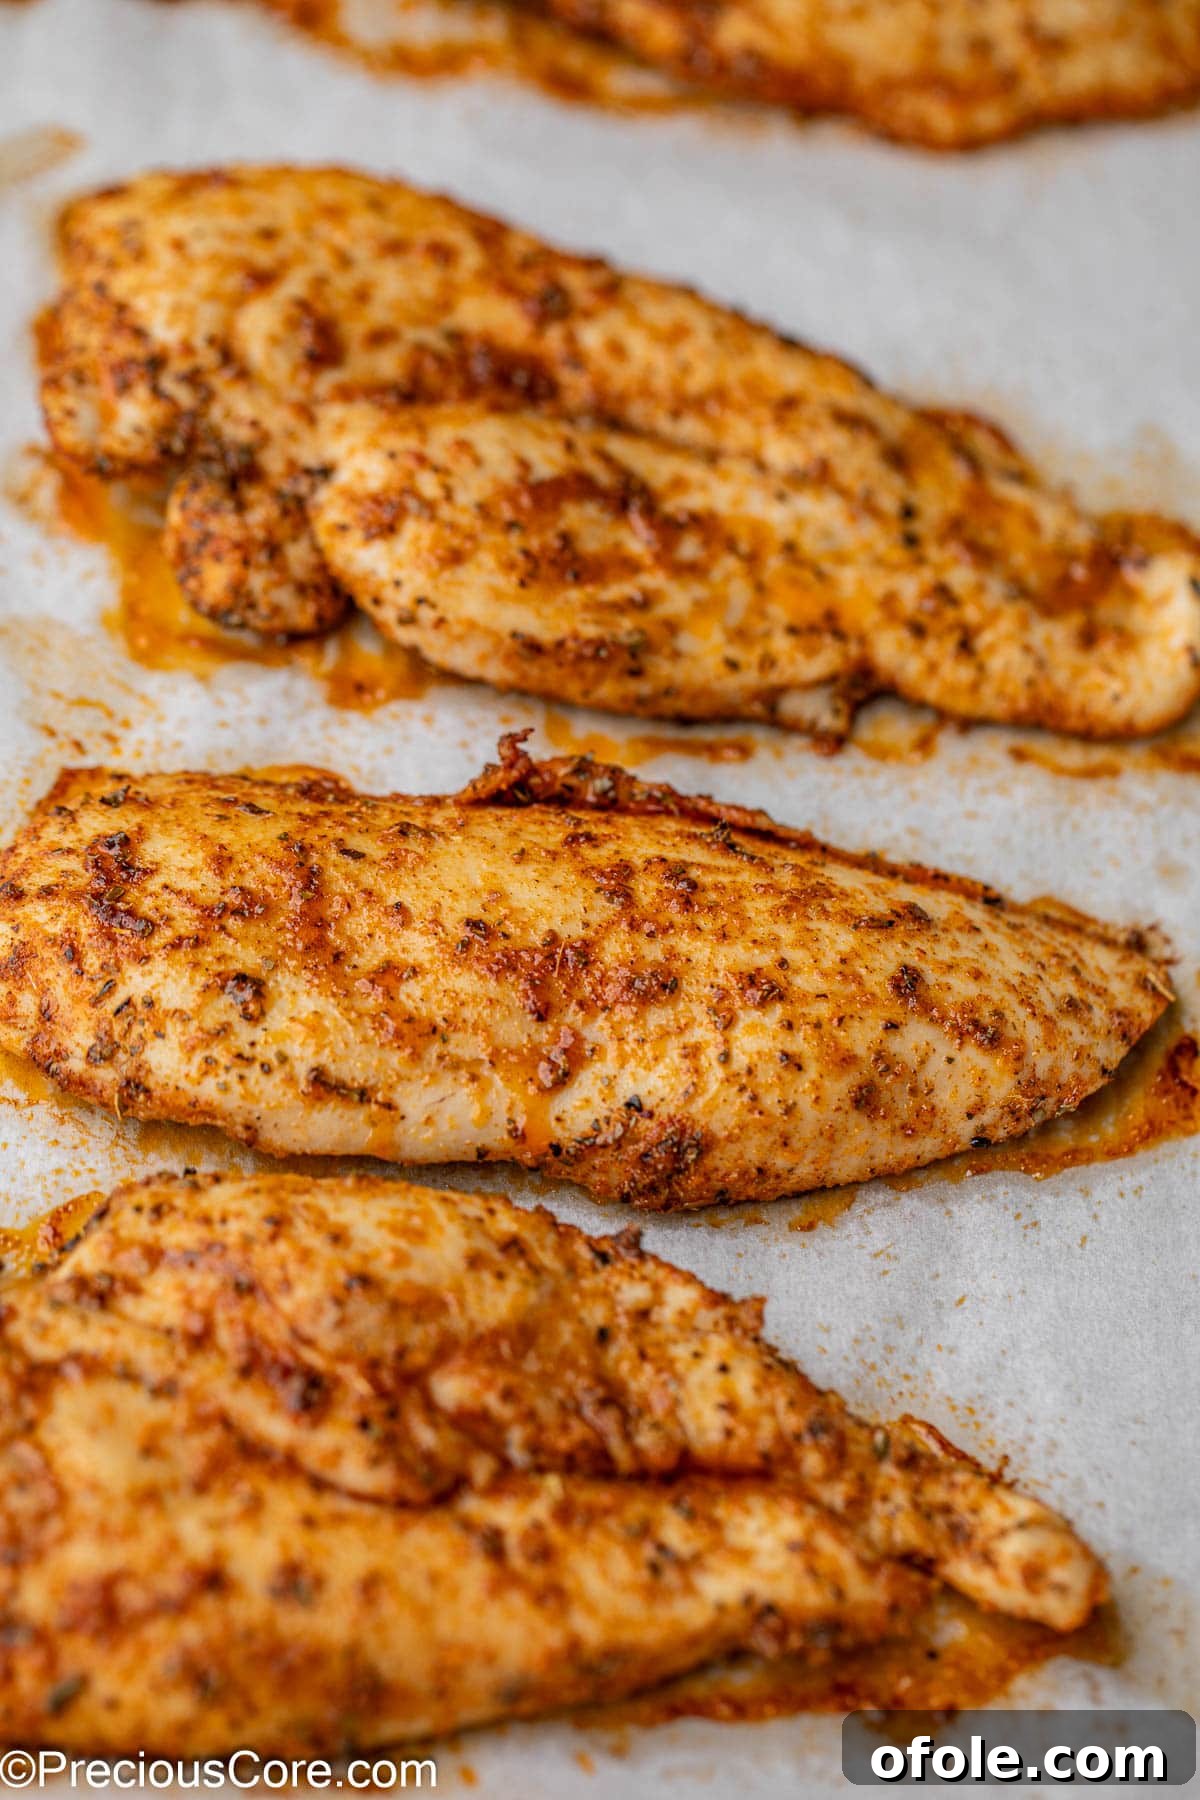
Expert Tips for Perfectly Baked Thin Chicken Breasts
Achieving consistently tender and flavorful baked chicken is an art, but these expert tips will guide you to culinary success every time:
- Bring Chicken to Room Temperature: Prior to baking, remove your chicken breasts from the refrigerator about 10-20 minutes beforehand. This small but crucial step allows the meat to warm up slightly, ensuring a more even cooking process. When chicken goes into a hot oven straight from being very cold, the exterior can cook much faster than the interior, leading to unevenly cooked or dry spots.
- Master Your Oven Usage:
- Preheat Thoroughly: Always ensure your oven is fully preheated to the specified temperature before placing the chicken inside. An accurately preheated oven maintains consistent heat, which is vital for even cooking and achieving that desirable golden crust.
- Resist Opening the Oven Door: Every time you open the oven door, a significant amount of heat escapes, causing temperature fluctuations that can extend cooking times and dry out your chicken. Try to resist the urge to check on the chicken until just before the suggested cooking time is complete.
- Allow for Resting Time: This might be the most overlooked yet vital step for juicy chicken! Once the chicken is out of the oven, transfer it to a cutting board and let it rest for at least 5-10 minutes before slicing. During cooking, the meat fibers tighten, pushing juices to the center. Resting allows these juices to redistribute throughout the entire breast, resulting in a more succulent and tender chicken. Cutting it prematurely will cause those precious juices to run out, leaving you with drier meat.
- Don’t Overcrowd the Pan: When placing the chicken breasts on the baking sheet, ensure they have enough space around them. Overcrowding can lower the pan’s temperature and cause the chicken to steam rather than bake and brown, leading to a less flavorful and softer exterior.
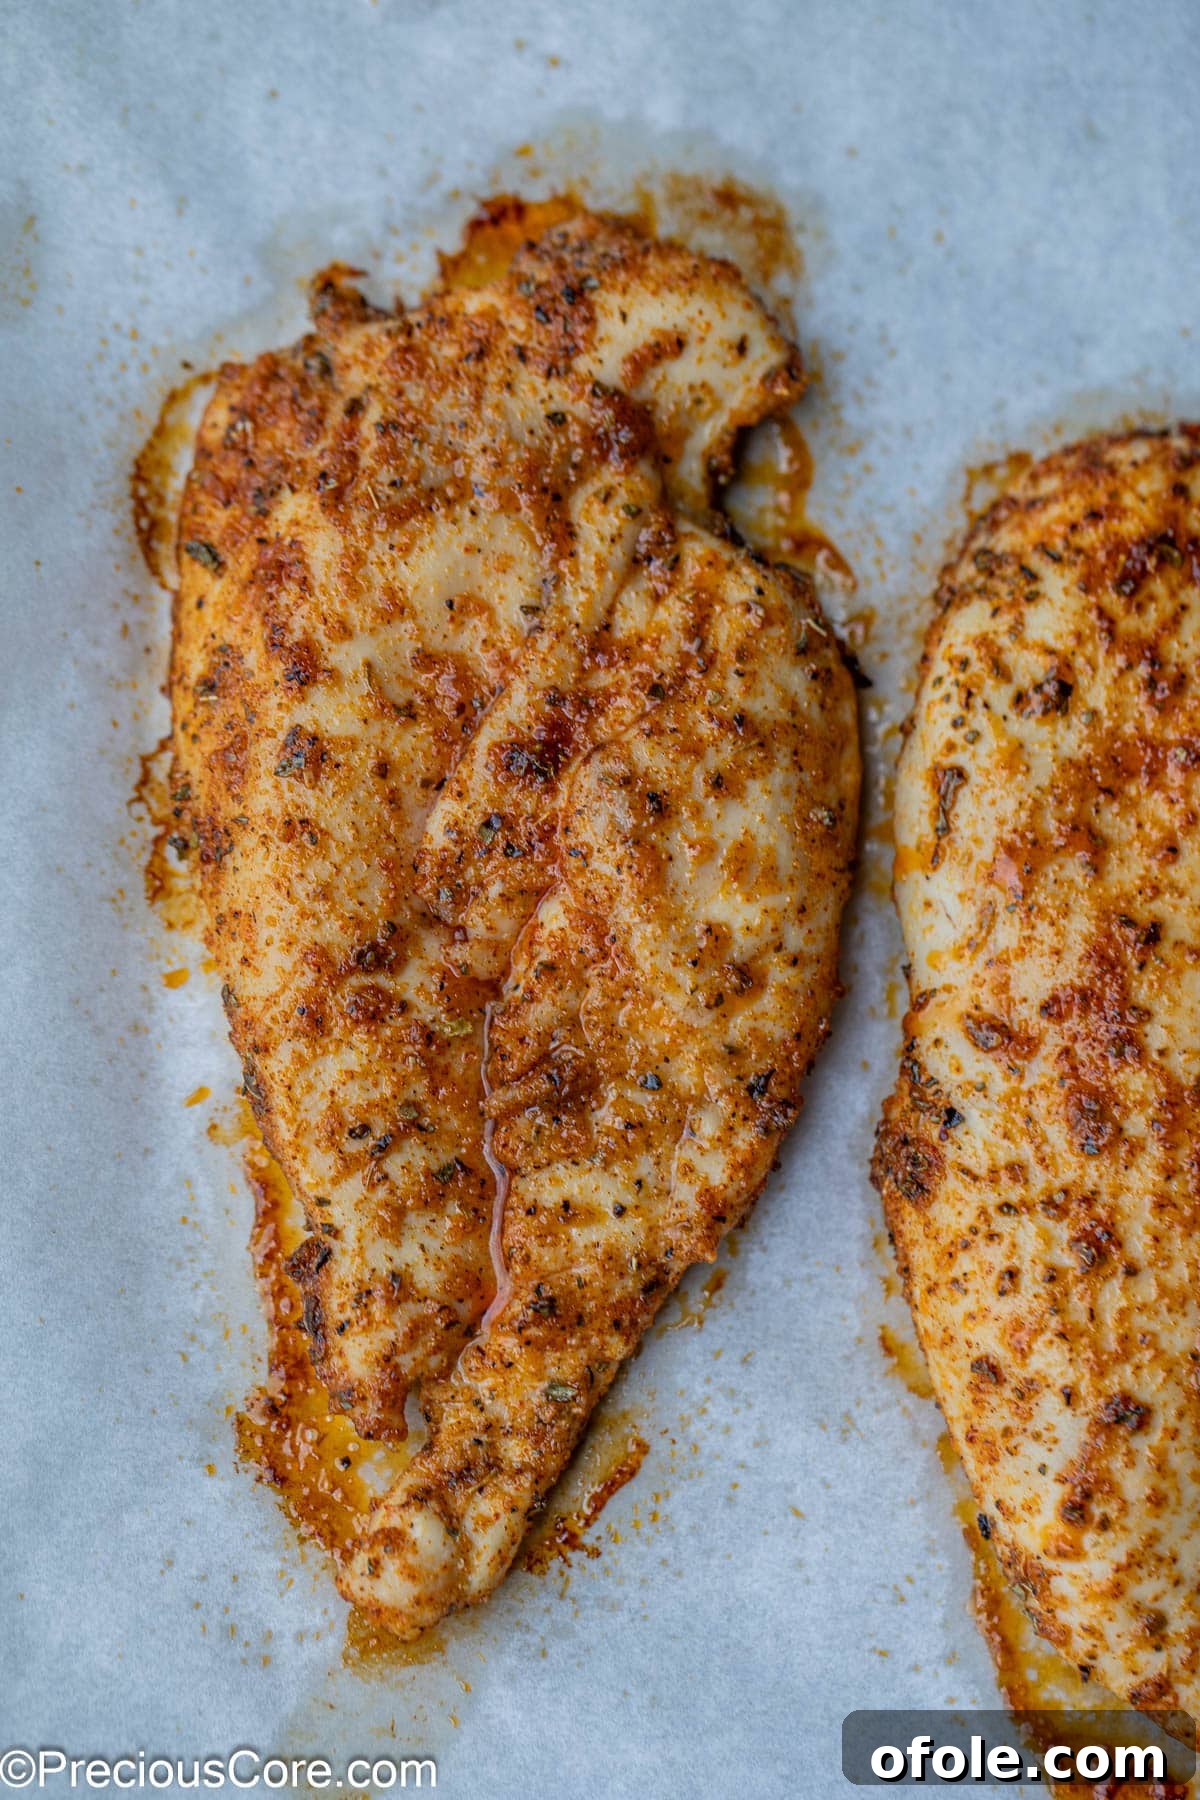
Ensuring Your Chicken is Perfectly Done
The most reliable way to guarantee perfectly cooked and safe chicken is by using a digital cooking thermometer to test its internal temperature. Insert the thermometer into the thickest part of the meat, making sure not to touch any bone. Since thin chicken breasts typically have a more uniform thickness than traditional breasts, you can generally insert the thermometer into the center for an accurate reading.
The chicken is fully cooked and safe to eat when the thermometer registers an internal temperature of 165°F (74°C). It’s crucial to remove the chicken from the oven as soon as it reaches this temperature to prevent overcooking, which can lead to dry and rubbery results.
While it might be tempting to cut into the chicken to check its internal color, this practice is not recommended. Cutting into the meat prematurely allows valuable juices to escape, contributing to dryness, and it’s not a reliable indicator of doneness. An instant-read thermometer is your best tool for ensuring both safety and optimal juiciness. Trust us, you’ll be delighted with the consistent results it provides!
Frequently Asked Questions About Baked Chicken
For baked thin chicken breasts, 400℉ (200°C) is generally better. The higher temperature helps the chicken cook quicker, forming a beautiful golden-brown crust through the Maillard reaction. This quick sear locks in the moisture, significantly reducing the chance of the chicken drying out. Baking at 350℉ (175°C) might result in a longer cooking time, making it harder to achieve a crispy exterior and keep the juices sealed within the meat, leading to a potentially less appealing texture.
Keeping thin chicken breasts moist involves a combination of key steps outlined in this recipe:
- Preparation: Pat the chicken dry and flatten it to an even thickness.
- Fat Application: Rub them generously with olive oil before seasoning. The oil helps create a barrier that holds moisture in and promotes browning.
- High Temperature Cooking: Bake at a relatively high temperature (like 400℉) for a shorter period. This quickly cooks the exterior, sealing in juices.
- Avoid Overcooking: This is paramount! Use a meat thermometer to ensure the chicken reaches exactly 165°F (74°C) and remove it immediately.
- Resting: Allow the chicken to rest for 5-10 minutes after baking. This allows the internal juices to redistribute, resulting in a more succulent piece of meat.
While some people might cover chicken with foil during baking to keep it moist, this often traps steam, which can prevent the chicken from developing a desirable golden-brown and slightly crisp crust. Following the steps above offers superior moisture retention without sacrificing texture.
Preventing overcooked thin chicken breasts comes down to precision and attentiveness:
- Accurate Oven Temperature: Ensure your oven is fully preheated to 400°F (200°C).
- Use a Timer: Set a timer for the suggested cooking duration (10-13 minutes) as a guide.
- Meat Thermometer is Key: Always use an instant-read meat thermometer. Insert it into the thickest part of the chicken, and once it registers 165°F (74°C), remove the chicken from the oven immediately. Do not rely on visual cues alone.
- Resting Period: After removing from the oven, let the chicken rest for 5-10 minutes. This allows for carryover cooking (where the internal temperature may rise a few degrees) and ensures juices redistribute.
Once chicken is overcooked, its texture cannot be undone, often resulting in dry, tough, and less enjoyable meat. Following these steps will ensure tender, juicy results every time.
Thin chicken breasts should be baked at 400°F (200°C) for approximately 10 to 13 minutes. The exact time can vary slightly based on the chicken’s thickness and your oven’s performance, so always confirm doneness by ensuring the internal temperature reaches 165°F (74°C) with a meat thermometer.
Yes, baked thin chicken breasts are excellent for meal prep! You can bake a larger batch and store the cooked chicken in an airtight container in the refrigerator for up to 3-4 days. It reheats well in the microwave, oven, or even a pan on the stovetop. It can also be frozen for longer storage (up to 3 months), then thawed and reheated.
These versatile chicken breasts pair wonderfully with a wide array of sides. Popular choices include roasted vegetables, mashed potatoes, a fresh green salad, rice pilaf, quinoa, or even pasta dishes. For specific ideas, refer to our “Serving” section below!
Serving Suggestions for Baked Chicken
Baked Thin Chicken Breasts are incredibly versatile and can be paired with an array of delicious side dishes to create a complete and satisfying meal. Here are some fantastic options:
Sautéed Vegetables
Fried Carrots
Buttermilk Mashed Potatoes
Avocado Salad
Brown Sugar Honey Glazed Carrots
Rosemary Garlic Mashed Potatoes
More Irresistible Chicken Recipes
If you’ve enjoyed mastering this easy and delicious baked thin chicken breasts recipe, you’ll be thrilled to discover more chicken-centric culinary delights. For more insights on preparing thin chicken, be sure to check out my comprehensive guide to Thin Sliced Chicken Breasts. And for additional inspiration, explore these fantastic chicken recipes:
Crispy Baked Chicken Drumsticks
Garlic Butter Chicken Pasta
Pan Seared Chicken Tenders
If you make this recipe, please consider leaving a star rating and a comment below. Your feedback truly helps others discover and enjoy this recipe, and I always love hearing from you! Thank you!
Baked Thin Chicken Breasts Recipe
5
10
15
4 servings
Print Recipe
Ingredients
- 1 pound thin sliced chicken breasts (about 2 medium breasts)
- 2 Tablespoons olive oil
- ½ teaspoon salt
- ¼ teaspoon ground black pepper
- 1 teaspoon garlic powder
- 1 teaspoon onion powder
- 1 teaspoon dried basil
- 1 teaspoon paprika
Instructions
-
Preheat the oven to 400℉ (200°C). Line a baking sheet with parchment paper or spray with cooking spray.
-
Drizzle the olive oil on both sides of the chicken breasts. In a small bowl, mix together the salt, black pepper, garlic powder, onion powder, dried basil, and paprika. Sprinkle this seasoning blend evenly on both sides of the chicken, rubbing it in gently to ensure even distribution and adhesion.
-
Place the seasoned chicken breasts in a single layer on the prepared baking sheet.
-
Bake for 10-13 minutes, or until the chicken registers an internal temperature of 165℉ (74°C) on a meat thermometer. Allow chicken to rest for 5 minutes before serving.
Notes
- Bring your chicken out of the refrigerator about 10-20 minutes before cooking. This helps it achieve a more even temperature throughout, preventing the oven from having to work harder to heat very cold meat.
- Ensure your oven is completely pre-heated before placing the chicken inside for consistent and even cooking. Avoid opening the oven door frequently, as this causes heat loss and can extend cooking time or dry out the chicken.
- Allow your baked chicken to rest for 5-10 minutes before slicing. This critical step allows the juices to redistribute throughout the meat, resulting in a more tender and juicy chicken. Cutting it prematurely will cause the juices to escape.
Nutrition
Additional Info
Tried this recipe?
Mention @preciouscore or tag #PreciousCore!